
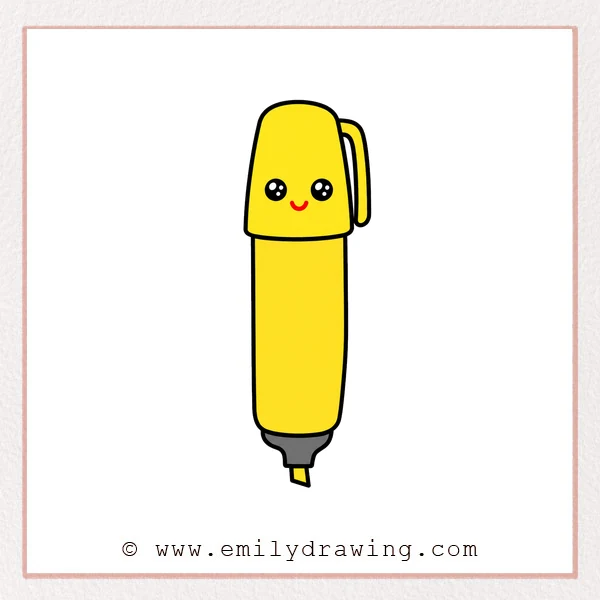
Learn how to draw Sharpie with a cute face in this easy drawing tutorial. This step by step drawing is simple for beginners and uses basic shapes like curves, lines, and rounded corners.
What You Will Need
- Pencil
- Eraser
- Black marker
- Red marker or colored pencil
- Drawing paper
Here are my RECOMMENDED Art Supplies!
- Crayola Coloring Set (140 Pieces – Mega Value!)
- 24 Colored Crayon Set
- A4 Printer Paper
- Crayola Coloring Pencils
- HP Home Printer with Instant Ink!
Time needed:
28 minutes.
Step-by-Step Drawing Guide
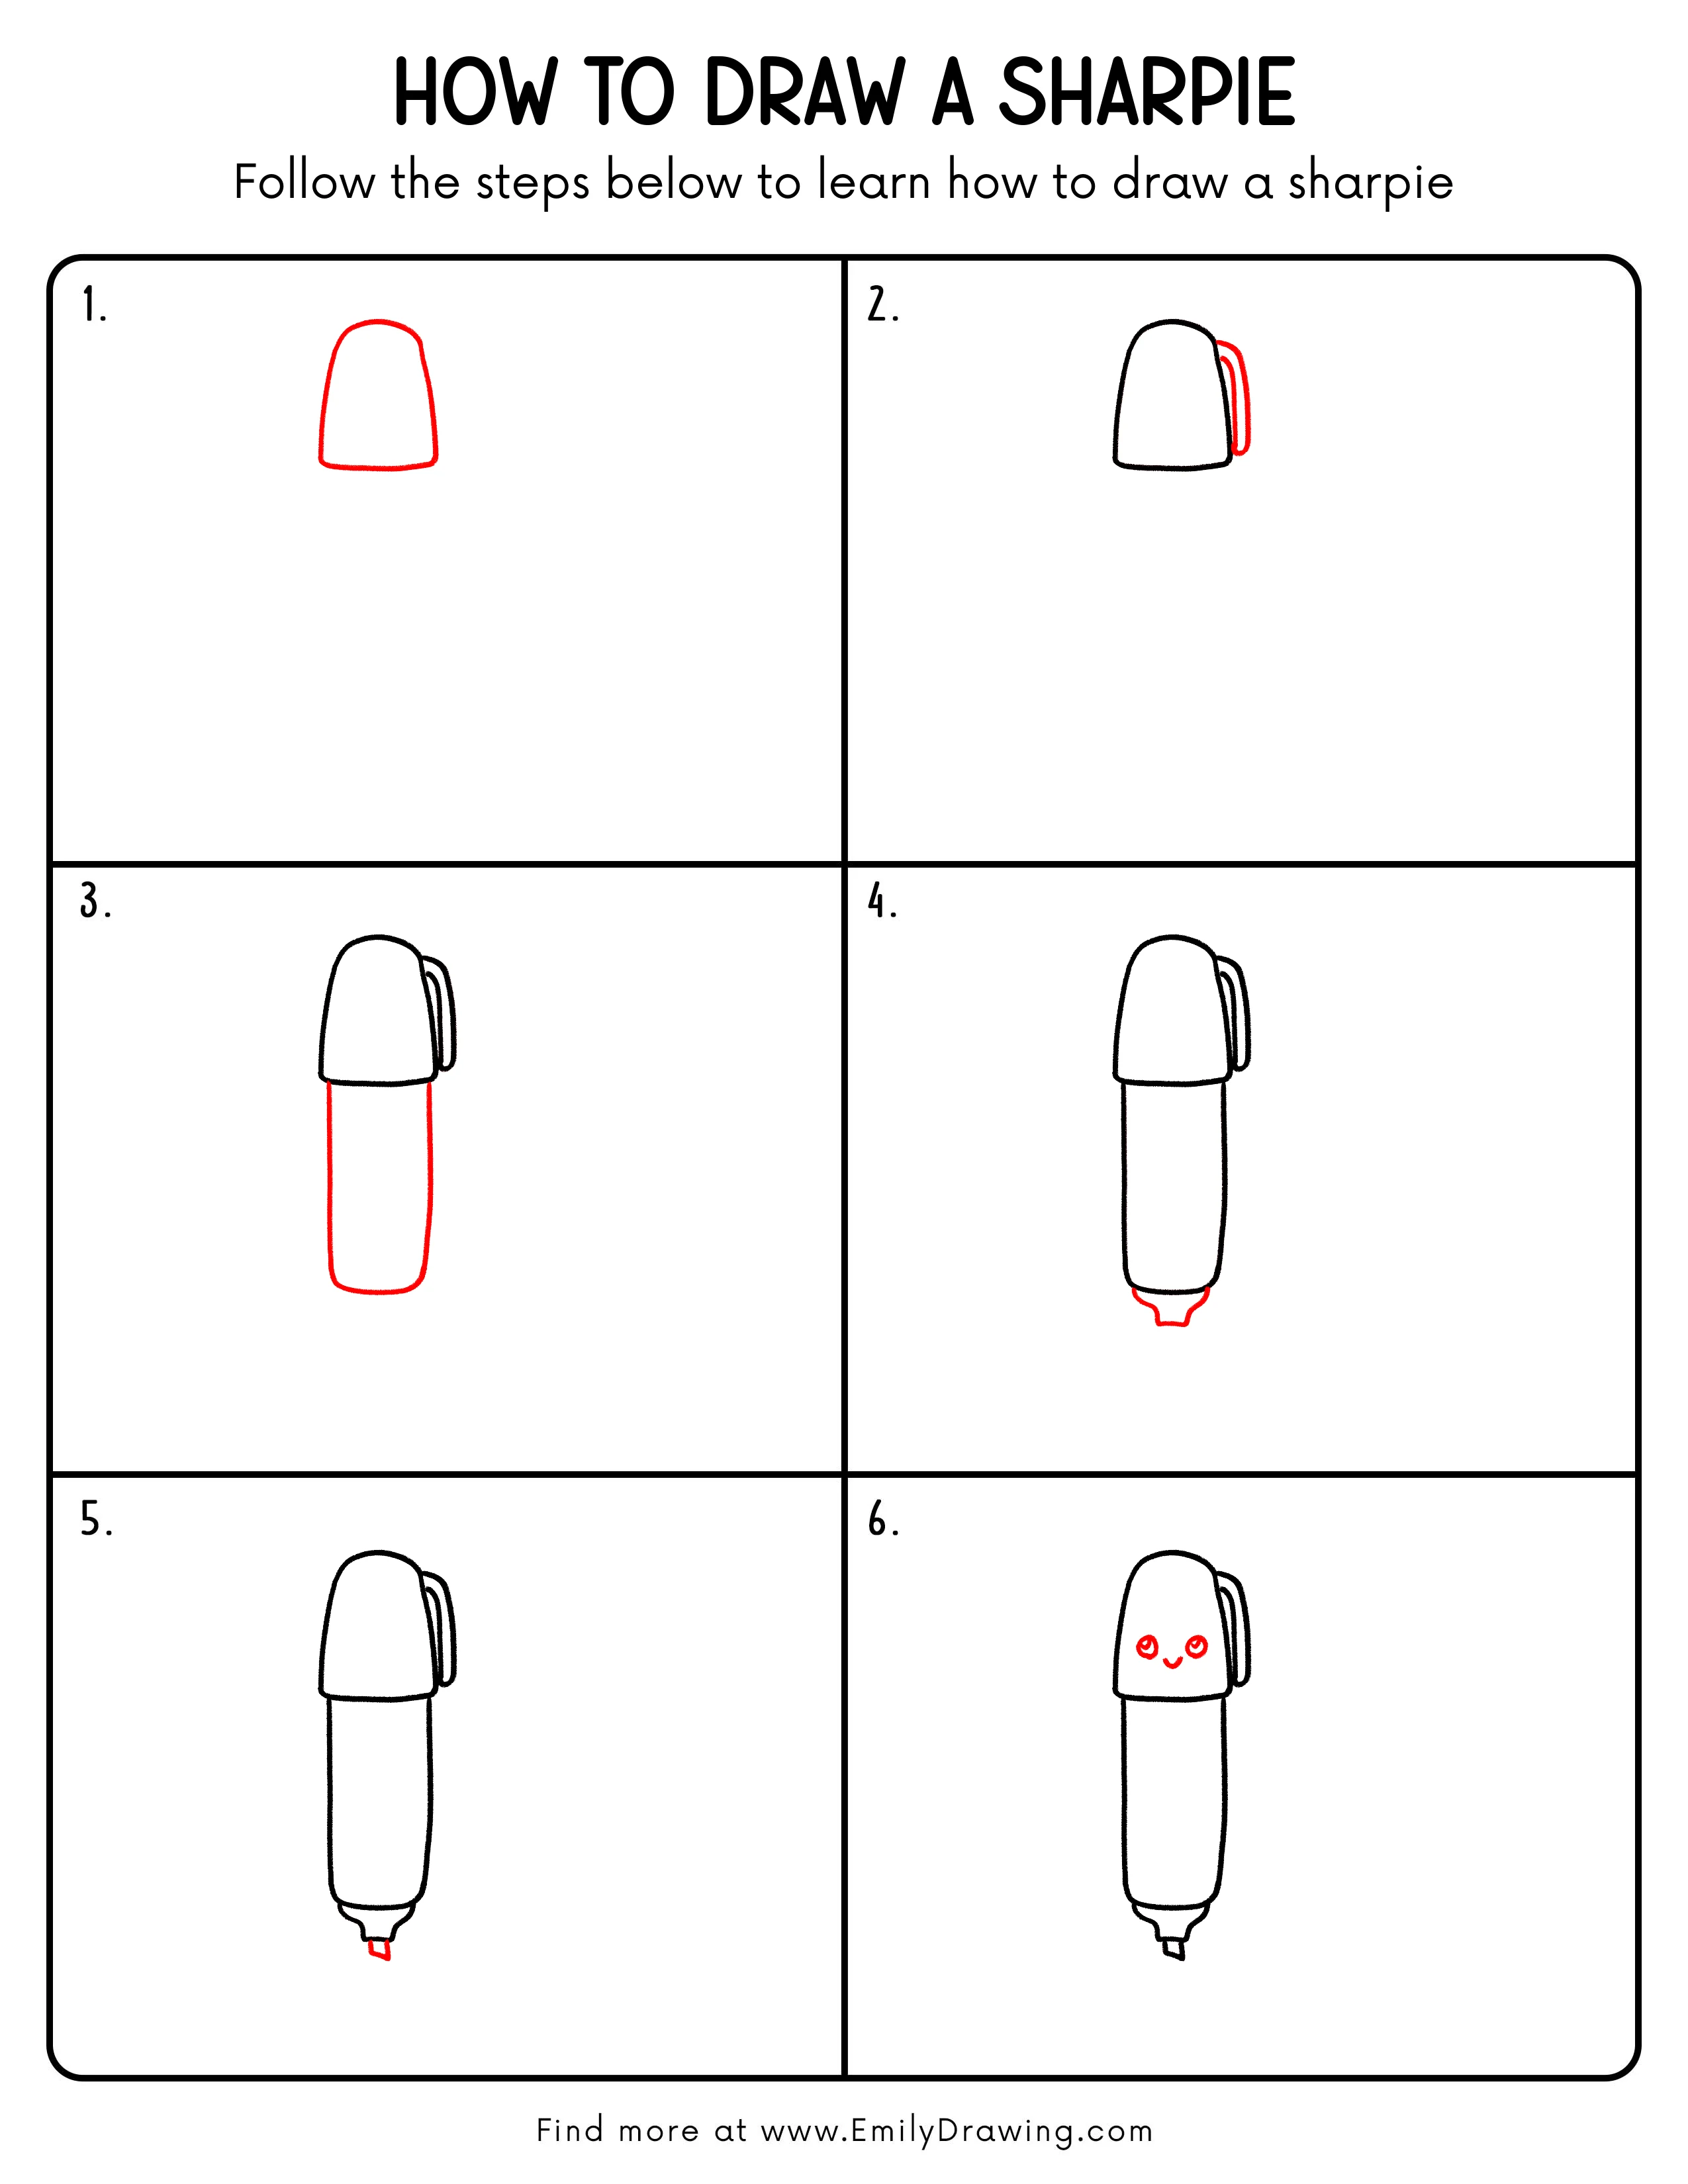
Step 1: Draw the Main Cap Outline
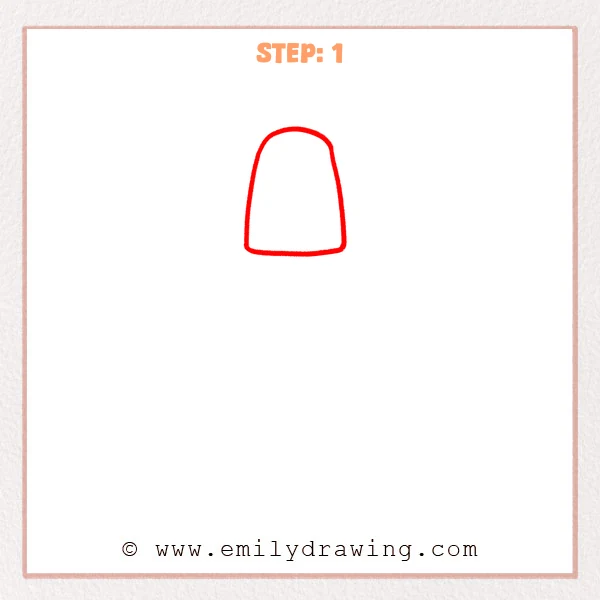
Start with a rounded trapezoid shape, wider at the bottom and softly curved on top. Keep the bottom edge steady to form the basic Sharpie cap.
Pro Tip: Keep both sides close in height so the cap looks balanced.
Step 2: Add the Clip Outline
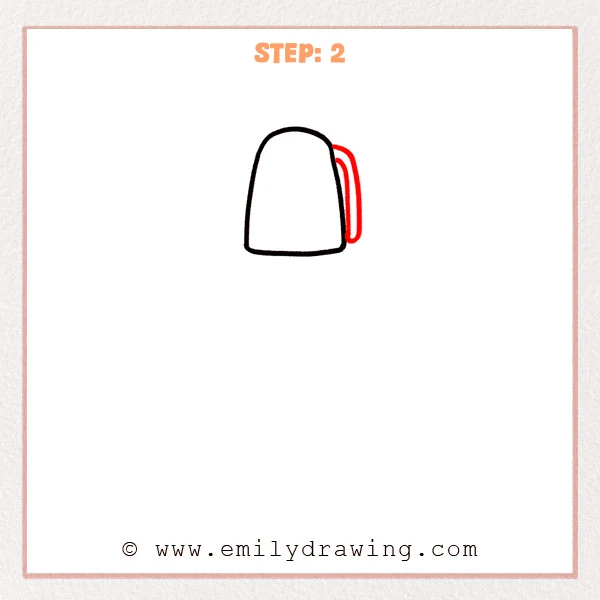
Add a long, narrow rounded strip along the right side of the cap. Let it begin near the upper edge and extend down toward the middle of the cap.
Pro Tip: Leave a small gap between the clip and cap to make the layers clearer.
Step 3: Draw the Marker Body
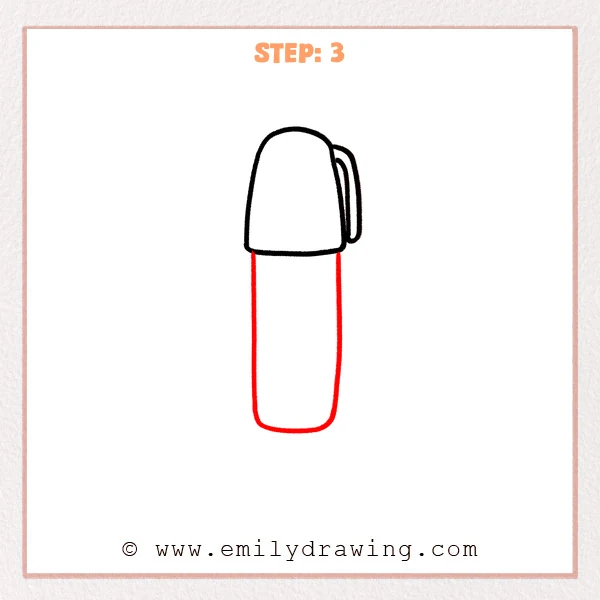
Draw two long straight lines downward from both sides of the cap to form the Sharpie body. Connect them at the bottom with a rounded curve so the body looks sturdy and smooth.
Pro Tip: Make the body slightly narrower than the cap so the full shape feels natural.
Step 4: Add the Tip Base
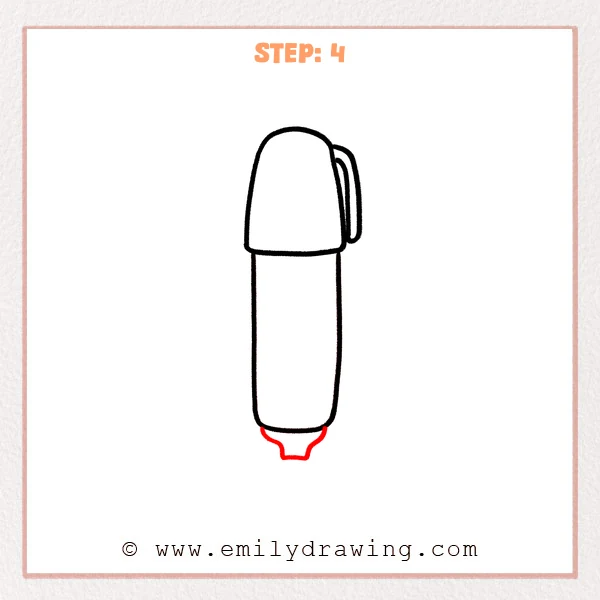
Add a smaller connector shape below the marker body, with both sides curving inward. Leave a short flat edge at the bottom to prepare the place for the Sharpie tip.
Pro Tip: Keep the base centered under the body so the tip will not look tilted.
Step 5: Draw the Pointed Tip
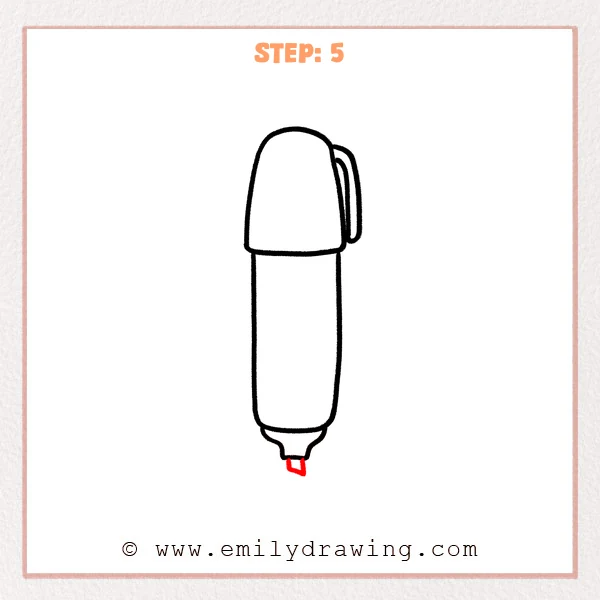
Add a small angled tip below the base, leaning slightly down to the right. Bring the bottom into a short point to show the writing end of the Sharpie.
Pro Tip: Do not make the tip too long, because a compact point matches the marker’s proportions.
Step 6: Add a Cute Face
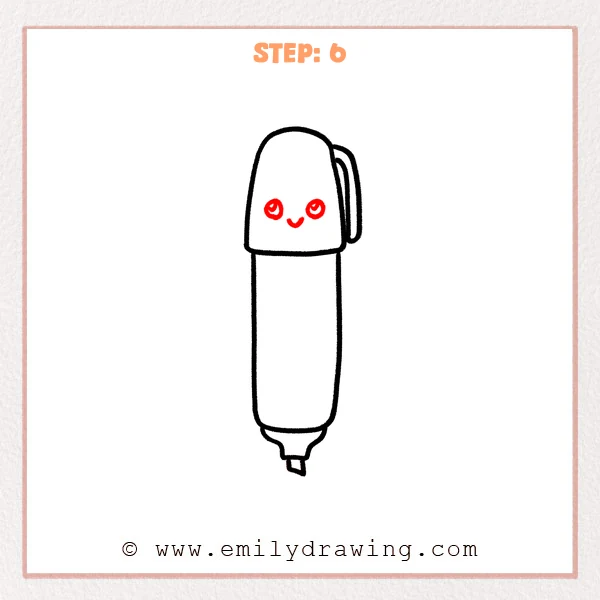
Draw two round eyes on the front of the cap, then add a small curved mouth below them. Leave tiny highlights inside the eyes to make the Sharpie look cuter.
Pro Tip: Place both eyes on the same level so the face looks neat and balanced.
Step 7: Color in your drawing!
Fun Facts
- Sharpie markers are known for their bold lines and permanent ink.
- A clip on the cap helps keep the marker attached to notebooks or pockets.
- Adding a face turns a simple object into a friendly cartoon character.
Pin it now, Draw later!
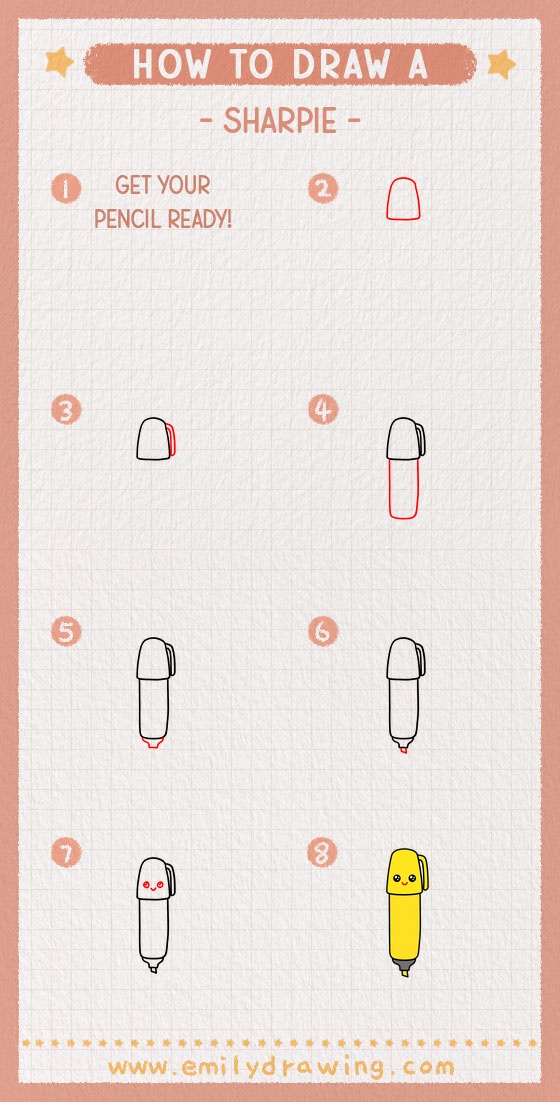
Trace the final lines with a black marker, then erase any light pencil marks. You can color the cap, body, or face to make your Sharpie drawing more playful. Take your time, enjoy each small detail, and try drawing another cute school supply next.
Get the FREE Printable Drawing Guide
FREE Download Printable Sharpie Drawing Tutorial
Frequently Asked Questions
Is this Sharpie drawing good for beginners?
Yes, this drawing for beginners uses simple curves, straight lines, and small details. Each step builds slowly from the cap to the final cute face.
Can I draw the Sharpie without the face?
Yes, you can leave the face out for a more realistic marker drawing. The same step by step drawing still works well.
What colors should I use for this easy drawing tutorial?
Use black for the outline and any bright color you like for the marker body. Red, blue, or purple can make the Sharpie look cheerful.



