
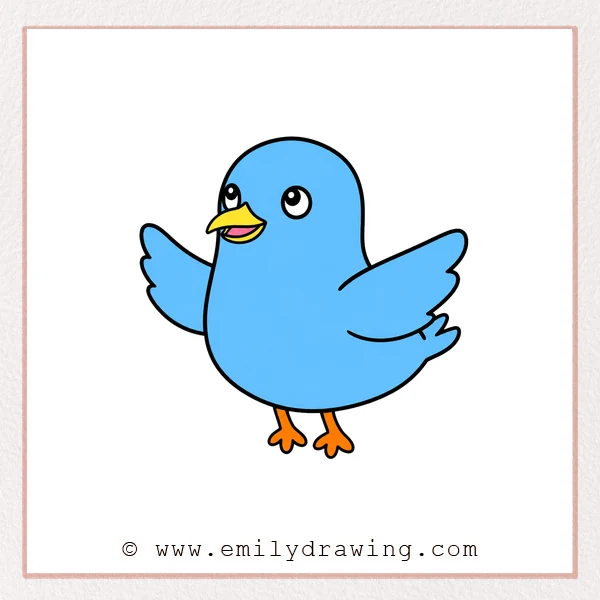
In this easy drawing tutorial, you will learn how to draw seagull in a simple, friendly way. Each step uses clear shapes and calm directions, making it a good drawing for beginners. Take your time and build the seagull one part at a time.
What You Will Need
- Pencil
- Eraser
- Black marker or pen
- Paper
- Coloring tools, if you want to add color
Here are my RECOMMENDED Art Supplies!
- Crayola Coloring Set (140 Pieces – Mega Value!)
- 24 Colored Crayon Set
- A4 Printer Paper
- Crayola Coloring Pencils
- HP Home Printer with Instant Ink!
Time needed:
28 minutes.
Step-by-Step Drawing Guide
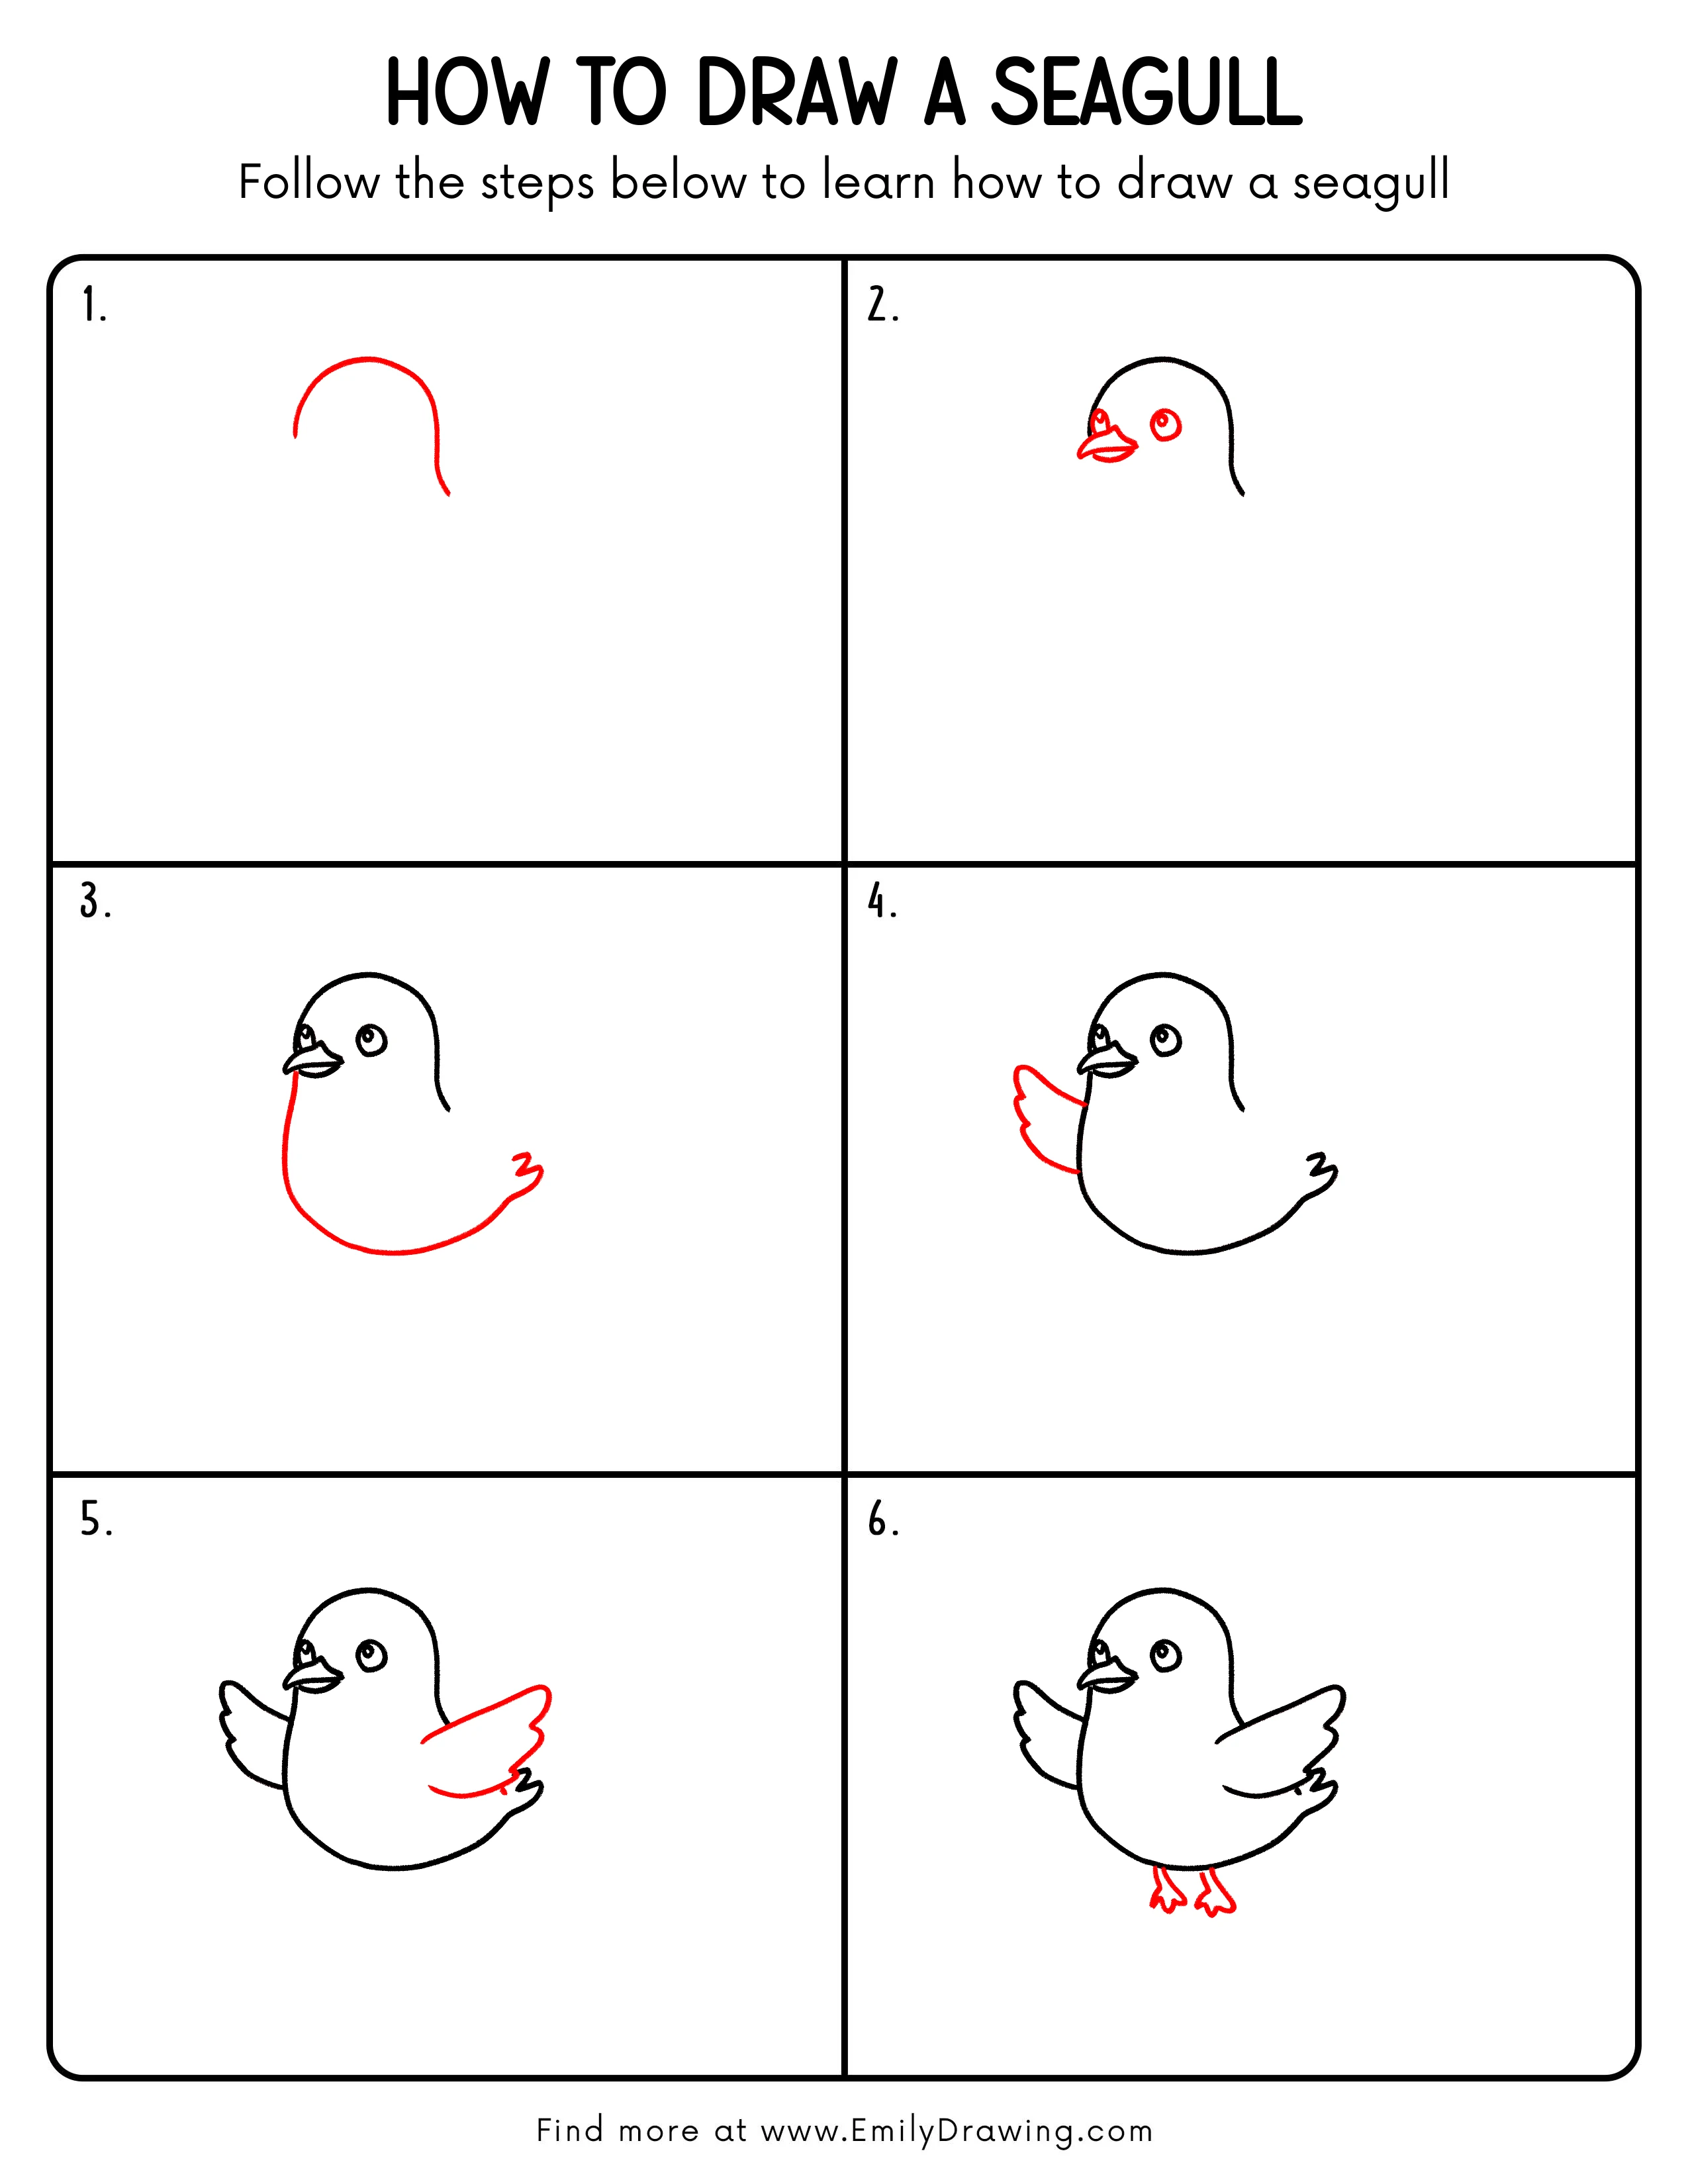
Step 1: Draw the Seagull’s Head and Back Outline
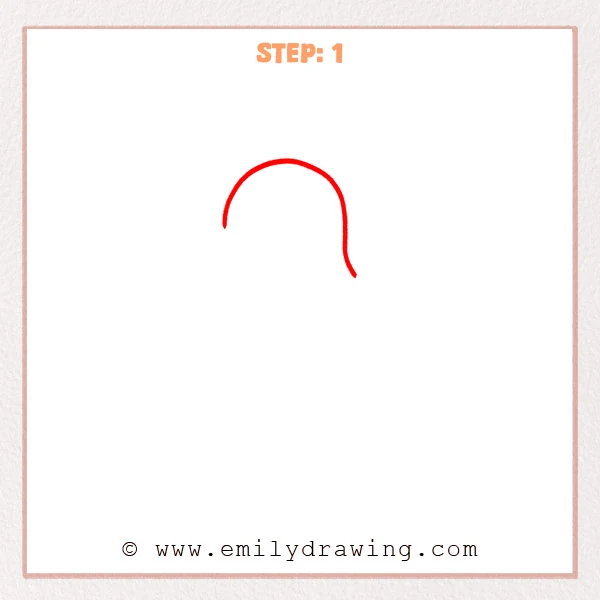
Start with a wide curved line, like a soft half circle. On the right side, bend the line downward to begin the seagull’s neck.
Pro Tip: Keep the top curve smooth so the seagull’s head feels natural.
Step 2: Add the Seagull’s Eye and Beak
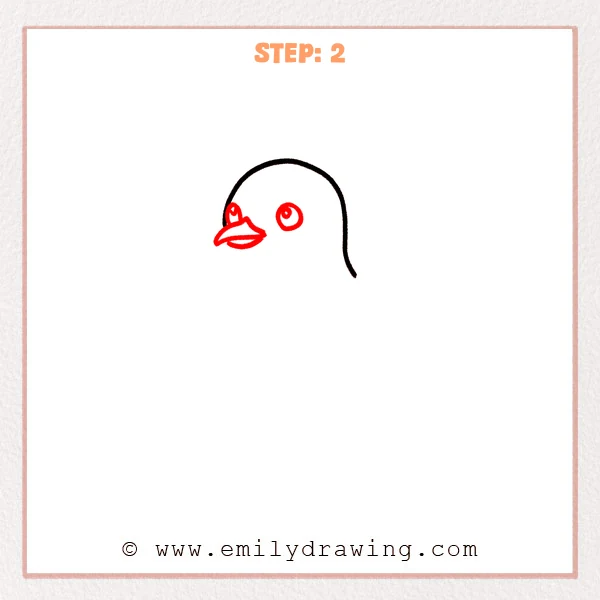
Draw a round eye inside the head, leaving a small highlight. Add the seagull’s pointed beak on the left, then curve a line for the lower beak.
Pro Tip: Let the beak point slightly left so the seagull feels clearly directed.
Step 3: Draw the Seagull’s Body and Tail
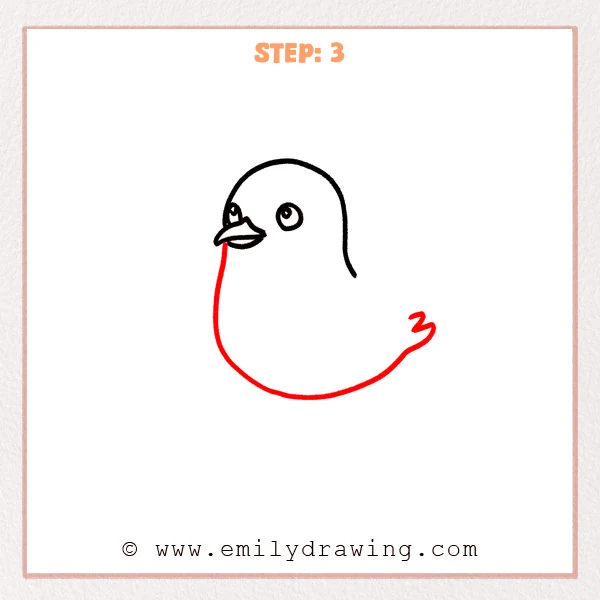
From below the beak, draw a long curve downward and around to form the rounded body. Add a small forked tail at the right end so the body line finishes neatly.
Pro Tip: Make the lower body a little wide so the seagull looks soft and balanced.
Step 4: Add the Seagull’s Wing
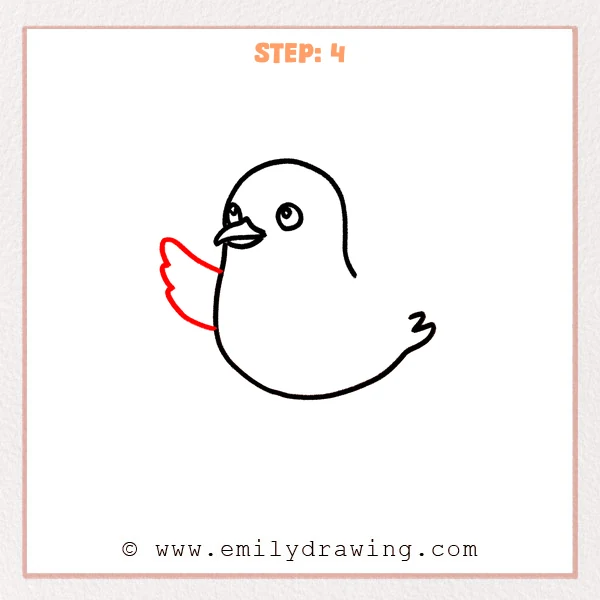
Draw a small open wing on the left side of the body, curving outward and back. Use two rounded feather tips so the wing looks light and cute.
Pro Tip: Place the wing connection near the upper body so the pose feels natural.
Step 5: Draw the Seagull’s Other Wing
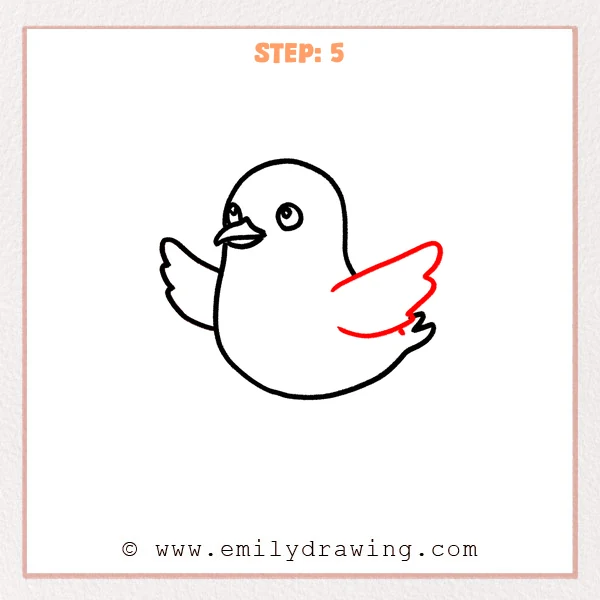
On the right side of the body, draw a larger open wing reaching upward. Use soft angled lines for the feather tips, then curve the lower edge back to the body.
Pro Tip: Make the right wing longer than the left to show the seagull flapping.
Step 6: Draw the Seagull’s Feet
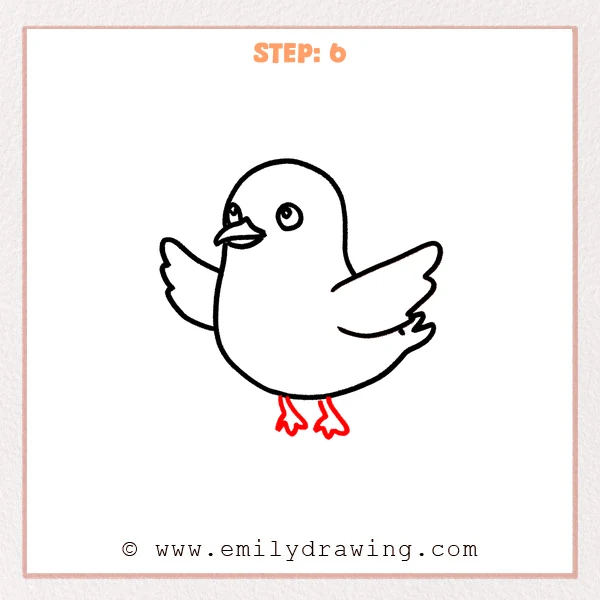
Draw two short legs under the body, letting them hang down naturally. Add small toes at the end of each leg to form the seagull’s webbed feet.
Pro Tip: Place the feet near the middle of the lower body so the seagull stands balanced.
Step 7: Color in your drawing!
Fun Facts
Seagulls are often seen near oceans, lakes, and busy harbors. They are strong flyers and can glide smoothly in the wind. Their webbed feet help them walk on wet sand and paddle in water.
Pin it now, Draw later!
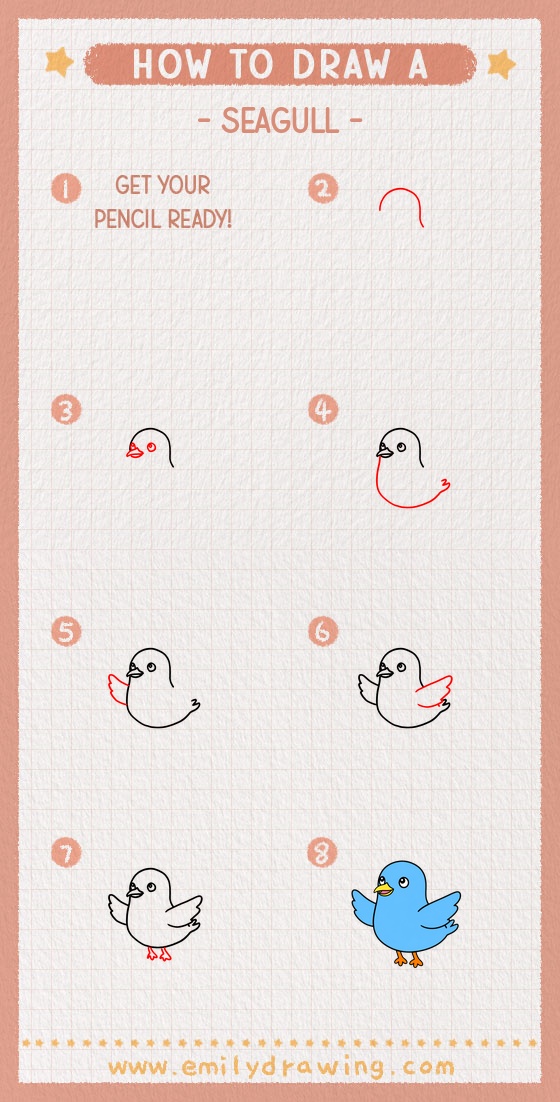
Now you know how to draw seagull using a simple step by step drawing method. Trace your final lines carefully, then erase extra pencil marks. You can color the beak and feet, add soft shadows, or draw waves behind your seagull.
Keep practicing this easy drawing tutorial, and try making your next seagull face another direction.
Get the FREE Printable Drawing Guide
FREE Download Printable Seagull Drawing Tutorial
Frequently Asked Questions
Is this seagull drawing good for beginners?
Yes, this seagull drawing for beginners uses simple curves, rounded shapes, and small details.
How can I make my seagull look more lively?
Tilt the wings slightly and keep the eye bright with a small white highlight.
Can I color the seagull after drawing it?
Yes, use light gray for the body, orange for the beak and feet, and soft blue for the background.



