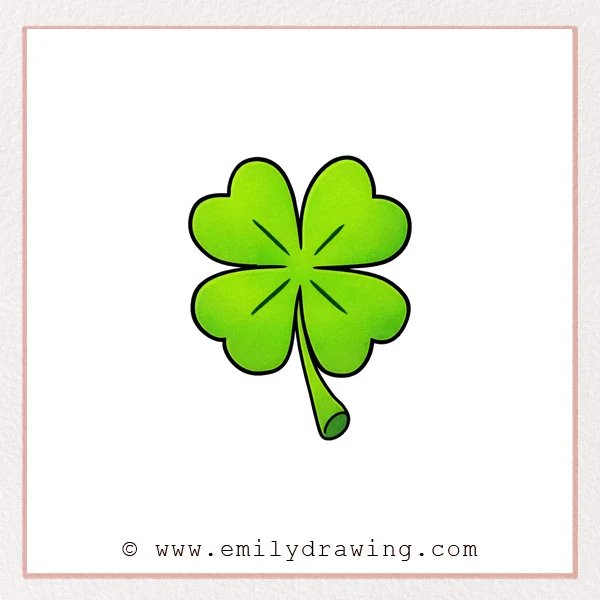
Drawing a four leaf clover is a calm and simple activity for beginners. In this easy drawing tutorial, you will build the clover one small step at a time, using soft curves and balanced leaf shapes.
What You Will Need
- Pencil
- Eraser
- Black pen or marker
- Paper
- Green coloring tools
Here are my RECOMMENDED Art Supplies!
- Crayola Coloring Set (140 Pieces – Mega Value!)
- 24 Colored Crayon Set
- A4 Printer Paper
- Crayola Coloring Pencils
- HP Home Printer with Instant Ink!
Time needed:
25 minutes.
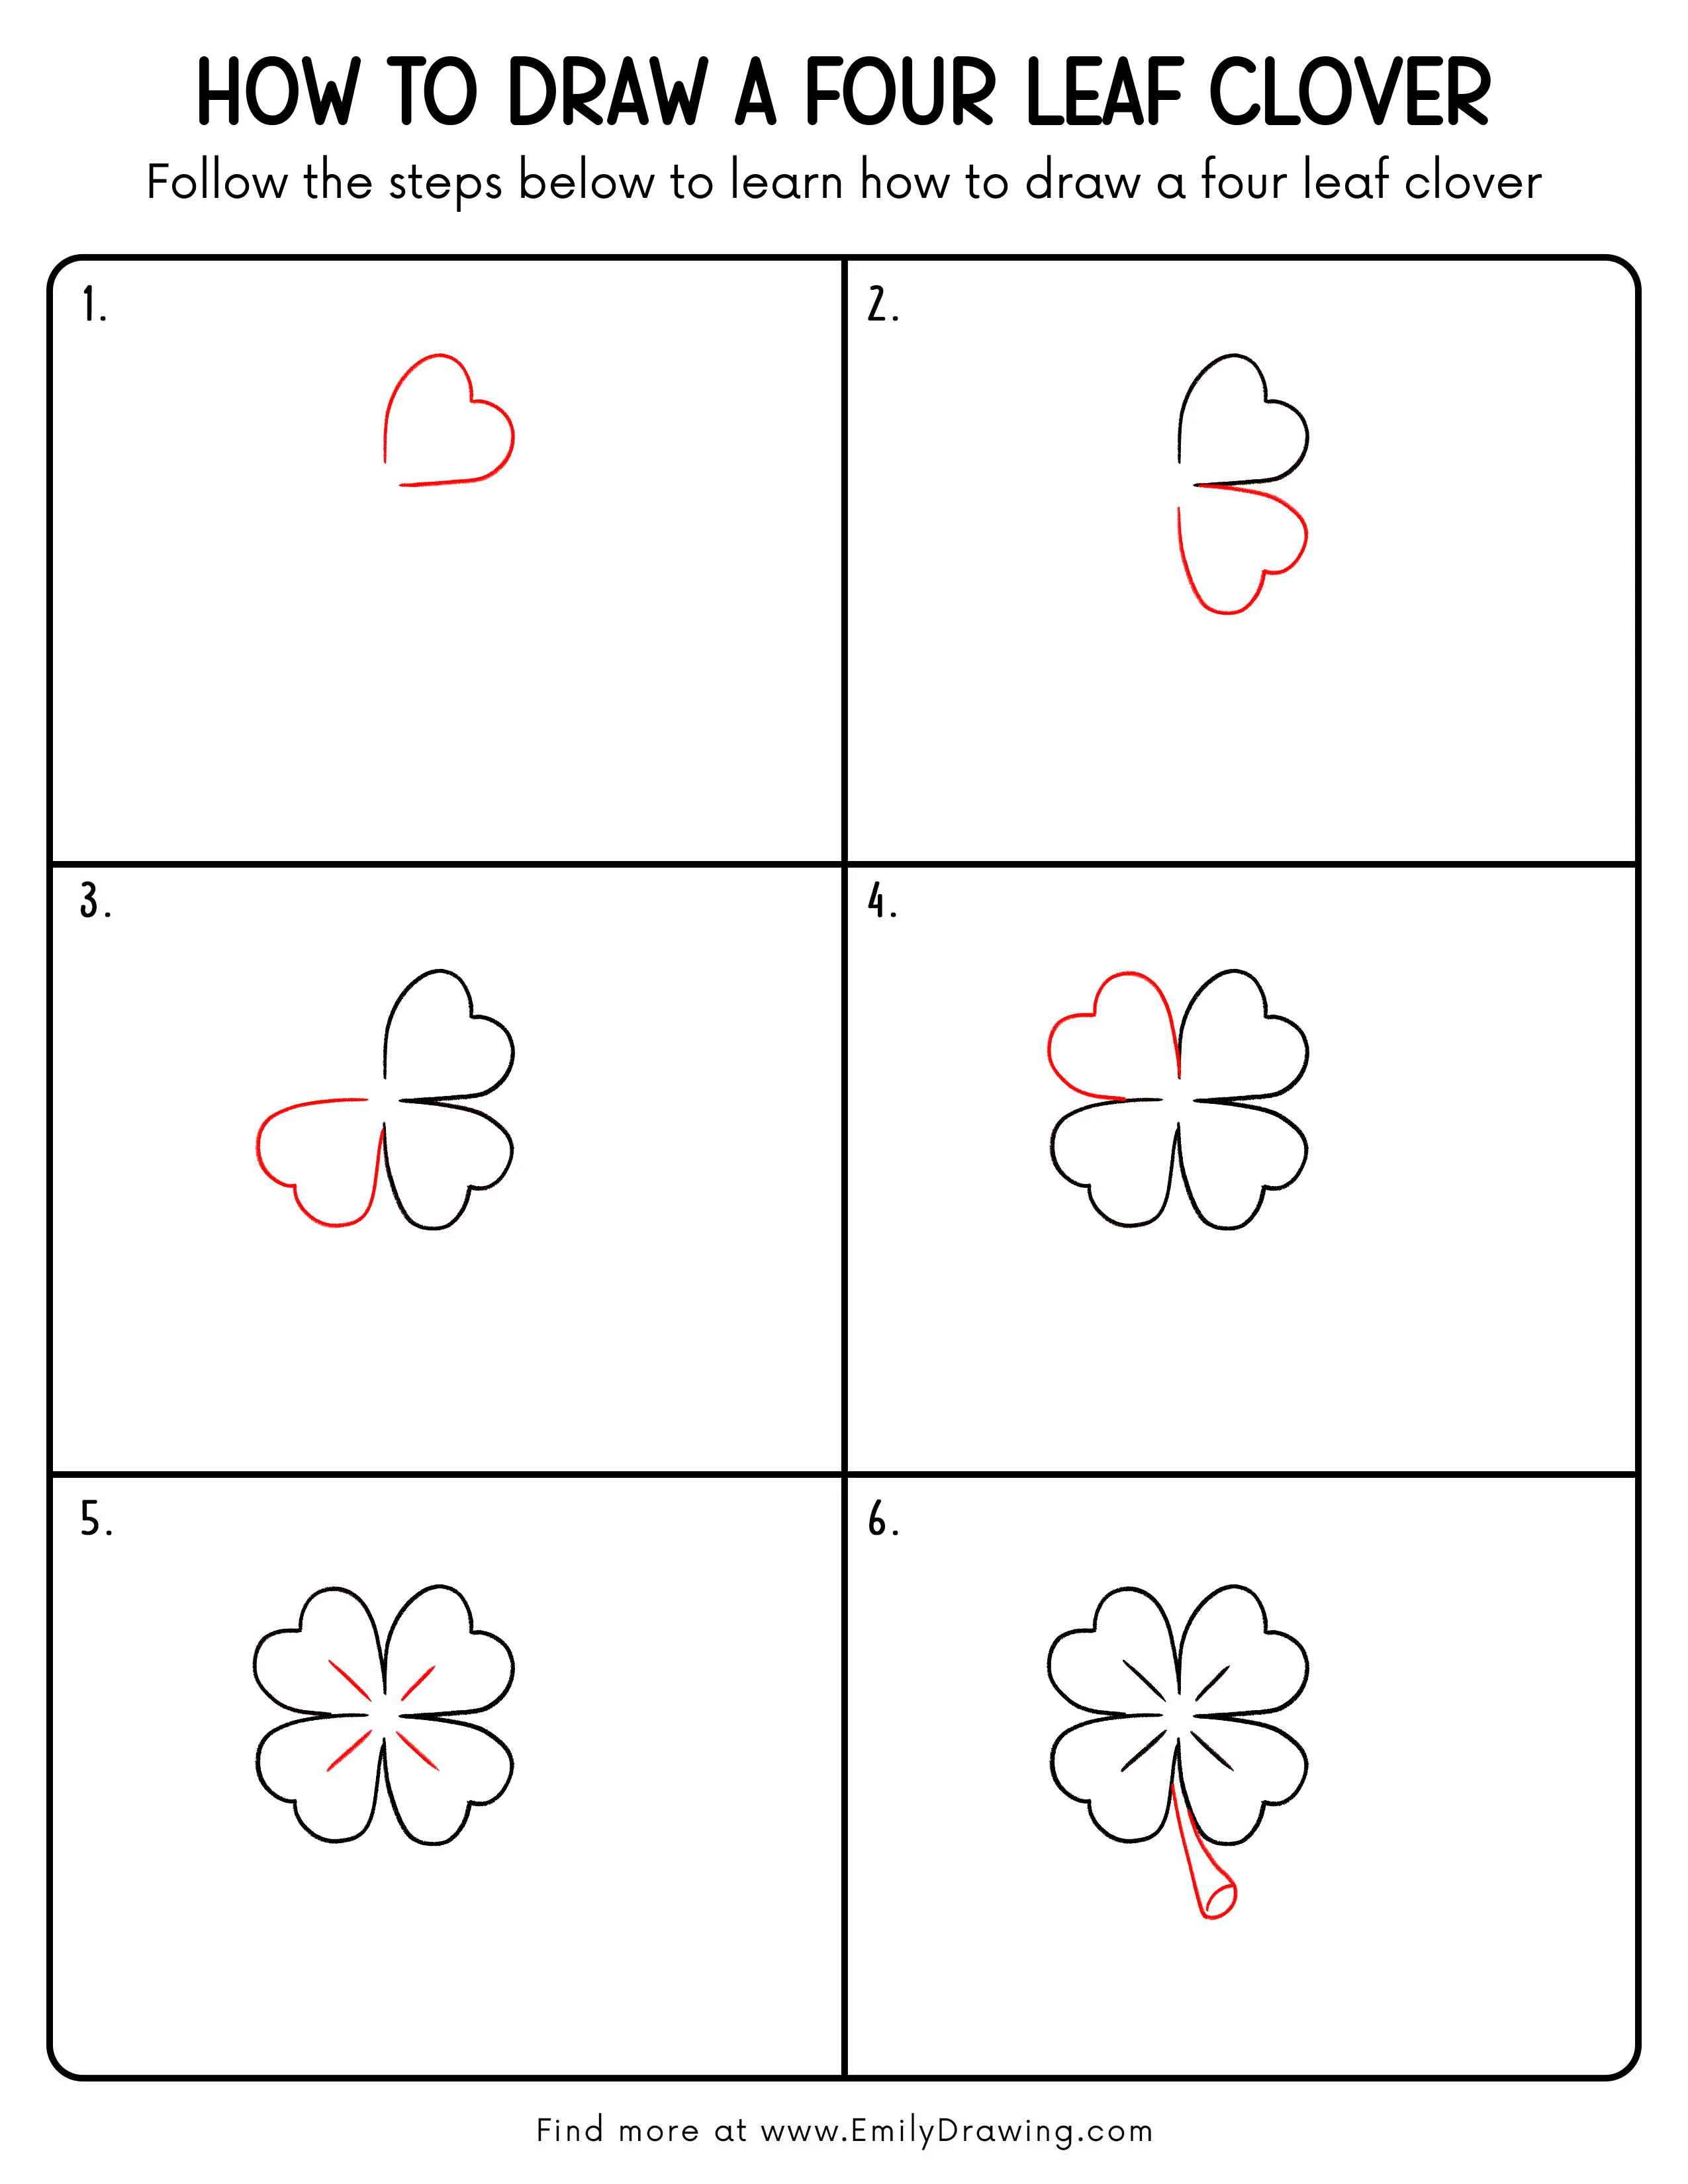
Step-by-Step Drawing Guide
Step 1: Sketch the First Leaf Shape
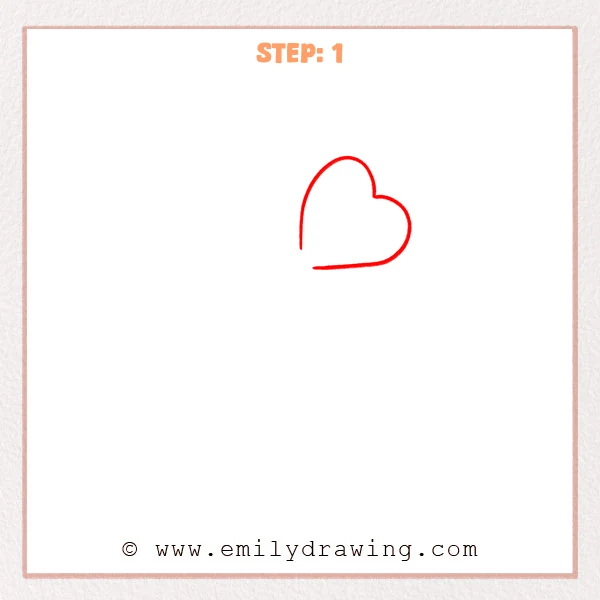
Start near the middle-right area of the page with a tall, rounded curve. Then add a smaller bump on the right and connect the bottom with a soft curved line to form the first leaf of the clover.
Pro Tip: Keep your line light at this stage so the leaf size and curve are easy to adjust later.
Step 2: Add the Second Leaf
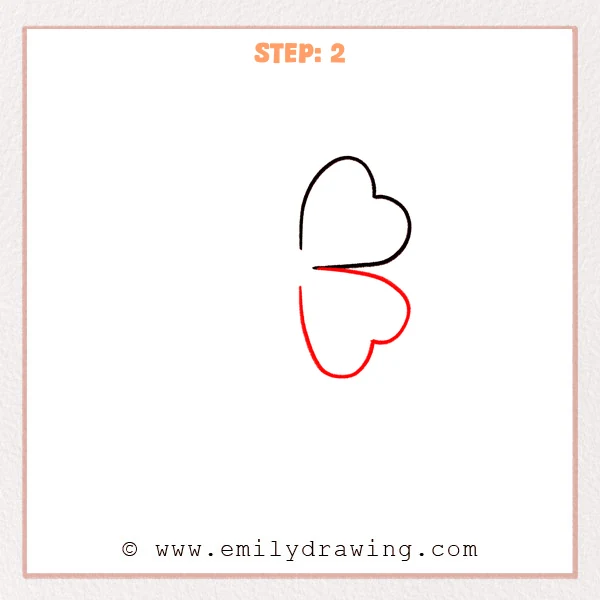
Below the first leaf, start from the same center point and sketch a second rounded heart-like leaf. Keep it close in size to the one above, with a soft outward bump on the right, so the clover begins to look balanced.
Pro Tip: Let both leaves meet at the same center point so the next two leaves will be easier to align.
Step 3: Add the Left Leaf
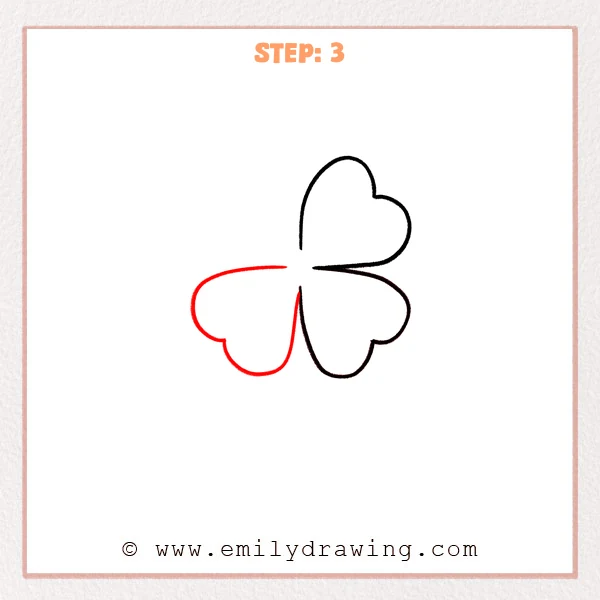
From the center point, extend a soft curved line toward the left to form the third rounded leaf. Let the lower part swell into a gentle bump so this side feels similar in size and shape to the leaves on the right.
Pro Tip: As you sketch the left leaf, compare its width with the right side so the clover stays balanced.
Step 4: Add the Final Leaf
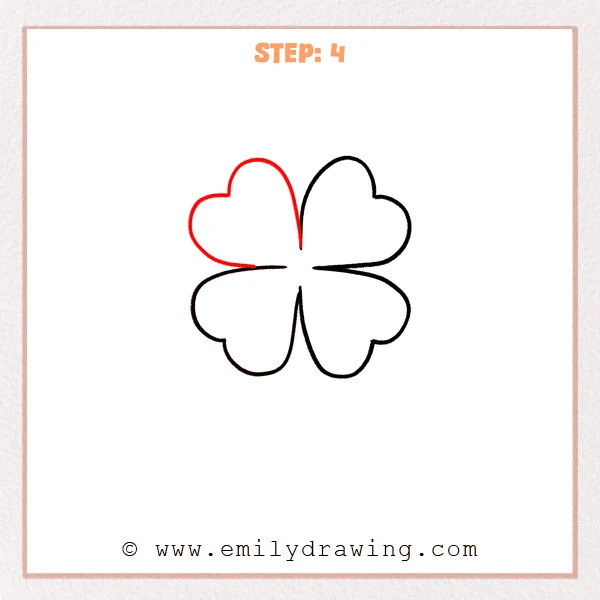
In the open space at the upper left, start from the center and sketch the last rounded leaf. Let the top feel full and the left side curve outward softly so all four leaves come together into a complete four-leaf clover.
Pro Tip: Compare the size of the last leaf as you go, then bring the line back to the center for a neater shape.
Step 5: Add the Vein Lines
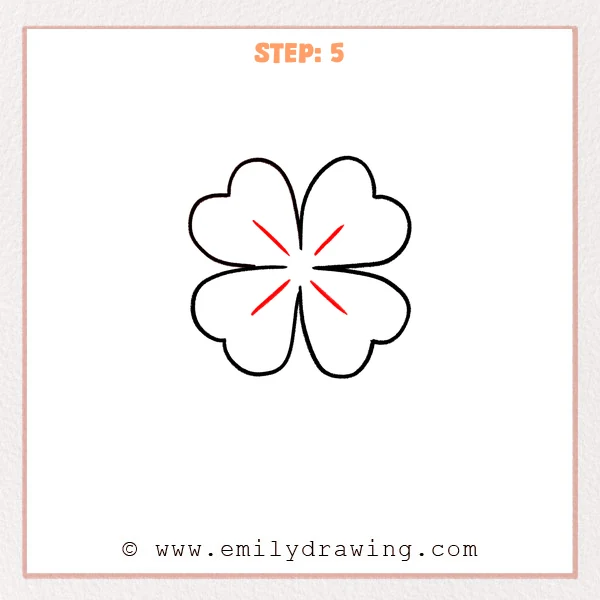
Start from the center of the clover and place one short slanted line inside each leaf. Let each line open gently into the leaf so it points toward the middle area without touching the outer edge.
Pro Tip: Keep the vein lines short so a little empty space stays around the edges of each leaf.
Step 6: Add the Clover Stem
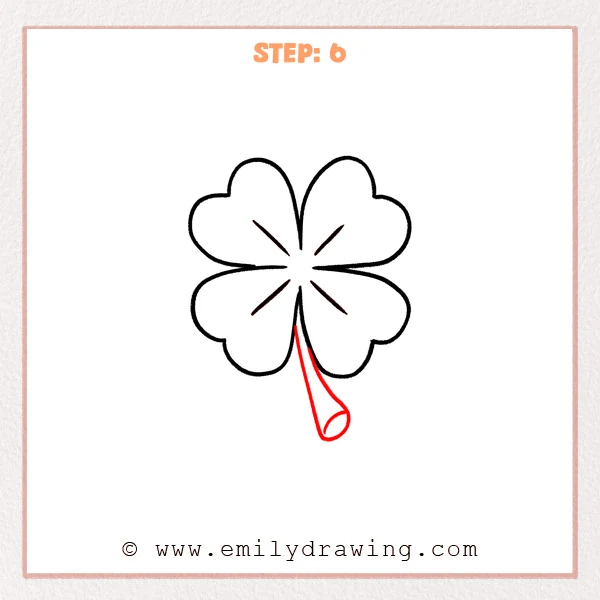
From the meeting point below the lower leaves, extend two close, gentle curves downward to shape the stem. Finish the end with a small rounded oval so the stem feels soft and complete.
Pro Tip: Keep the stem a little narrower than the leaves so the whole clover looks light and natural.
Step 7: Color in your drawing!
Fun Facts
- A four leaf clover is often seen as a symbol of luck.
- Most clovers have three leaves, which makes the fourth leaf feel special.
- Artists often use clover shapes to practice smooth curves and symmetry.
Pin it now, Draw later!

You have now completed a simple four leaf clover drawing step by step. Add light green coloring to each leaf, then use a slightly darker green near the center and along the veins for gentle shading. One common beginner mistake is making one leaf much larger than the others, so take your time and compare each shape as you work. Keep practicing this easy drawing tutorial, and try more drawing for beginners to build your confidence.
Get the FREE Printable Drawing Guide
FREE Download Printable Four Leaf Clover Drawing Tutorial
Frequently Asked Questions
Is this four leaf clover drawing good for beginners?
Yes, it uses simple curved shapes and short lines, so it is a great beginner drawing project.
How do I make the leaves look even?
Start each leaf from the same center point and compare the height and width as you draw.
Can I color the clover after outlining it?
Yes, coloring after outlining works well and helps the leaf shapes stand out clearly.