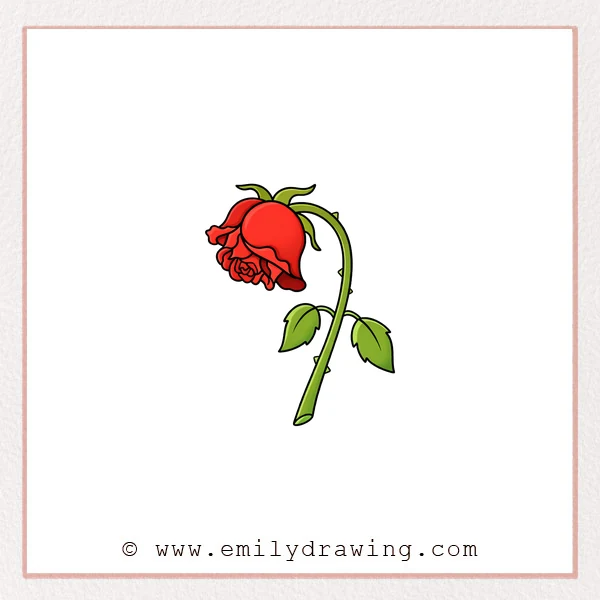
A drooping, withered rose can look dramatic and gentle at the same time.
In this easy drawing tutorial, you will build the shape in simple stages.
Take your time and keep lines light until you are happy with the curves.
What You Will Need
- Pencil (HB or 2B)
- Eraser
- Black pen or marker (optional, for outlining)
- Paper
- Colored pencil (optional, for a subtle aged look)
Here are my RECOMMENDED Art Supplies!
- Crayola Coloring Set (140 Pieces – Mega Value!)
- 24 Colored Crayon Set
- A4 Printer Paper
- Crayola Coloring Pencils
- HP Home Printer with Instant Ink!
Time needed:
21 minutes.
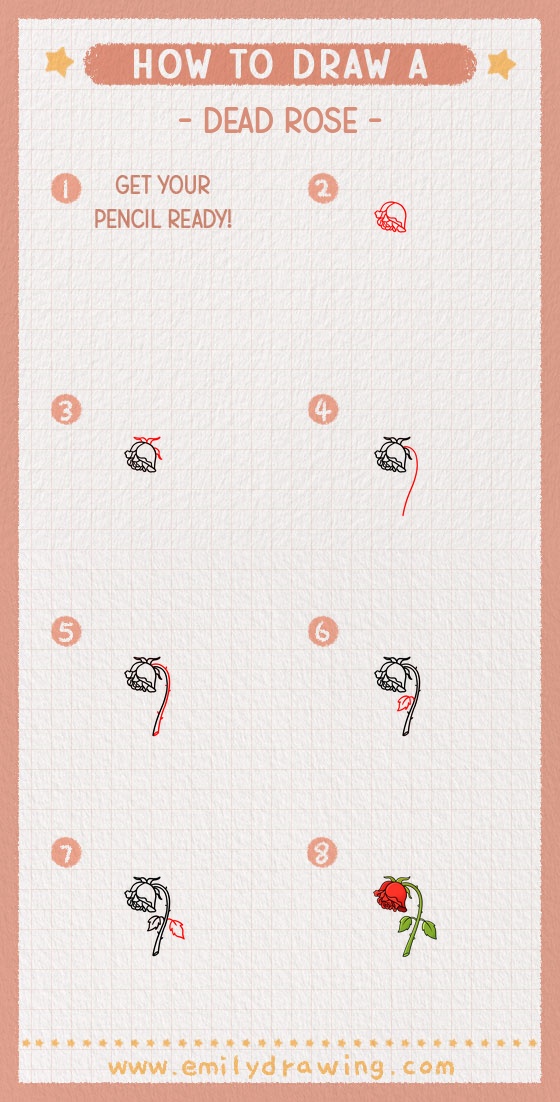
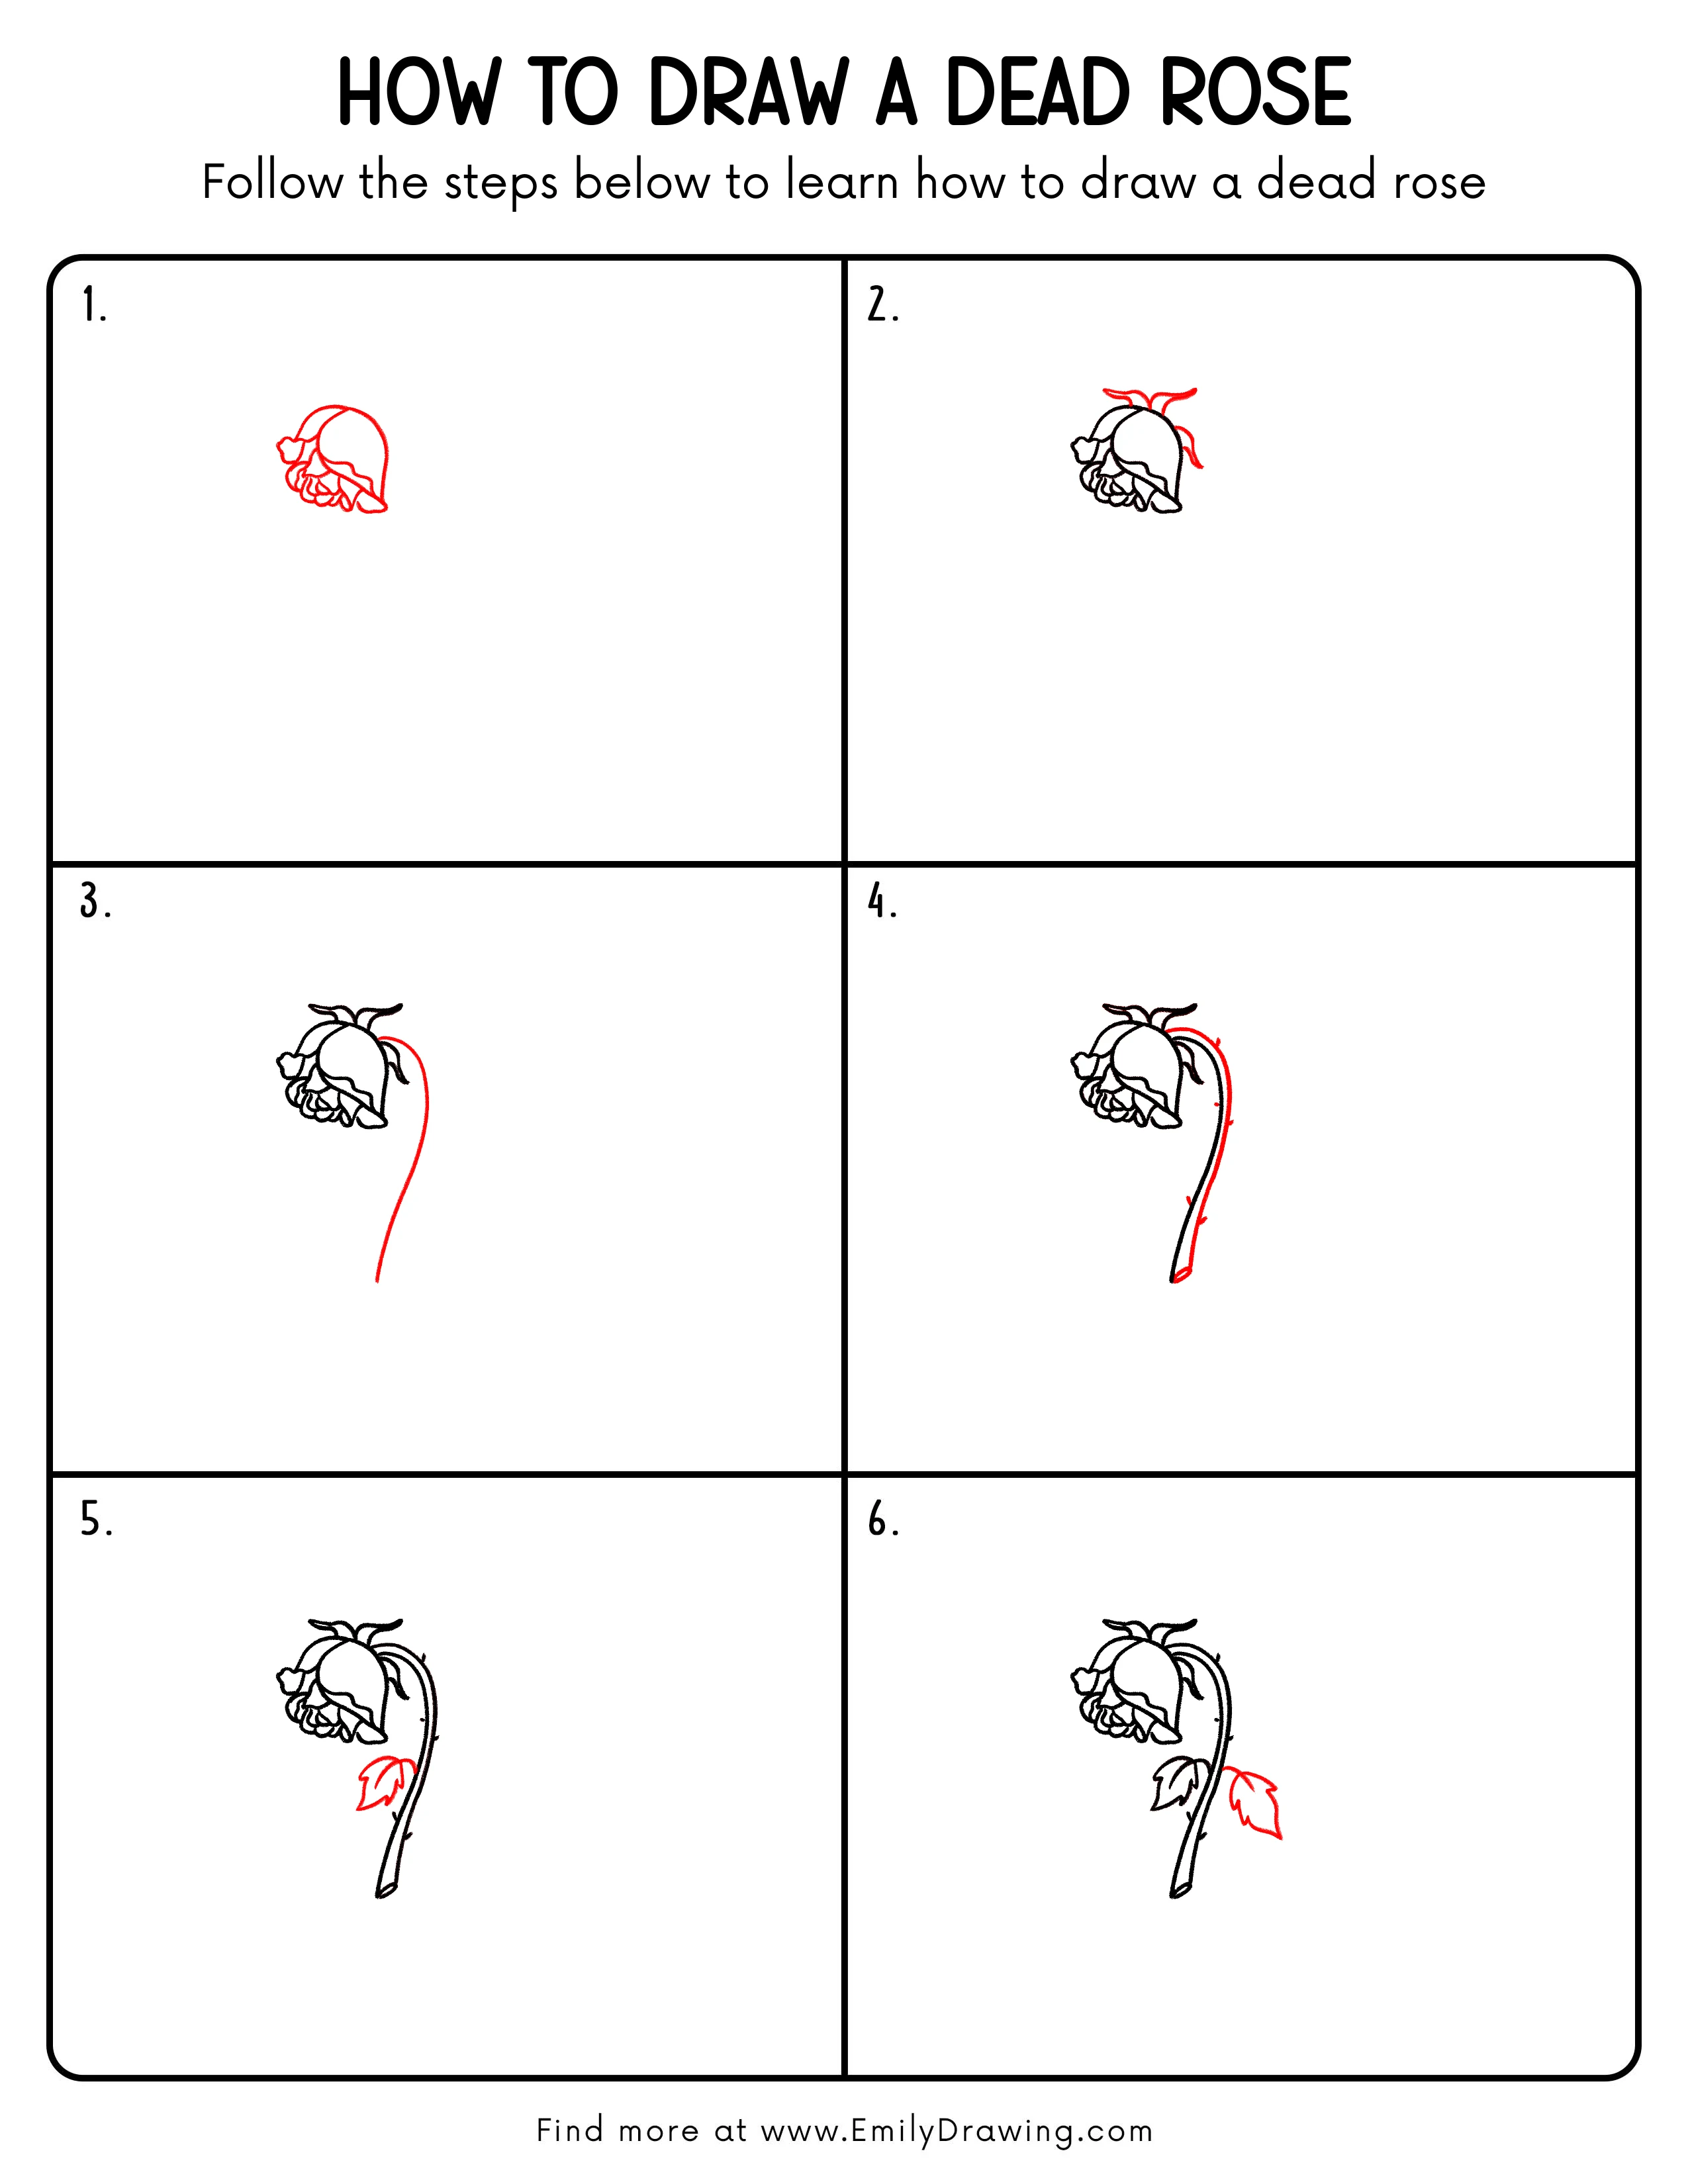
Step-by-Step Drawing Guide
Step 1: Outline the Drooping Rose Bud
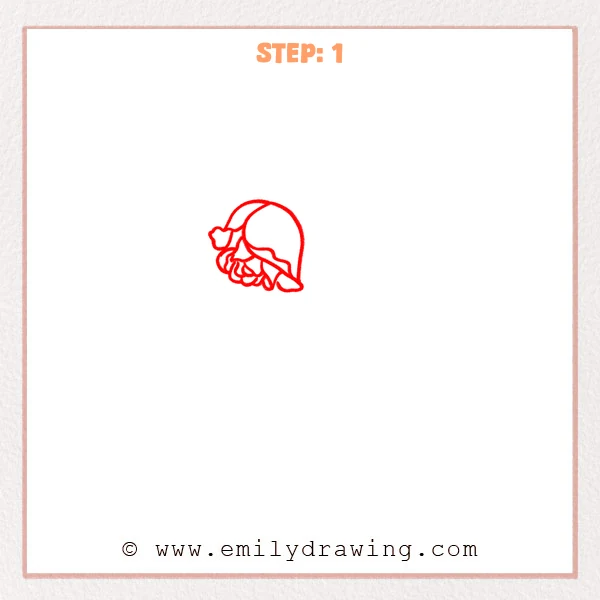
Start with a tall, curved outer shape to form the drooping bud, leaving the bottom open for now.
Add a small side bump on the left, then sketch a few curved lines to show petals folding downward.
Keep the petal lines soft and flowing, not sharp.
Pro Tip: Keep the outer silhouette smooth first, then add the inner folds slowly.
Step 2: Add Withered Sepals and a Back Petal
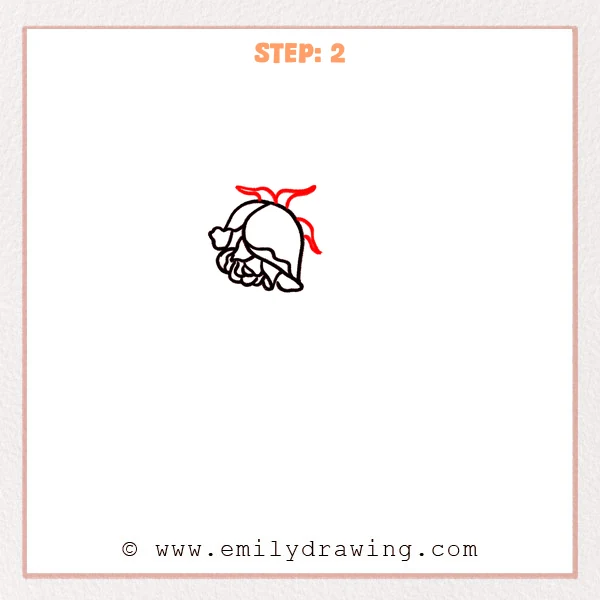
Draw two thin, pointed sepals on top that curl outward, using long curved shapes.
Add a drooping ribbon-like petal (or dried leaf) behind the right side to show it peeling away.
This makes the bud look older and more fragile.
Pro Tip: Keep the top sepals thin and sharp, and tilt them outward to feel “withered.”
Step 3: Draw the Long, Drooping Stem
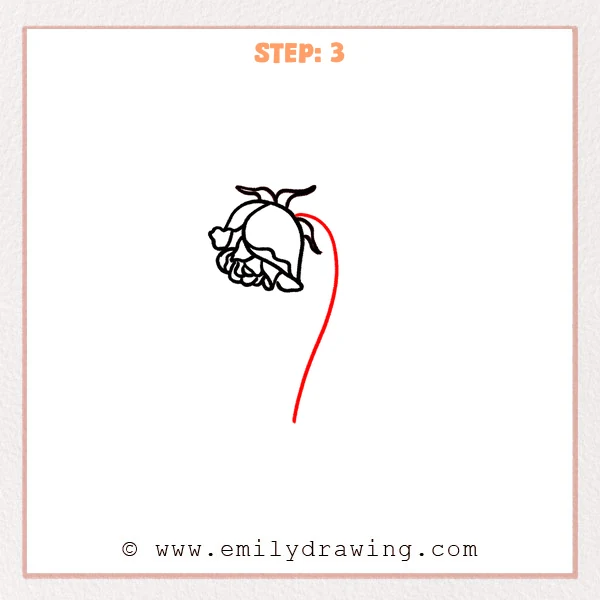
Pull a long curved line downward from the right side where the bud attaches to form the stem.
Let the curve shift slightly in the middle and taper at the end to feel thin and tired.
Aim for a gentle, natural bend rather than a stiff arc.
Pro Tip: Avoid a straight stem; a gentle curve looks more naturally drooped.
Step 4: Thicken the Stem and Add Small Thorns
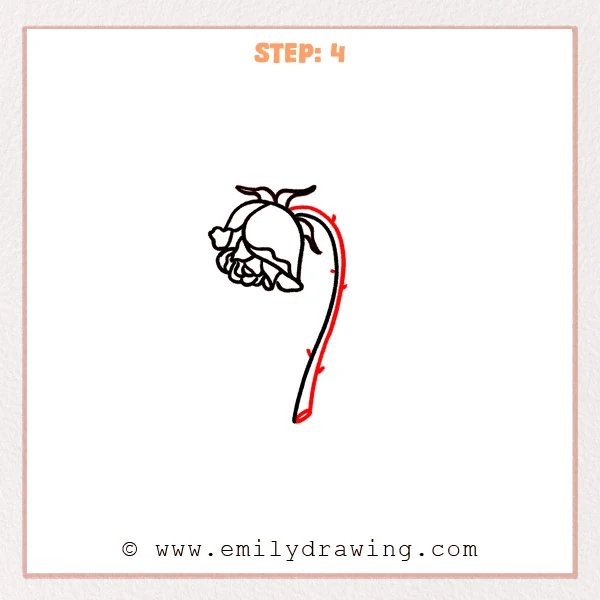
Draw a second, parallel curved line along the stem to give it thickness.
Add a few tiny triangles or short hooks as thorns, then finish with a slanted cut at the bottom.
Place thorns sparingly so the stem still looks clean and readable.
Pro Tip: Keep the gap between stem lines steady, and make thorns similar in size.
Step 5: Add a Withered Leaf
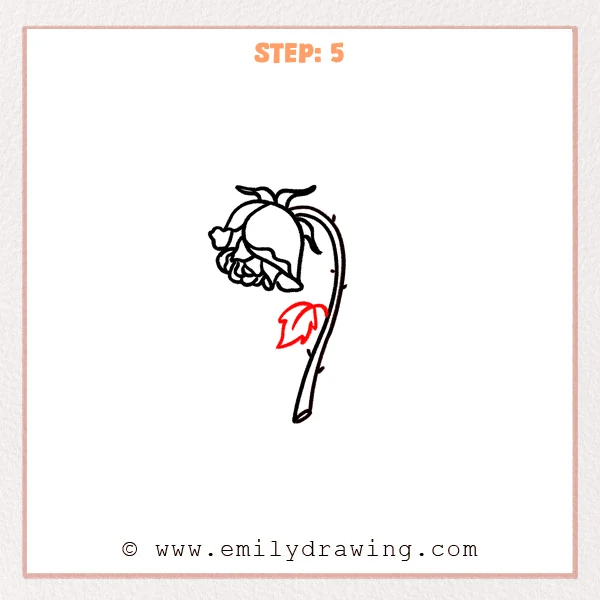
Add a drooping leaf on the middle of the stem by drawing a curved leaf outline with a slightly pointed tip.
Draw one main vein down the center, then add a few short angled side veins for a dried look.
Let the leaf hang downward to match the tired mood of the flower.
Pro Tip: Make the leaf edge a little uneven, but don’t overdo the jaggedness.
Step 6: Add a Second Withered Leaf on the Right
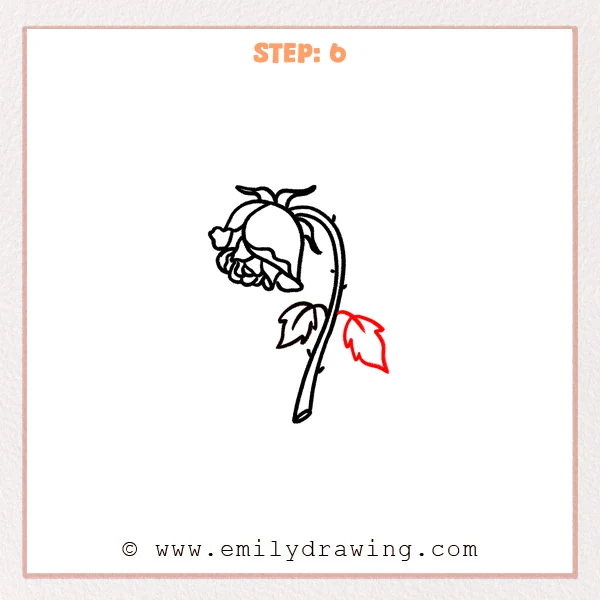
Draw a second drooping leaf on the right side of the stem, slightly larger and hanging outward.
Add the center vein and a few short side veins to match the dried look of the first leaf.
Varying the leaf angles helps the dead rose feel more natural.
Pro Tip: Don’t match both leaves’ angles; one left and one right feels natural.
Step 7: Color in your drawing!
Fun Facts
- Roses droop as they lose water, because the stem and petals soften over time.
- Sepals are the small leaf-like parts that protect a bud before it opens.
- A “withered” look often comes from curling edges and uneven, tired shapes.
Pin it now, Draw later!
Erase any extra sketch lines and choose one clean outline for each edge.
If you want more realism, add a few tiny cracks or light wrinkles on the leaves and petals.
You have now completed a step by step drawing of a dead rose—try drawing a second one with a different bend to practice.
Get the FREE Printable Drawing Guide
FREE Download Printable Dead Rose Drawing Tutorial
Frequently Asked Questions
How do I make the dead rose look more wilted?
Make the petals curl more, and let the stem bend a little deeper.
Adding a few small wrinkles inside petals also helps.
What if my stem curve looks stiff?
Redraw it with one long, smooth motion and avoid sharp corners.
You can lightly sketch the curve first, then trace the best line.
Can I color this drawing?
Yes—use muted reds, browns, and soft greens for an aged look.
Keep the colors light so the drawing still feels delicate.