
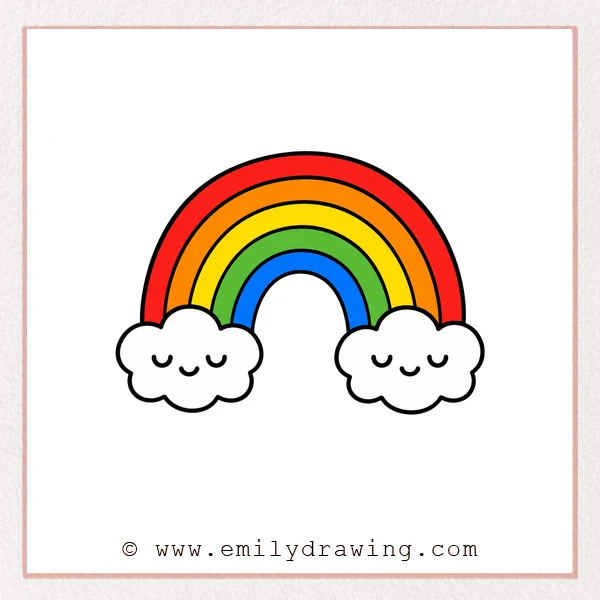
Learning how to draw rainbow shapes is a cheerful way to practice smooth curves. This easy drawing tutorial uses simple arches and soft cloud shapes. Take your time, and enjoy building each part step by step.
What You Will Need
- Pencil
- Eraser
- Black marker or crayon
- Coloring tools
- Drawing paper
Here are my RECOMMENDED Art Supplies!
- Crayola Coloring Set (140 Pieces – Mega Value!)
- 24 Colored Crayon Set
- A4 Printer Paper
- Crayola Coloring Pencils
- HP Home Printer with Instant Ink!
Time needed:
26 minutes.
Step-by-Step Drawing Guide
Step 1: Draw the Rainbow’s Outer Arch
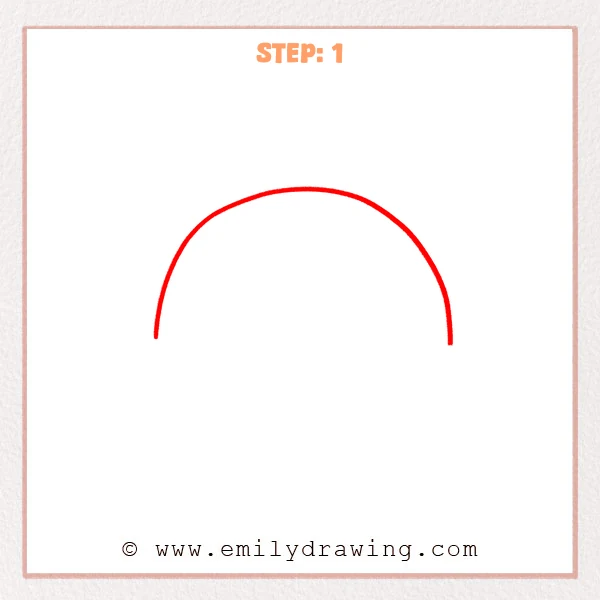
Start from the lower left area and draw one wide half-circle curve. Let the curve rise smoothly across the top and come down on the lower right. This will become the rainbow’s outer outline.
Pro Tip: Keep both ends at a similar height so the rainbow looks balanced.
Step 2: Add the Inner Arch
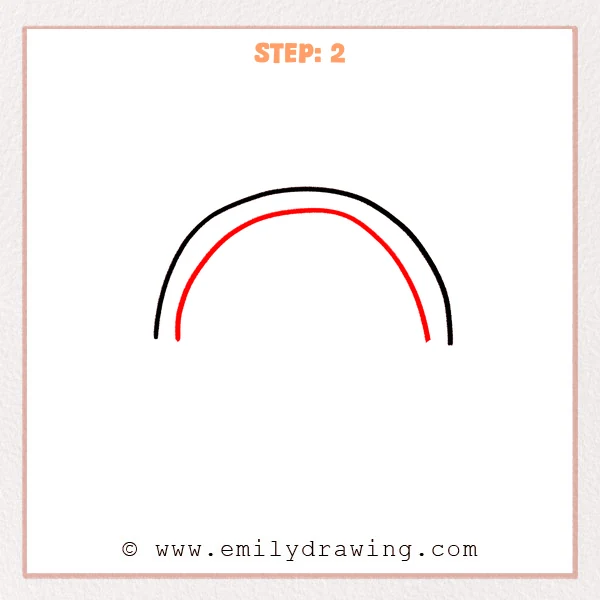
Draw a smaller parallel curve below the outer arch. Let it follow the same direction as the first curve. Leave an even space between the two ends.
Pro Tip: Keep the space between the two curves even so the rainbow band looks neat.
Step 3: Draw Another Inner Arch
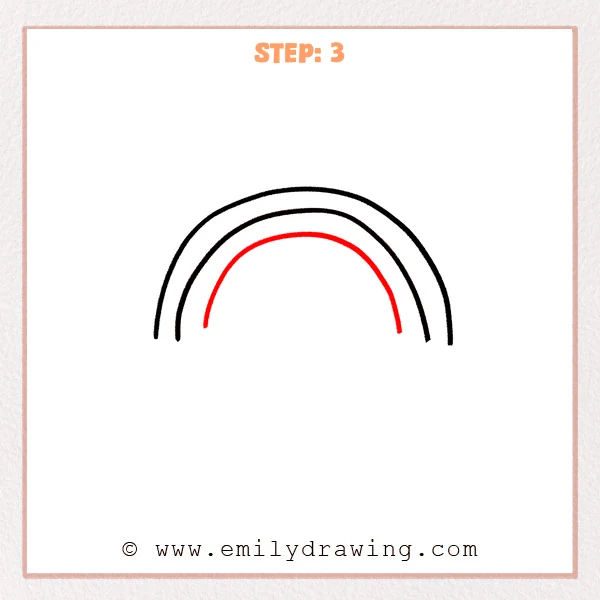
Add one smaller parallel curve below the previous arch. Keep the same rounded curve to create the next rainbow band edge. This helps the rainbow look layered and clear.
Pro Tip: Leave a similar gap between each curve so the rainbow layers stay clear.
Step 4: Complete the Inner Rainbow Layers
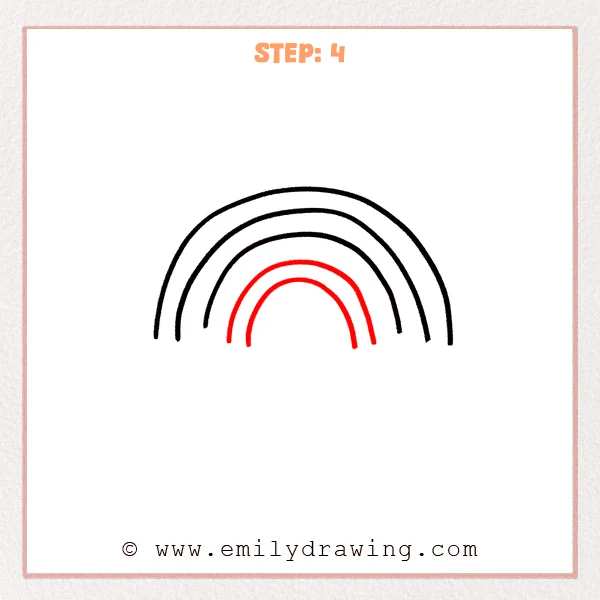
Add two smaller curves near the center. Let them shrink inward one by one. These lines form clear, complete rainbow bands.
Pro Tip: The inner curves can be a little shorter so the full shape feels more natural.
Step 5: Add the Left Cloud
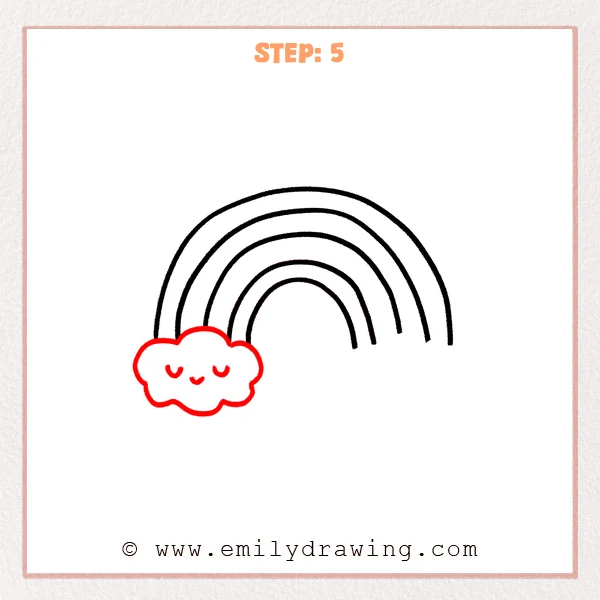
Draw a puffy cloud below the left end of the rainbow. Use connected small curves for the cloud shape. Add three short curved lines for cute smiling details.
Pro Tip: Let the cloud slightly cover the rainbow’s left end to create more depth.
Step 6: Add the Right Cloud
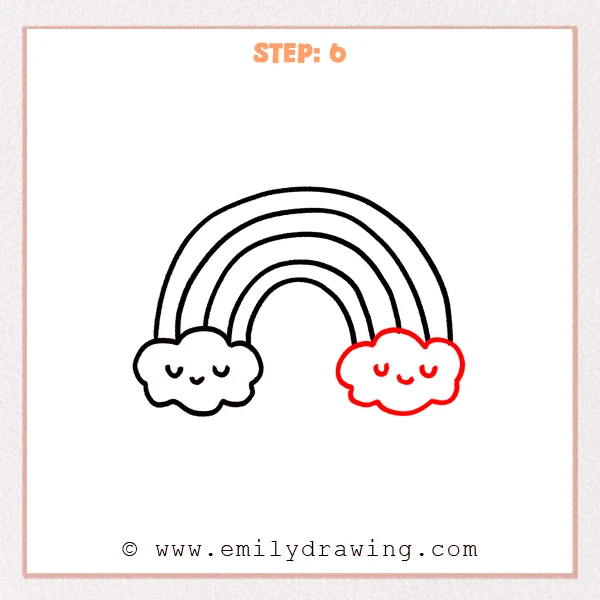
Draw a second puffy cloud below the right end of the rainbow. Make it similar in size to the left cloud. Add three short curved lines for cute smiling details.
Pro Tip: Keep both clouds at a similar height so the rainbow looks more steady.
Step 7: Color in your drawing!
Fun Facts
- Rainbows appear when sunlight passes through water droplets in the air.
- A rainbow usually shows red on the outside and violet on the inside.
- Many artists use rainbows to show joy, hope, and bright weather.
Pin it now, Draw later!
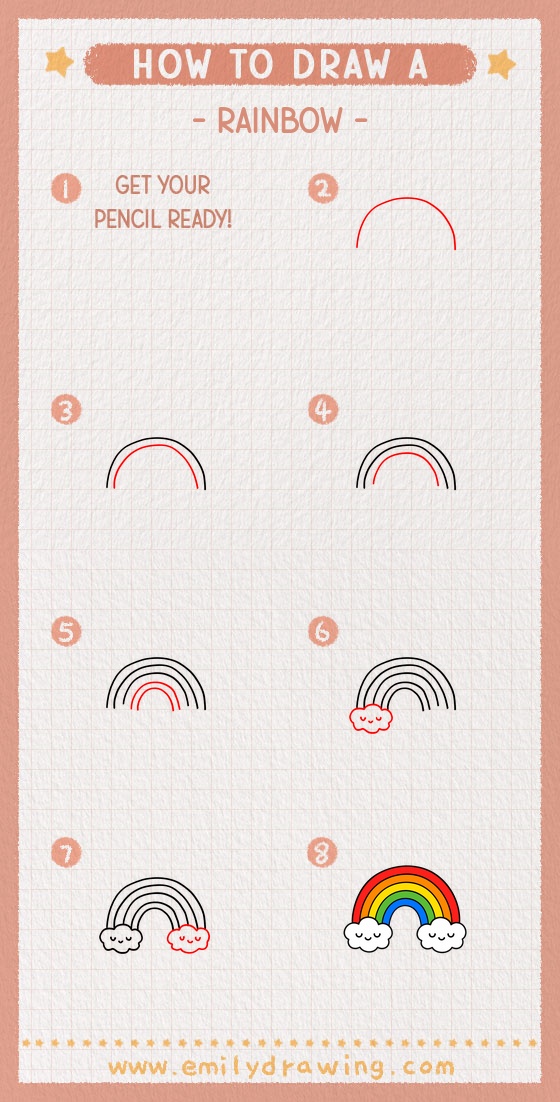
Now your rainbow drawing has smooth arches and two happy clouds. Trace the final lines with a marker, then erase any extra pencil marks. Color each band gently, and try this drawing for beginners again with different cloud faces.
Keep practicing your step by step drawing, and share your finished rainbow with someone who likes cheerful art.
Get the FREE Printable Drawing Guide
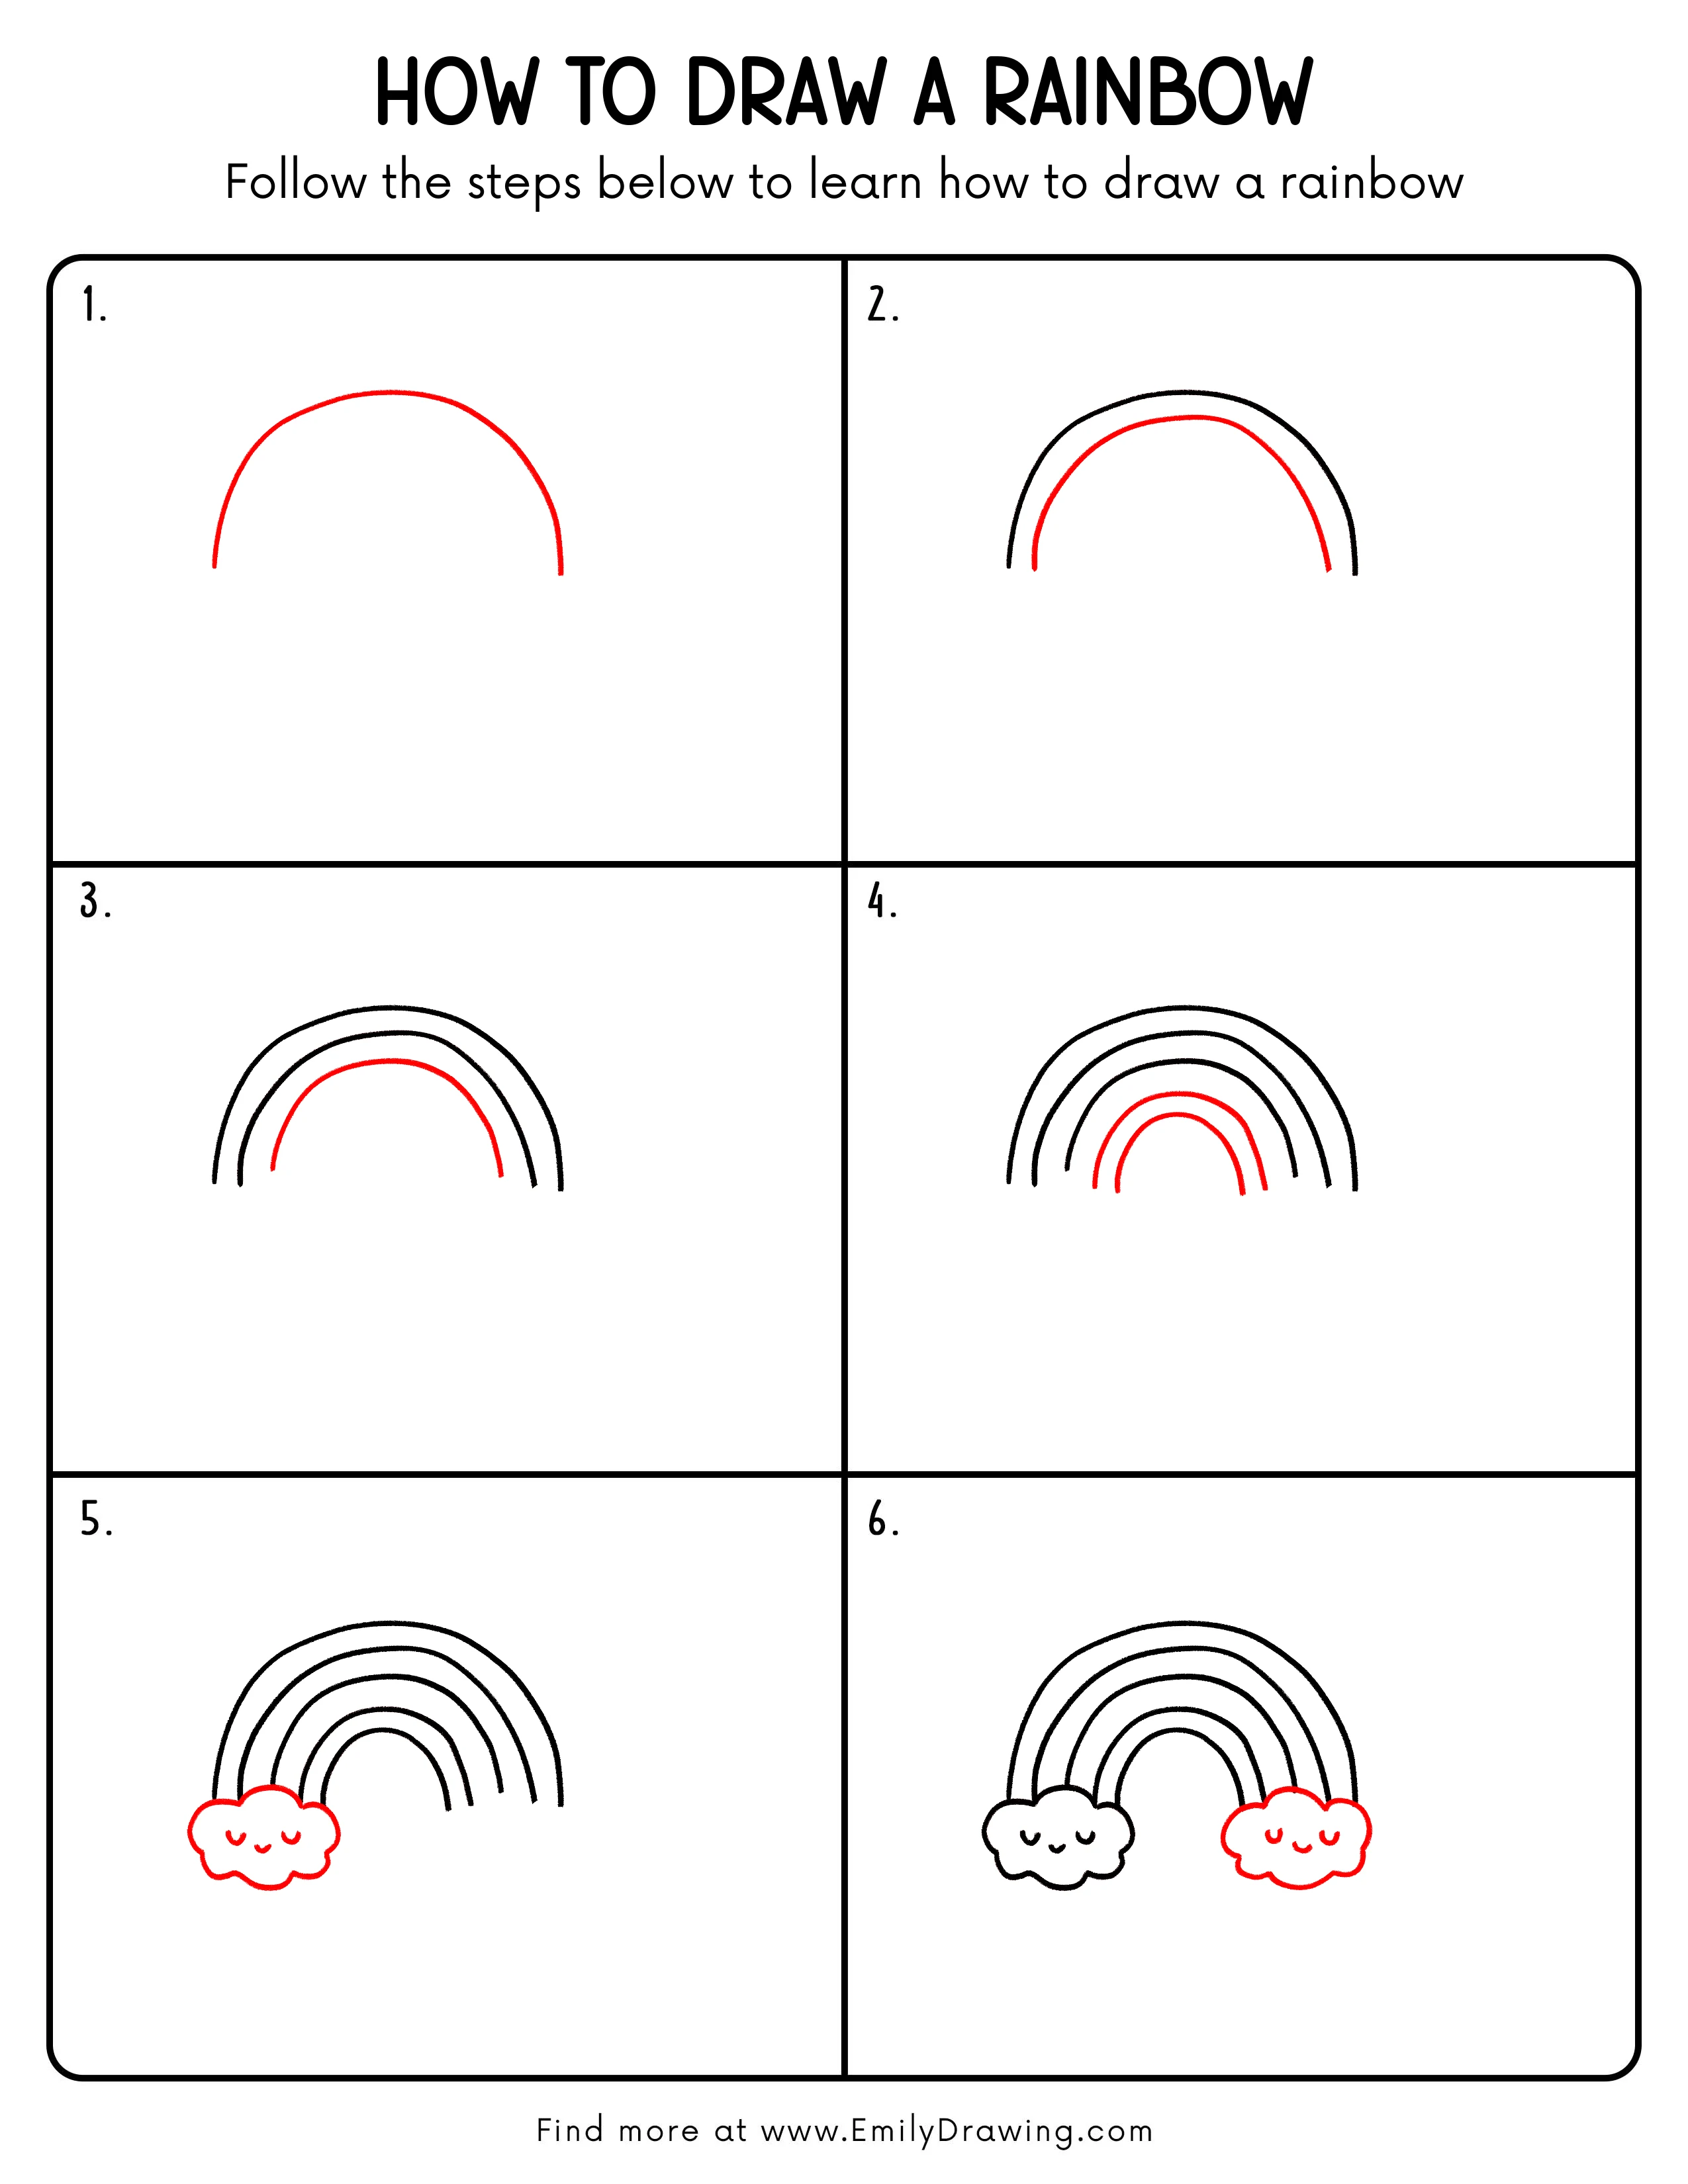
FREE Download Printable Rainbow Drawing Tutorial
Frequently Asked Questions
How many bands should a rainbow drawing have?
This tutorial uses several simple bands, but you can add more if there is enough space.
What colors should I use for a rainbow?
You can use red, orange, yellow, green, blue, indigo, and violet. Younger artists can also use any bright colors they enjoy.
Is this rainbow drawing good for beginners?
Yes, this easy drawing tutorial is great for beginners because it uses basic curves and rounded cloud shapes.



