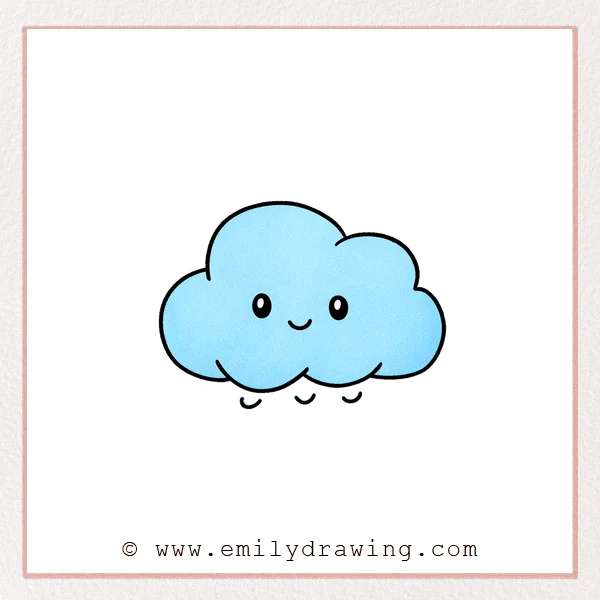
This easy drawing tutorial shows how to draw a cute cloud step by step with simple curves. If you are looking for drawing for beginners, this cloud is a calm, friendly place to start.
What You Will Need
- Pencil
- Eraser
- Black pen or marker (optional)
- Paper
- Coloring tools (crayons, colored pencils, or markers)
Here are my RECOMMENDED Art Supplies!
- Crayola Coloring Set (140 Pieces – Mega Value!)
- 24 Colored Crayon Set
- A4 Printer Paper
- Crayola Coloring Pencils
- HP Home Printer with Instant Ink!
Time needed:
13 minutes.
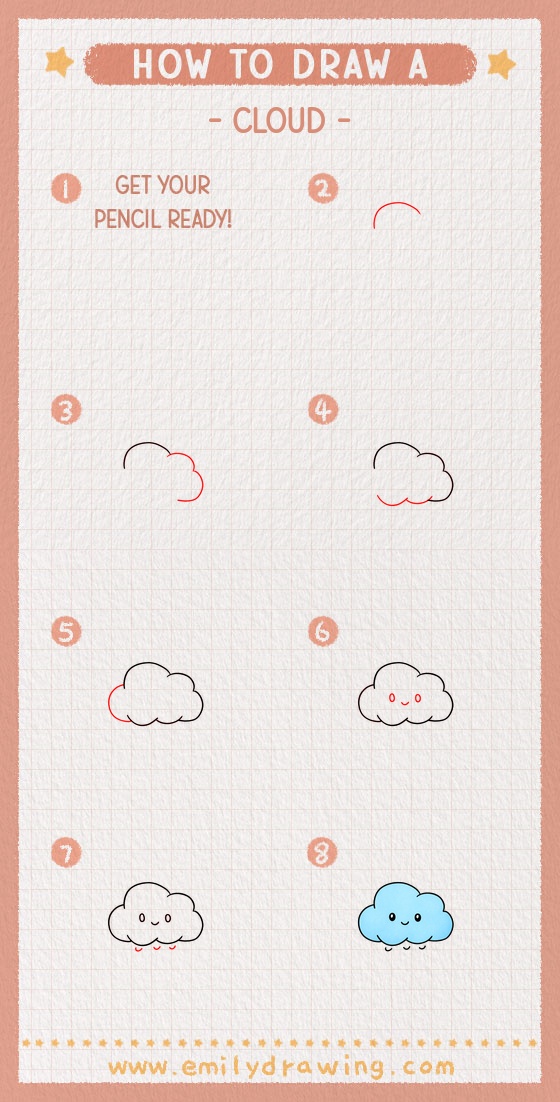
Step-by-Step Drawing Guide
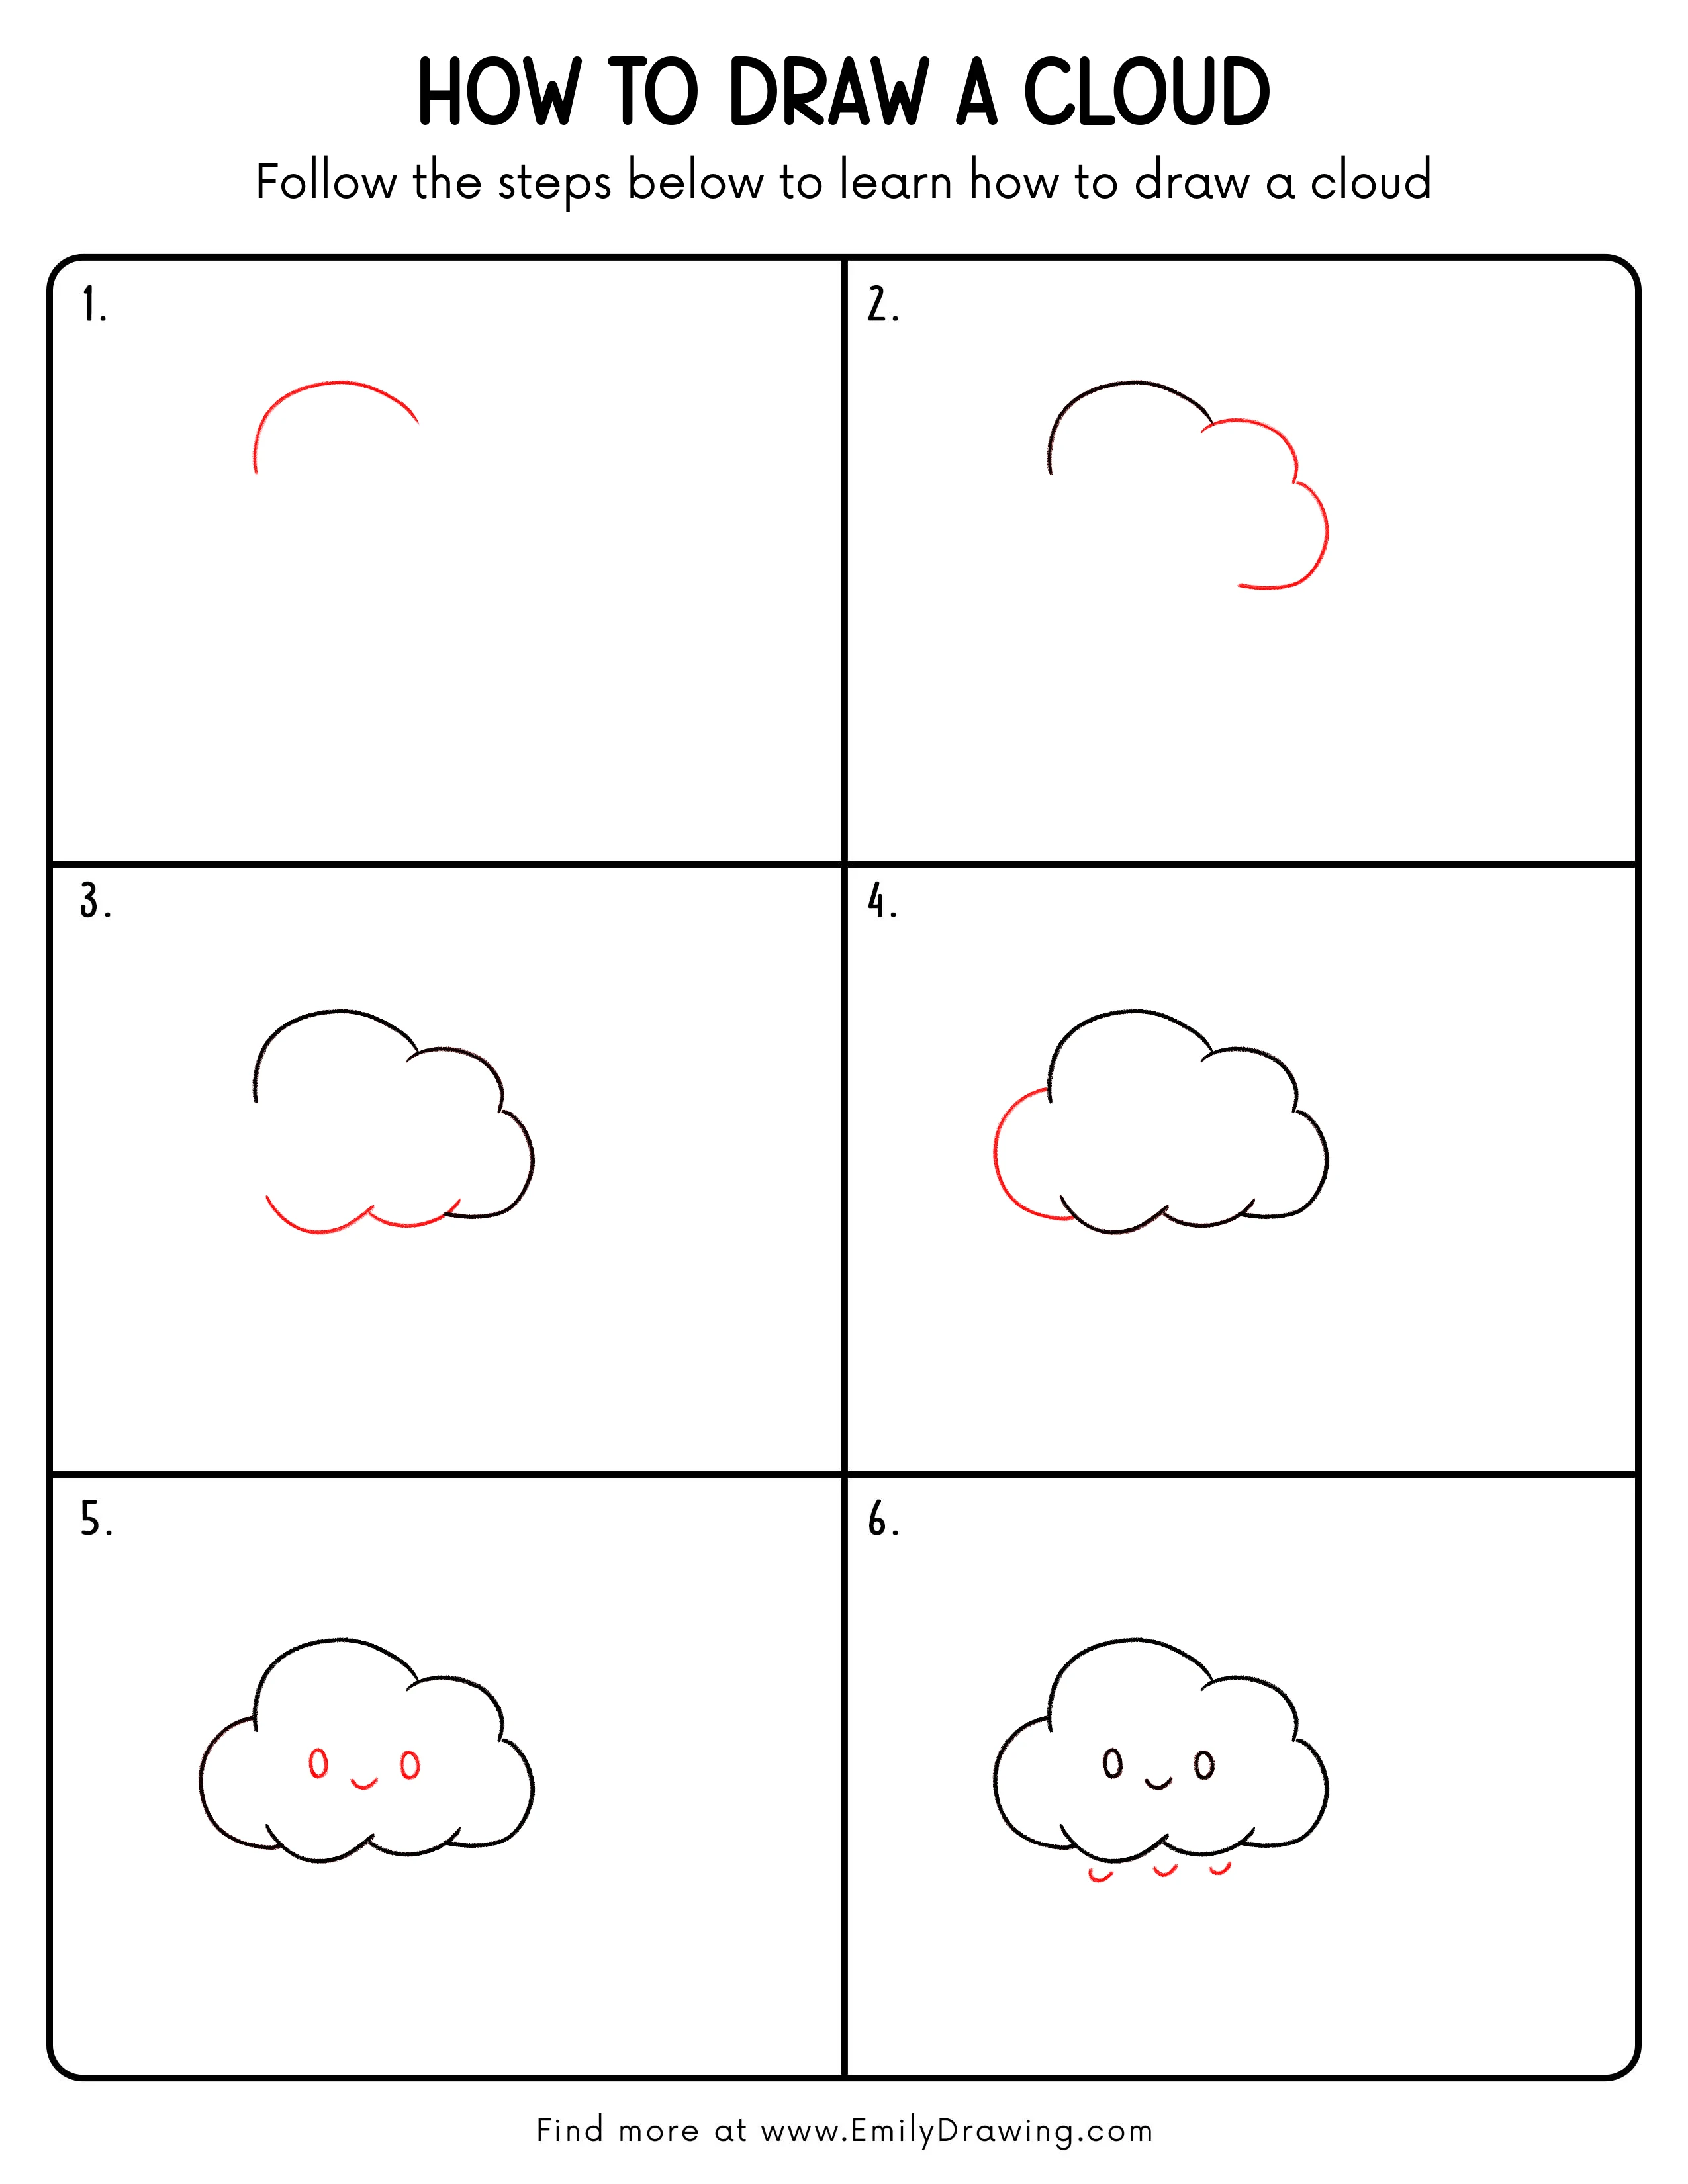
Step 1: Draw the Top Arc of the Cloud
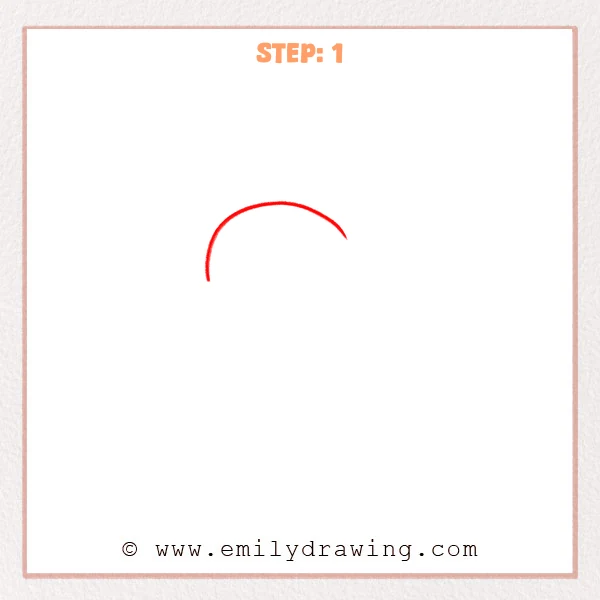
Start with a long, gentle arc near the upper half of your page, like an upside-down smile. Let both ends taper softly, and keep the shape open for now.
Pro Tip: Keep the arc relaxed and rounded, not sharp or too straight.
Step 2: Add the Puffy Bumps on the Right Side
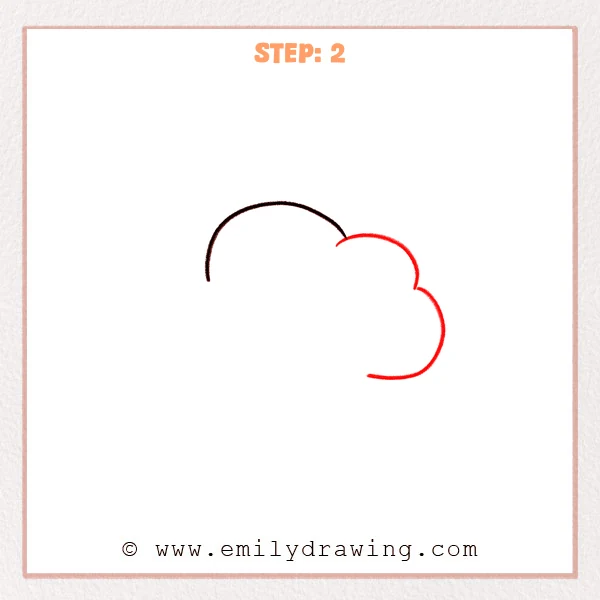
From the right end of the top arc, add a small rounded bump, then stack two or three larger bumps going downward. Leave a small gap near the bottom so the cloud stays open for now.
Pro Tip: Vary the bump sizes a little to make the cloud feel fluffy.
Step 3: Add the Bottom Curves and Close the Shape
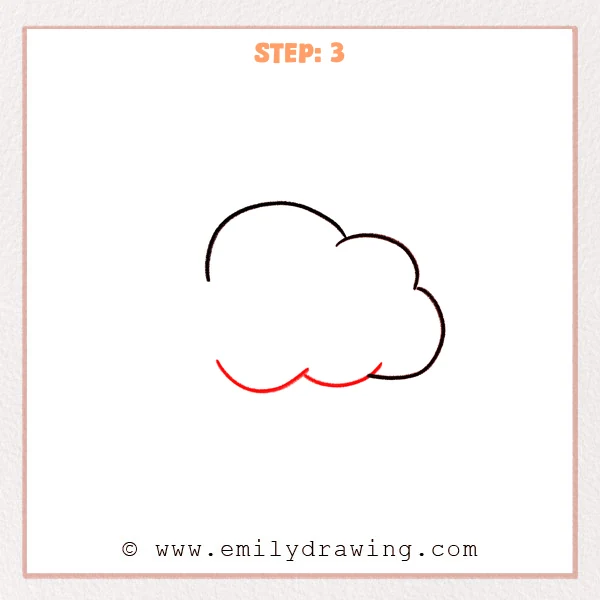
Along the bottom, add two or three rounded arcs to connect the open gap. Finish with a short curve on the left to close the outline and complete the cloud shape.
Pro Tip: Keep the bottom curves smooth so the joins do not look pointy.
Step 4: Add a Big Left Puff to Make the Cloud Fuller
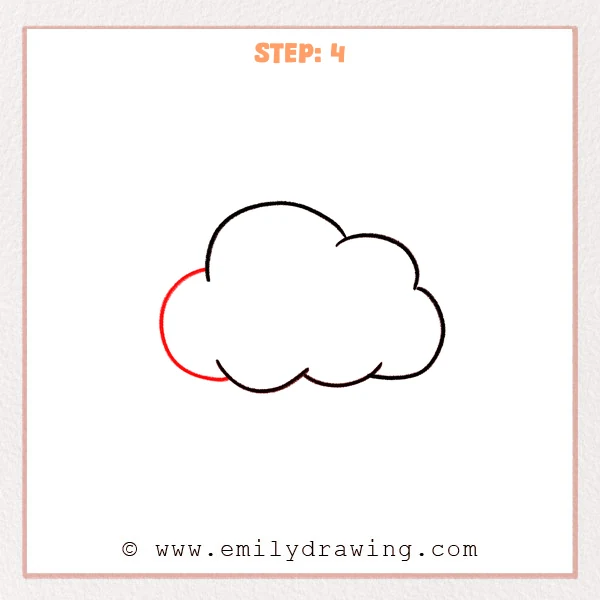
On the left side, add one large outer curve that sweeps down to form a rounded side. Let it meet the bottom line softly so the cloud feels extra puffy and balanced.
Pro Tip: Make the left puff slightly larger to keep the cloud looking fluffy.
Step 5: Add a Cute Face
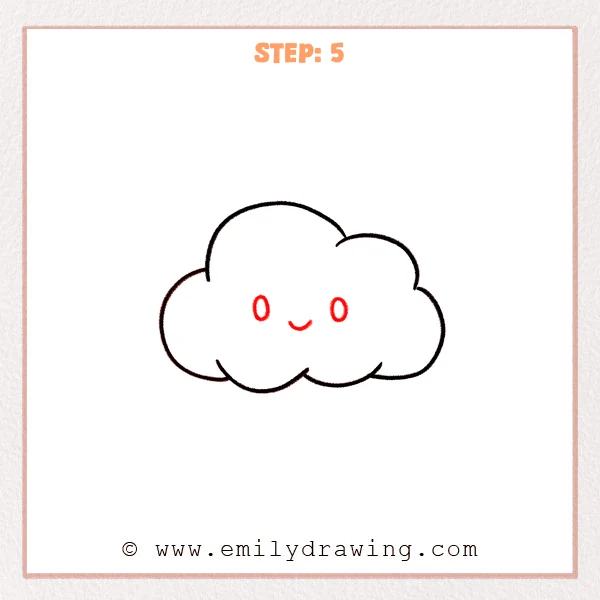
Inside the cloud, draw two small oval eyes, one on each side, at the same height. Then add a tiny curved smile below and between them, keeping it gentle and simple.
Pro Tip: Use an imaginary center line so both eyes sit evenly on each side.
Step 6: Add Small Raindrops Under the Cloud
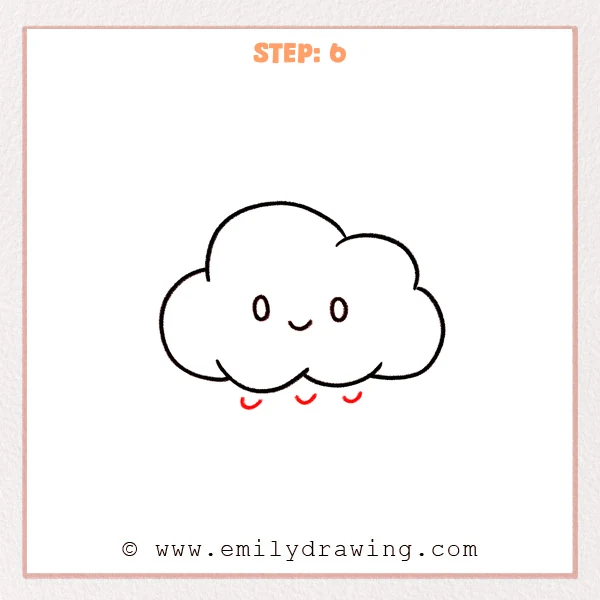
Below the bottom of the cloud, draw three tiny “U”-shaped curves to suggest raindrops. Space them out a little so the drizzle looks neat and playful.
Pro Tip: Keep each raindrop short and rounded, and similar in size.
Step 7: Color in your drawing!
Fun Facts
- Clouds look fluffy, but they are made of tiny water droplets or ice crystals.
- Different cloud shapes can hint at different weather patterns.
- A cloud can stretch for many miles, even when it looks small.
Pin it now, Draw later!
You now have a sweet cloud drawing with a friendly face and gentle raindrops. If you want more depth, try coloring the cloud a very light gray or pale blue and leave a small white highlight along the top curves. Add soft shading under the bottom bumps to make it feel round and puffy.
A common beginner mistake is making the bumps too pointy, so keep every curve smooth and calm. Take your time, try drawing a second cloud with different bump sizes, and practice this step by step drawing style again. When you feel ready, explore more easy drawing tutorial subjects and keep building your confidence.
Get the FREE Printable Drawing Guide
FREE Download Printable Cloud Drawing Tutorial
Frequently Asked Questions
How do I make my cloud look more fluffy?
Use bumps of slightly different sizes and keep every curve smooth. A larger side puff often makes the shape feel softer.
What if my eyes look uneven?
Lightly mark an imaginary center line first, then place both eyes at the same height. You can erase and redraw small shapes easily.
Can I turn this into a storm cloud?
Yes. Darken the shading, add more raindrops, or draw a few zigzag lightning lines below the cloud.