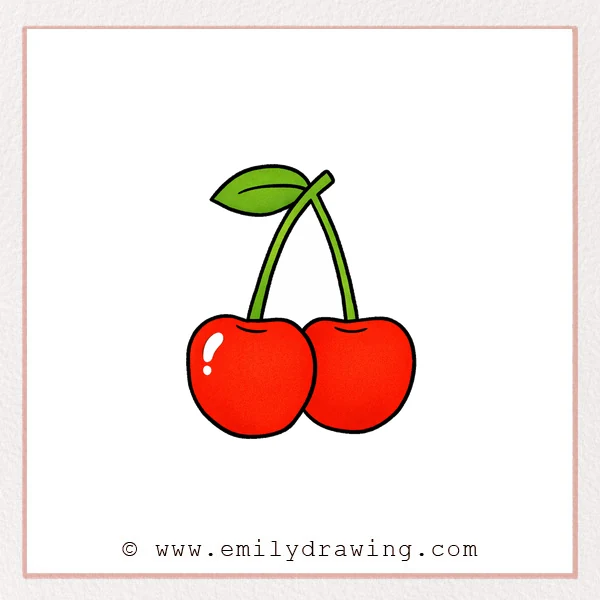
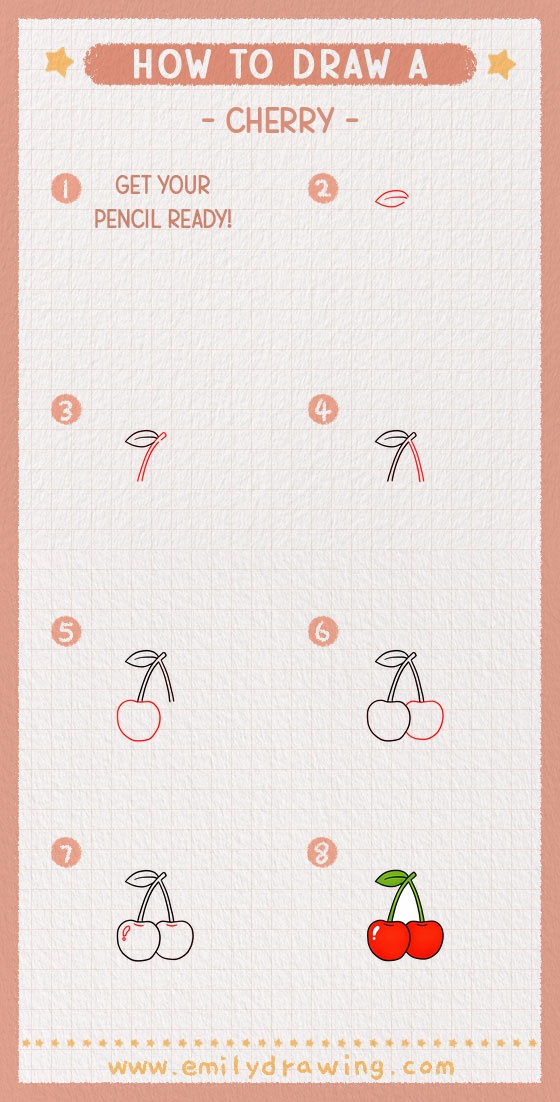
This easy drawing tutorial shows how to draw cherries step by step using simple shapes. You will build a sweet cherry pair with a leaf, stems, and shiny details. It is a calm drawing for beginners, and it works well with pencils or markers.
What You Will Need
- Pencil
- Eraser
- Black pen or marker
- Paper
- Optional: colored pencils or crayons (red, green, brown)
Here are my RECOMMENDED Art Supplies!
- Crayola Coloring Set (140 Pieces – Mega Value!)
- 24 Colored Crayon Set
- A4 Printer Paper
- Crayola Coloring Pencils
- HP Home Printer with Instant Ink!
Time needed:
24 minutes.
Step-by-Step Drawing Guide
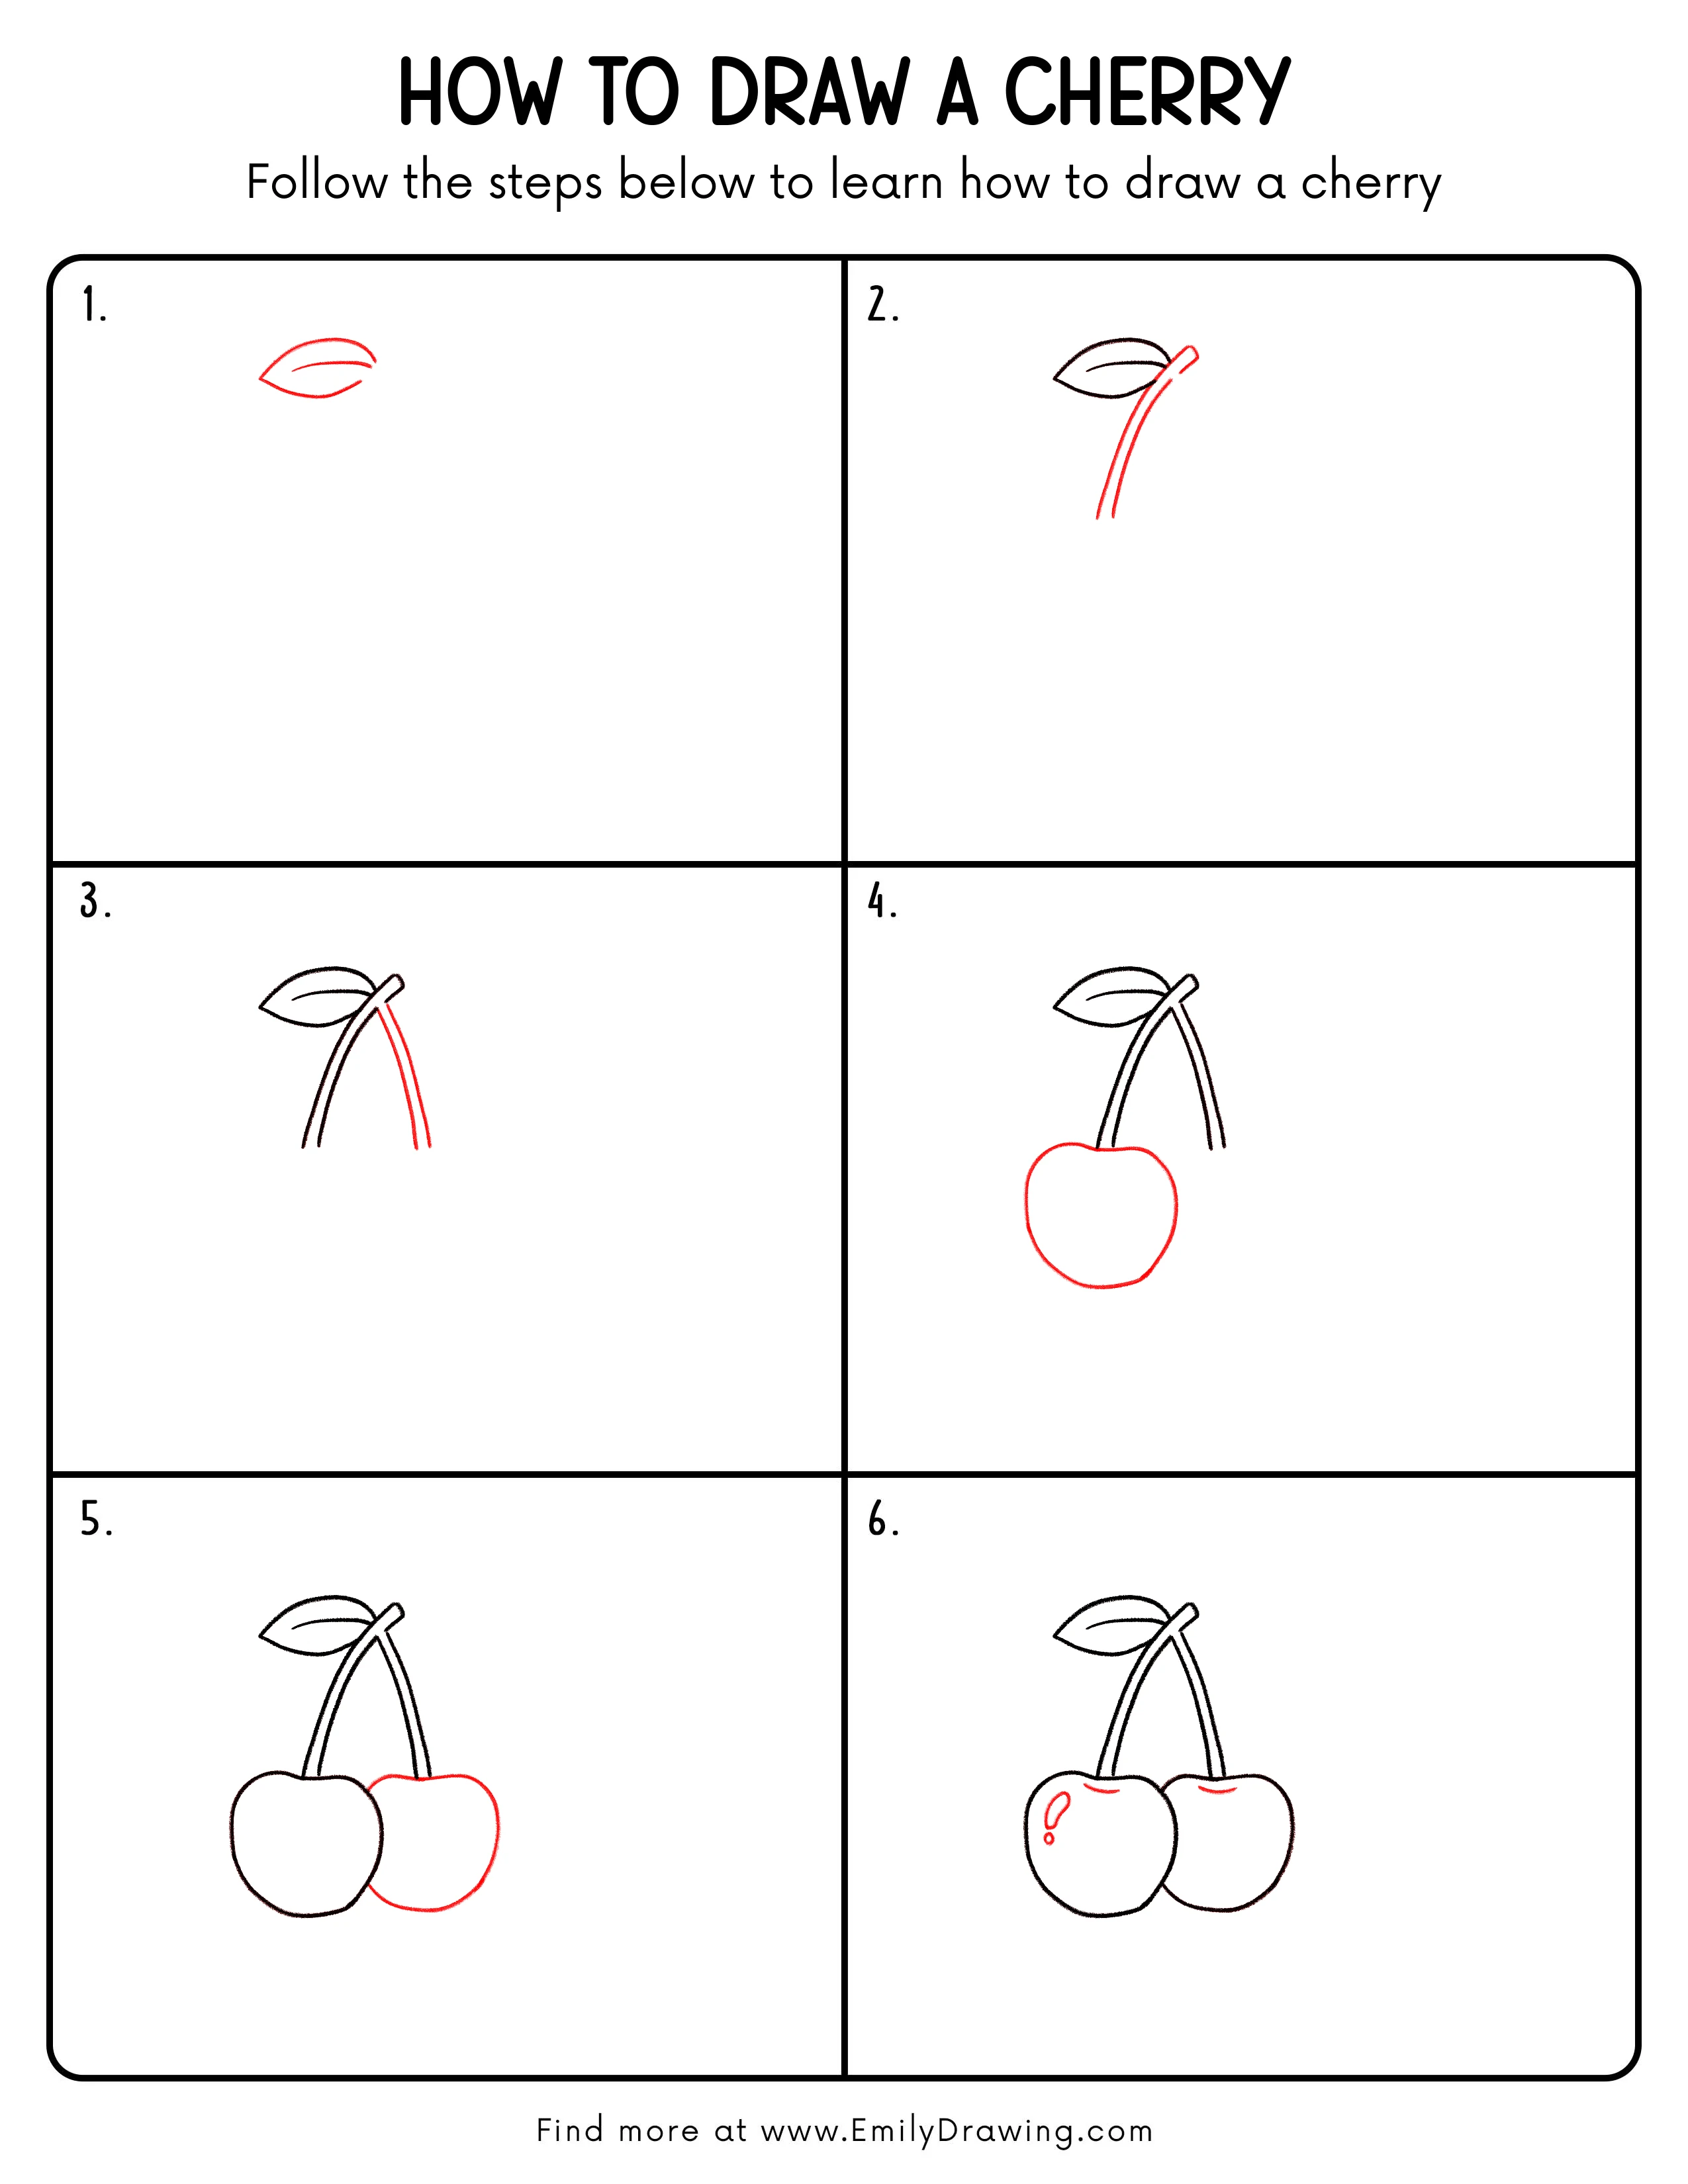
Step 1: Sketch a Small Cherry Leaf Shape
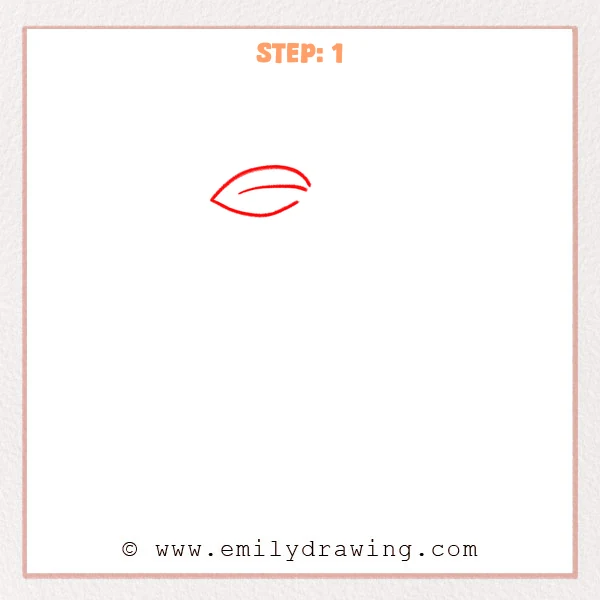
Near the top of your page, start with a slim leaf shape with gently pointed ends. Add one curved vein line inside, following the leaf’s flow.
Pro Tip: Keep the vein line slightly away from the edge for a softer look.
Step 2: Add the Curved Cherry Stem
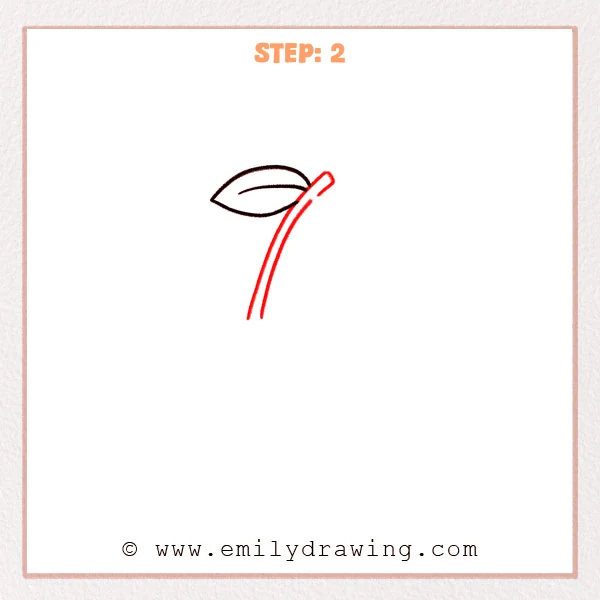
From the leaf’s right connection point, sketch a long, gentle curve going downward for the stem. Add a second line beside it to give the stem thickness, and leave a small flat tip at the top.
Pro Tip: Let the stem taper slightly so it feels more natural.
Step 3: Add the Second Stem to Create a Split

From the same top connection, sketch another stem dropping down toward the right, so the two stems form an upside-down “V.” Draw it with two close lines for thickness, and let the end narrow gently.
Pro Tip: Give the two stems slightly different curves to keep it lively.
Step 4: Draw the First Cherry Fruit Shape
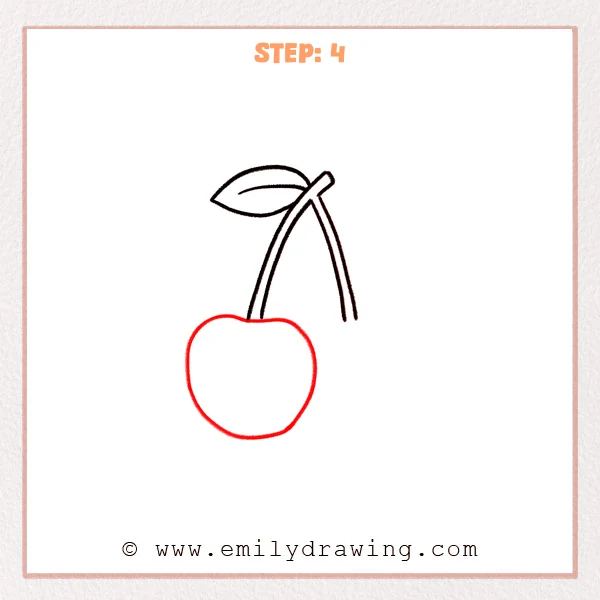
Under the left stem, add a large, rounded cherry shape. Create a small dip at the top where it meets the stem, so it looks naturally attached.
Pro Tip: Don’t make it a perfect circle—slight asymmetry feels more natural.
Step 5: Add the Second Cherry so the Pair Sits Together
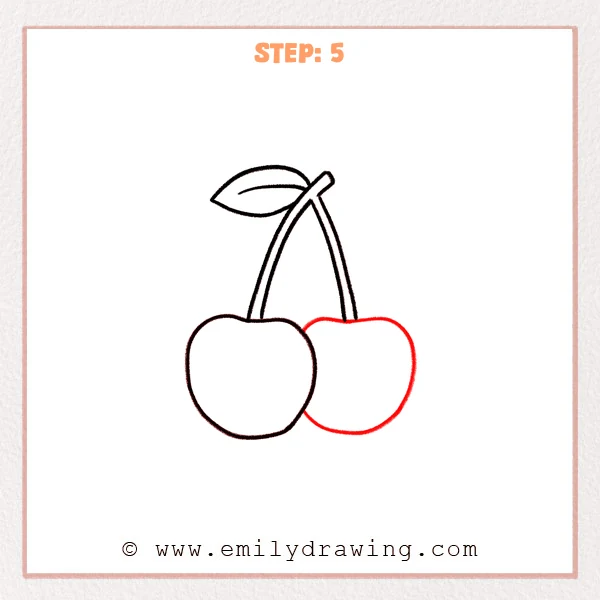
Under the right stem, draw a second rounded cherry that slightly overlaps the first one. Add a small dip at the top aligned with the stem, so the two cherries feel connected as a pair.
Pro Tip: Keep them similar in size, but a tiny difference adds charm.
Step 6: Add Highlights and Small Top Curves
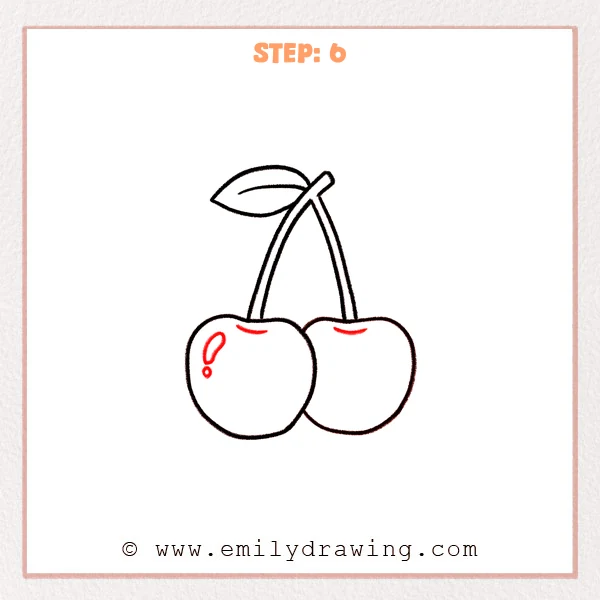
On the upper-left side of the left cherry, add a teardrop-shaped highlight and a small dot nearby to suggest shine. Then draw a short curved line near the top of each cherry to hint at the gentle dip where the stem meets.
Pro Tip: Keep highlights clean and light—thin lines look best.
Step 7: Color in your drawing!
Fun Facts
- Cherries often grow in pairs because two fruits can form from nearby blossoms on the same branch.
- The shine on a cherry comes from its smooth skin reflecting light.
- Cherry trees can be grown for fruit, or for beautiful spring blossoms.
Pin it now, Draw later!
You now have a clear cherry drawing with a leaf, split stems, and two round fruits. For coloring, try a bright red base, then add darker red near the bottom edge for gentle shading. Leave the highlight shapes white, or color lightly around them to keep the cherries looking glossy.
A common beginner mistake is making both cherries perfectly identical, which can look stiff. Take your time and let one cherry be a little wider or lower. Keep practicing this step by step drawing, and try drawing cherries at different sizes next. If you enjoyed this easy drawing tutorial, make another fruit drawing and compare your progress.
Get the FREE Printable Drawing Guide
FREE Download Printable Cherry Drawing Tutorial
Frequently Asked Questions
How do I make the cherries look more 3D?
Shade one side darker and keep the highlight area lighter to show roundness.
What if my stems look too thick or uneven?
Erase and redraw the second line closer, and let the stem narrow near the bottom.
Do I have to outline with a marker?
No, you can keep it as a pencil sketch, or trace only the final lines you like.