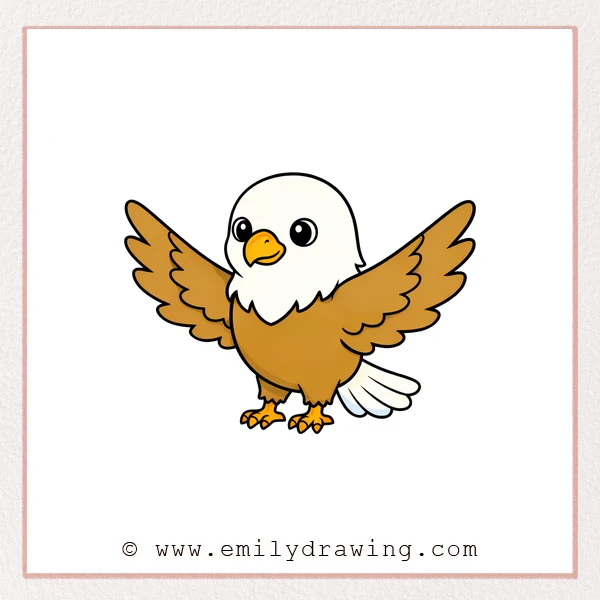
This easy drawing tutorial shows how to draw an eagle in simple shapes.
You will build the head first, then add wings, body, and sharp talons.
Take your time, and keep your lines light until the final step.
What You Will Need
- Pencil
- Eraser
- Black pen or marker (optional)
- Paper
Here are my RECOMMENDED Art Supplies!
- Crayola Coloring Set (140 Pieces – Mega Value!)
- 24 Colored Crayon Set
- A4 Printer Paper
- Crayola Coloring Pencils
- HP Home Printer with Instant Ink!
Time needed:
29 minutes.
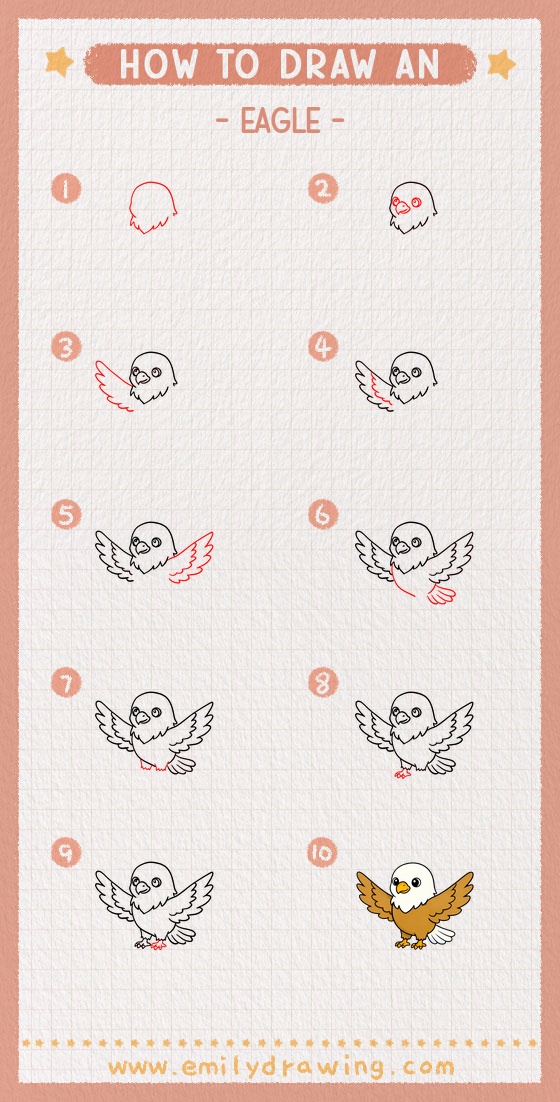
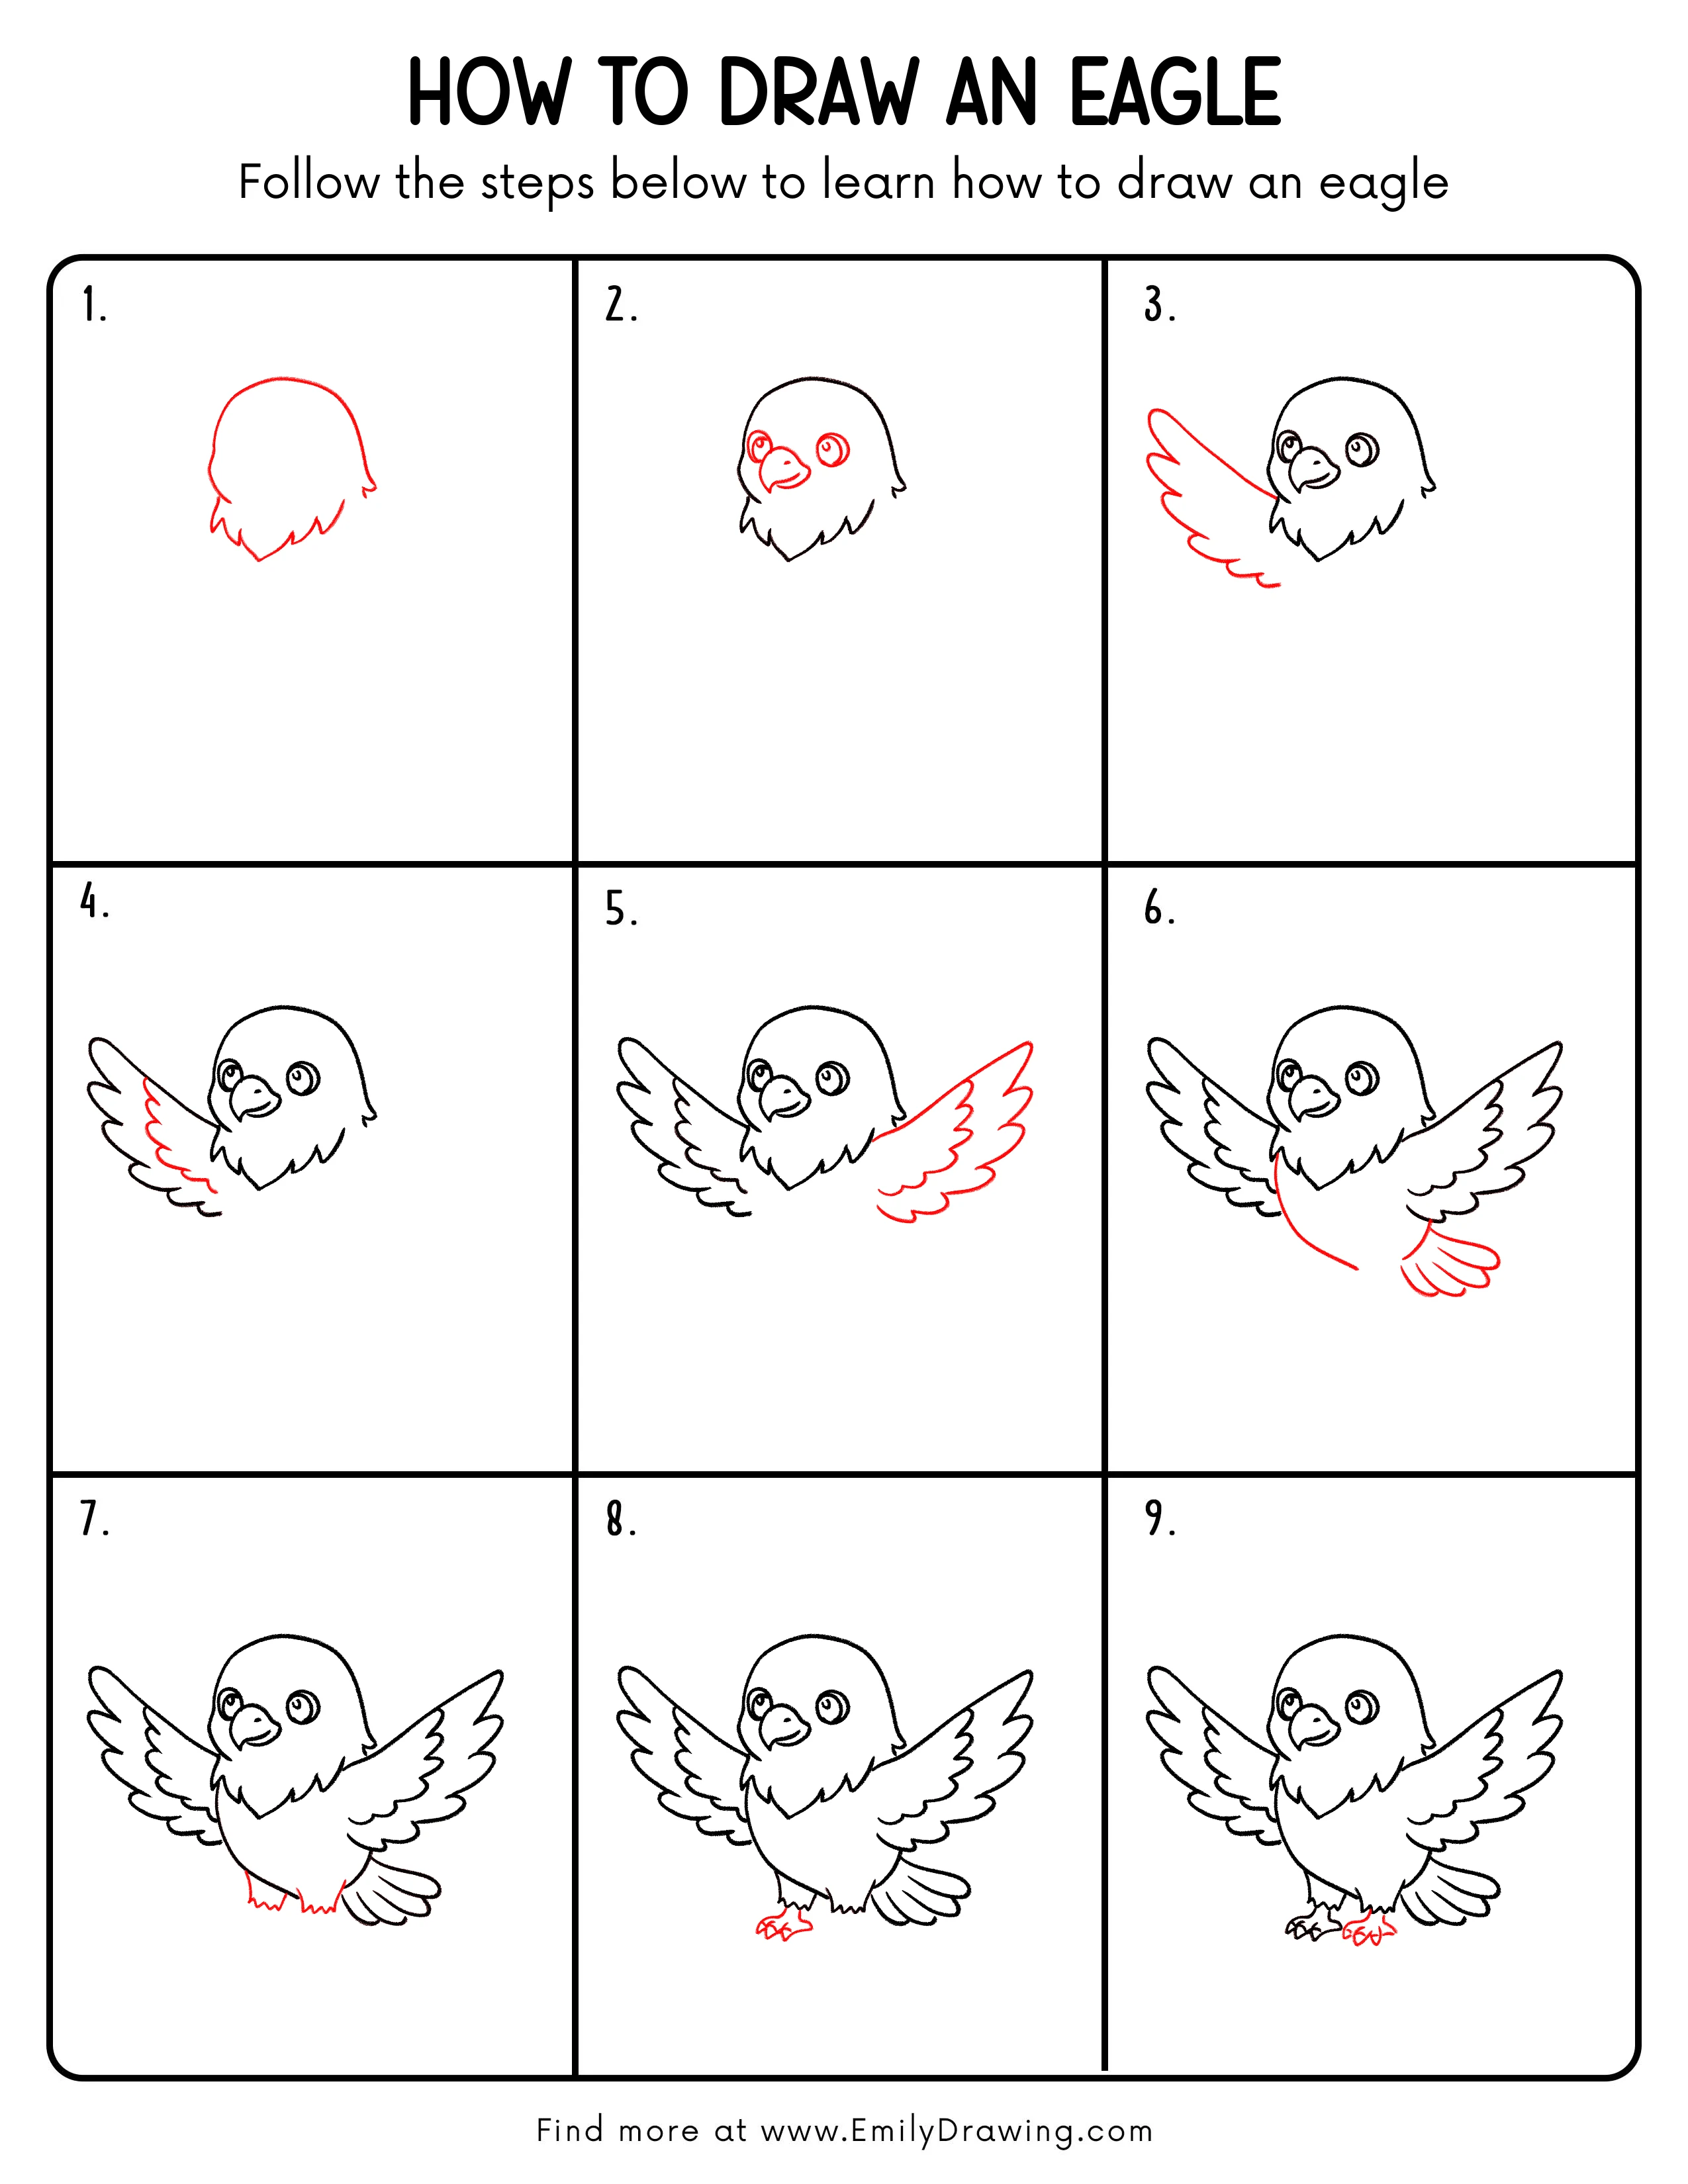
Step-by-Step Drawing Guide
Step 1: Draw the Eagle Head Outline
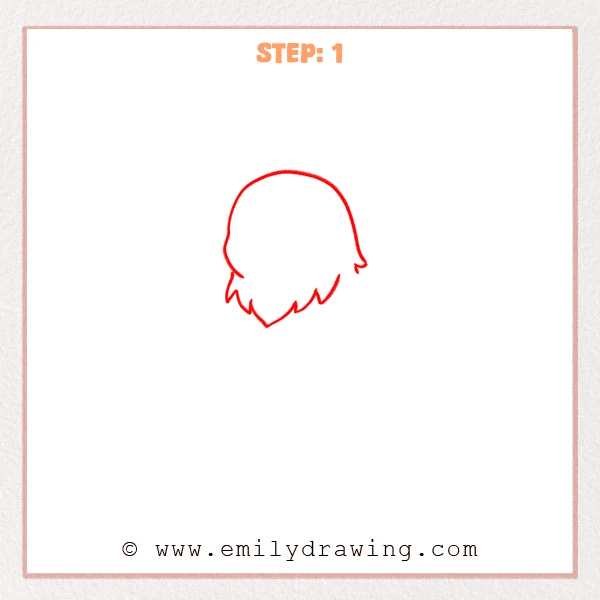
Start with a smooth, rounded head shape that arches gently on top.
Along the bottom, add a row of short, pointed feather tips with small side tufts.
Pro Tip: Vary the size of the feather points to keep the outline natural.
Step 2: Add the Eyes and Beak
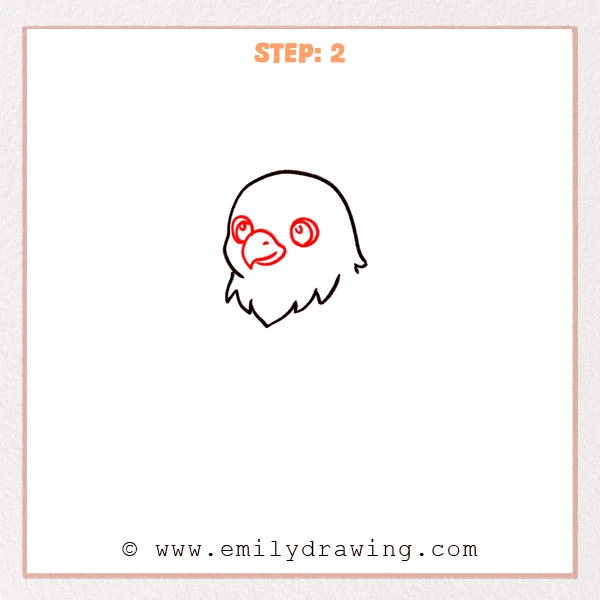
Draw two round eye shapes on the face, then add small circles for the pupils.
Below them, sketch a hooked beak, split it with a short curve, and add a tiny nostril.
Pro Tip: Keep both eyes the same height and size for a lively expression.
Step 3: Draw the Outstretched Wing
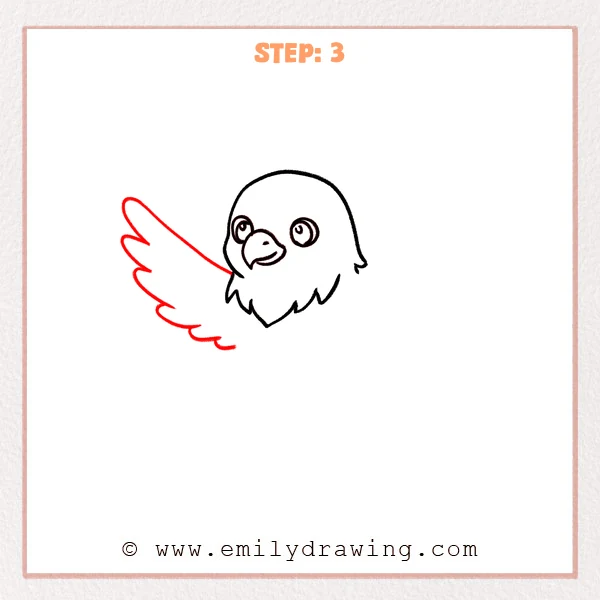
From the left side of the head, draw a long curved line to form the top of the wing.
Along the bottom edge, add smooth scallops to suggest layered feathers, ending slightly pointed.
Pro Tip: Let the wing get slightly wider toward the tip for a stronger look.
Step 4: Add an Inner Feather Layer
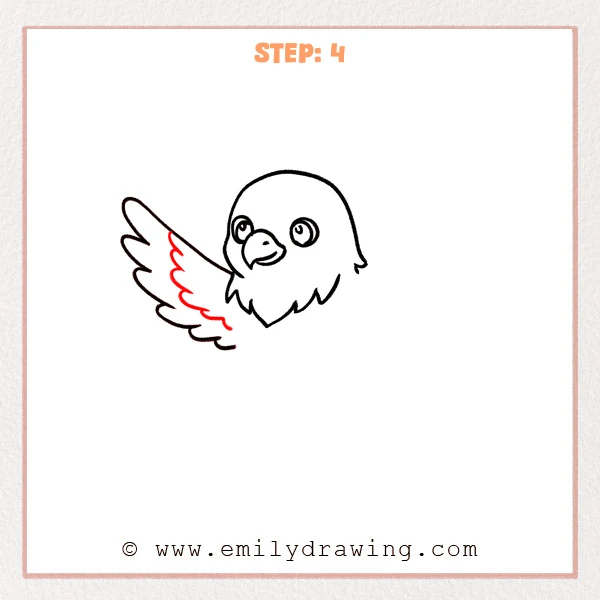
Inside the wing, draw a curved line that follows the top edge from base to tip.
Break it into a few smaller scallops to show a second row of feathers.
Pro Tip: Keep the inner scallops smaller and closer together for clear layering.
Step 5: Add the Other Wing
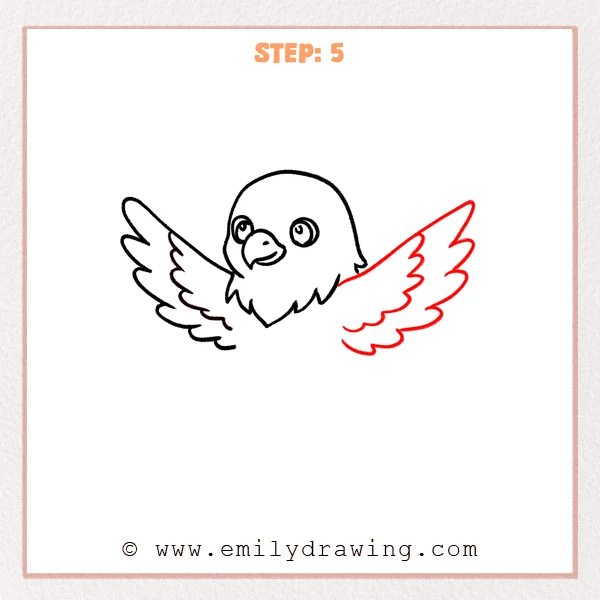
From the right side of the head, draw a long curved line to form the second wing’s top edge.
Add a larger scalloped feather edge underneath, then sketch a short inner feather layer near the body.
Pro Tip: Keep both wings at similar angles, but vary the scallops slightly.
Step 6: Draw the Body and Tail
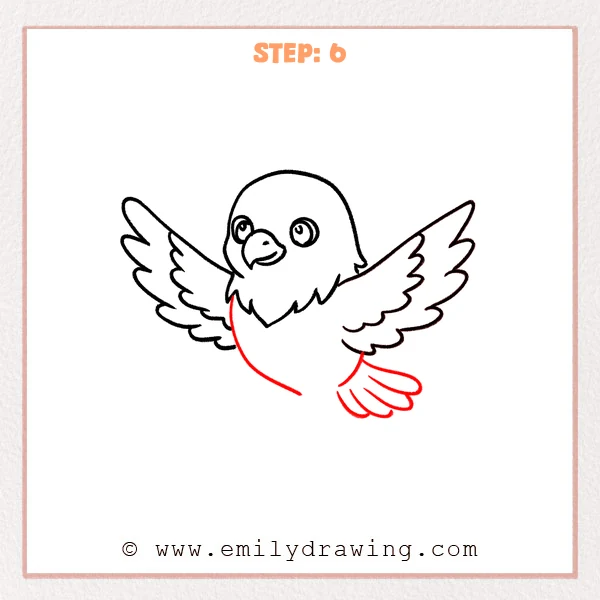
From under the head, draw a big smooth curve down to shape the rounded body.
Add three long, oval tail feathers at the lower back, fanning them slightly apart.
Pro Tip: Sketch the body curve lightly so you can adjust the size easily.
Step 7: Draw the Two Legs
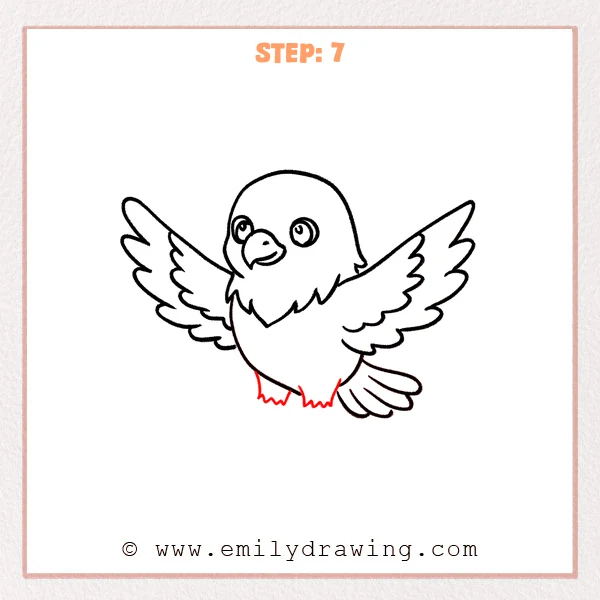
Under the body, draw two short legs coming down from the belly edge.
End each leg with a small jagged edge to suggest fluffy feathers at the bottom.
Pro Tip: Keep both legs about the same length so the pose feels balanced.
Step 8: Draw the Left Foot Talons
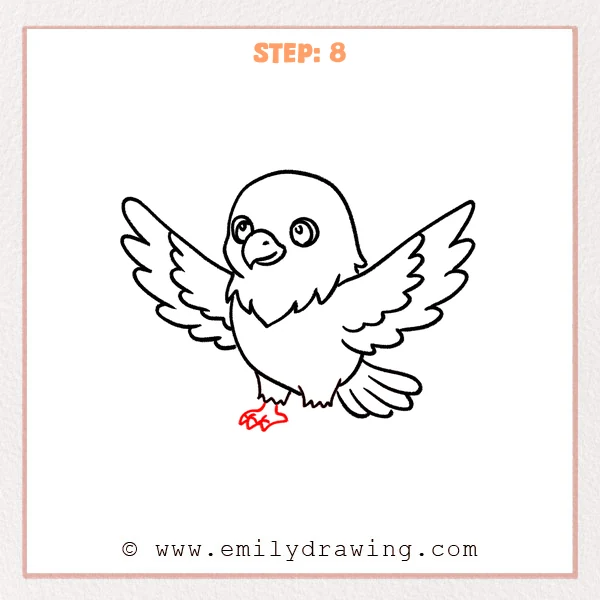
At the bottom of the left leg, draw a small foot pad and split it into three front toes.
Finish each toe with a curved hook tip to show sharp eagle talons.
Pro Tip: Make the three toes slightly different lengths for a natural look.
Step 9: Draw the Right Foot Toes and Talons
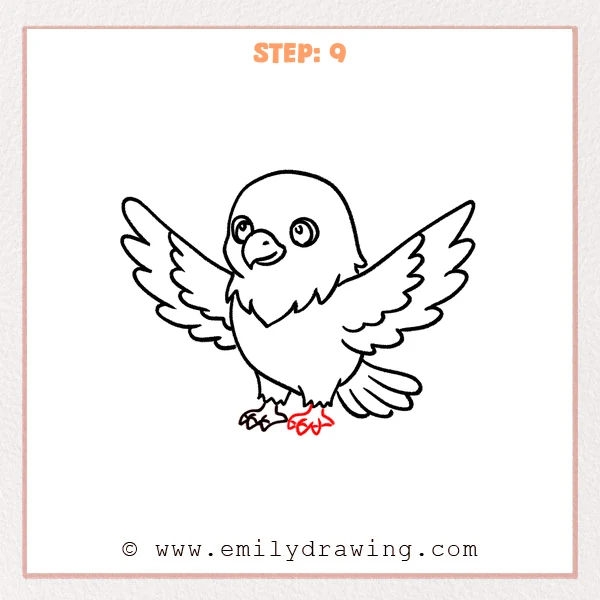
At the bottom of the right leg, draw a few curved toe lines that extend outward.
Add small hook-shaped tips on the ends to make clear eagle talons.
Pro Tip: Space the right toes a bit more so it reads separately from the left foot.
Step 10: Color in your drawing!
Fun Facts
- Eagles have excellent eyesight and can spot prey from very far away.
- Their strong talons help them grab and hold onto food securely.
- Many eagles build large nests and reuse them for years.
Pin it now, Draw later!
Darken the final outline, and erase any extra sketch lines you do not need.
You can add a few short feather lines on the wings and tail for extra texture.
Now you have a complete eagle drawing—try drawing another eagle with a different pose!
Get the FREE Printable Drawing Guide
FREE Download Printable Eagle Drawing Tutorial
Frequently Asked Questions
Q1: How do I make the wings look even?
A: Match the wing angles first, then adjust the scallops so both sides feel balanced.
Q2: What if my beak looks too long?
A: Erase and redraw the hook smaller, keeping the beak shorter than the eye area.
Q3: How can I make the talons look sharper?
A: Use small curved hooks and keep the tips narrow, not round.