
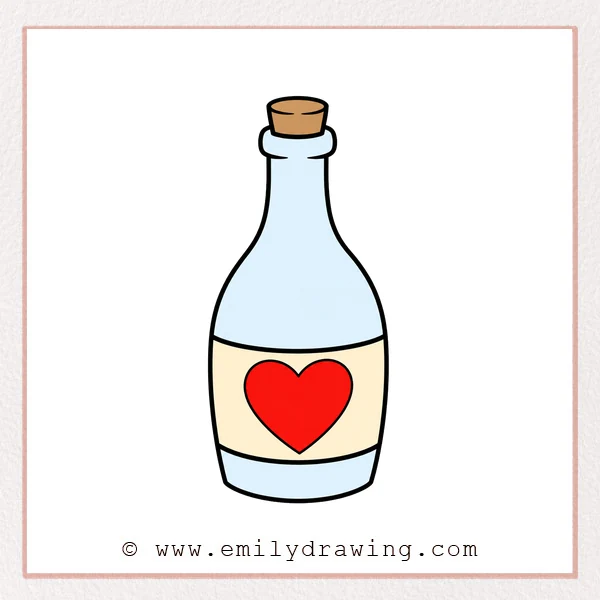
Learn how to draw wine bottle with simple shapes and smooth curved lines. This easy drawing tutorial is made for beginners who want a clear, calm guide. Take your time with each step, and build the bottle from the top down.
What You Will Need
- Pencil
- Eraser
- Black marker or pen
- Paper
- Colored pencils or crayons
Here are my RECOMMENDED Art Supplies!
- Crayola Coloring Set (140 Pieces – Mega Value!)
- 24 Colored Crayon Set
- A4 Printer Paper
- Crayola Coloring Pencils
- HP Home Printer with Instant Ink!
Time needed:
11 minutes.
Step-by-Step Drawing Guide
Step 1: Draw the Bottle Opening
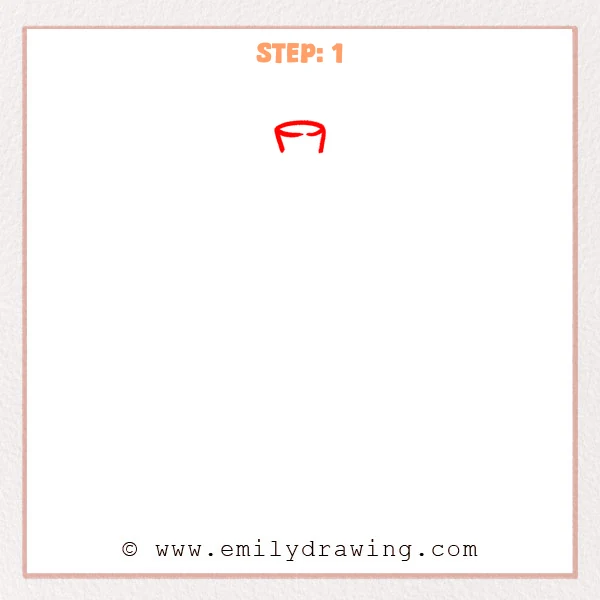
Start with a wide oval for the opening of the wine bottle. Add two short downward lines from the sides to begin the upper neck.
Pro Tip: Keep both sides of the oval level so the bottle opening looks balanced.
Step 2: Add the Bottle Shoulders
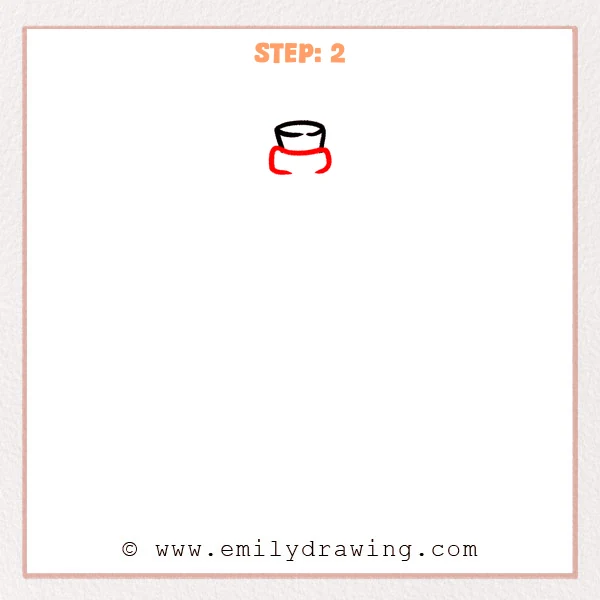
Draw two short outward curves below the neck to form the wine bottle shoulders. Let both curves drop gently, and leave the center open for now.
Pro Tip: Keep the shoulders as even as possible so the bottle body feels upright.
Step 3: Draw the Left Body Outline
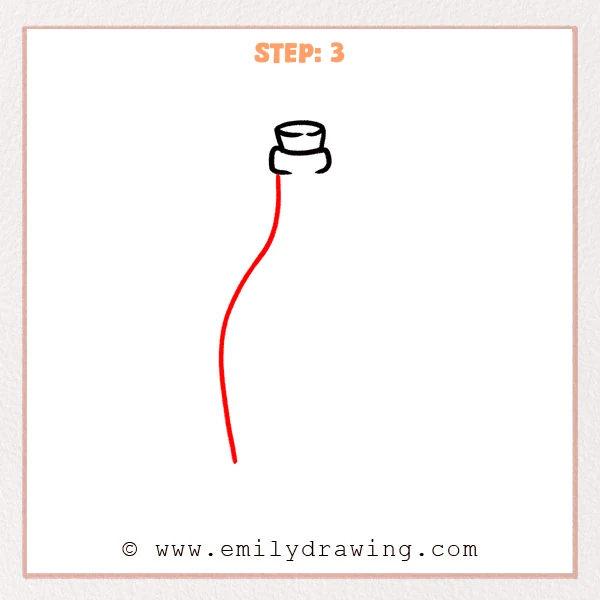
Start below the left shoulder and draw one long curved line downward. Let the line bulge outward first, then ease inward to shape one side of the wine bottle body.
Pro Tip: Keep this line smooth, not perfectly straight, because a gentle curve looks more natural.
Step 4: Complete the Bottle Body Shape
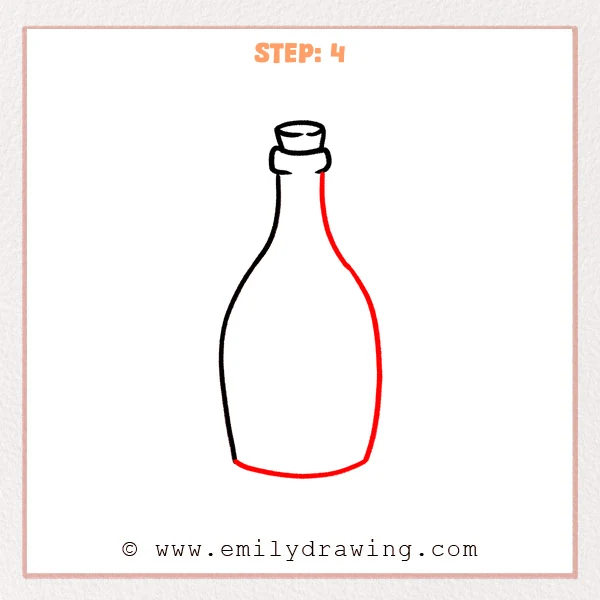
Draw a long curved line downward from the right shoulder, matching the left outline. Connect both sides at the bottom with a shallow curve to finish the wide rounded wine bottle body.
Pro Tip: Curve the bottom line gently upward so the bottle looks steady and balanced.
Step 5: Add the Label Edges
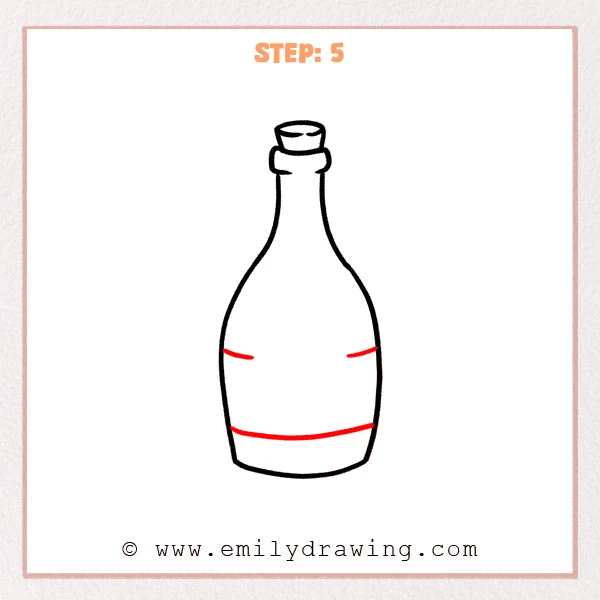
Draw one long curved line across the lower middle body for the bottom edge of the wine bottle label. Add two short curved marks above it on both sides to suggest the label’s top edge.
Pro Tip: Let the label lines follow the bottle curve so they fit the rounded body.
Step 6: Draw the Heart on the Label
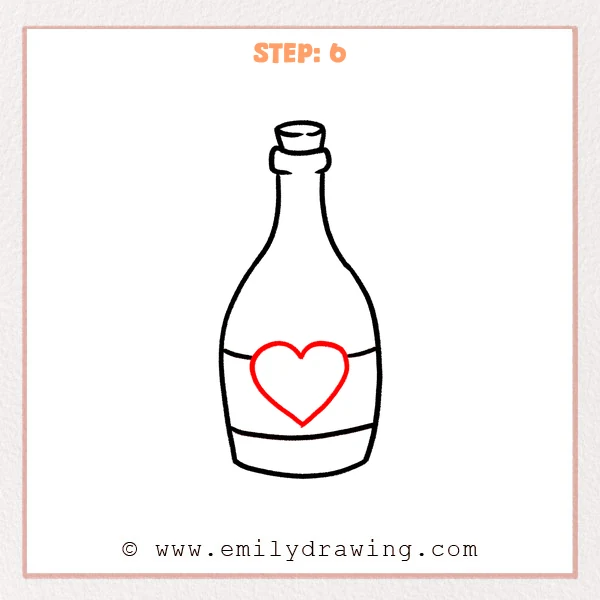
Draw a large heart in the center of the label, placed between the two label edges. Bring the bottom to a neat point, and keep both top curves round and full.
Pro Tip: Find the heart’s center line first to keep both halves more even.
Step 7: Color in your drawing!
Fun Facts
Wine bottles often have long necks, rounded shoulders, and wide bodies. These shapes make them a good practice subject for curved lines. A heart label can make the drawing feel friendly and decorative.
Pin it now, Draw later!
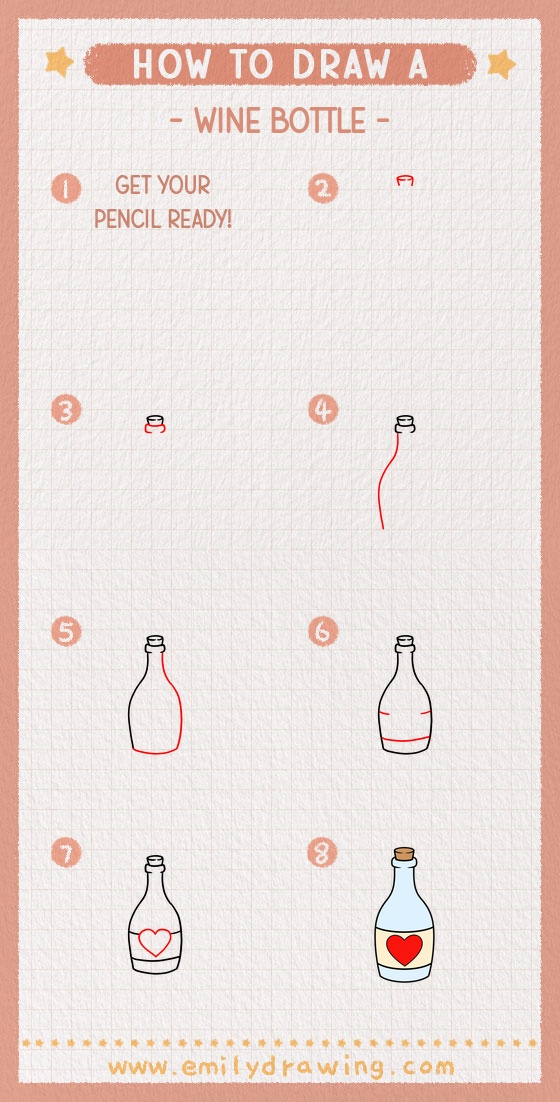
Trace the main lines with a black marker when you are happy with the shape. Erase extra pencil marks, then color the bottle, label, and heart. Try this step by step drawing again with a different label design.
Get the FREE Printable Drawing Guide
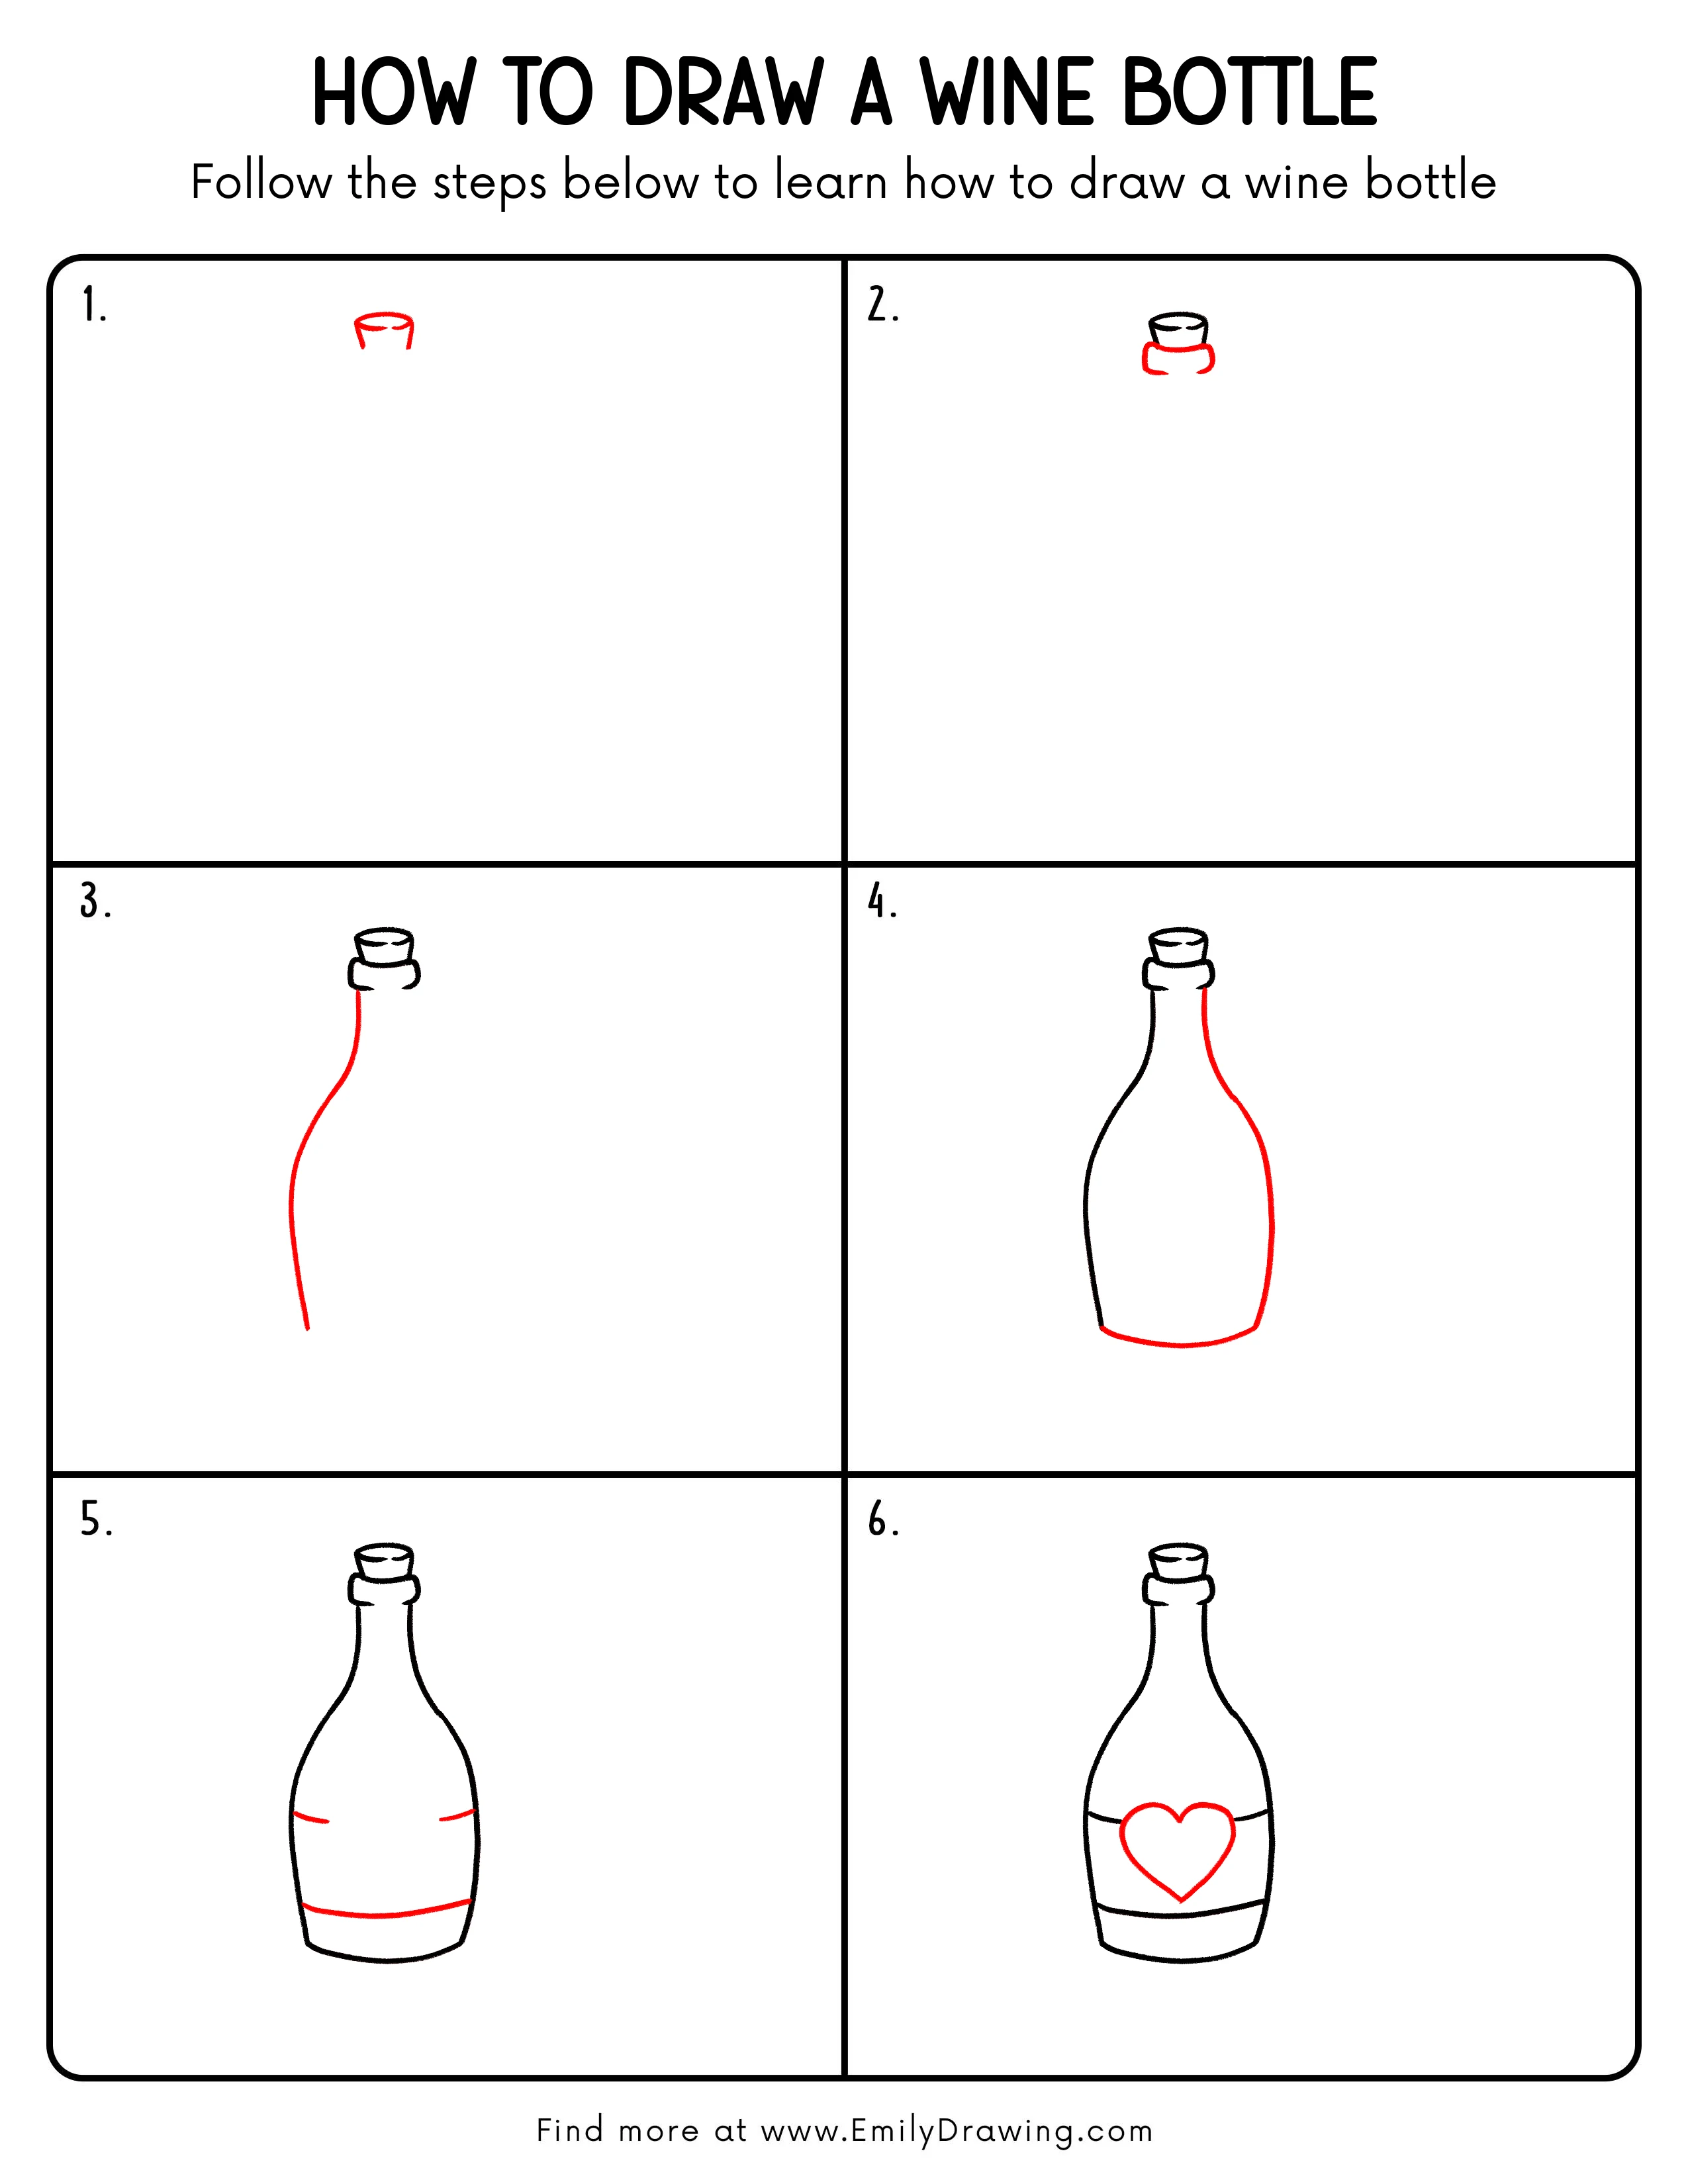
FREE Download Printable Wine Bottle Drawing Tutorial
Frequently Asked Questions
Is this wine bottle drawing for beginners?
Yes, this drawing for beginners uses simple ovals, curves, and a heart shape.
How can I make the bottle look more even?
Compare the left and right sides often while drawing. Small adjustments help the bottle look balanced.
Can I change the label design?
Yes, you can replace the heart with a star, grape shape, or simple words.



