
Learning how to draw tennis racket shapes is simple with clear steps. This easy drawing tutorial uses basic ovals, lines, and a rounded handle. Take your time and build the tennis racket from the frame to the final grip.
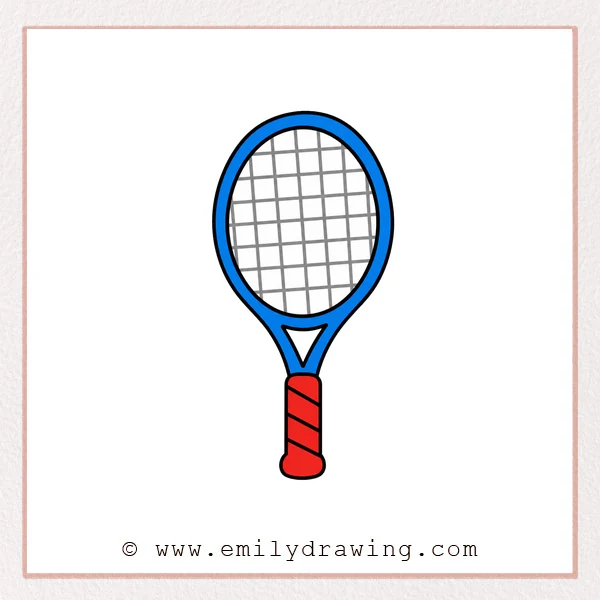
What You Will Need
- Pencil
- Eraser
- Black marker
- Red marker or colored pencil
- Drawing paper
Here are my RECOMMENDED Art Supplies!
- Crayola Coloring Set (140 Pieces – Mega Value!)
- 24 Colored Crayon Set
- A4 Printer Paper
- Crayola Coloring Pencils
- HP Home Printer with Instant Ink!
Time needed:
24 minutes.
Step-by-Step Drawing Guide
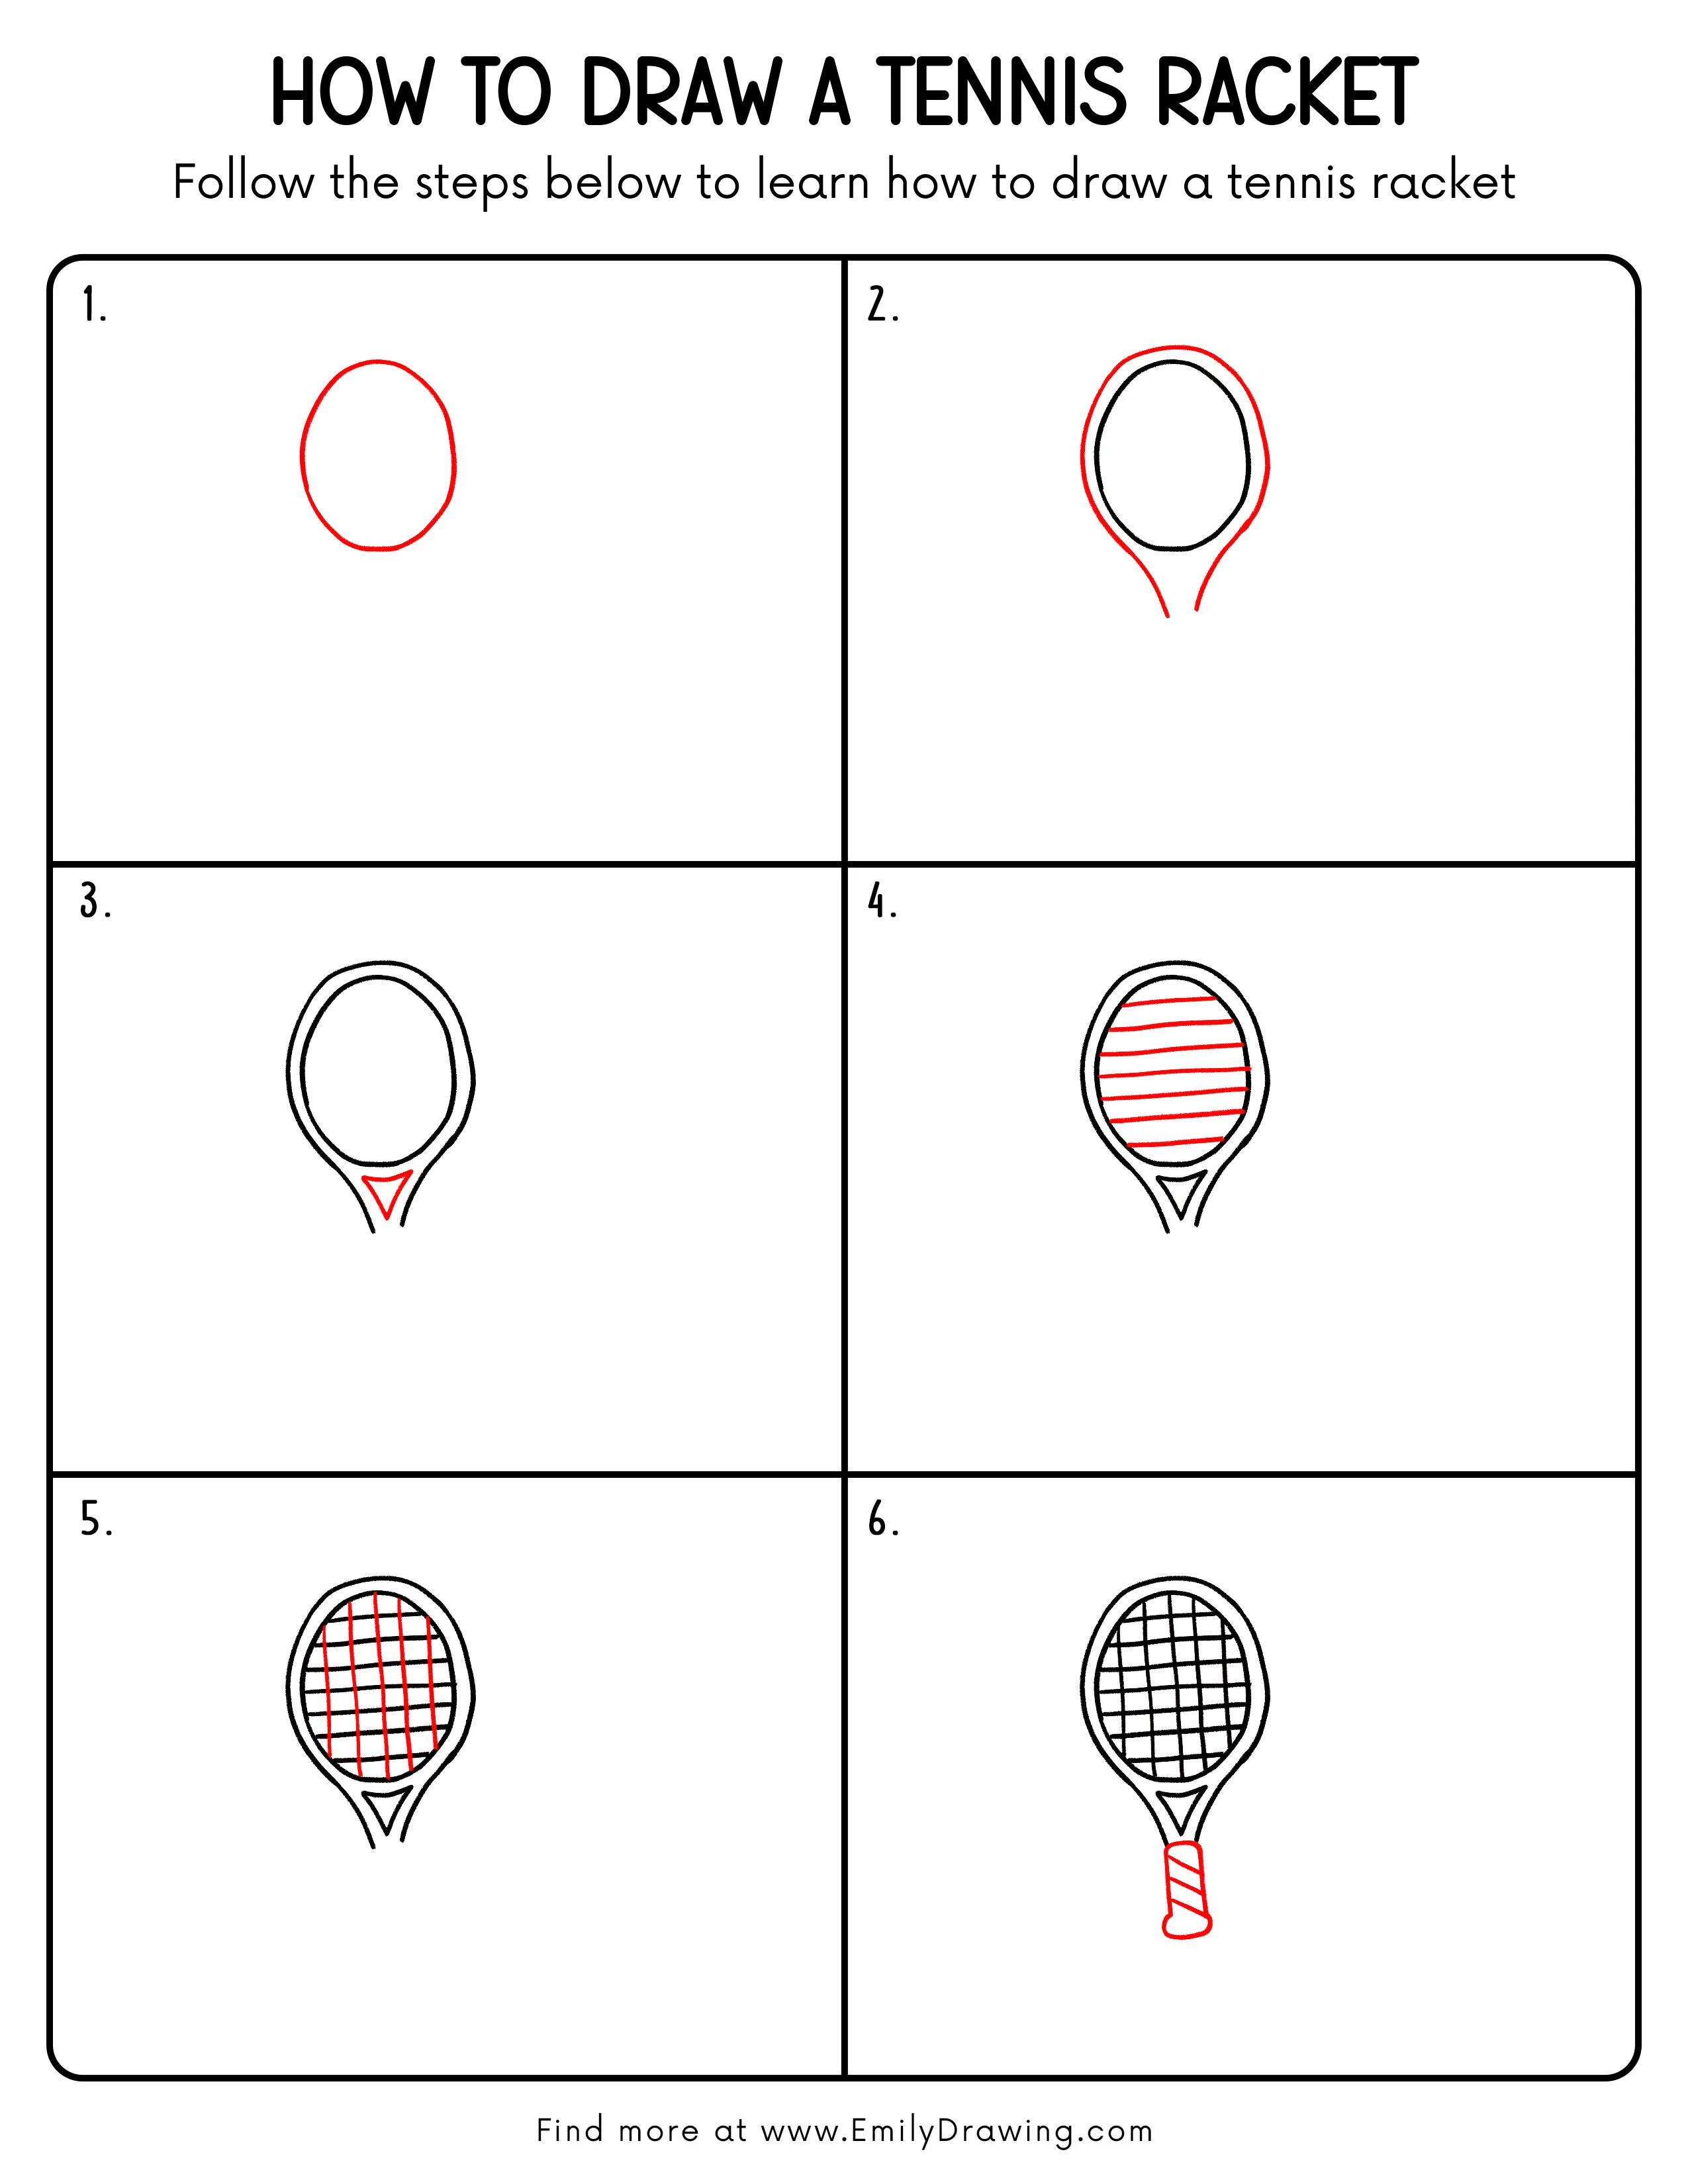
Step 1: Draw the Basic Racket Head Outline
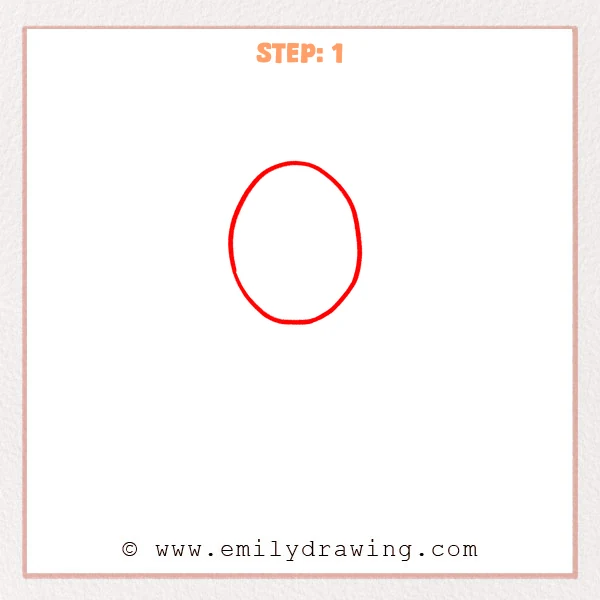
Start with a rounded oval shape for the outer frame of the tennis racket head. Keep the line slightly thick and make the shape smooth and balanced.
Pro Tip: Keep both sides of the oval as even as possible so the racket looks steady.
Step 2: Add the Inner Frame and Lower Opening
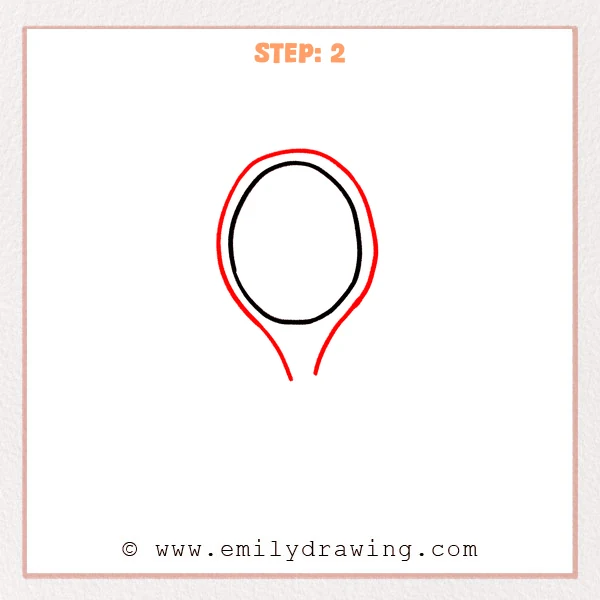
Draw a smaller rounded frame inside the outer outline to shape the racket face. Extend both lower sides downward and leave the middle open for the handle connection.
Pro Tip: Keep the inner frame evenly spaced from the outer frame so the racket border looks neat.
Step 3: Draw the Triangle Throat Piece
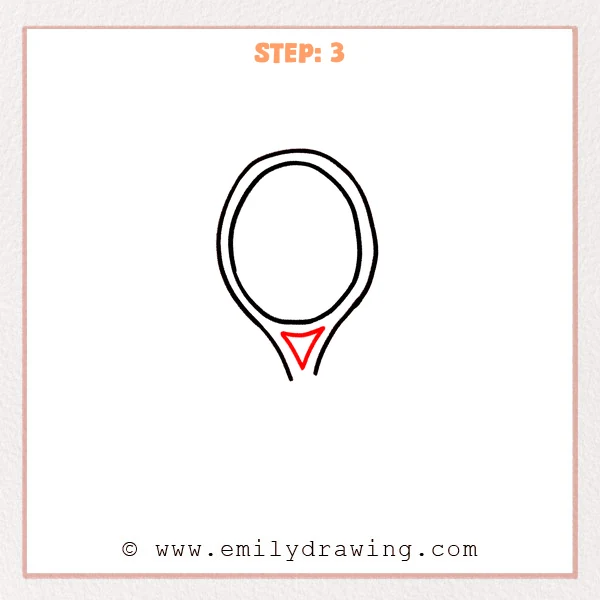
Add an upside-down triangle inside the lower opening of the racket head. Place its top edge near the bottom of the racket face, with the point aiming down toward the handle.
Pro Tip: Center the triangle carefully and keep the left and right spaces nearly equal.
Step 4: Add the Horizontal Strings
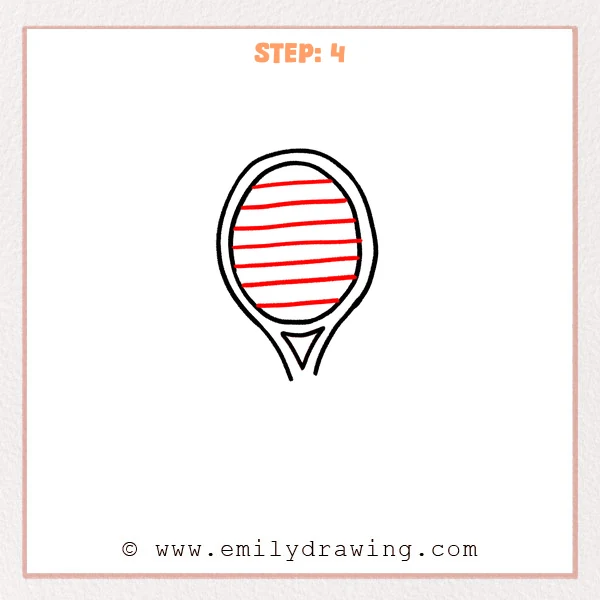
Draw several horizontal lines inside the racket face to show the tennis racket strings. Let the lines curve slightly and stretch from the left inner frame to the right inner frame.
Pro Tip: Keep the horizontal lines evenly spaced so the racket face looks balanced.
Step 5: Add the Vertical Strings
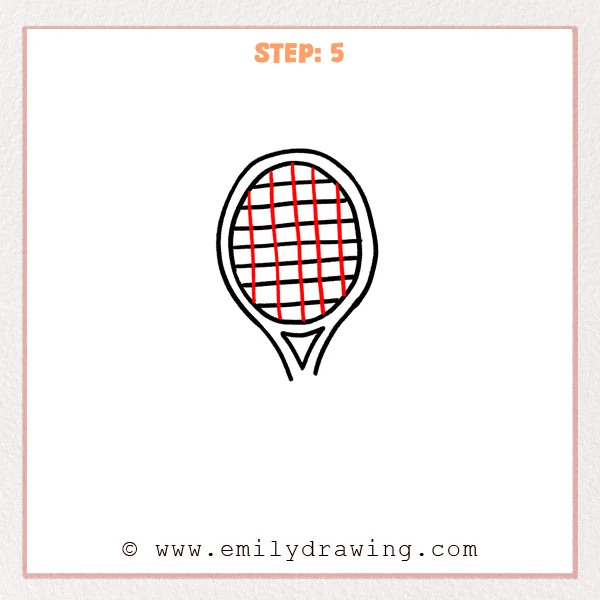
Add several vertical lines inside the racket face so they cross the horizontal strings. Let each line run from the upper inner frame to the lower inner frame, creating a clear grid.
Pro Tip: Keep the vertical lines evenly spaced so the string grid looks neat.
Step 6: Draw the Handle and Grip Wrap Lines
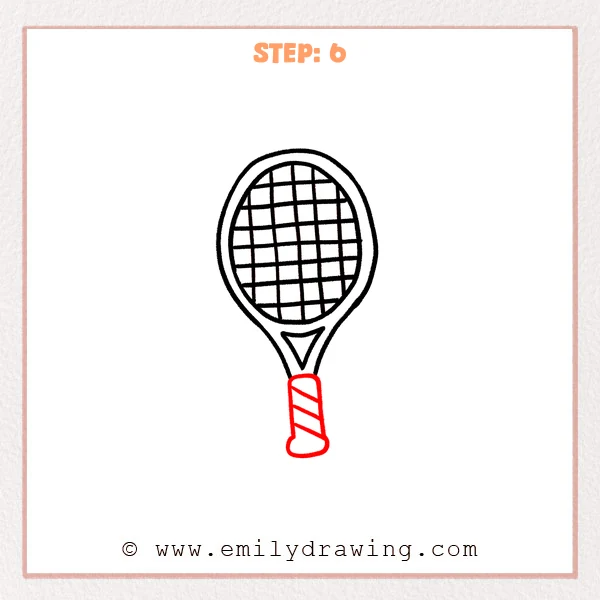
Add a rounded rectangular handle below the racket, connecting it under the triangle. Then draw a few diagonal lines inside the handle to show the grip wrap.
Pro Tip: Place the handle on the racket’s center line so the whole drawing does not lean to one side.
Step 7: Color in your drawing!
Fun Facts
- A tennis racket has a string pattern that helps the ball bounce back.
- The handle grip gives players more control during a swing.
- Rackets can look different, but most have a head, throat, strings, and handle.
Pin it now, Draw later!
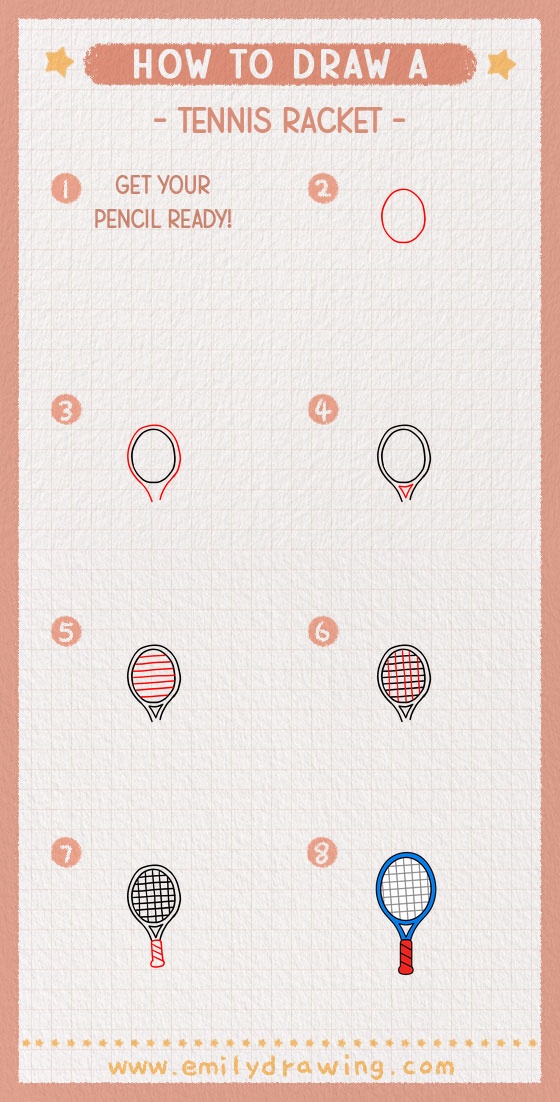
Now you know how to draw tennis racket details step by step. Trace the final lines with a marker, then add color to the frame and handle. Try drawing another racket beside it, or add a tennis ball to complete the scene.
Get the FREE Printable Drawing Guide
FREE Download Printable Tennis Racket Drawing Tutorial
Frequently Asked Questions
Is this tennis racket drawing for beginners?
Yes, this drawing for beginners uses simple shapes and clear line placement.
How can I make the racket look more realistic?
Keep the frame even, space the strings carefully, and center the handle.
Can I color the tennis racket differently?
Yes, you can choose any frame and grip colors you like.



