
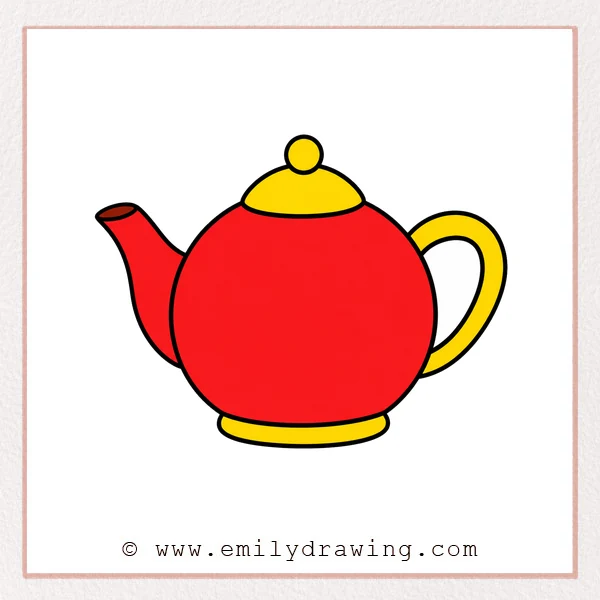
Learning how to draw teapot shapes is simple when you build the picture step by step. This easy drawing tutorial uses round curves, a small lid, a handle, and a spout. Take your time, and let each line help the teapot become clearer.
What You Will Need
- A sheet of drawing paper
- A pencil
- An eraser
- A black marker or pen
- Coloring tools, such as crayons or colored pencils
Here are my RECOMMENDED Art Supplies!
- Crayola Coloring Set (140 Pieces – Mega Value!)
- 24 Colored Crayon Set
- A4 Printer Paper
- Crayola Coloring Pencils
- HP Home Printer with Instant Ink!
Time needed:
24 minutes.
Step-by-Step Drawing Guide
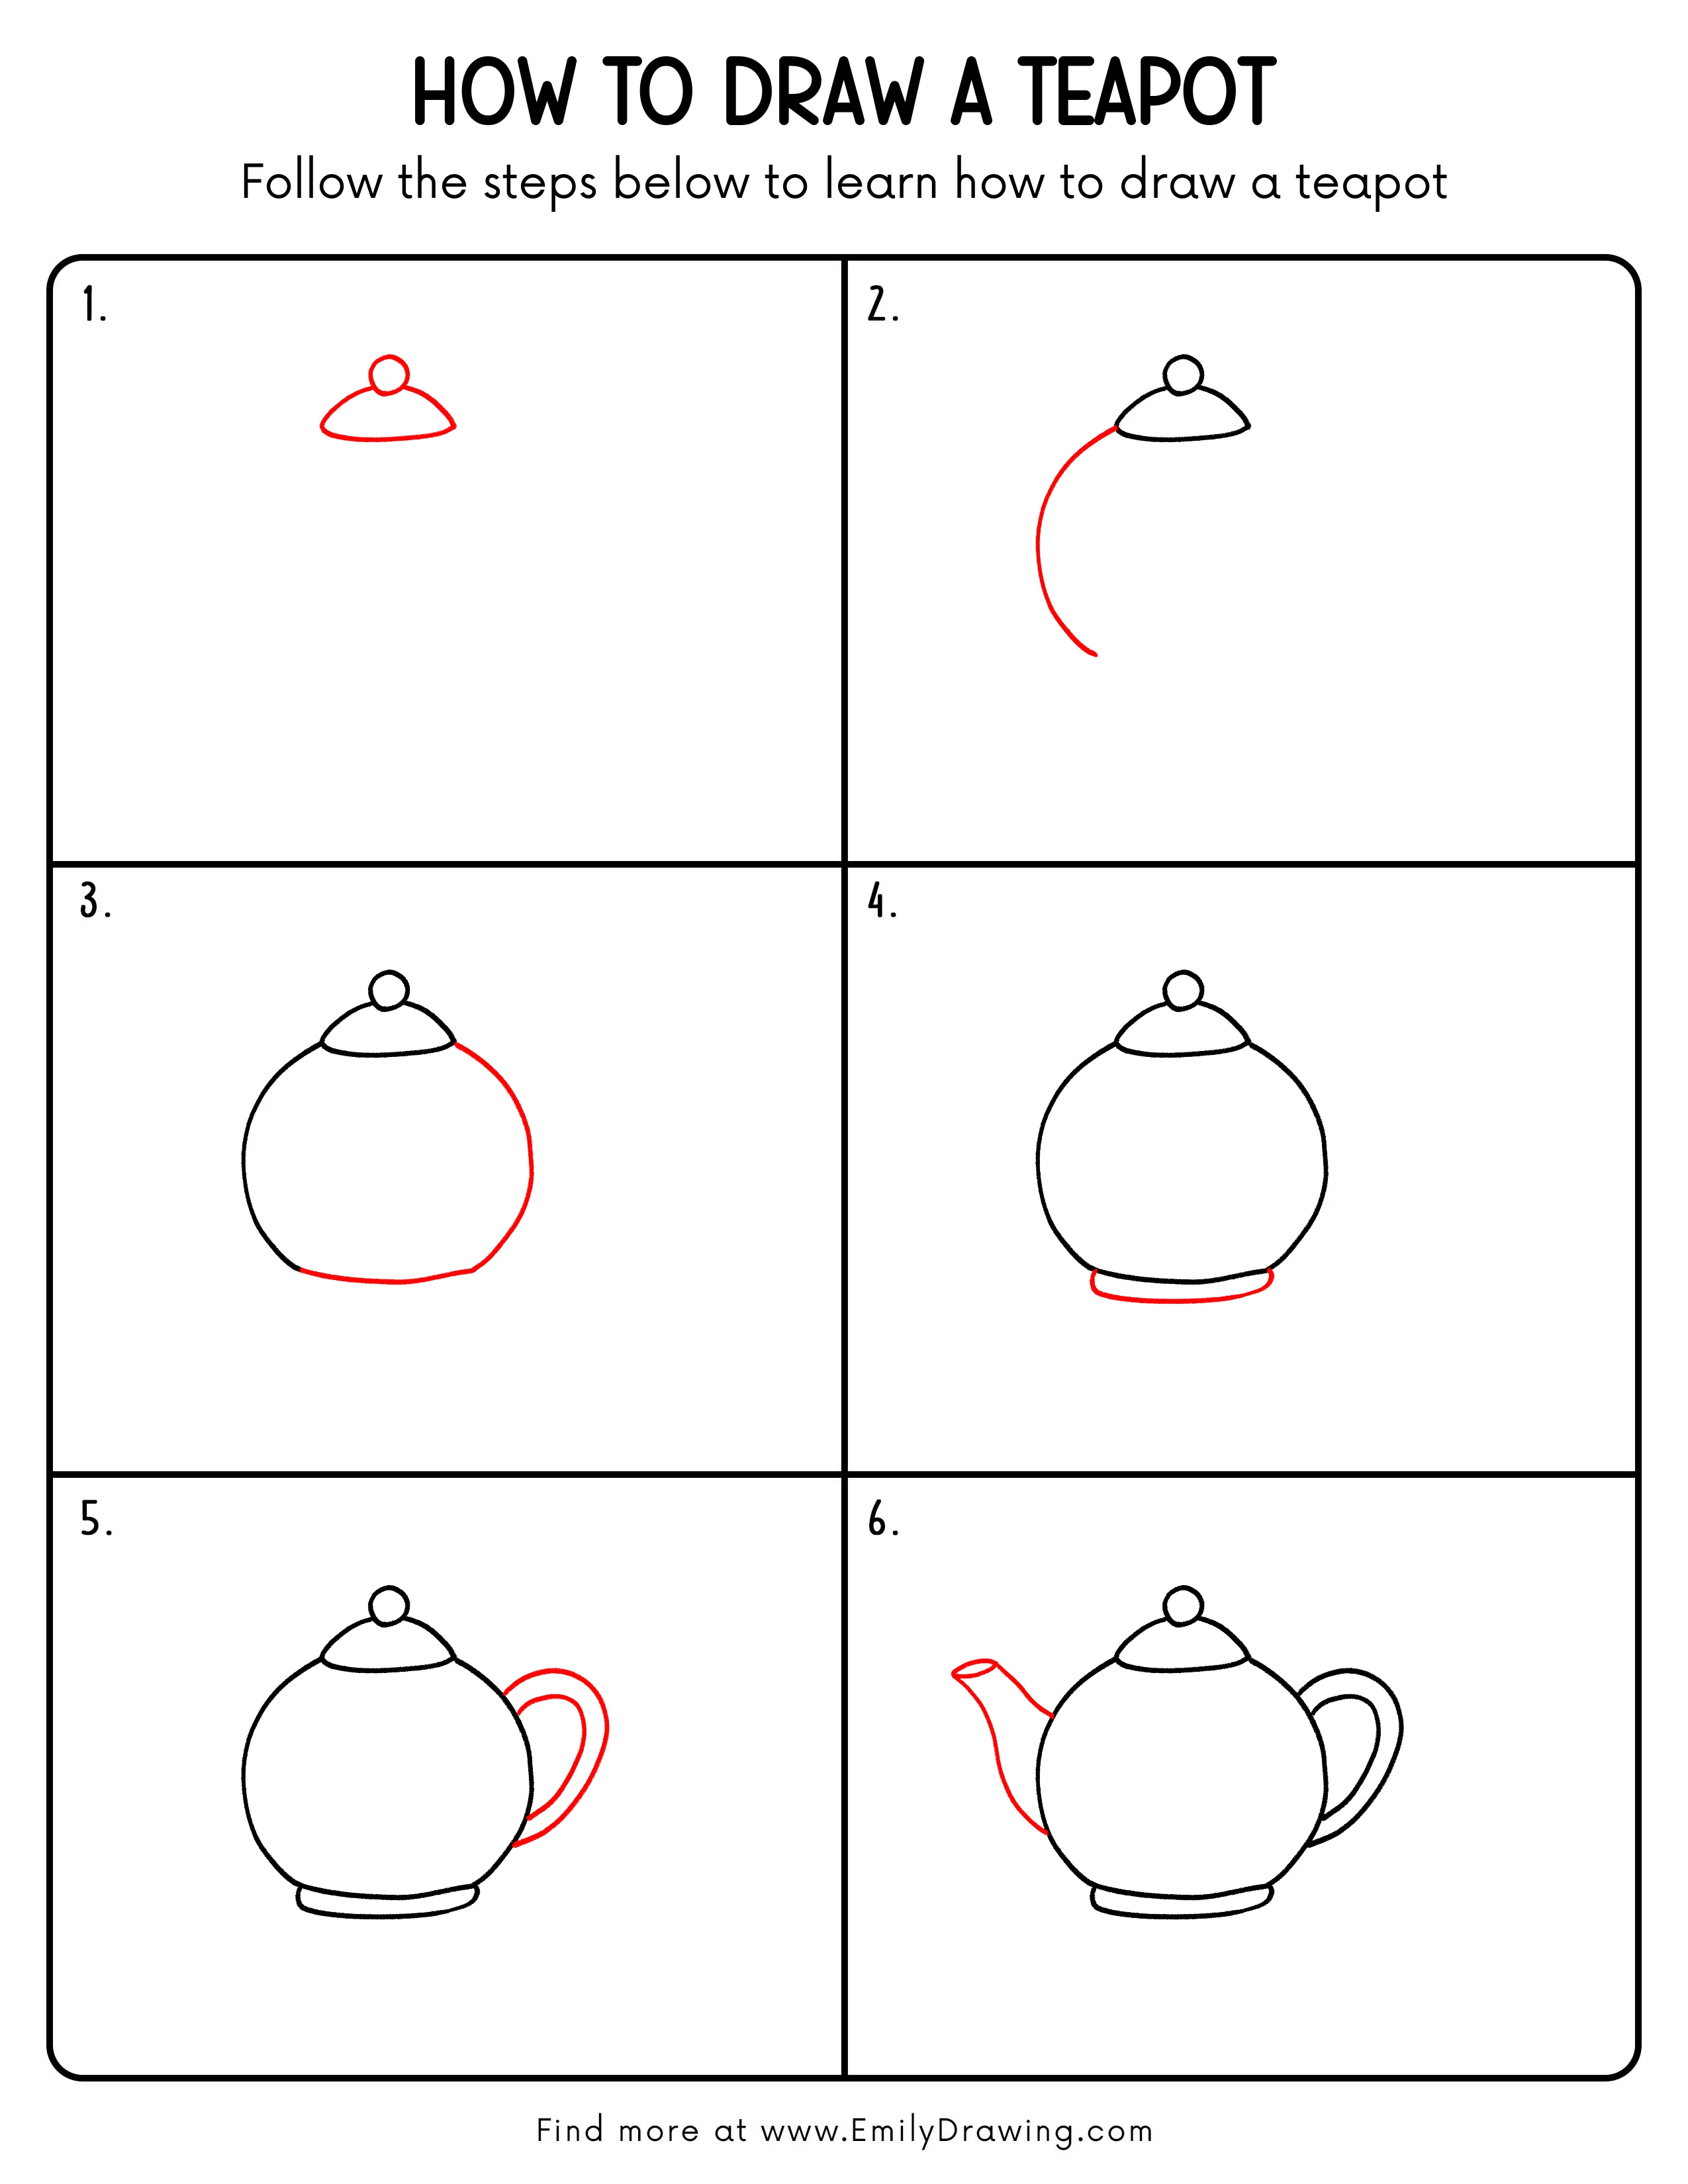
Step 1: Draw the Teapot Lid
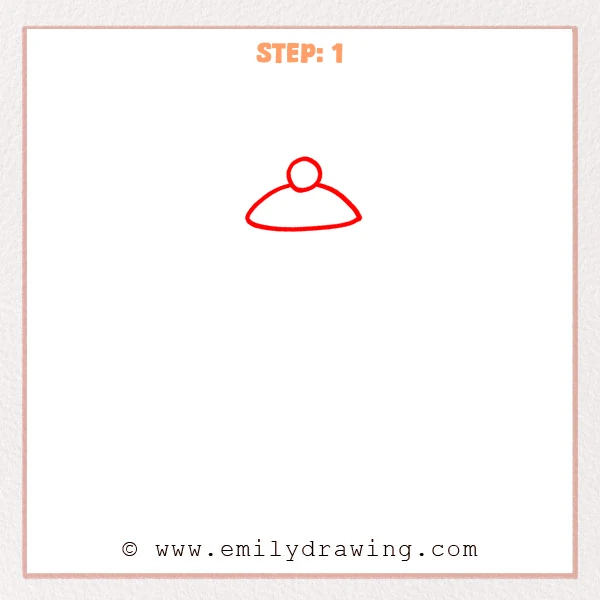
Start with a wide curved shape, like a low little hill. Add a small circle on top to make the knob of the teapot lid.
Pro Tip: Place the small circle above the middle of the curve so the teapot lid looks balanced.
Step 2: Add the Left Side of the Teapot Body
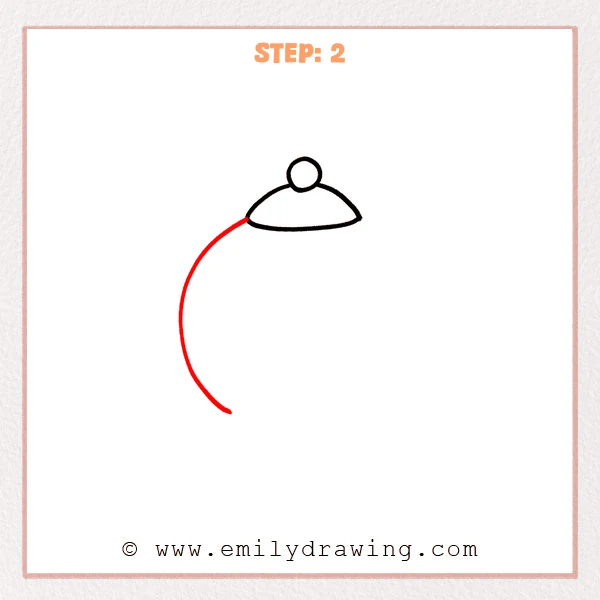
From the left edge of the lid, draw a large curved line downward. Let the line bulge outward, then gently return inward to form the rounded left side of the teapot.
Pro Tip: Make this curve wide enough to show the teapot’s plump body.
Step 3: Complete the Rounded Body
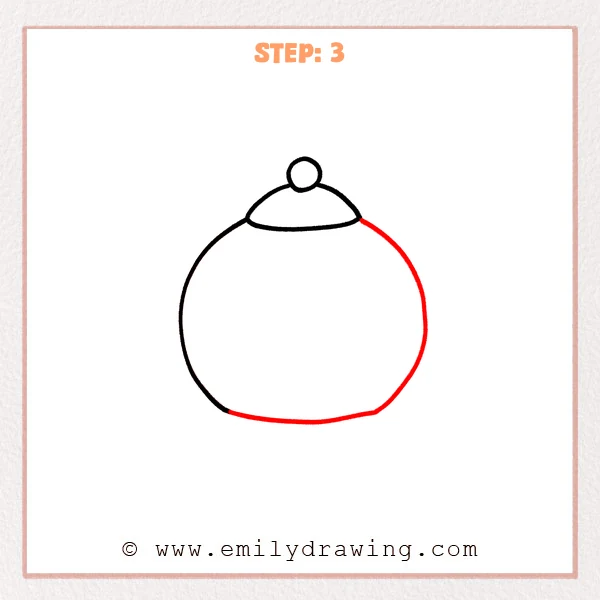
From the right edge of the lid, draw a large curved line downward. Let it sweep around the bottom and connect to the left line, forming the teapot’s full body.
Pro Tip: Keep the bottom curve slightly flatter so the teapot looks steady.
Step 4: Add the Teapot Base
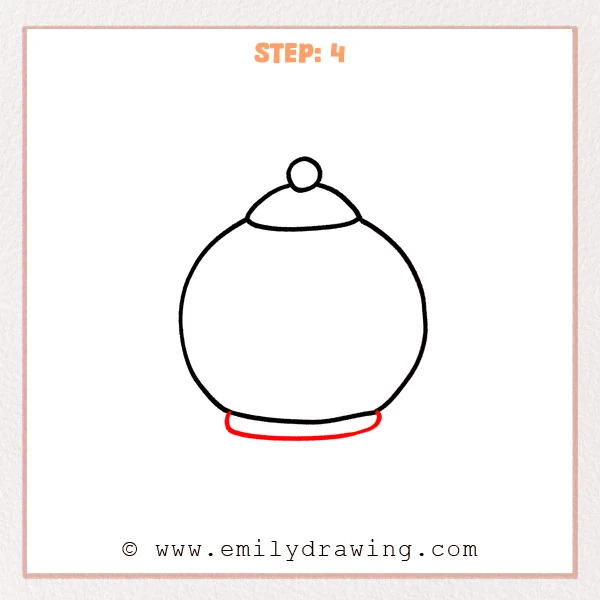
Draw a shallow curved base under the teapot body. Bend both ends slightly upward so the base supports the round teapot firmly.
Pro Tip: Keep the base a little narrower than the body so the drawing feels lighter.
Step 5: Draw the Teapot Handle
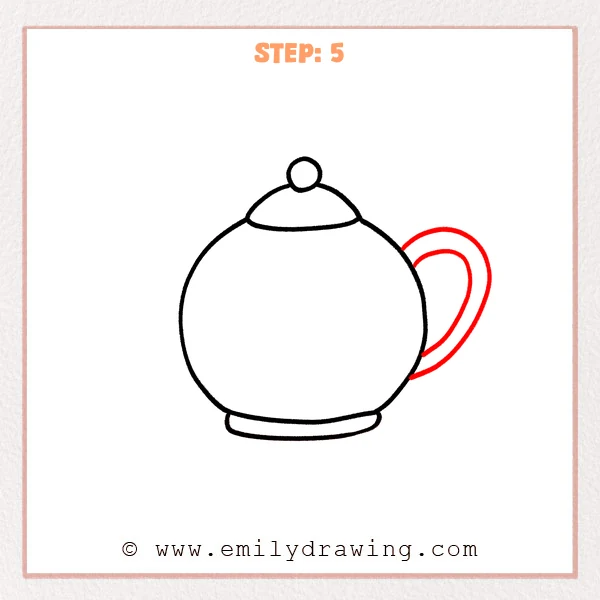
On the right side of the body, draw a large curved handle. Add a smaller matching curve inside it, leaving space for a hand to hold.
Pro Tip: Align the handle’s top and bottom joins with the body edge so it looks secure.
Step 6: Draw the Teapot Spout
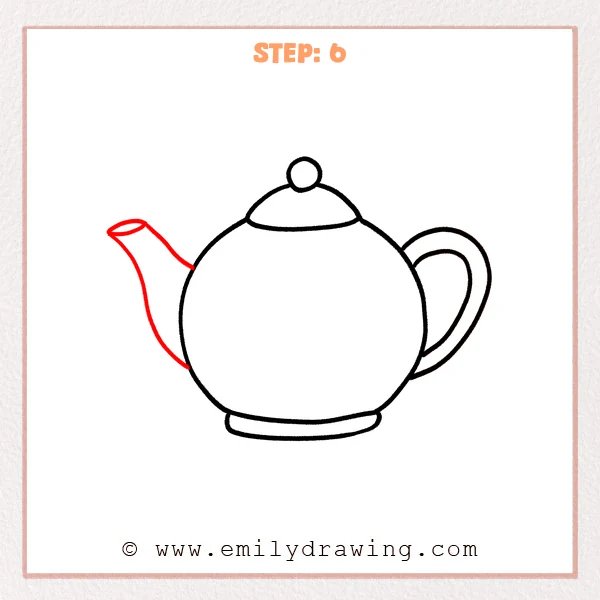
On the left side of the body, draw a curved spout reaching outward. Add a small oval at the tip to show the opening for pouring tea.
Pro Tip: Connect the spout from the middle of the body so the pouring direction feels natural.
Step 7: Color in your drawing!
Fun Facts
- Teapots often have round bodies because they help hold warm tea.
- The spout is shaped to guide the tea in a smooth stream.
- Many teapots have matching cups, making them fun to draw together.
Pin it now, Draw later!
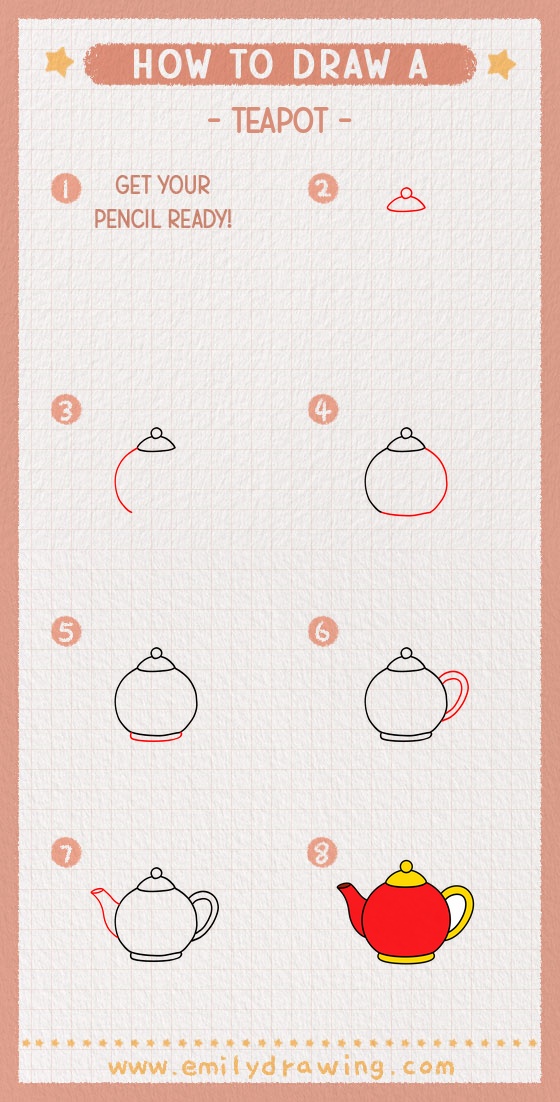
Now you know how to draw teapot shapes using simple curves and clear parts. You can trace your lines with a marker, then color the lid, body, handle, and spout. Try adding steam, patterns, or a small teacup beside it for a cozy final picture.
Get the FREE Printable Drawing Guide
FREE Download Printable Teapot Drawing Tutorial
Frequently Asked Questions
Is this teapot drawing for beginners?
Yes, this is a drawing for beginners because it uses basic circles, curves, and ovals.
How can I make my teapot look cuter?
You can add soft colors, tiny flowers, or a smiling face on the round body.
What should I practice first?
Practice the large body curve first, because it sets the shape for the whole teapot.



