Learn how to draw handcuffs using paired curves and overlapping chain links. This drawing for beginners practices even borders and small circular details.
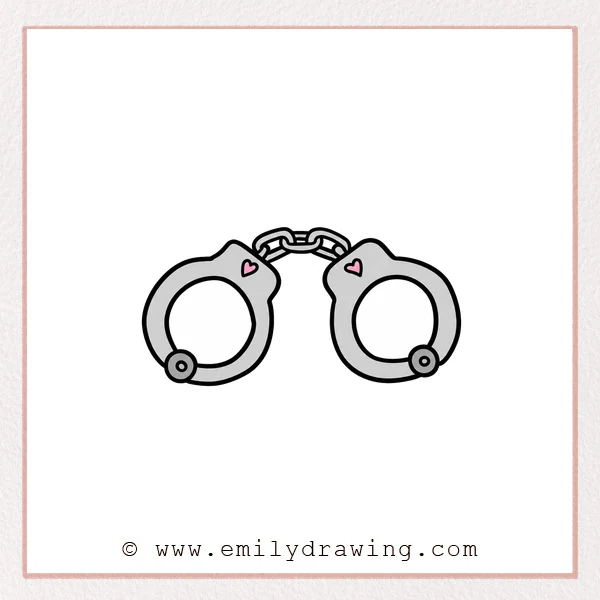
This easy drawing tutorial breaks the shapes into six manageable stages. Follow the step by step drawing at your own pace.
What You Will Need
- Drawing paper
- A pencil and eraser
- Colored pencils or crayons, if desired
Here are my RECOMMENDED Art Supplies!
- Crayola Coloring Set (140 Pieces – Mega Value!)
- 24 Colored Crayon Set
- A4 Printer Paper
- Crayola Coloring Pencils
- HP Home Printer with Instant Ink!
Time needed:
18 minutes.
Step-by-Step Drawing Guide
Step 1: Begin the Left Opening
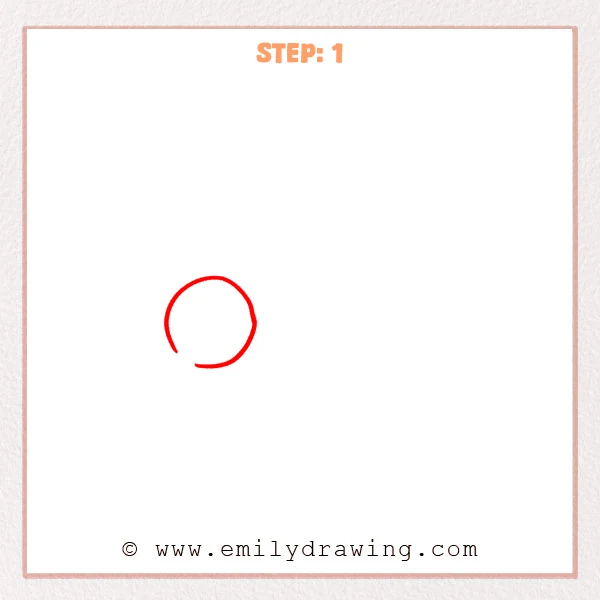
Draw a large almost circular curve on the left side. Leave a small gap near its lower left edge.
Pro Tip: Save room on the right for a matching cuff.
Step 2: Add the Left Outer Border
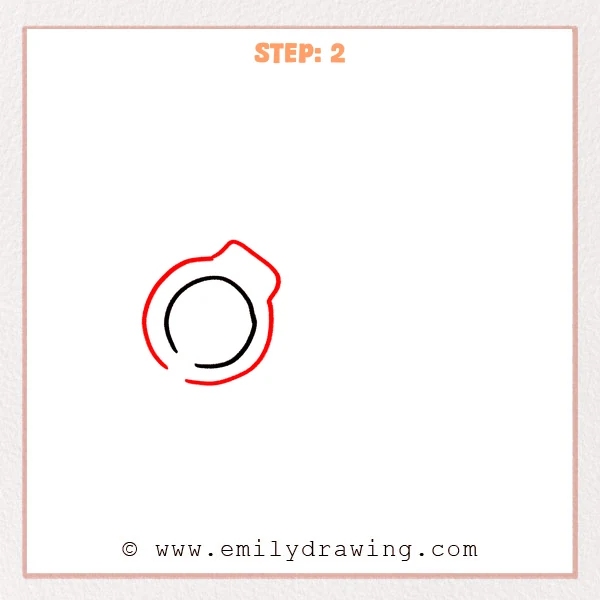
Draw a larger curve around the first opening, leaving a similar lower gap. Shape its upper right section into a raised, sloping housing.
Pro Tip: Keep the space between the curved borders fairly even.
Step 3: Outline the Right Cuff
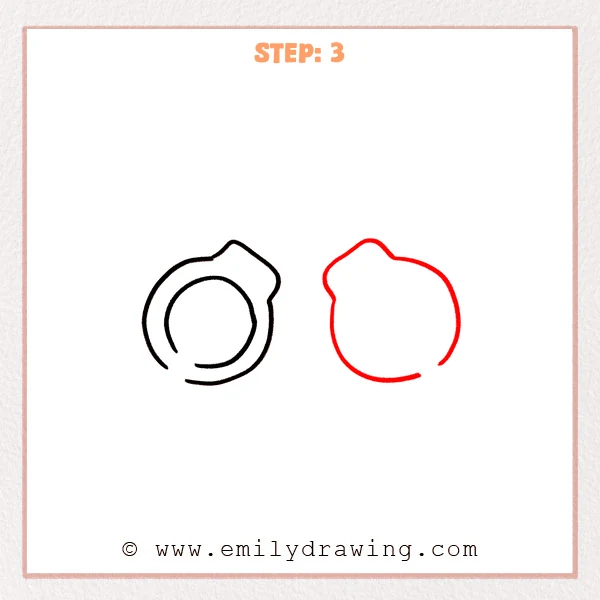
Draw the right cuff’s outer contour beside the first cuff. Mirror the raised top section and leave a gap near the lower right.
Pro Tip: Make the two outer cuffs close in size.
Step 4: Add the Right Opening
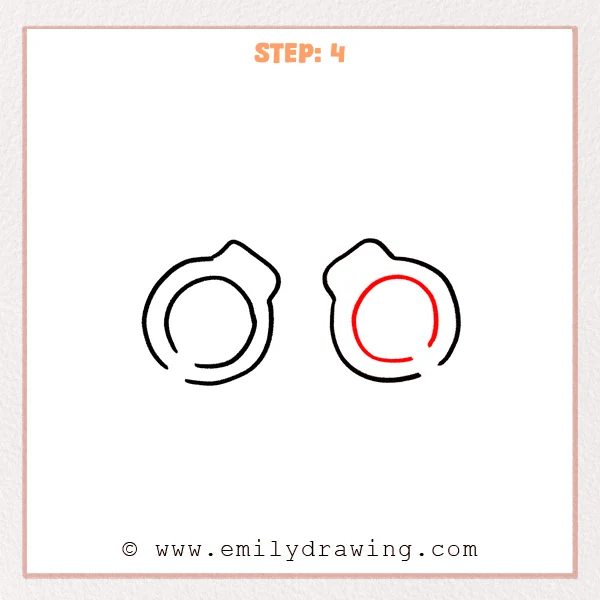
Draw a smaller rounded opening inside the right cuff. Leave its lower right edge open to match the outer gap.
Pro Tip: Compare the width of this border with the left cuff.
Step 5: Draw the Small Details
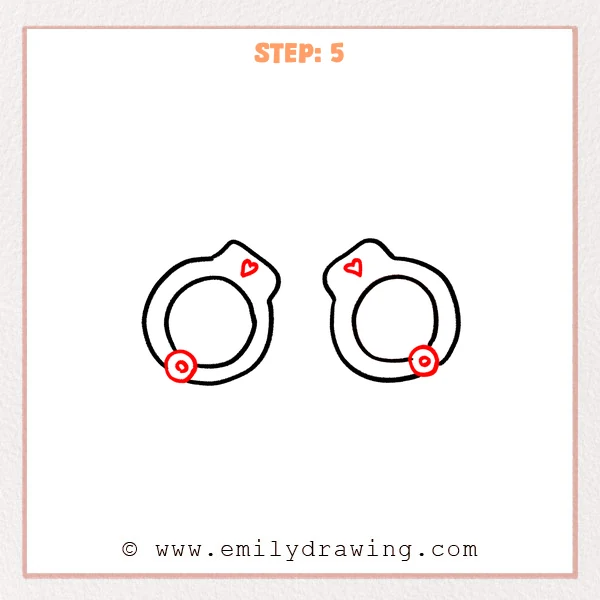
Cover each lower gap with a circle containing a smaller circle. Add a small heart outline inside each raised upper housing.
Pro Tip: Keep the hearts within the thick upper borders.
Step 6: Connect the Chain
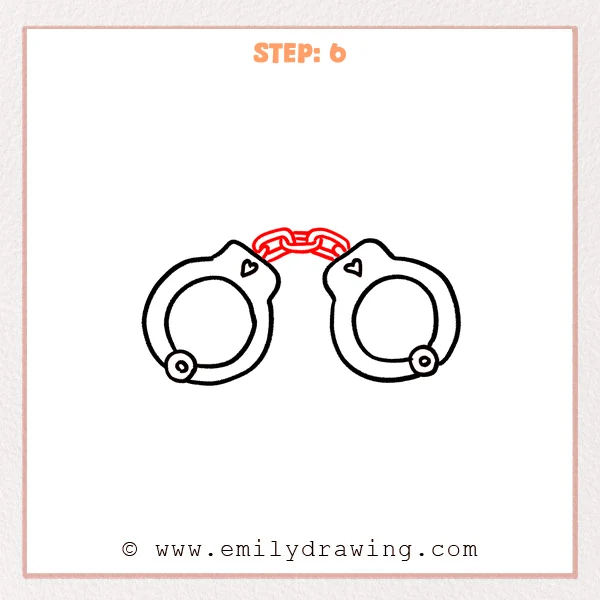
Draw three overlapping rounded rectangular links between the upper cuff sections. Give each link an inner edge, leaving interruptions where neighboring links overlap.
Pro Tip: Sketch the middle link first to organize the overlaps.
Step 7: Color in your drawing!
Fun Facts
- The handcuffs drawing repeats circular shapes in both openings and lower fittings.
- Interrupting a chain link’s outline at an overlap makes the links appear interlocked.
Pin it now, Draw later!
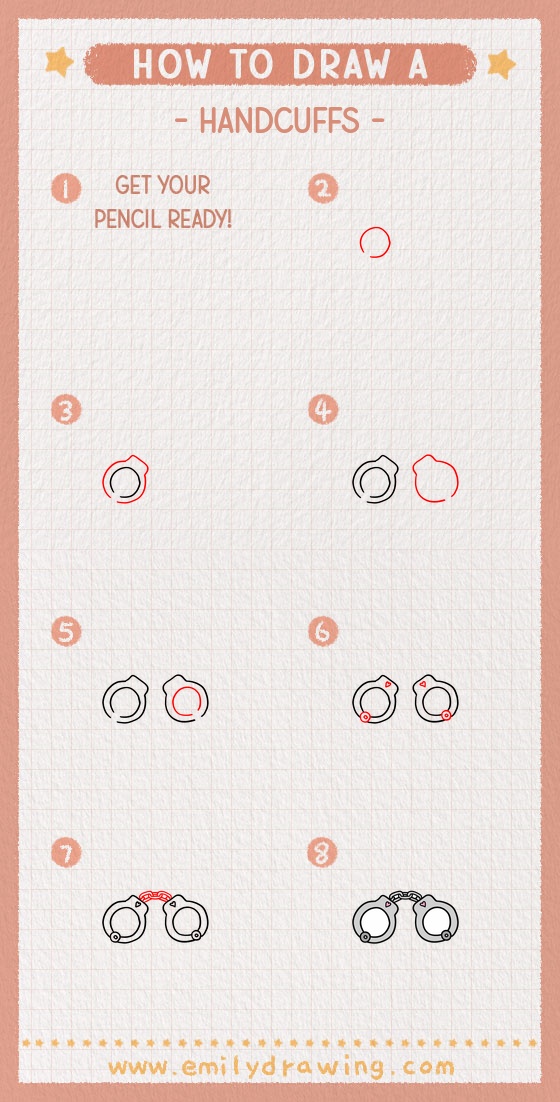
Your handcuffs now have matching cuffs, circular fittings, heart details, and a short chain. A light gray fill can suggest metal while keeping the outlines clear. Try drawing the handcuffs again with a different chain angle.
Get the FREE Printable Drawing Guide
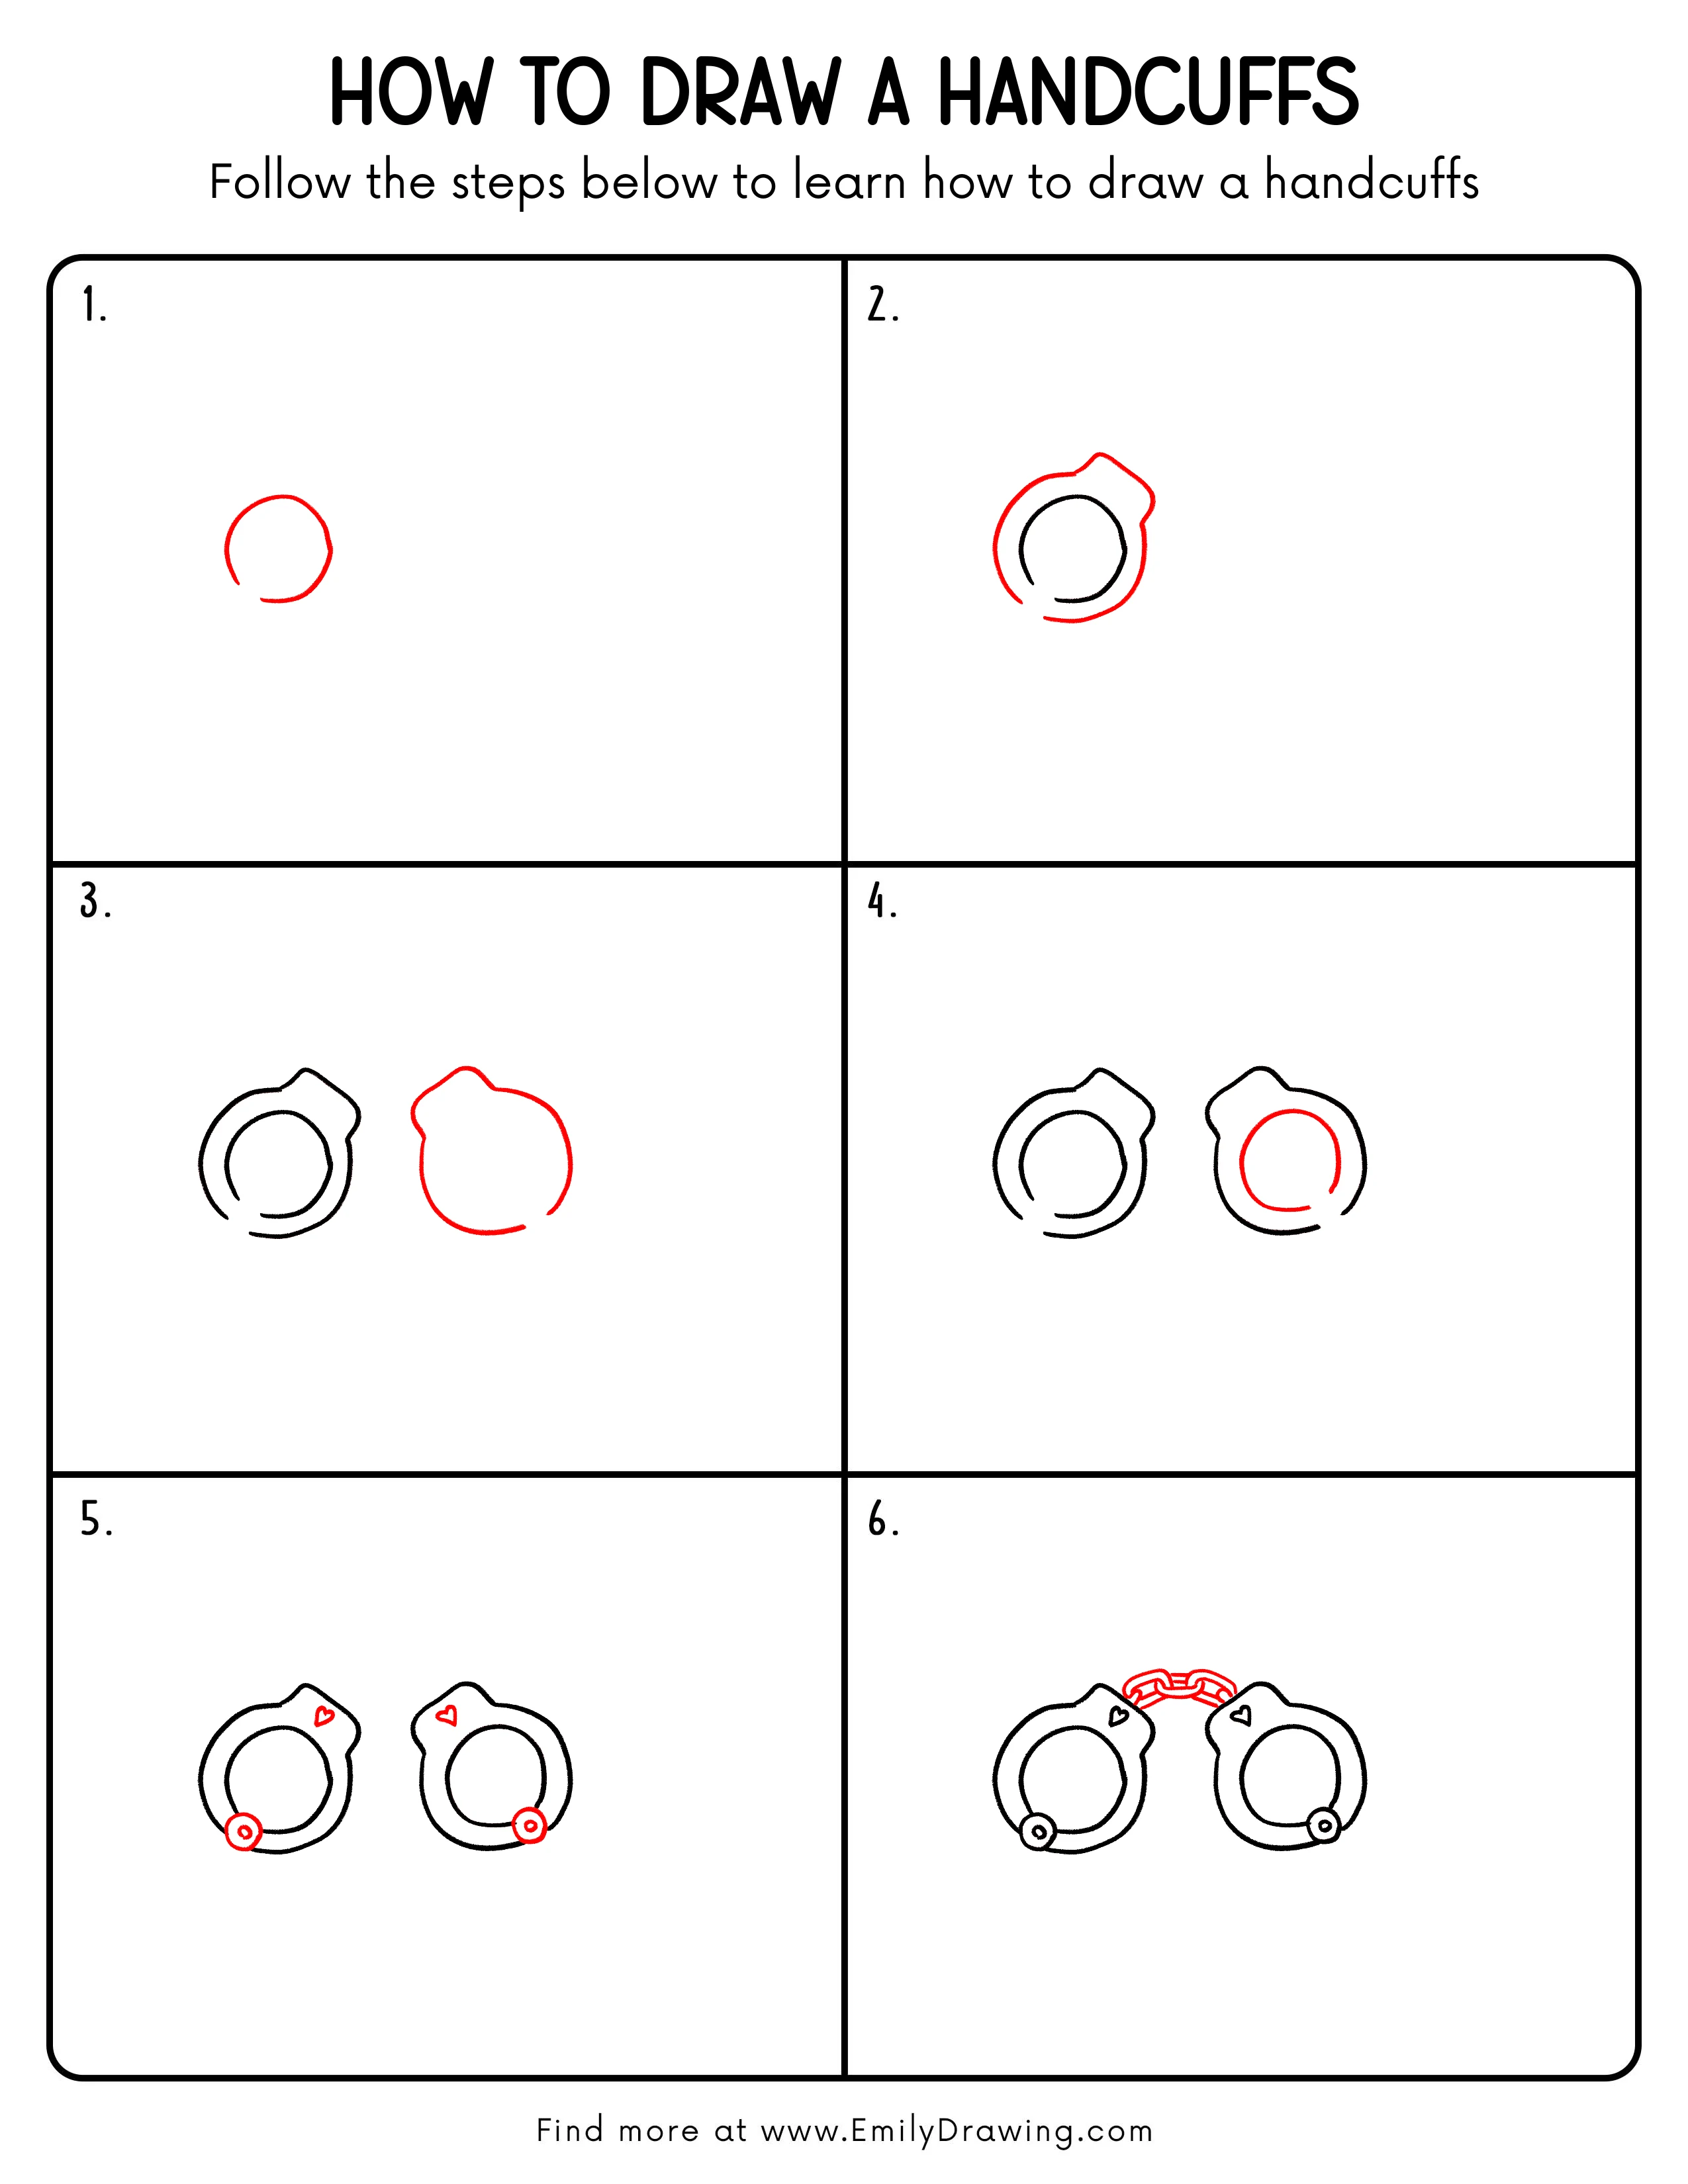
FREE Download Printable Handcuffs Drawing Tutorial
Frequently Asked Questions
How can I make both handcuffs similar in size?
Lightly mark their top and bottom heights before drawing the second outer contour.
Why do the handcuffs chain links have gaps?
The gaps show where one link passes behind another and make the overlap readable.