
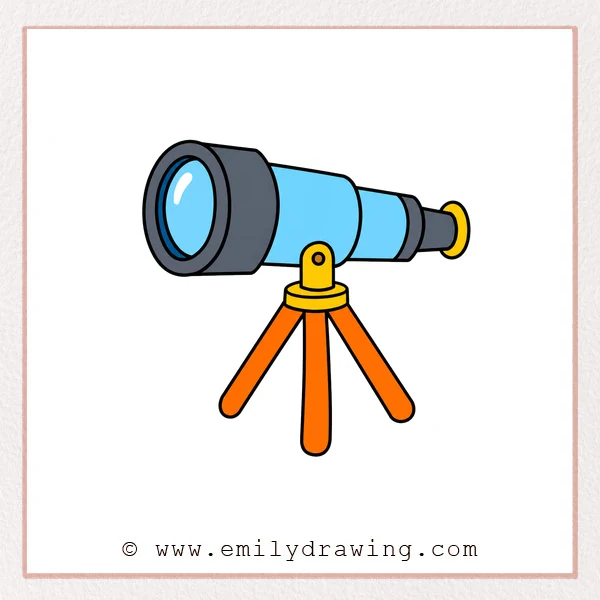
Learning how to draw telescope shapes is easier when you build them slowly. This drawing for beginners starts with simple ovals, tubes, and tripod lines. Take your time, and keep each part neat before moving to the next step.
What You Will Need
- Pencil
- Eraser
- Black marker or pen
- Coloring tools
- Drawing paper
Here are my RECOMMENDED Art Supplies!
- Crayola Coloring Set (140 Pieces – Mega Value!)
- 24 Colored Crayon Set
- A4 Printer Paper
- Crayola Coloring Pencils
- HP Home Printer with Instant Ink!
Time needed:
13 minutes.
Step-by-Step Drawing Guide
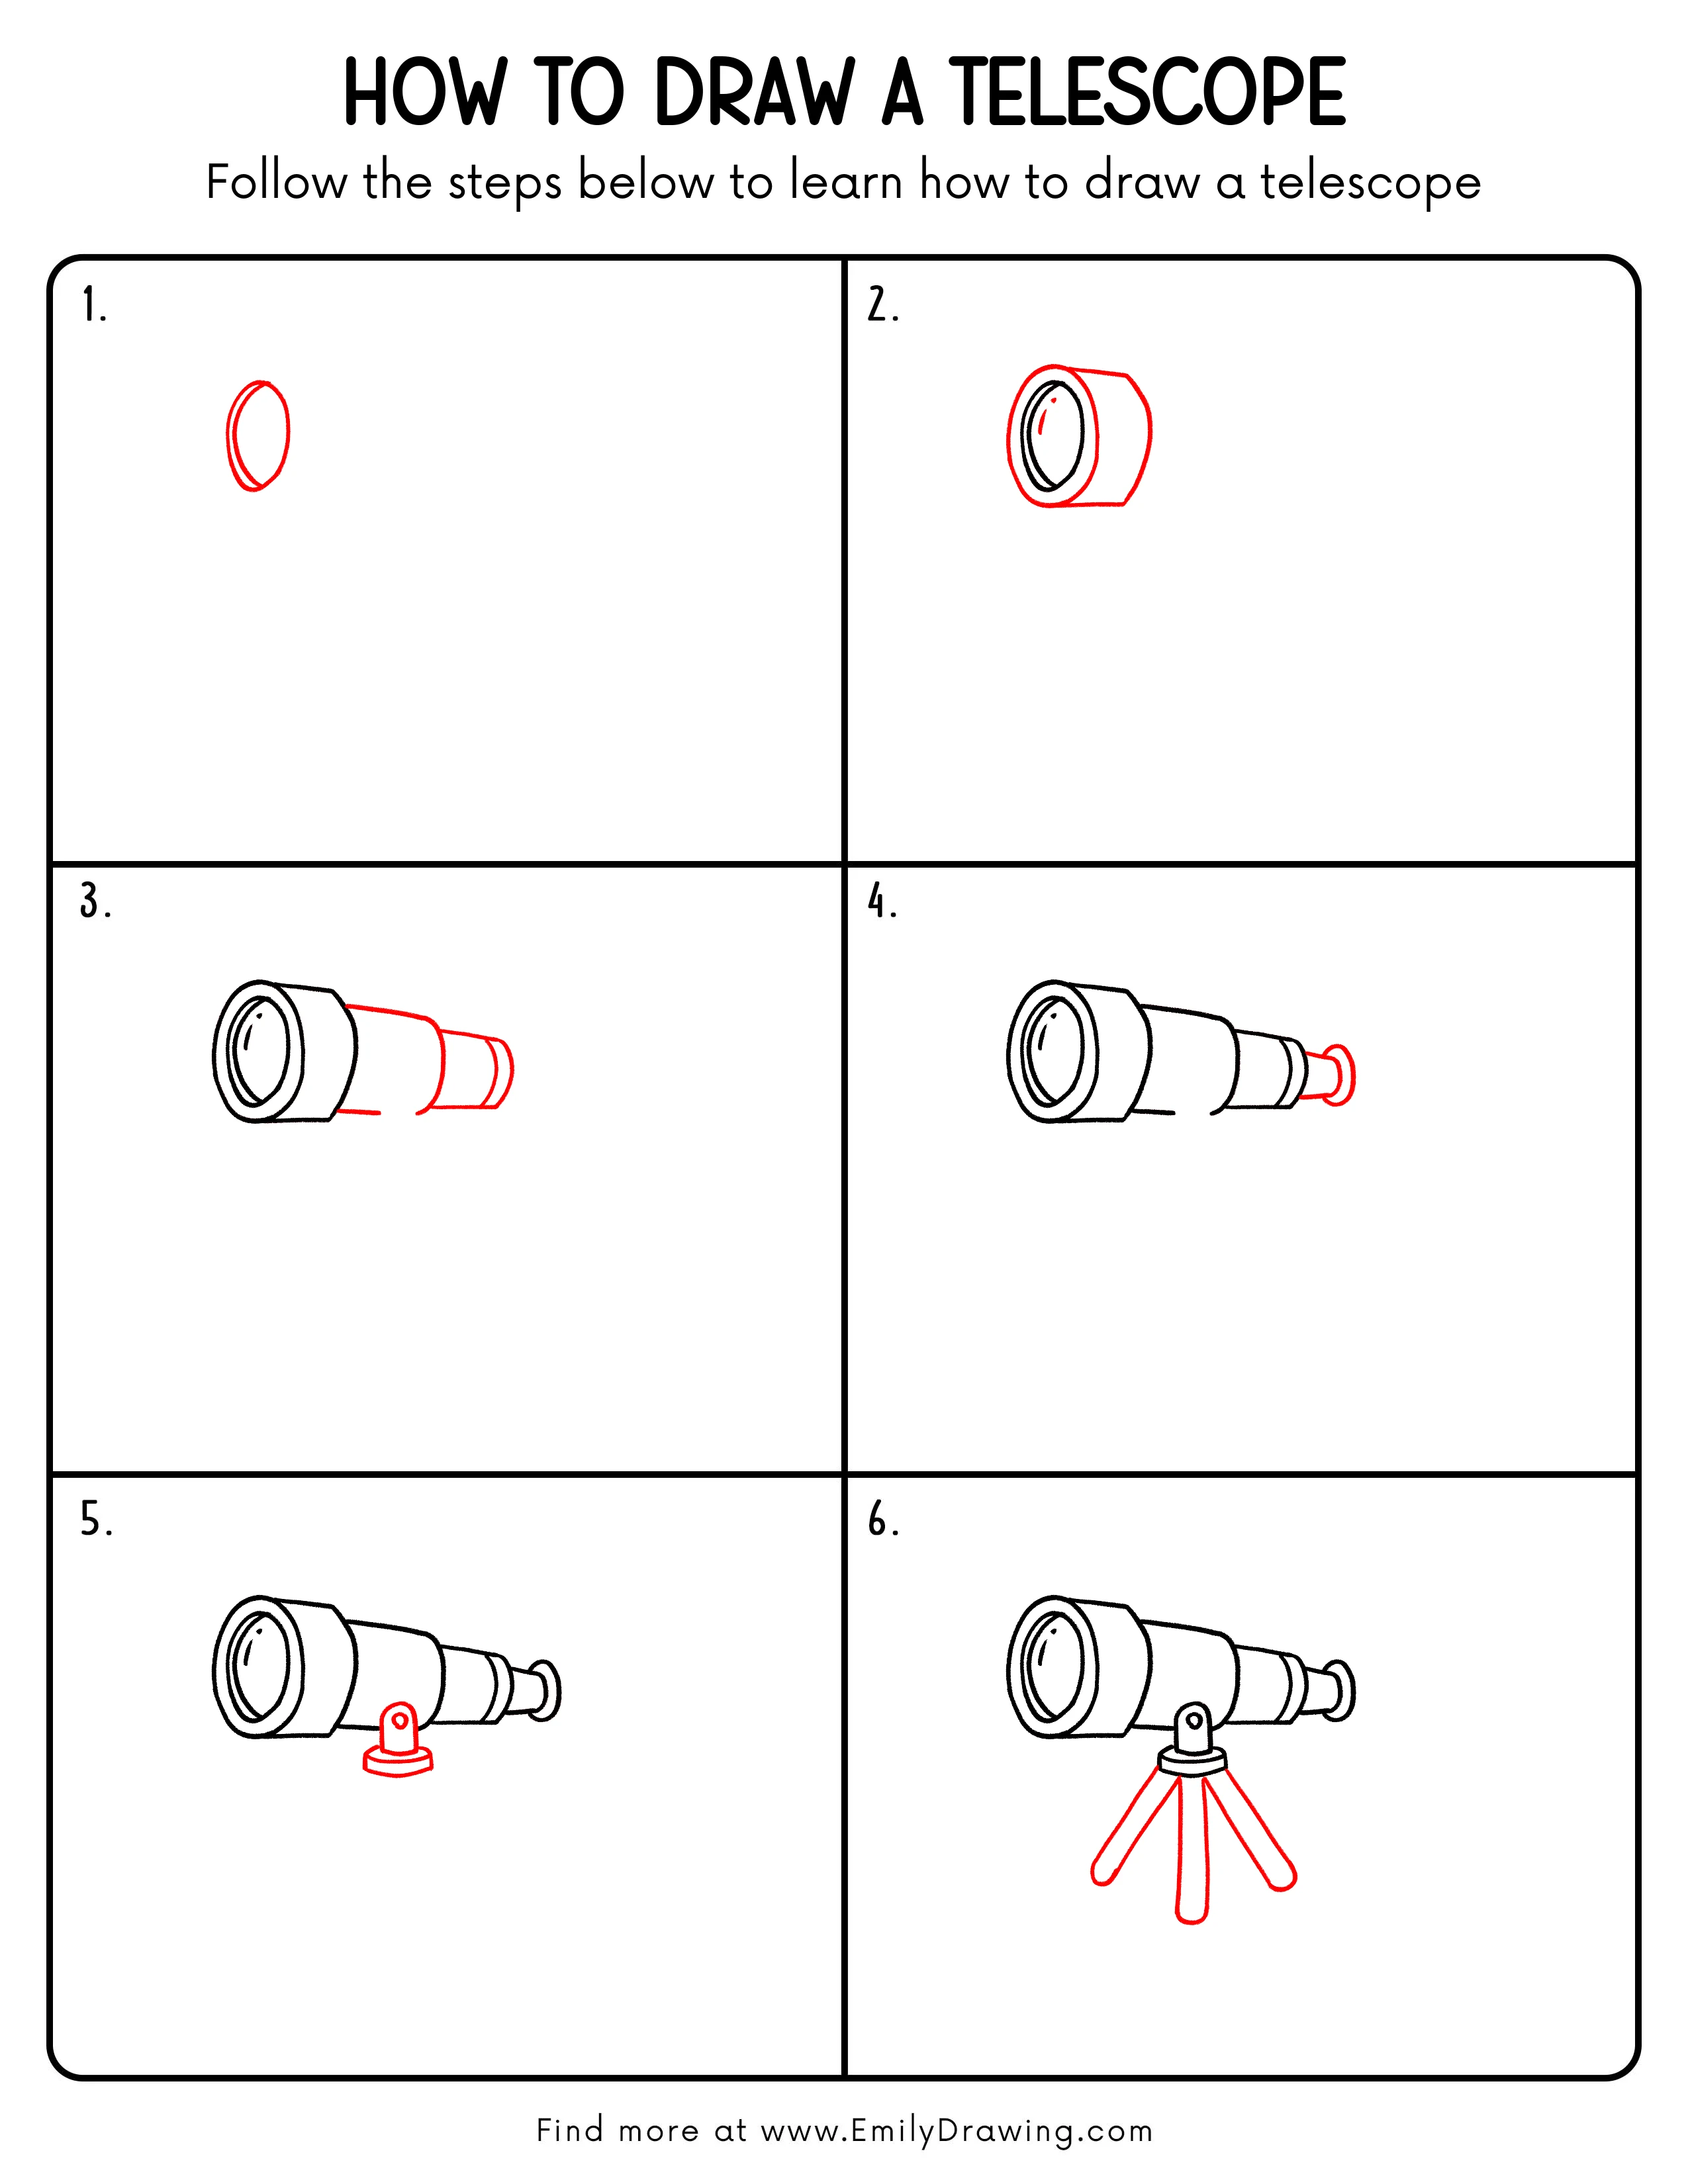
Step 1: Draw the Telescope Lens Opening
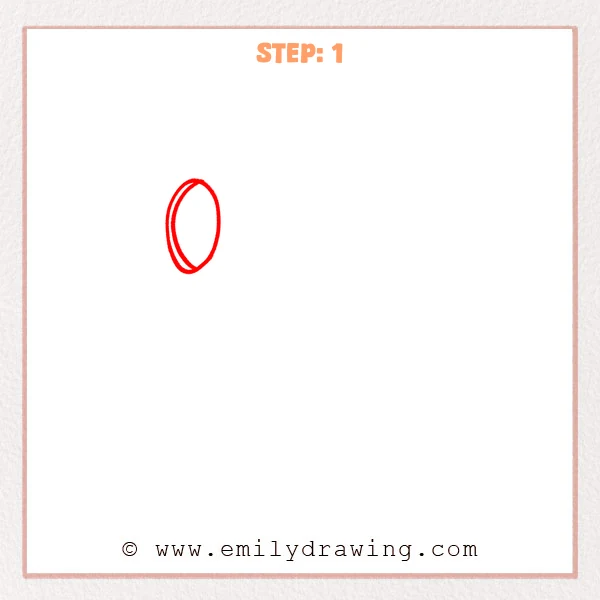
Start with a vertical oval for the front lens opening of the telescope. Let the lines overlap a little to help you find a smoother outer shape.
Pro Tip: Keep both sides of the oval nearly symmetrical so the lens looks steady.
Step 2: Add the Lens and Tube
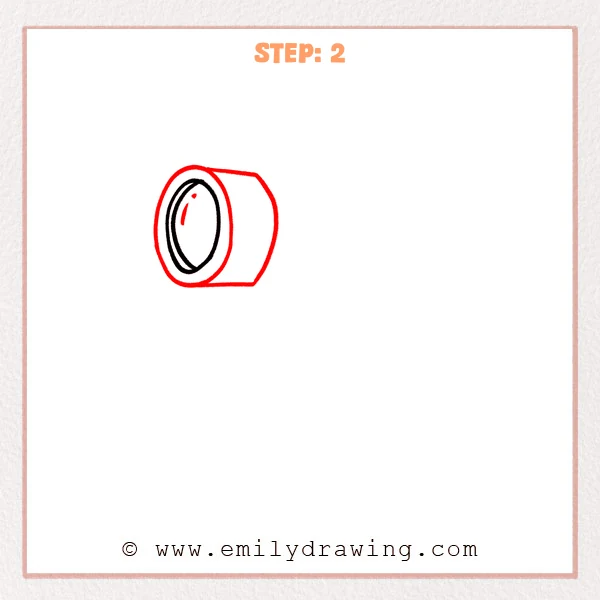
Draw a smaller oval inside the front opening to show the telescope glass lens. Then extend two slanted straight lines to the right and connect their ends with a curved line to form a short tube.
Pro Tip: Keep the top and bottom tube edges angled in the same direction so the telescope feels three-dimensional.
Step 3: Extend the Rear Telescope Tube
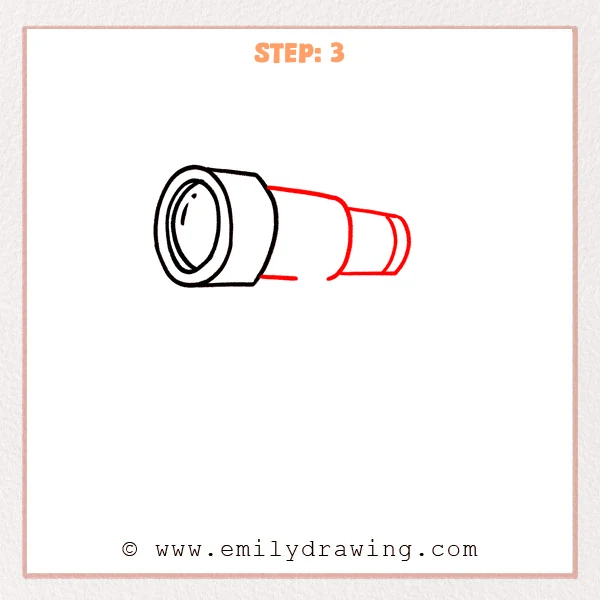
Continue the telescope body to the right with a longer rear section. Use two narrowing lines and several curved bands to show the telescoping parts.
Pro Tip: Keep each curved band facing the same direction as the front oval so the tube looks connected.
Step 4: Draw the Eyepiece
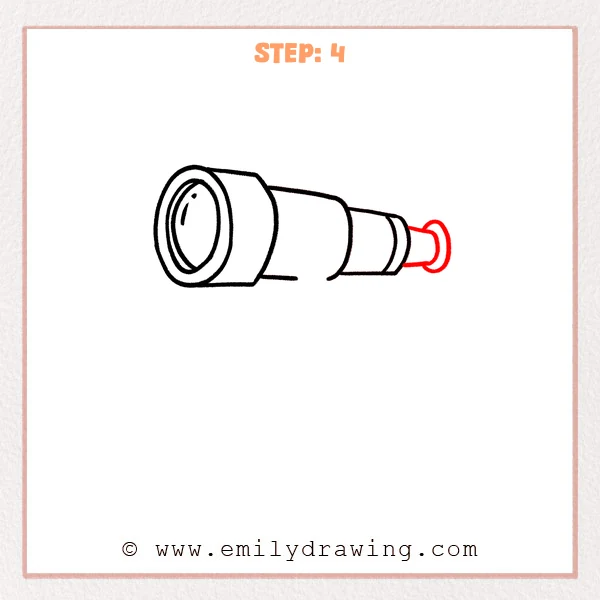
Add a short connector tube at the far right end of the telescope. Then draw a rounded outer rim to create the eyepiece for looking through.
Pro Tip: Make the eyepiece smaller than the main tube so the telescope proportions look natural.
Step 5: Add the Mounting Bracket
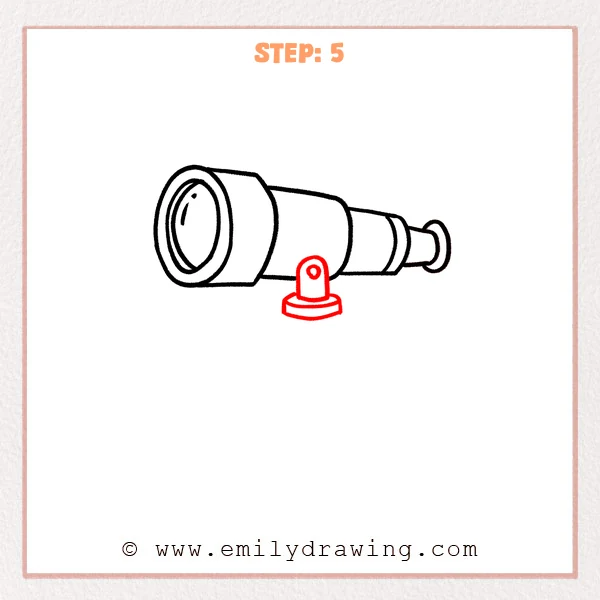
Draw a small upright bracket under the telescope, connecting it to the bottom of the tube. Add a round hole and a flat oval base to prepare for the tripod.
Pro Tip: Place the bracket near the telescope’s center of weight so the whole drawing looks balanced.
Step 6: Draw the Tripod Legs
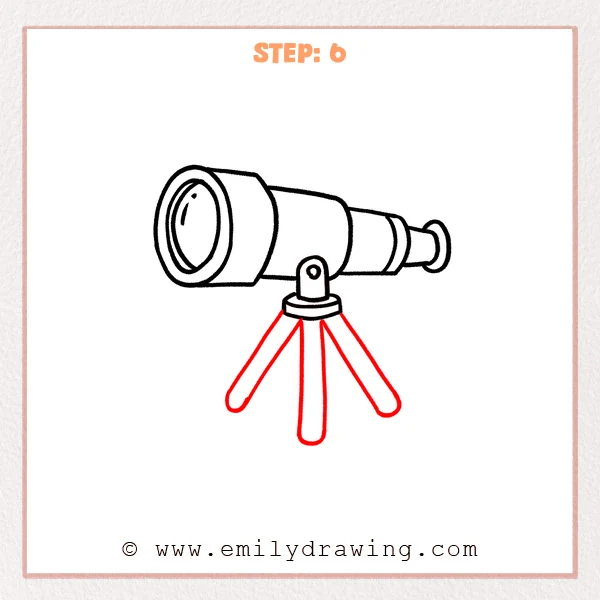
Draw three support legs spreading outward from the base so the telescope can stand firmly. Build each leg with two long lines, then round the end into a soft foot pad.
Pro Tip: Spread the three legs at different angles so the tripod looks more stable.
Step 7: Color in your drawing!
Fun Facts
Telescopes help people see faraway objects that are hard to see with only their eyes. Some telescopes are used for looking at stars, planets, and the Moon. Many telescope shapes include a long tube, a lens, and a stable stand.
Pin it now, Draw later!
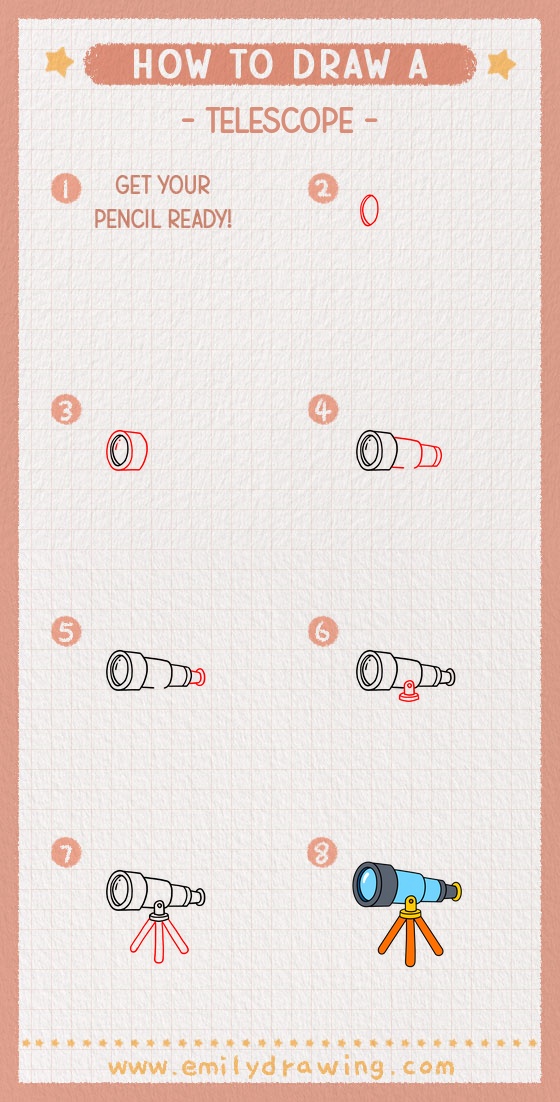
Now you have completed an easy drawing tutorial for a telescope. Trace the best lines with a marker, erase extra pencil marks, and add soft shading to the lens. You can color the tube, darken the glass, and draw stars around it for a finished space scene.
Keep practicing this step by step drawing, and try making your next telescope face a slightly different direction.
Get the FREE Printable Drawing Guide
FREE Download Printable Telescope Drawing Tutorial
Frequently Asked Questions
Is this telescope drawing good for beginners?
Yes, this drawing for beginners uses basic ovals, straight lines, and curved bands. Each step adds only one clear part.
How can I make the telescope look more realistic?
Add light shading inside the lens and along the lower side of the tube. Small highlights can make the glass look shiny.
Can I color the telescope after drawing it?
Yes, you can use gray, blue, black, or any colors you like. Keep the lens darker than the body so it stands out.



