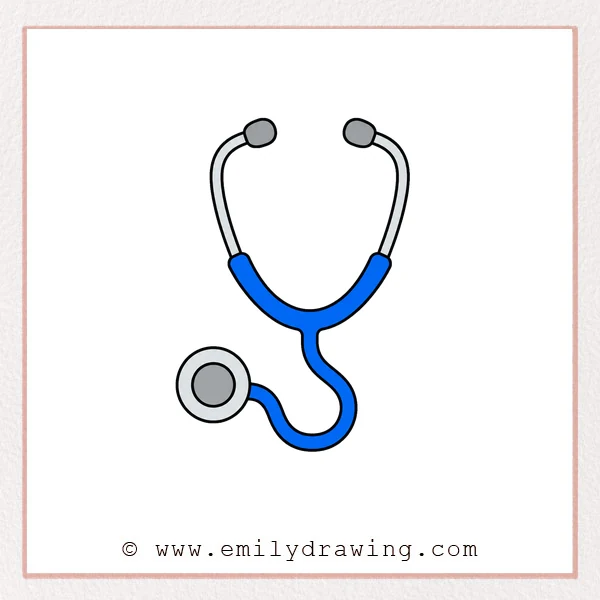
Learn how to draw stethoscope with a calm, beginner-friendly method. This easy drawing tutorial breaks the stethoscope into simple ovals, curves, and circles. Take your time with each step, and let the lines grow naturally.
What You Will Need
- A pencil
- An eraser
- Drawing paper
- A black marker or pen
- Coloring tools, if you want to add color
Here are my RECOMMENDED Art Supplies!
- Crayola Coloring Set (140 Pieces – Mega Value!)
- 24 Colored Crayon Set
- A4 Printer Paper
- Crayola Coloring Pencils
- HP Home Printer with Instant Ink!
Time needed:
27 minutes.
Step-by-Step Drawing Guide
Step 1: Draw Two Stethoscope Earpieces
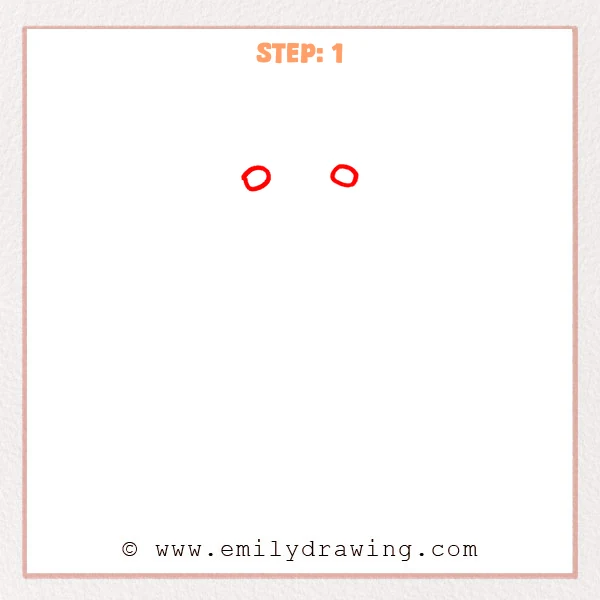
Start near the top of the page with two small tilted ovals. Keep them separated and similar in size to build the stethoscope earpieces.
Pro Tip: Keep the two ovals small so there is enough room for the tubing below.
Step 2: Add the Left Curved Tube
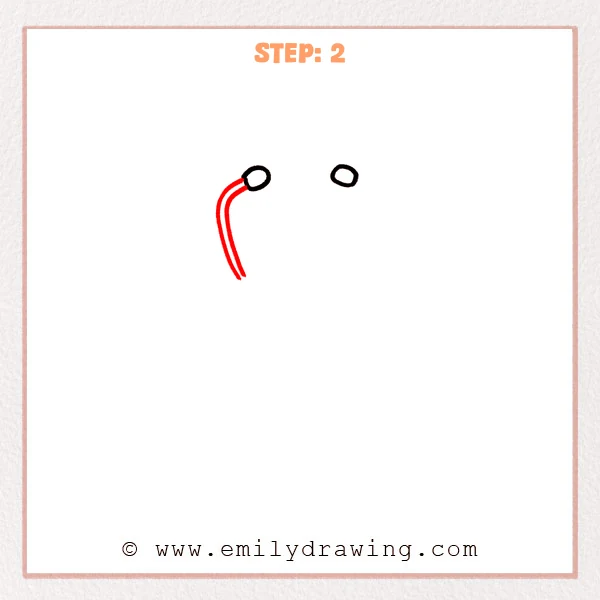
From beneath the left earpiece, draw two long parallel curved lines. Let them bend left first, then flow downward to form the left tube of the stethoscope.
Pro Tip: Keep an even space between the two curves to make the tubing look neat.
Step 3: Add the Right Curved Tube
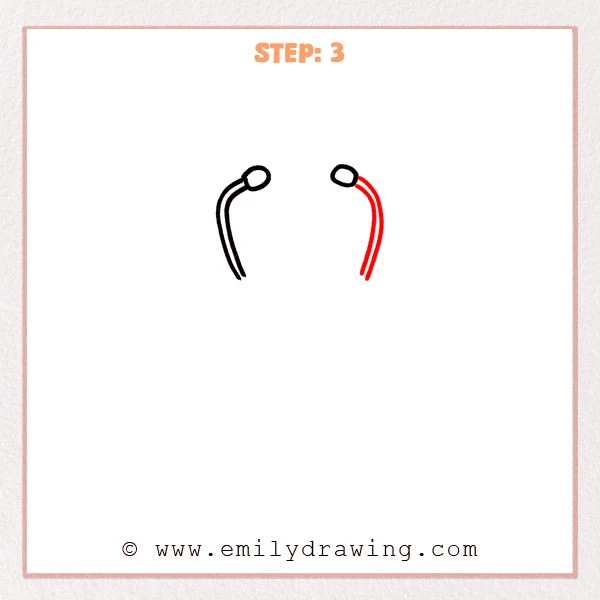
From beneath the right earpiece, draw another pair of parallel curves. Let them bend gently to the right, then extend downward to match the left tube’s length.
Pro Tip: Match the right curve to the left curve so the stethoscope feels balanced.
Step 4: Connect the Bottom Tube
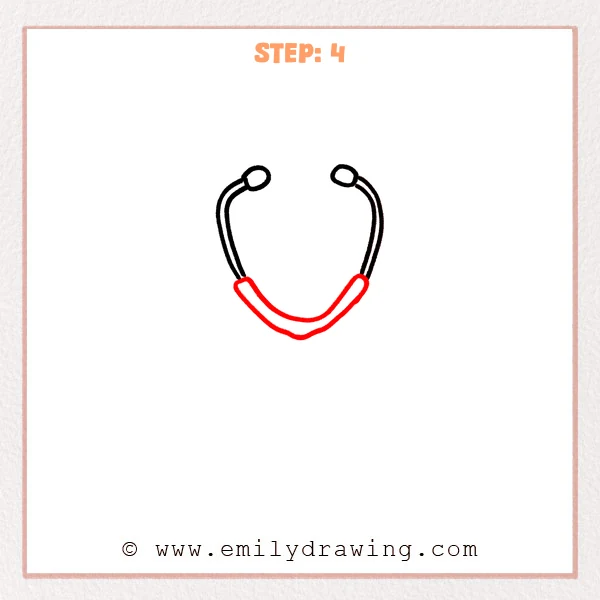
Add a wide U-shaped tube beneath the two side tubes. Connect both ends to the lower tips, letting the middle curve downward naturally.
Pro Tip: Make the bottom U shape smooth, and avoid a sharp bend in the center.
Step 5: Draw the Lower Curved Tube
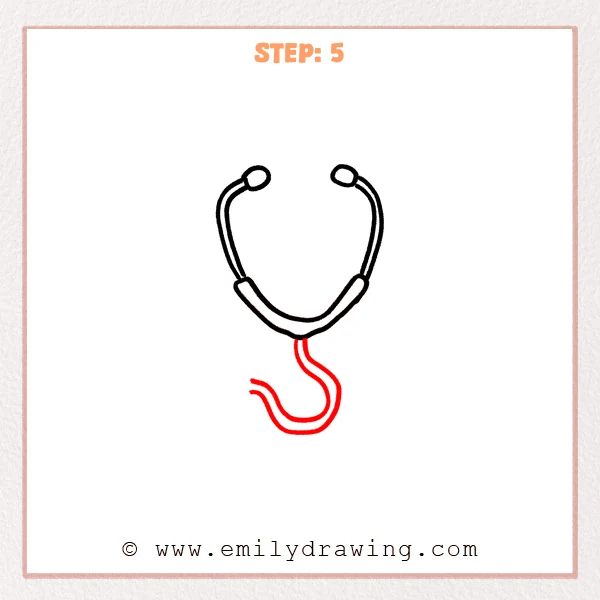
From the center of the bottom tube, draw two new parallel curved lines downward. Let the tube form a soft S shape, leaving the left end open for now.
Pro Tip: Avoid making the lower tube too straight, because a gentle curve looks more realistic.
Step 6: Add the Chest Piece Disc
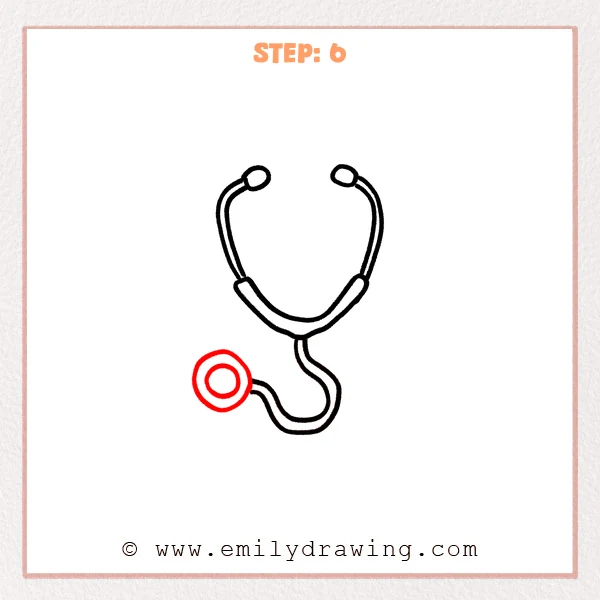
Draw a large circle at the left end of the lower tube for the stethoscope chest piece. Add a smaller circle inside it to make the disc look complete.
Pro Tip: Keep the inner and outer circles centered so the chest piece looks steady and clear.
Step 7: Color in your drawing!
Fun Facts
- A stethoscope helps doctors and nurses listen to sounds inside the body.
- The round chest piece is placed gently on the chest, back, or belly.
- A stethoscope has long tubing that carries sound to the earpieces.
Pin it now, Draw later!
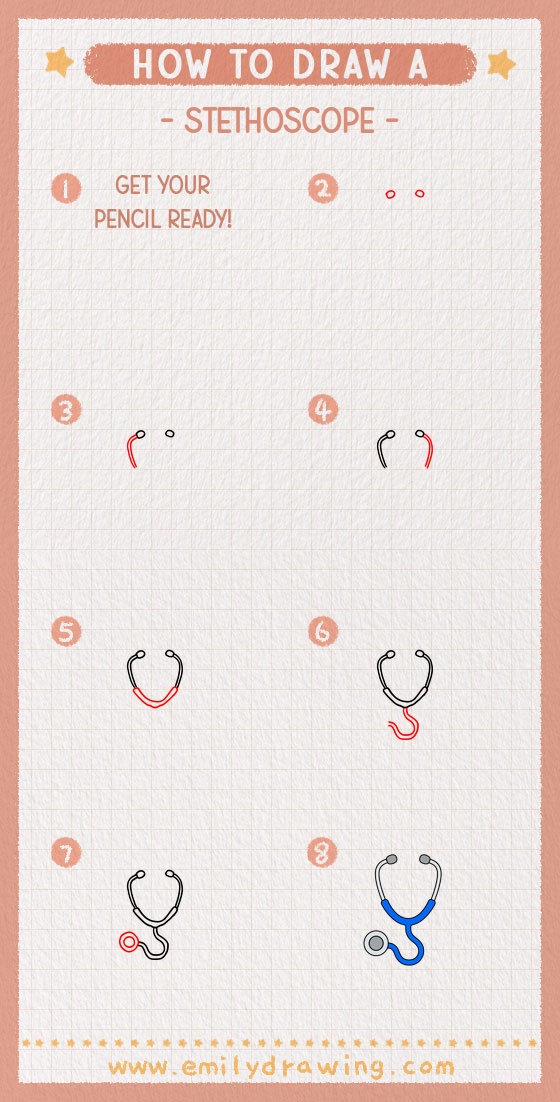
Now your stethoscope step by step drawing is complete. Trace the final lines with a marker, then erase any light sketch marks. You can color the tubing black, red, blue, or any color you like.
Keep practicing this drawing for beginners, and try making the curves smoother each time.
Get the FREE Printable Drawing Guide
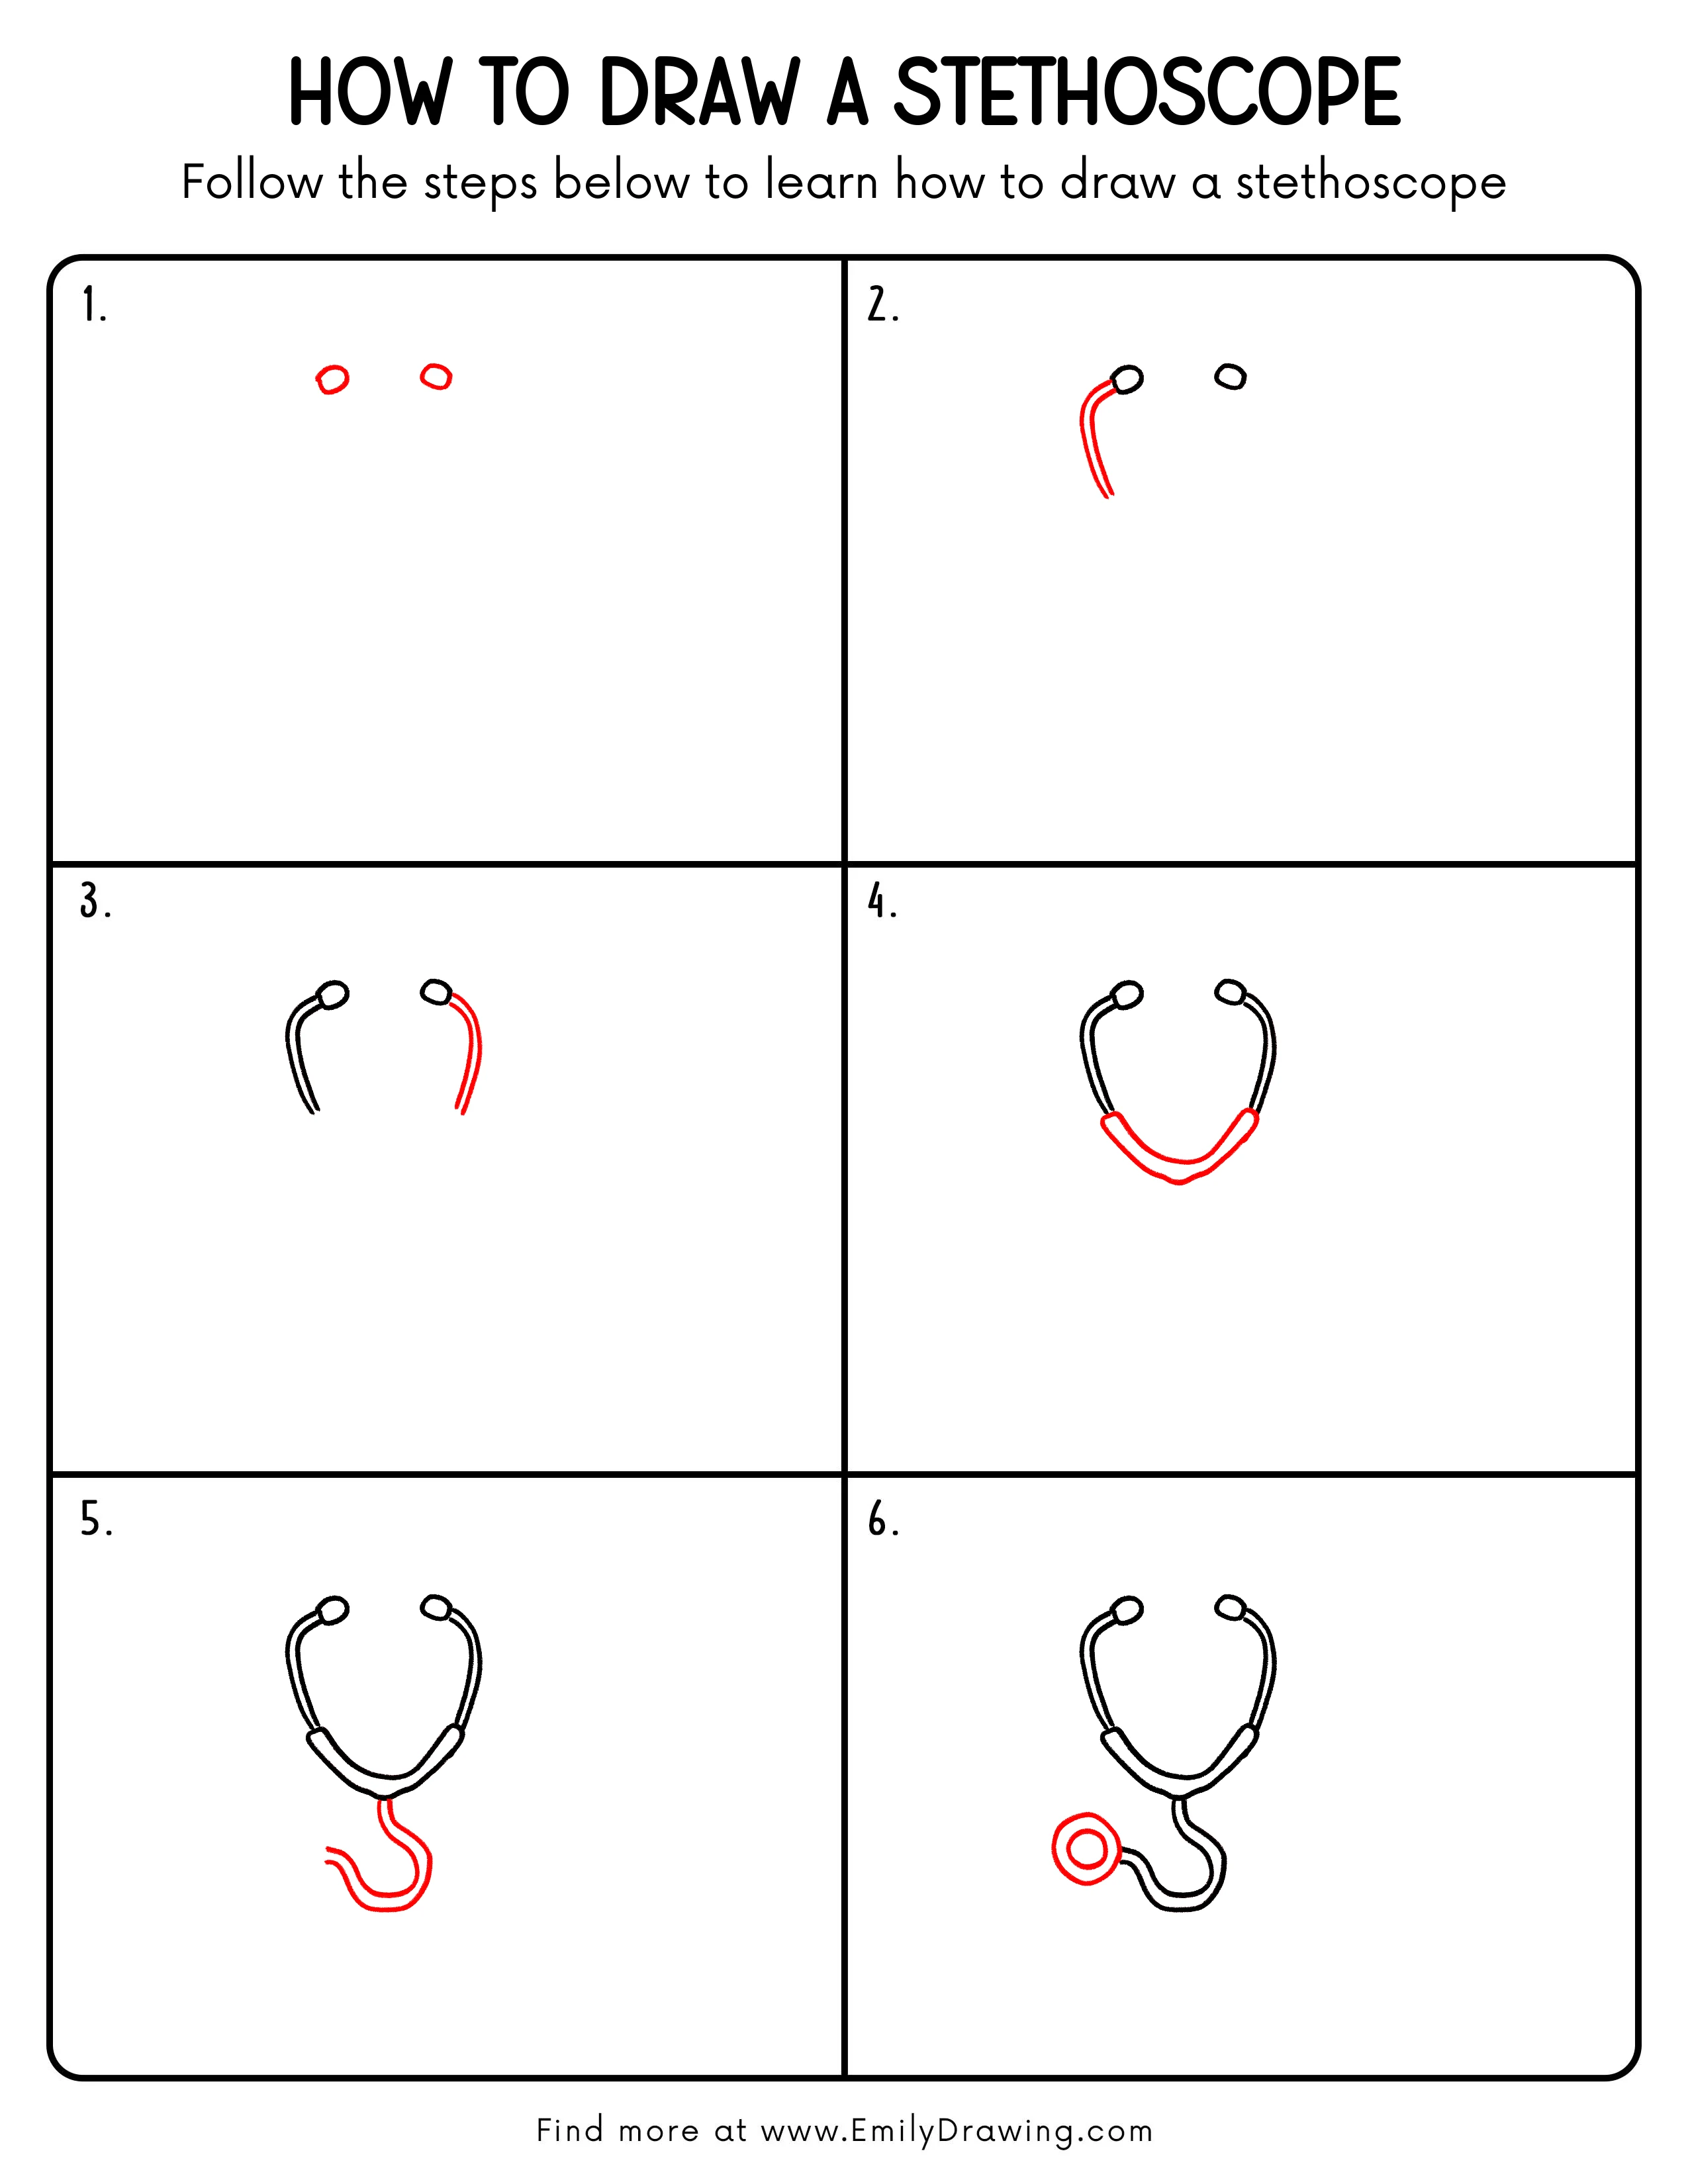
FREE Download Printable Stethoscope Drawing Tutorial
Frequently Asked Questions
Is this stethoscope drawing good for beginners?
Yes, this easy drawing tutorial uses simple ovals, curves, and circles. It is a good choice for young artists and beginners.
How can I make my stethoscope look more realistic?
Keep the tubing width even and make both sides balanced. Smooth curved lines will make the stethoscope look cleaner.
Can I color the stethoscope after drawing it?
Yes, you can color the tubing and chest piece after finishing the outline. Choose soft colors or bright colors to match your style.