
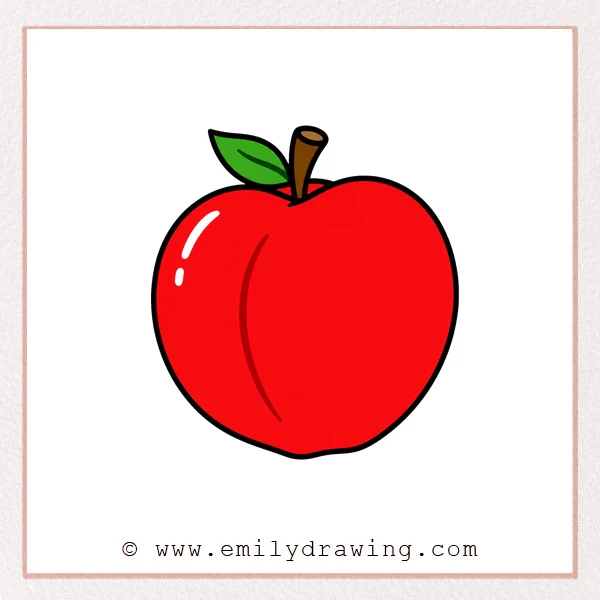
Learning how to draw peach is a gentle way to practice round fruit shapes. This easy drawing tutorial uses simple curves, a small stem, one leaf, and a soft inner groove. Take your time, and let each line build the peach step by step.
What You Will Need
- Pencil
- Eraser
- Drawing paper
- Black marker or pen
- Colored pencils, crayons, or markers
Here are my RECOMMENDED Art Supplies!
- Crayola Coloring Set (140 Pieces – Mega Value!)
- 24 Colored Crayon Set
- A4 Printer Paper
- Crayola Coloring Pencils
- HP Home Printer with Instant Ink!
Time needed:
14 minutes.
Step-by-Step Drawing Guide
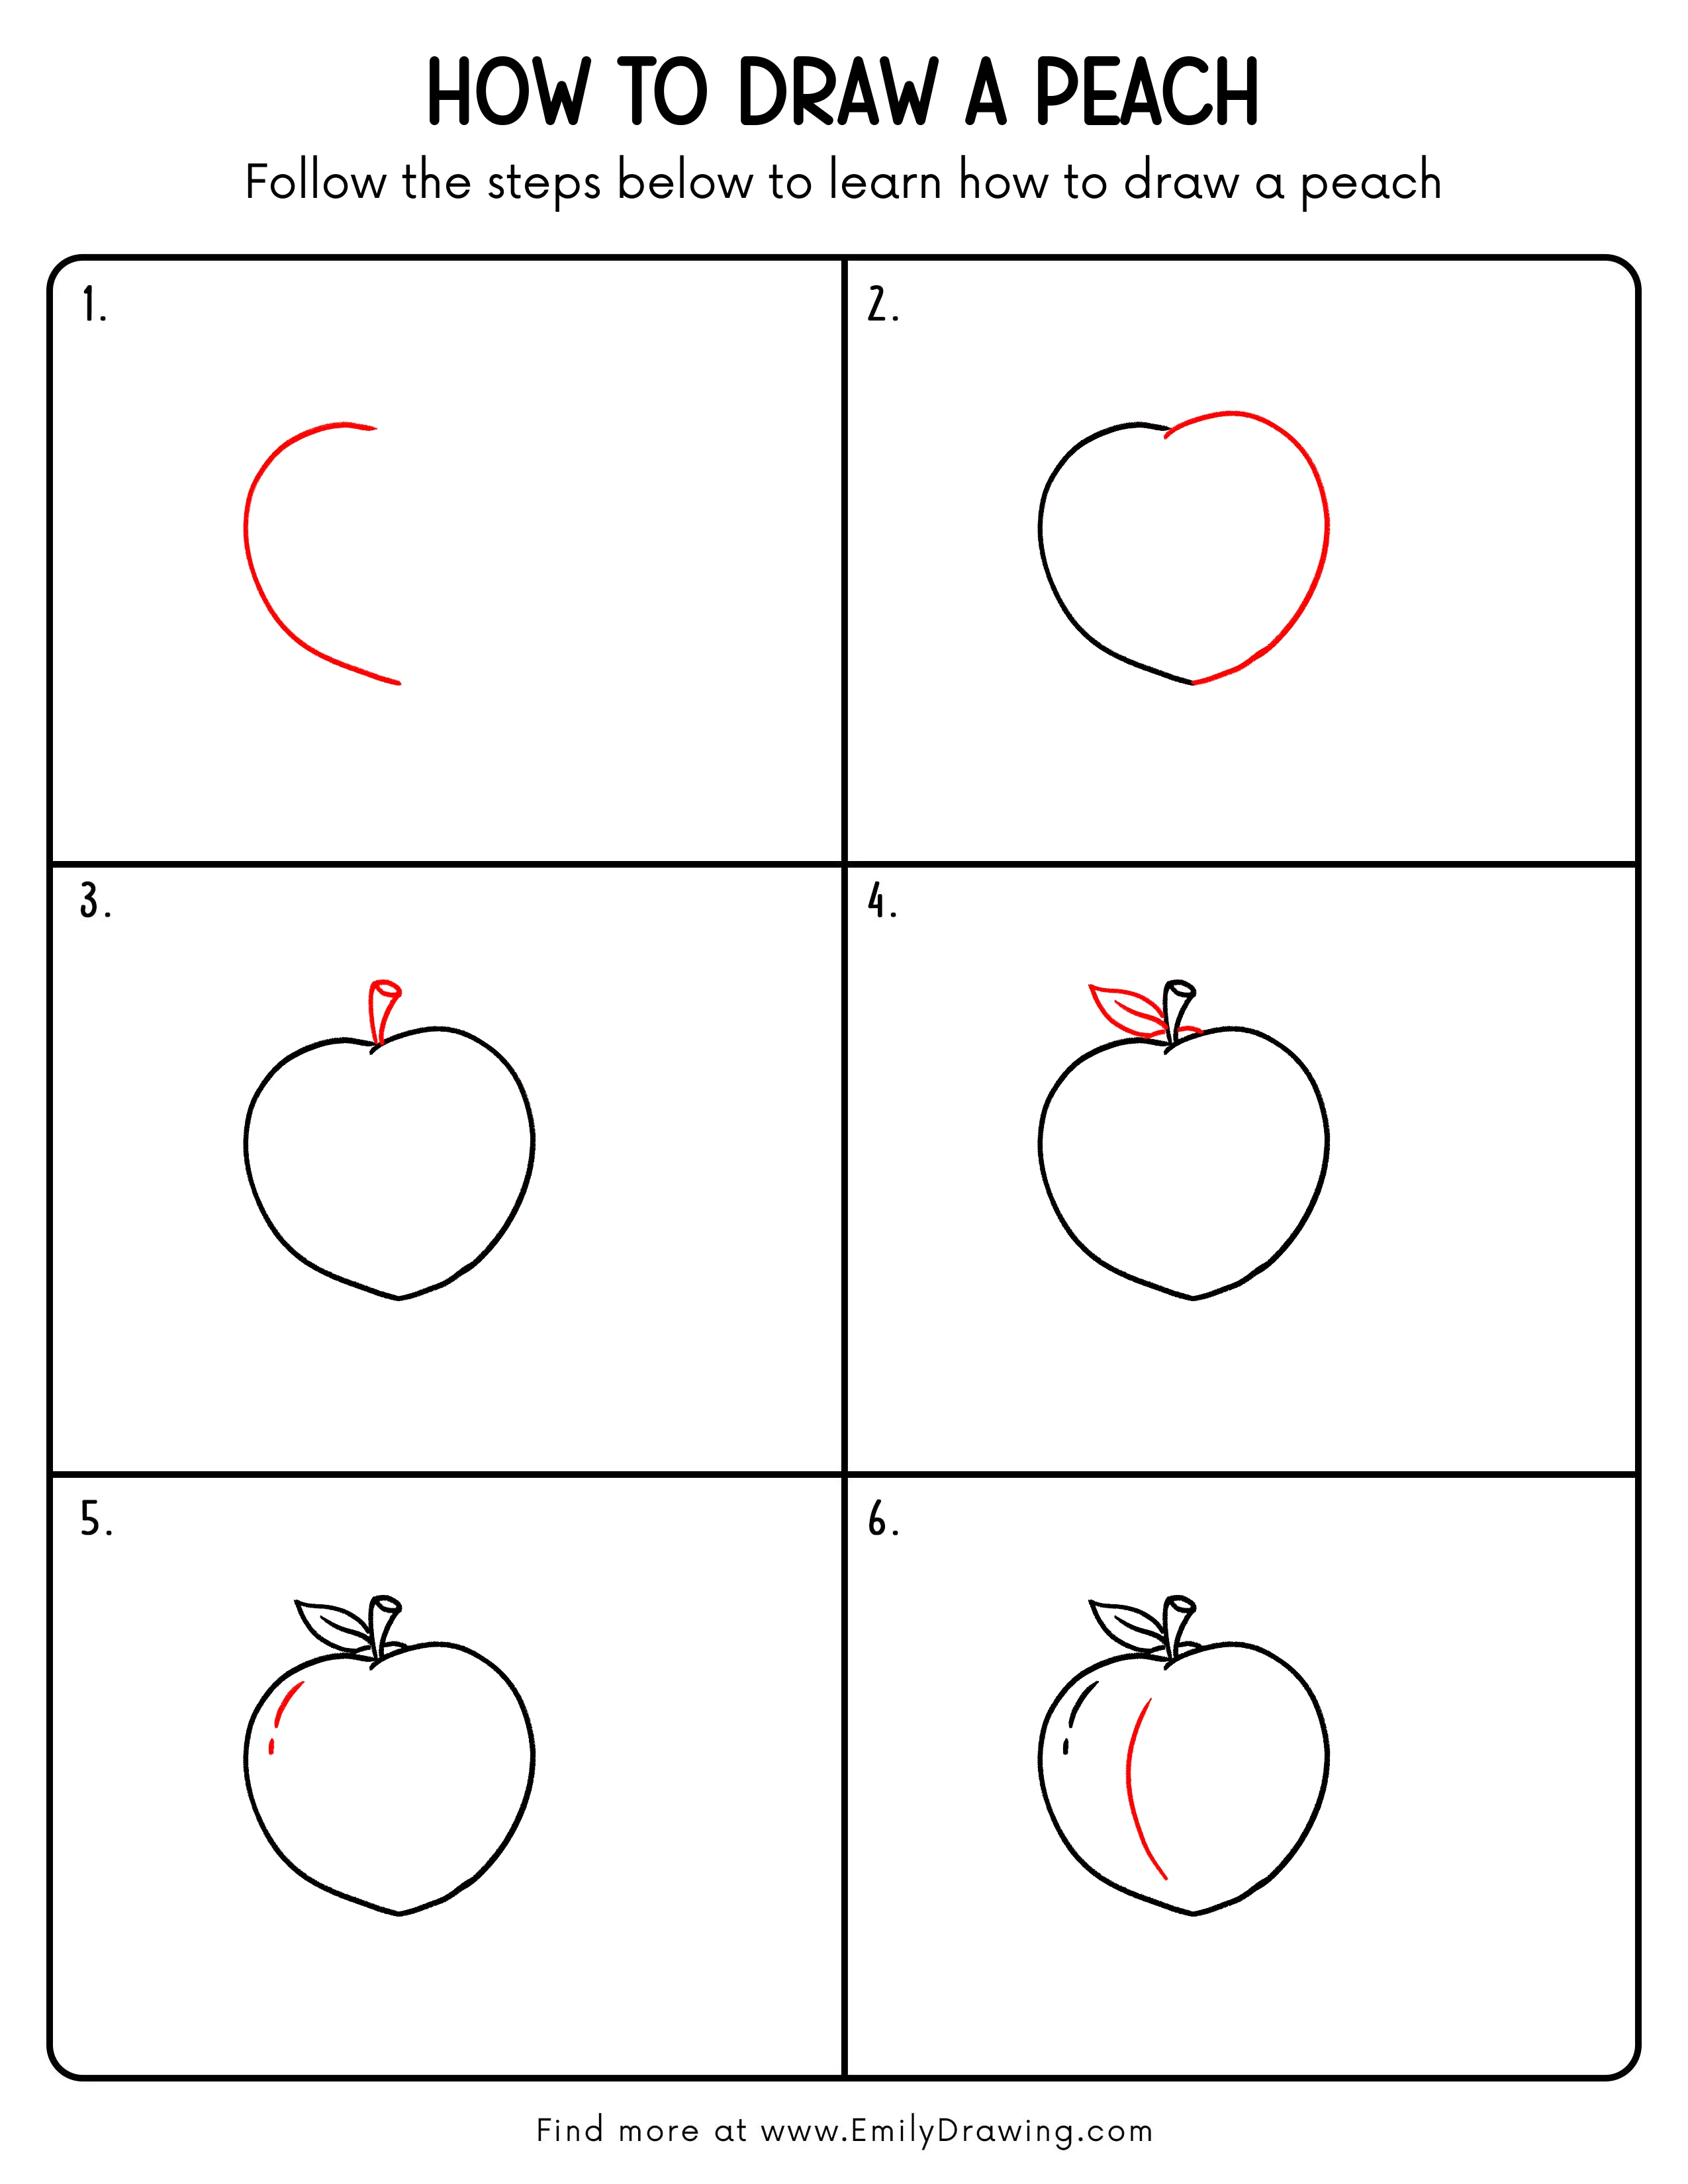
Step 1: Draw the Outer Curve of the Peach
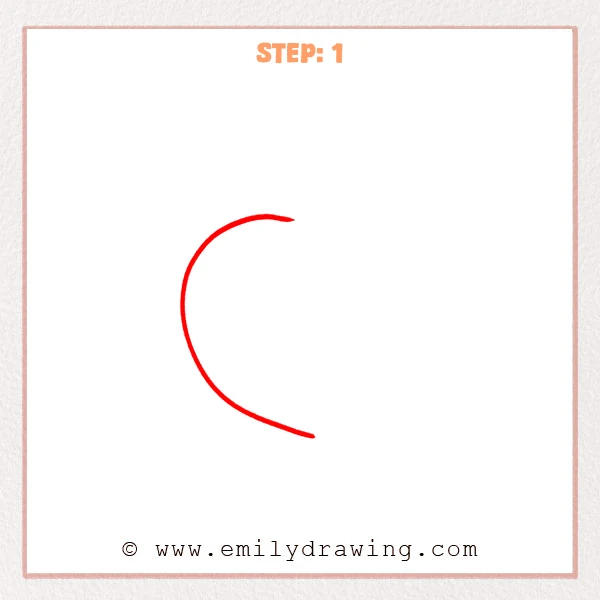
Start near the top and draw one large curved line. Let the line bulge outward to the left, then turn gently downward like half of a rounded peach shape.
Pro Tip: Keep both ends open for now so the other side of the peach can connect later.
Step 2: Connect the Other Side of the Peach
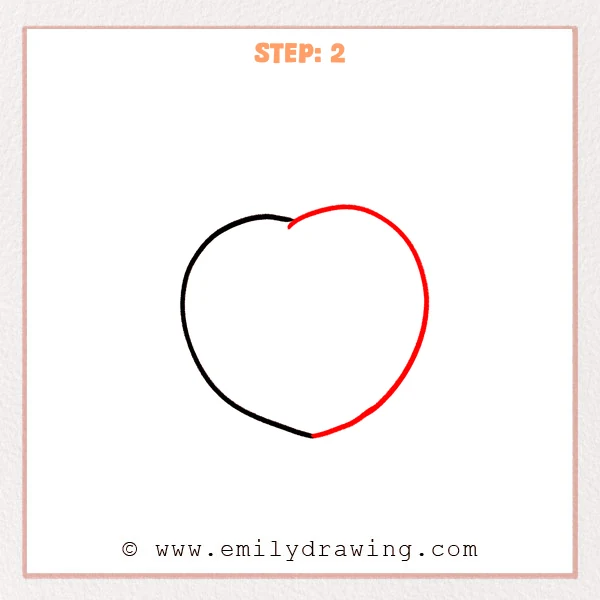
Start beside the top opening and draw a new curve bulging to the right. Bring it down and connect it to the bottom end of the first line, forming a rounded peach shape.
Pro Tip: Make the right curve a little fuller than the left so the peach looks more natural.
Step 3: Add the Peach Stem
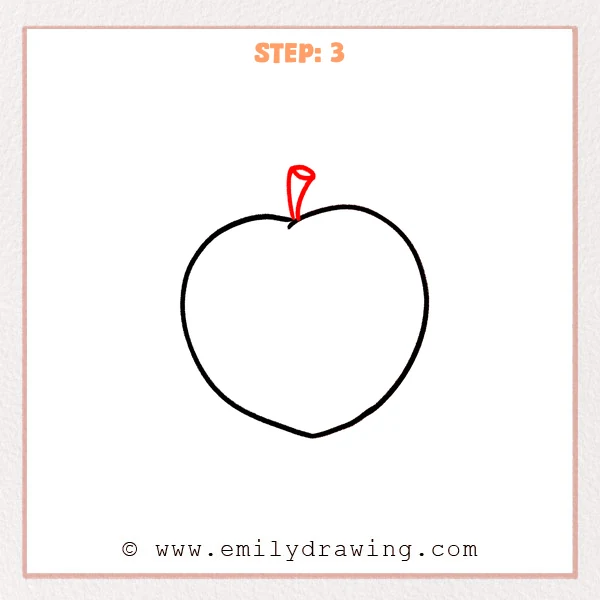
Draw a short stem rising from the top notch. Make the stem slightly curved, and add a small oval opening at the top.
Pro Tip: Align the base of the stem with the top notch so the peach feels balanced.
Step 4: Draw the Peach Leaf
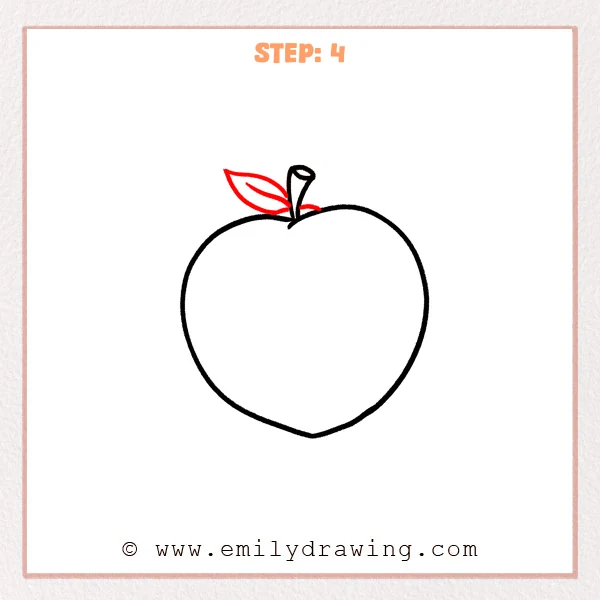
Add a pointed leaf on the left side of the stem. Then draw one center vein so the leaf looks clearer.
Pro Tip: Let the leaf tip curve slightly upward to make the peach feel lively.
Step 5: Add the Peach Highlight Lines
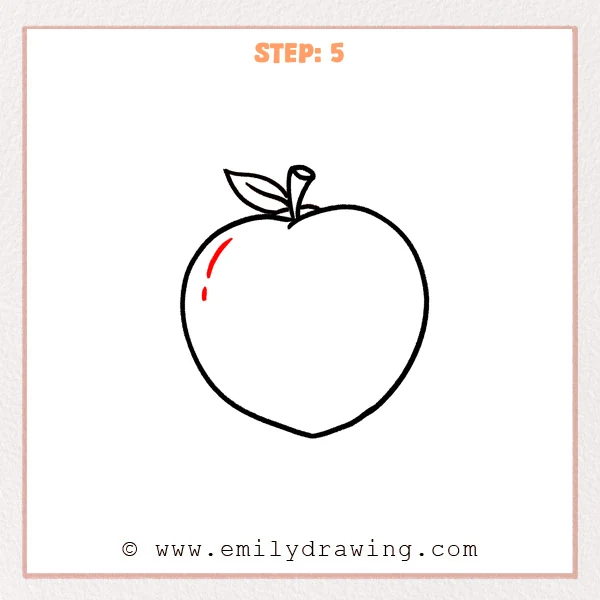
Draw a short curved line on the upper left side of the peach. Add one smaller short line below it to show the shiny area on the skin.
Pro Tip: Keep the highlight lines near the outer curve, but do not let them touch the edge.
Step 6: Draw the Peach Center Curve
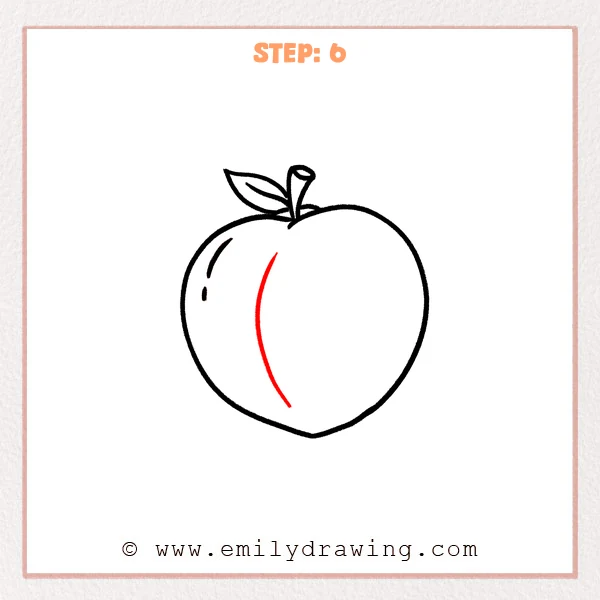
Inside the peach, slightly left of center, draw one long curved line. Let the line bend gently downward to show the peach’s natural groove.
Pro Tip: Do not make the center line too straight, because a soft curve looks more peach-like.
Step 7: Color in your drawing!
Fun Facts
Peaches are known for their soft, fuzzy skin and rounded shape. Many peaches have a gentle groove down one side, which makes them fun for drawing for beginners. Their leaves are long and pointed, adding a nice detail to a simple fruit sketch.
Pin it now, Draw later!
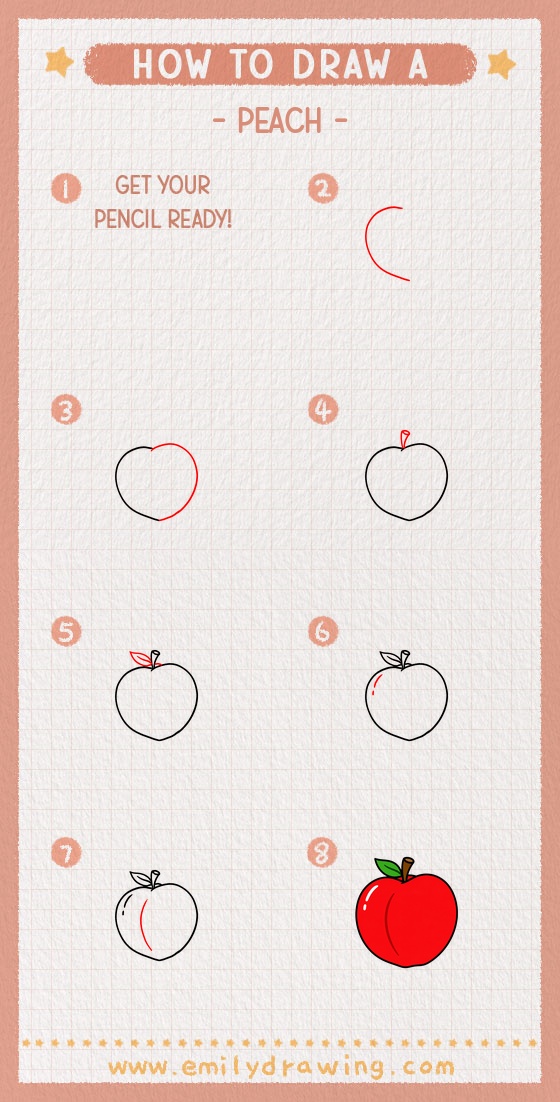
Now you know how to draw peach using simple beginner-friendly steps. Trace your favorite lines with a marker, then erase extra pencil marks carefully. Add peach, pink, yellow, or orange colors to finish your drawing, and try this step by step drawing again for practice.
Get the FREE Printable Drawing Guide
FREE Download Printable Peach Drawing Tutorial
Frequently Asked Questions
Is this peach drawing good for beginners?
Yes, this easy drawing tutorial is made with simple curves and small details, so beginners can follow it comfortably.
How can I make my peach look rounder?
Make both outside curves wide and smooth, then keep the bottom softly pointed instead of sharp.
What colors should I use for a peach?
Use light orange, peach, pink, and yellow for the fruit, then add green for the leaf and brown for the stem.



