
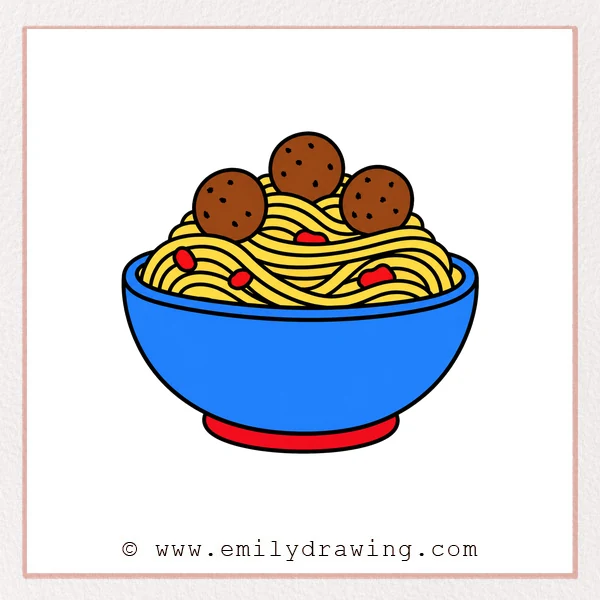
Learning how to draw pasta can be simple and fun for beginners. This easy drawing tutorial builds the picture slowly, using curved lines, small toppings, and a rounded bowl. Take your time with each step, and keep your lines gentle and clear.
What You Will Need
- Pencil
- Eraser
- Black marker or pen
- Drawing paper
- Colored pencils or crayons
Here are my RECOMMENDED Art Supplies!
- Crayola Coloring Set (140 Pieces – Mega Value!)
- 24 Colored Crayon Set
- A4 Printer Paper
- Crayola Coloring Pencils
- HP Home Printer with Instant Ink!
Time needed:
10 minutes.
Step-by-Step Drawing Guide
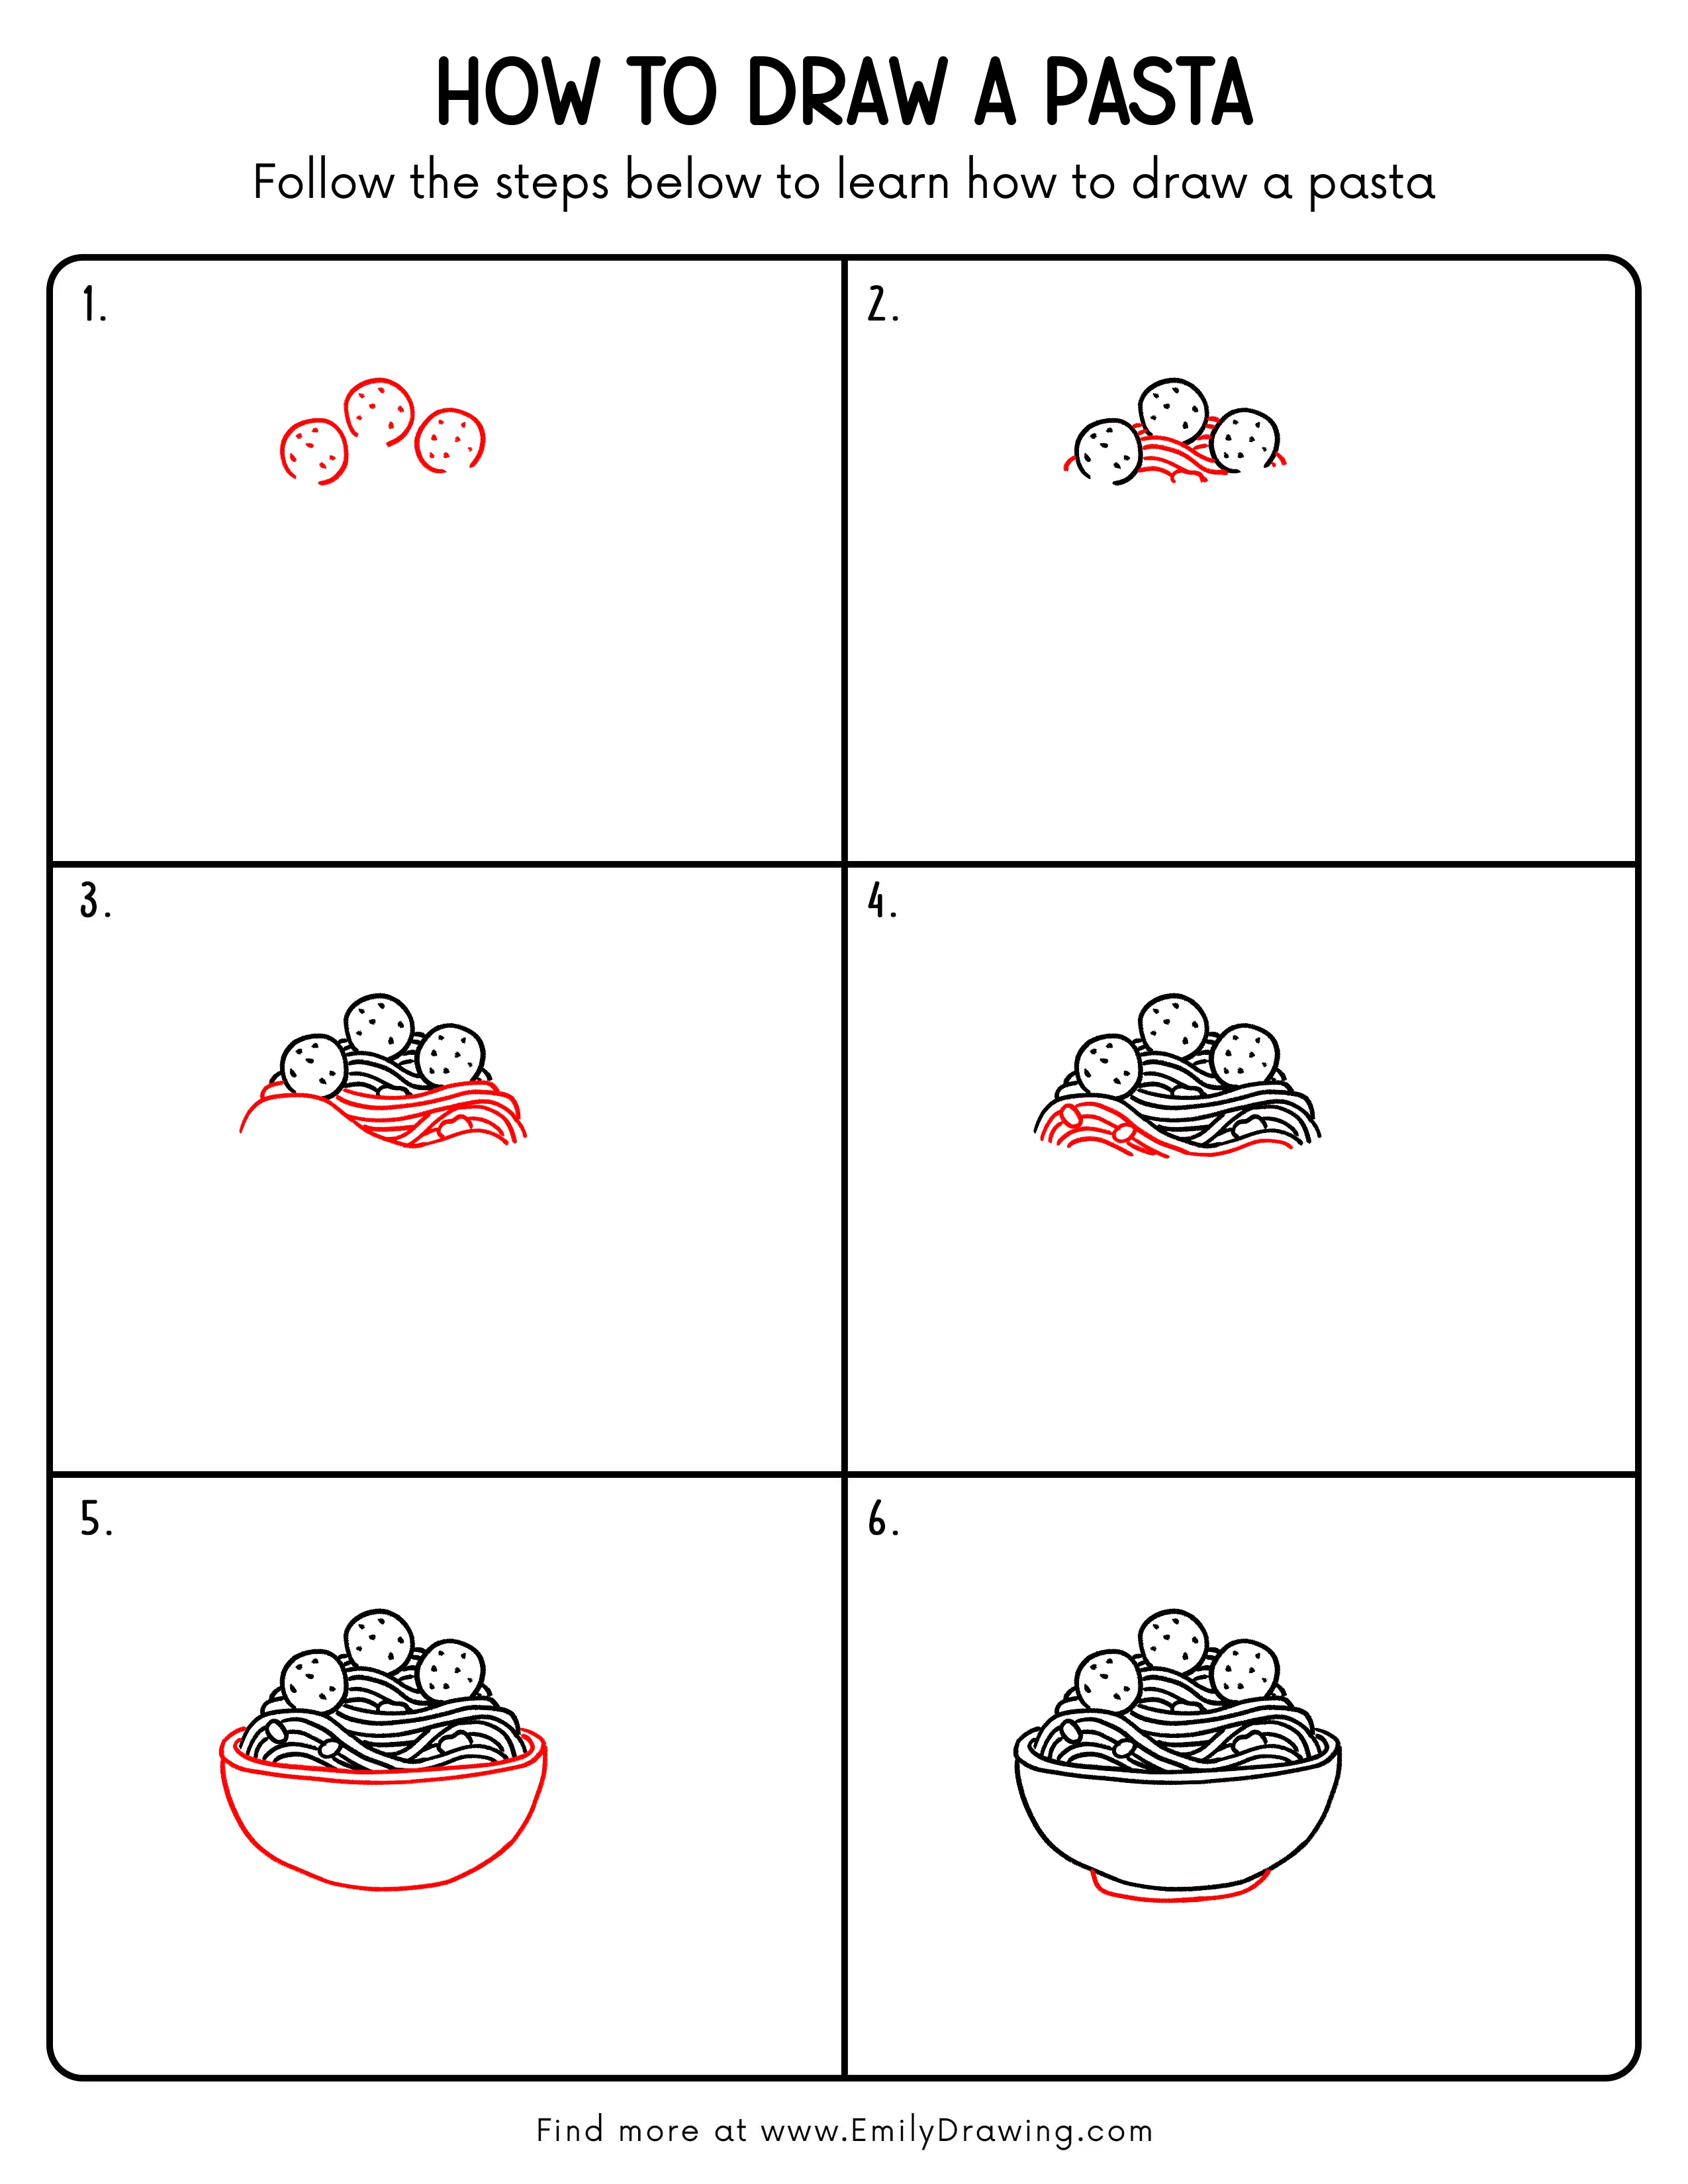
Step 1: Draw the Basic Pasta Curves
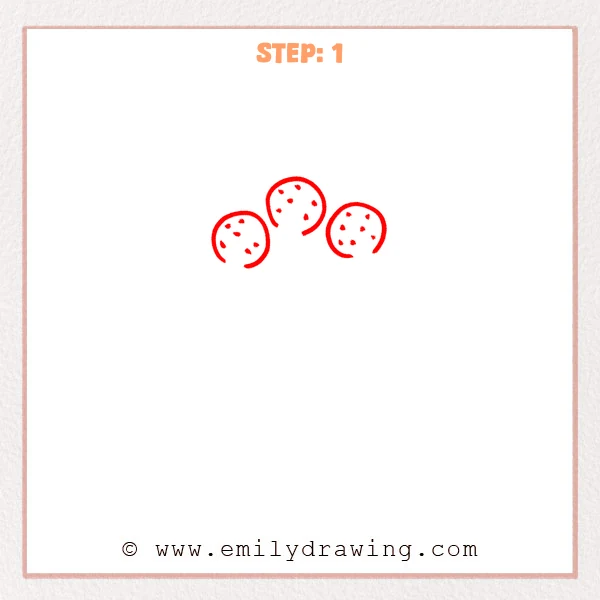
Start with three open curved shapes, like small upside-down bowls. Add a few tiny oval dots inside each curve to begin the pasta texture.
Pro Tip: Keep the three curves similar in size, with the middle one slightly higher.
Step 2: Add the Curved Pasta Strands
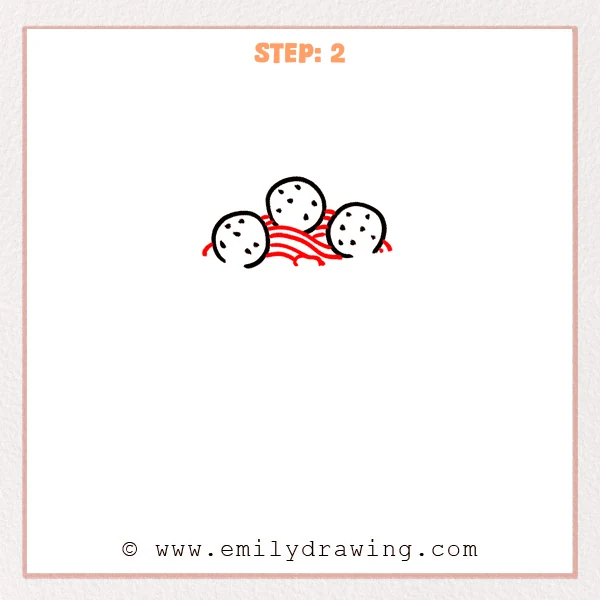
Draw several parallel wavy lines under the three curved shapes. Let the lines bend gently from left to right, like a soft bundle of pasta.
Pro Tip: Leave small spaces between each pasta line so the drawing stays clear.
Step 3: Extend the Front Pasta Layer
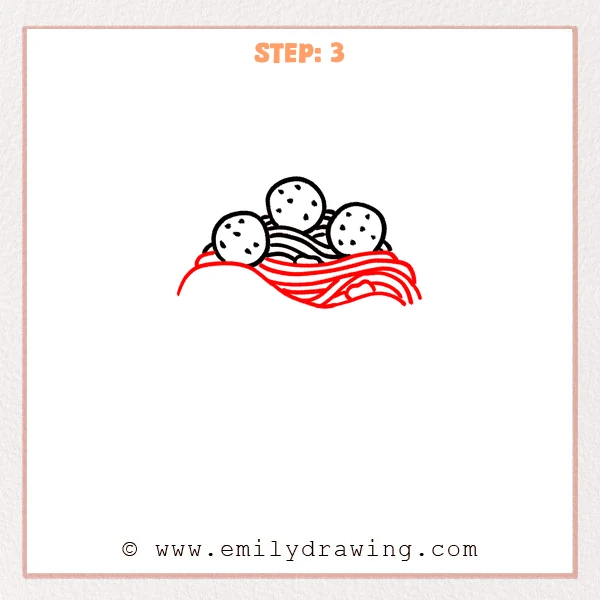
Add longer wavy lines in the front so the pasta spreads toward the right. Connect the left side with a large curve to form a wider pasta edge.
Pro Tip: Let the front lines be a little longer so the pasta looks more layered.
Step 4: Add Small Toppings in Front
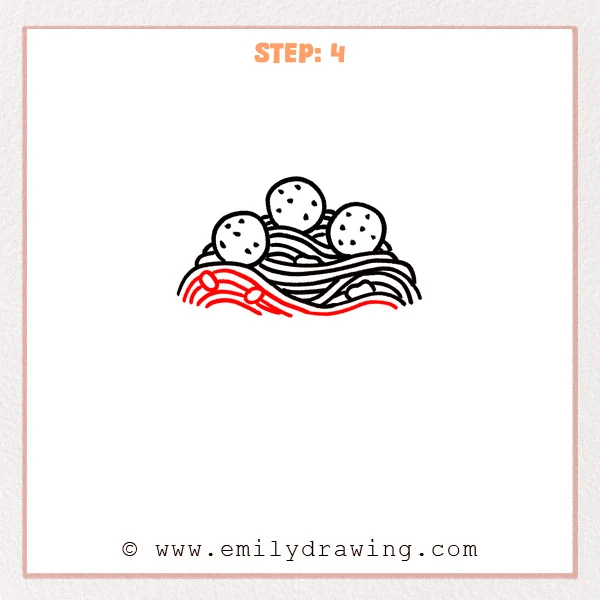
Add two small cylinder-shaped toppings on the front left side. Draw a few more curved pasta lines so the front layer looks fuller.
Pro Tip: Place the small toppings along the pasta curves so they look natural.
Step 5: Draw the Large Bowl Shape
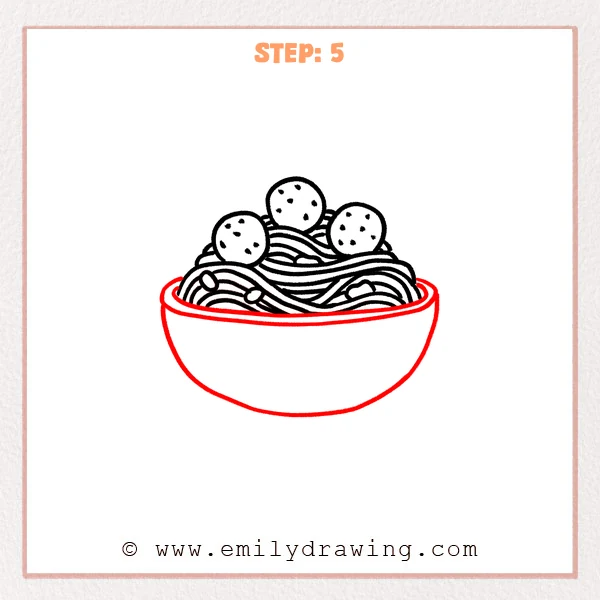
Add a wide oval rim underneath the pasta. Draw curved lines downward from both sides, then connect them with a large rounded bottom curve.
Pro Tip: Make the bowl rim wider than the pasta so the food looks settled inside.
Step 6: Thicken the Bowl Base
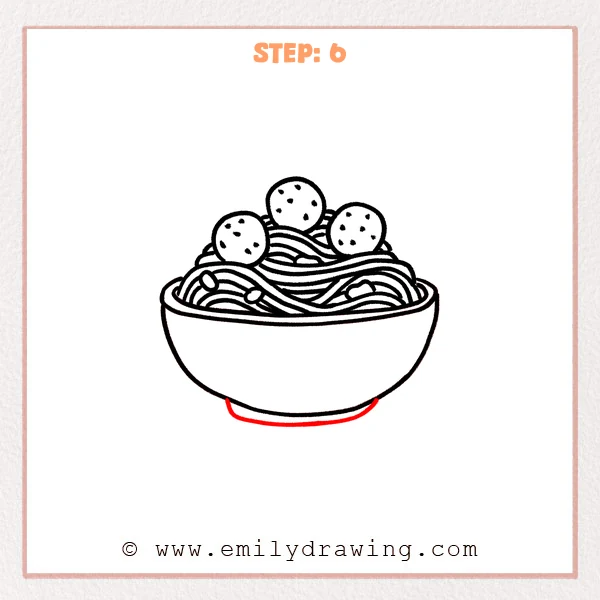
Draw a shorter curved line beneath the bowl to create a steady base. Keep this curve close to the bottom, without making it too wide.
Pro Tip: Center the base curve so the whole bowl of pasta looks balanced.
Step 7: Color in your drawing!
Fun Facts
- Pasta comes in many shapes, from long strands to small tubes.
- Spaghetti is one of the most familiar pasta types for drawing.
- Curved lines help pasta look soft, loose, and piled together.
Pin it now, Draw later!
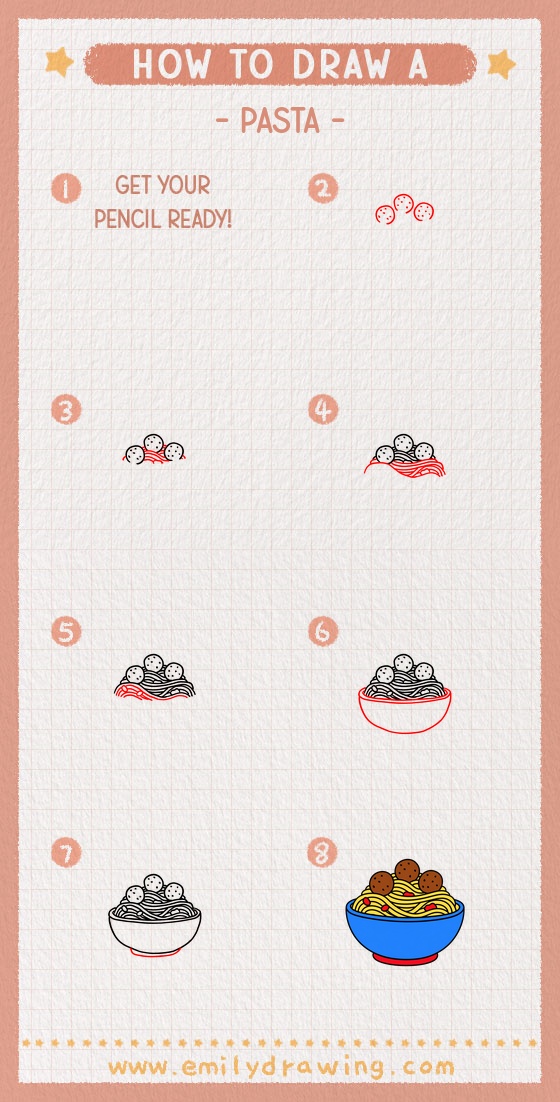
Now your pasta drawing has noodles, toppings, and a rounded bowl. You can color the pasta light yellow, add red sauce, or shade the bowl with your favorite colors. Keep practicing this step by step drawing, and try changing the toppings next time.
Get the FREE Printable Drawing Guide
FREE Download Printable Pasta Drawing Tutorial
Frequently Asked Questions
Is this pasta drawing for beginners?
Yes, this pasta drawing for beginners uses simple curves, dots, and rounded shapes.
How can I make my pasta look more realistic?
Add more thin curved lines, small toppings, and gentle shading under the noodles.
Can I color the pasta bowl differently?
Yes, you can choose any bowl color and add patterns to make it unique.



