
Learning how to draw paper airplane is a fun way to practice clean lines and sharp shapes. This easy drawing tutorial uses simple angles, folds, and points. Take your time with each step by step drawing, and keep the lines light before tracing them darker.
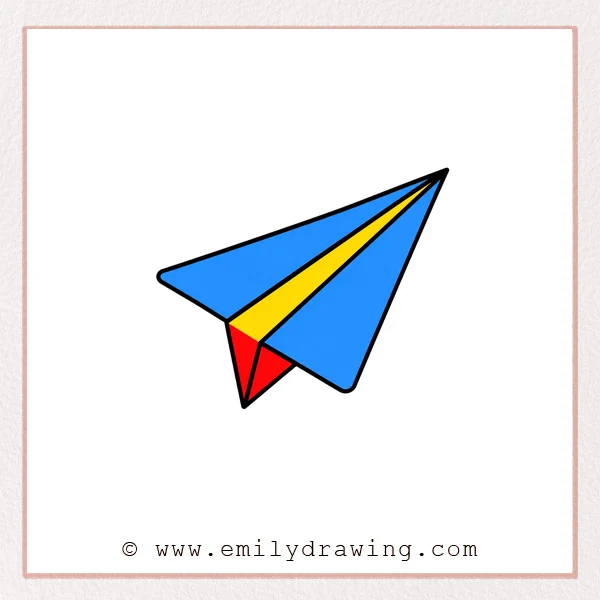
What You Will Need
- Pencil
- Eraser
- Black marker or pen
- Drawing paper
- Colored pencils or crayons
Here are my RECOMMENDED Art Supplies!
- Crayola Coloring Set (140 Pieces – Mega Value!)
- 24 Colored Crayon Set
- A4 Printer Paper
- Crayola Coloring Pencils
- HP Home Printer with Instant Ink!
Time needed:
17 minutes.
Step-by-Step Drawing Guide
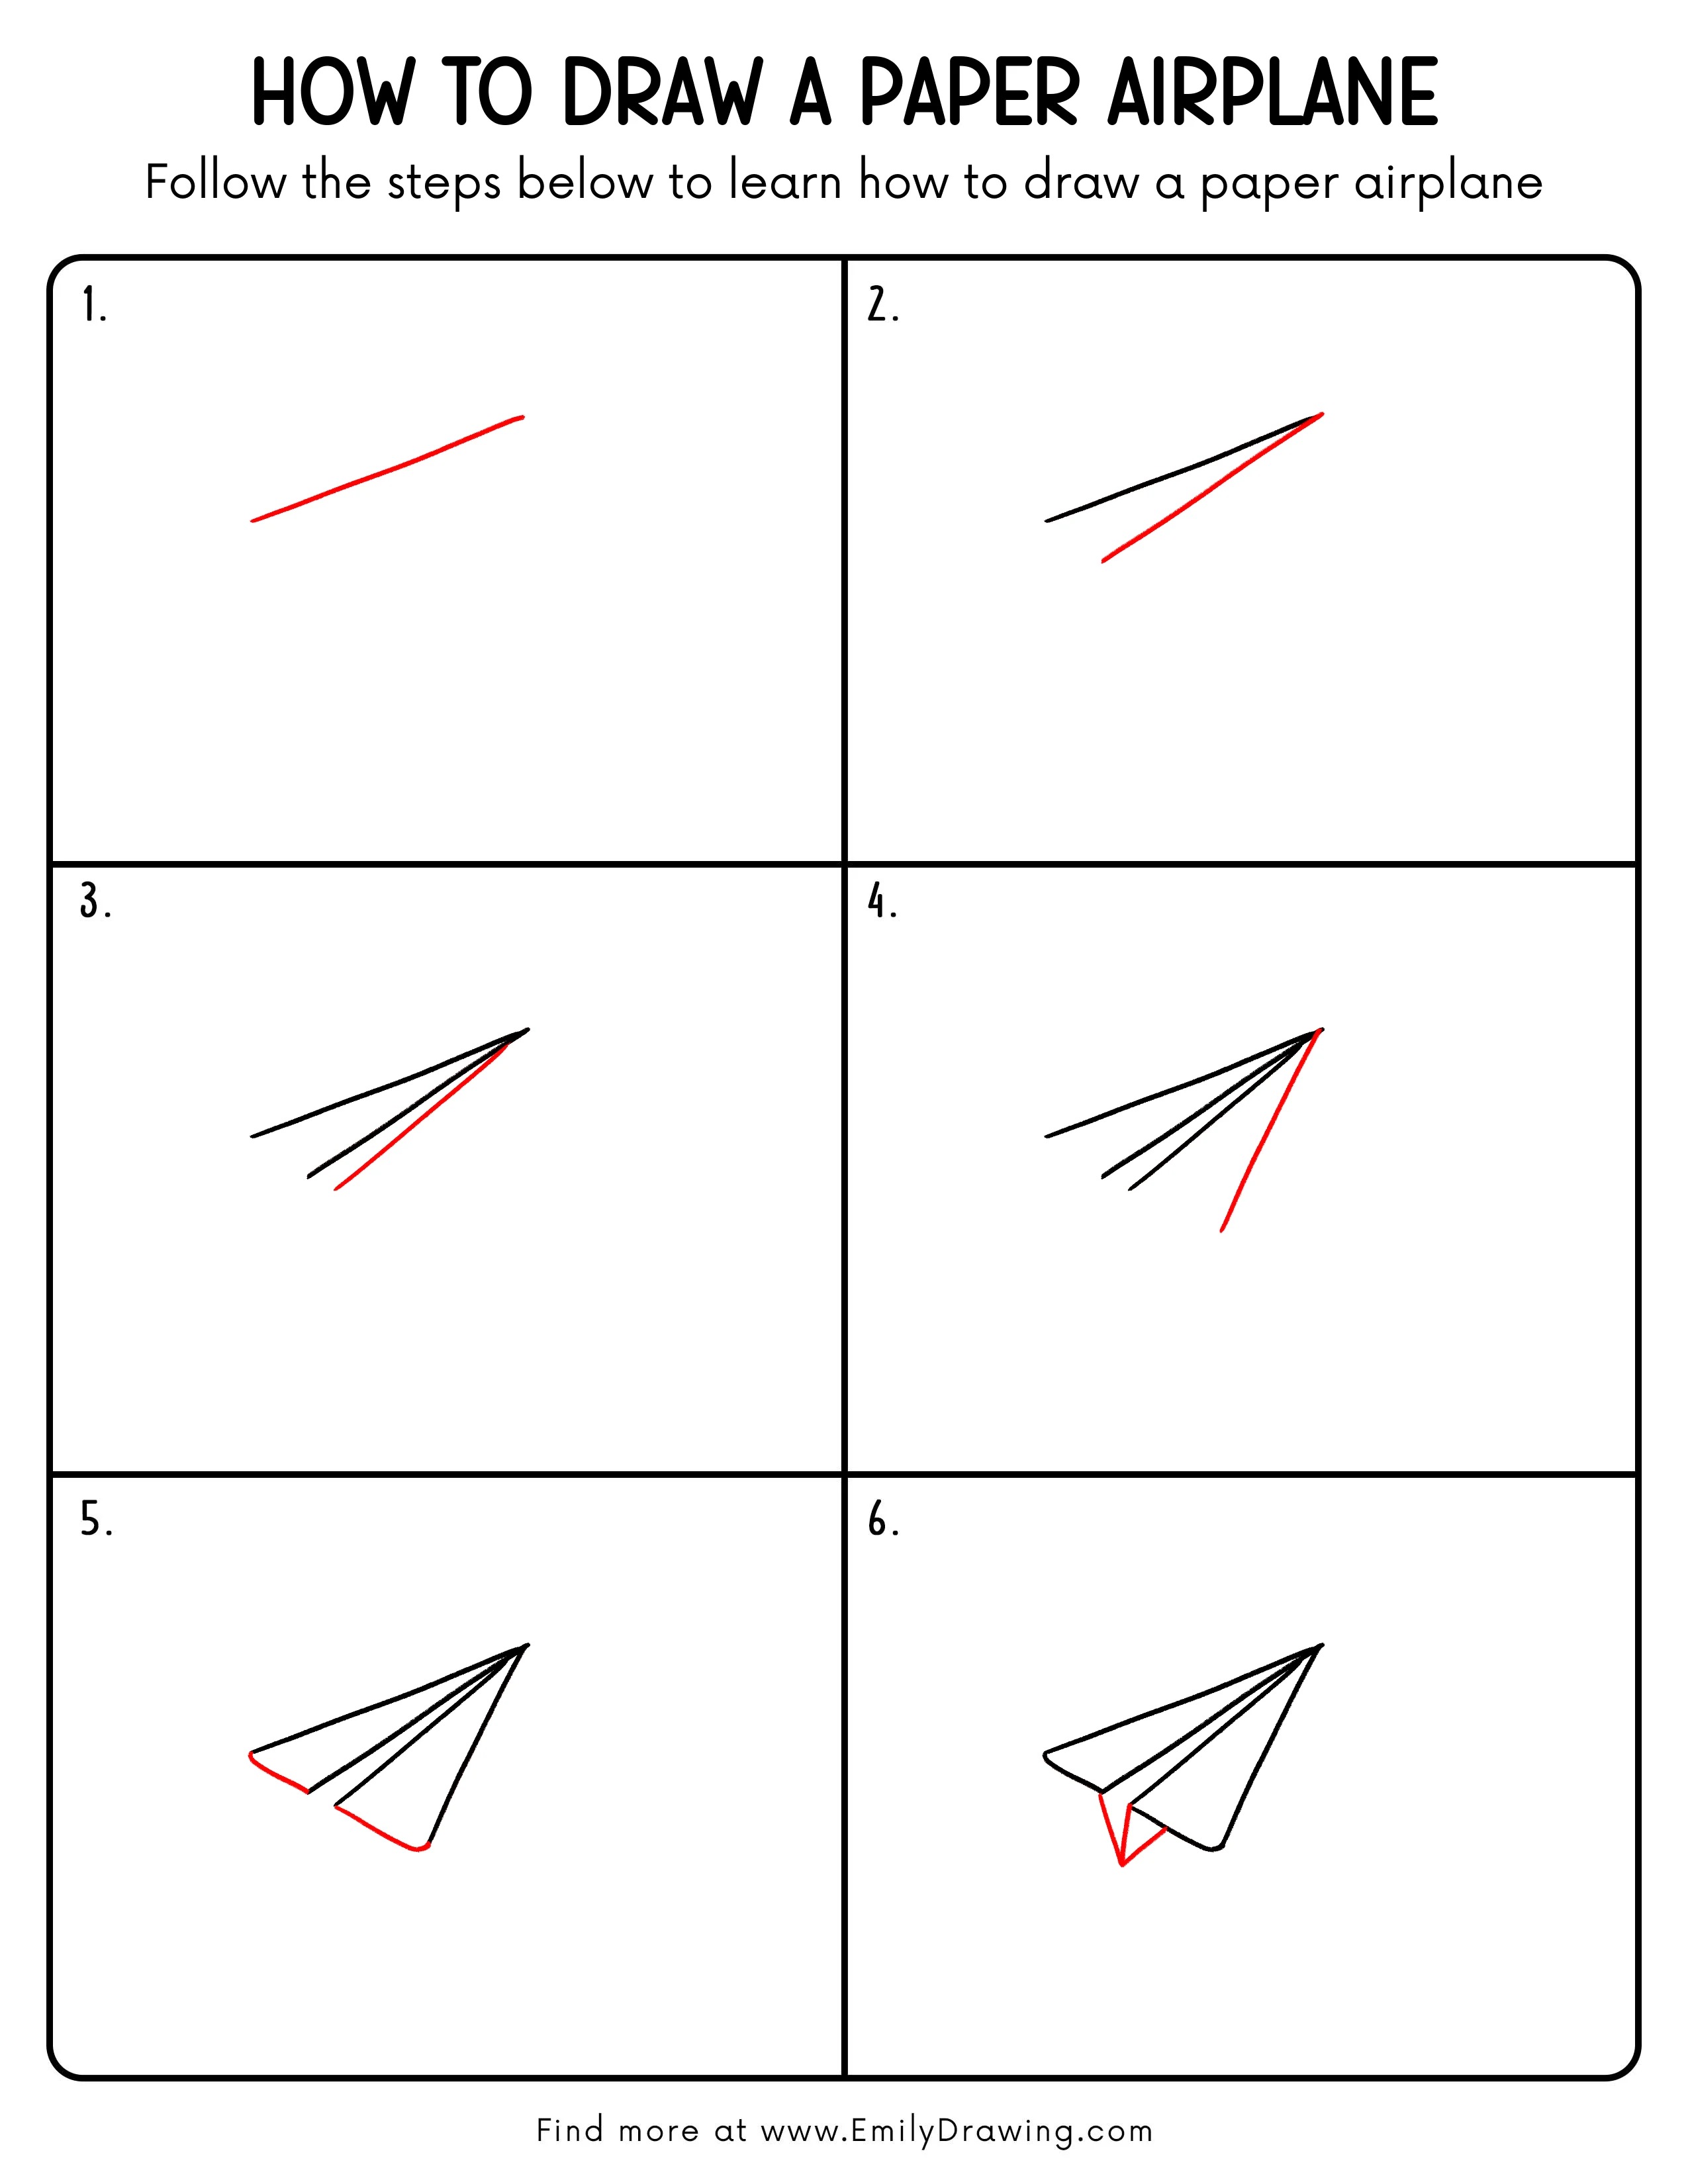
Step 1: Draw the Top Body Edge
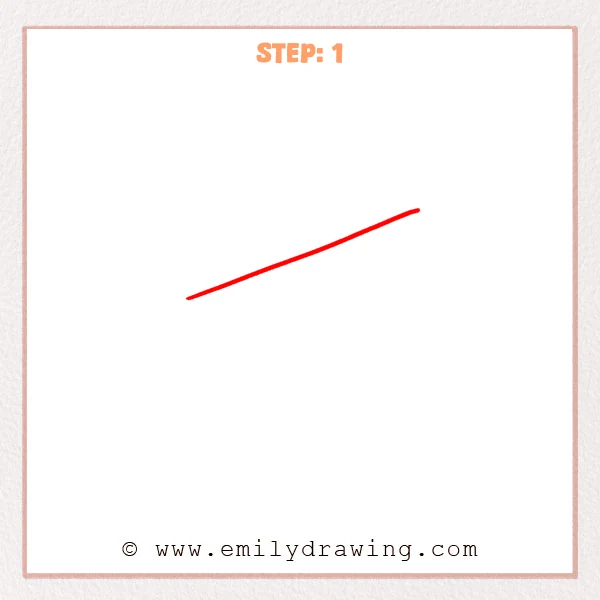
Start with one long diagonal straight line rising from left to right. This line will become the top edge of the paper airplane body, so keep it simple and clear.
Pro Tip: Keep the line gently tilted upward so the paper airplane feels ready to fly.
Step 2: Draw the Lower Fold Line
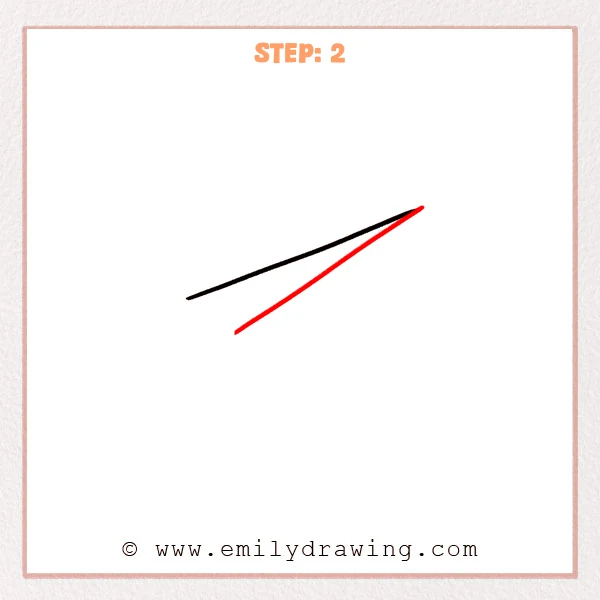
Start from the lower left area and draw a diagonal line to the right tip. This new line meets the top edge in a sharp point, beginning the paper airplane nose.
Pro Tip: Let both lines meet at the same sharp tip so the nose looks neat and clear.
Step 3: Add the Middle Fold Line
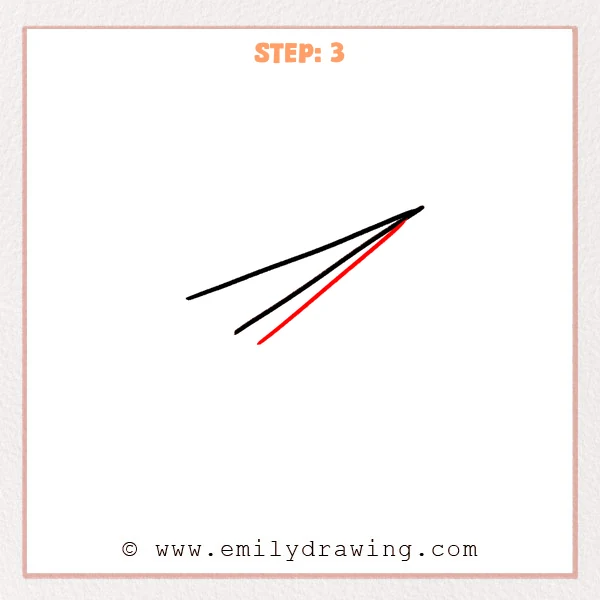
Draw a new diagonal line from the lower left area toward the right tip. Place it between the upper and lower edges to show the paper airplane’s folded structure more clearly.
Pro Tip: Let the middle fold line narrow naturally near the nose without crossing the tip.
Step 4: Draw the Right Tail Edge
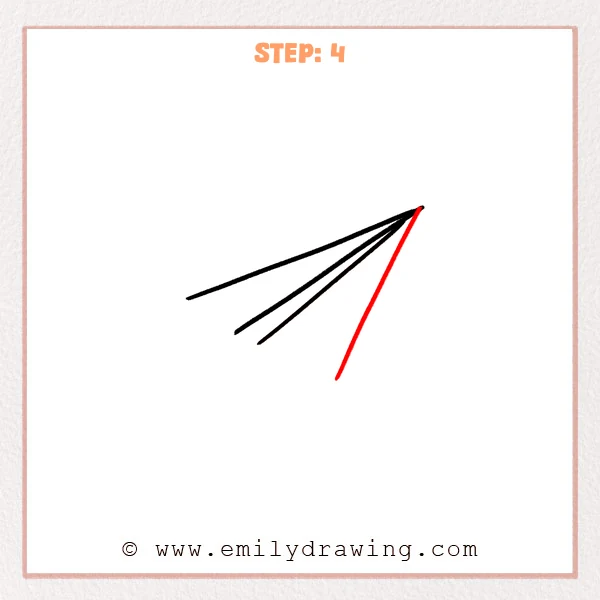
From the sharp right tip, draw a longer diagonal line downward. This new line forms the outer right edge of the paper airplane, helping the wing shape open up.
Pro Tip: Make this tail edge steeper than the inner fold lines to give the wing more depth.
Step 5: Connect the Back Wing Edges
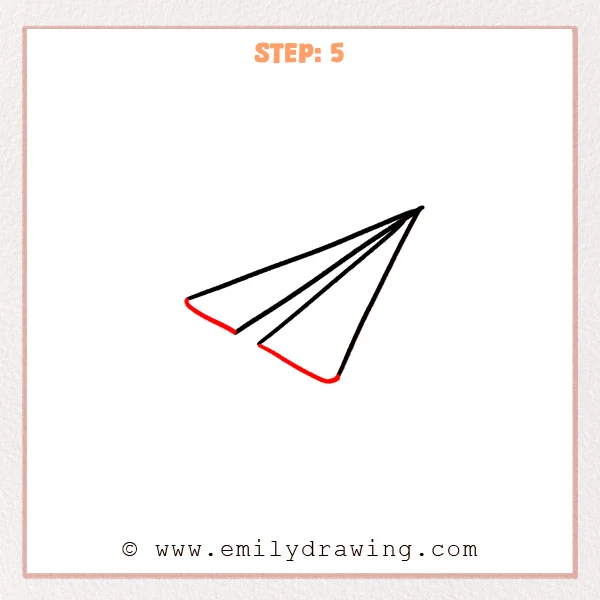
Add short angled lines on the left and lower sides, connecting them to the existing fold ends. These new lines close the back edges of both wings, making the paper airplane outline feel more complete.
Pro Tip: The back edges may curve slightly, but keep each connection point clear.
Step 6: Add the Small Tail Fold
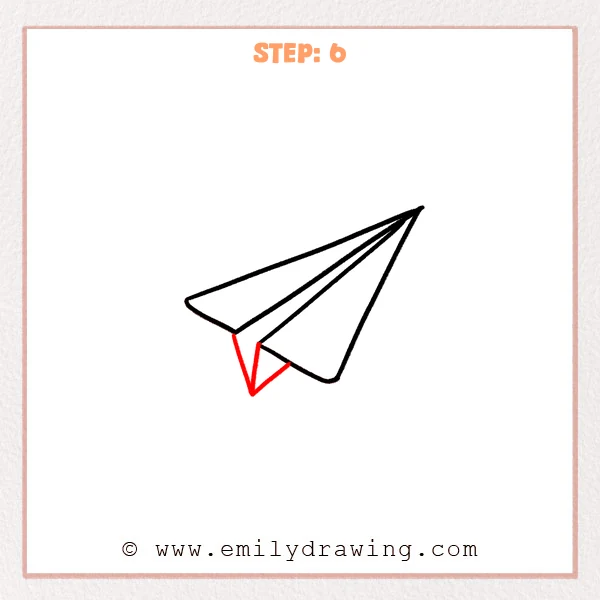
Draw a small pointed fold at the lower left, attached behind the wing. This added fold gives the paper airplane tail more layers and makes the shape feel more dynamic.
Pro Tip: Keep the small fold modest in size and lower than the main wing for a natural look.
Step 7: Color in your drawing!
Fun Facts
Paper airplanes are simple models, but they can teach us about balance and direction. The nose helps guide the flight path, while the wings help the plane glide. Many paper airplane designs use the same folded triangles seen in this drawing for beginners.
Pin it now, Draw later!
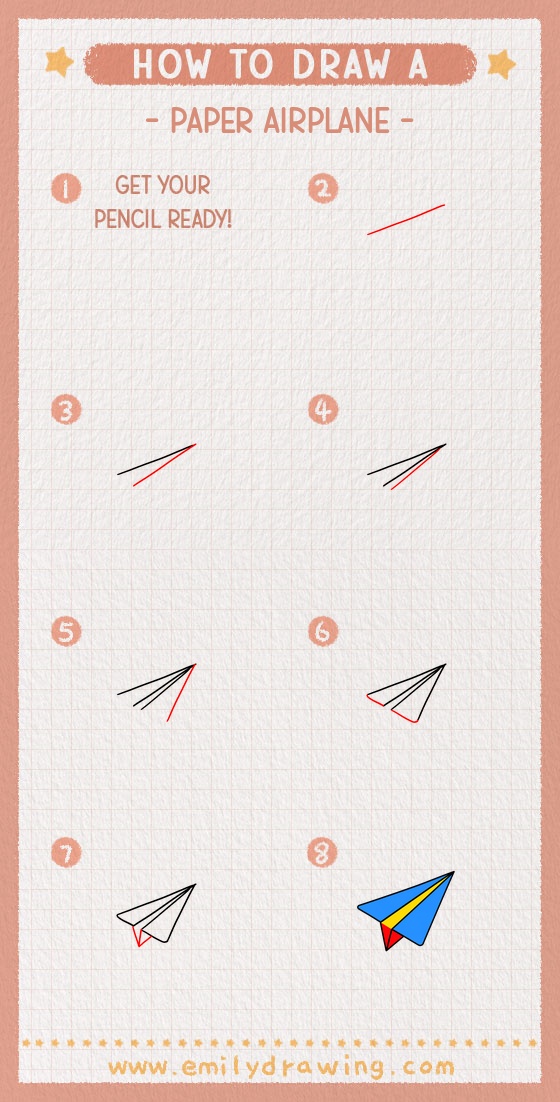
Trace your final paper airplane with a dark marker, then erase any extra pencil marks. You can add soft blue or gray shading along the folds to show the paper layers. Keep practicing this step by step drawing, and try making your next paper airplane longer, wider, or more colorful.
Get the FREE Printable Drawing Guide
FREE Download Printable Paper Airplane Drawing Tutorial
Frequently Asked Questions
Is this paper airplane drawing good for beginners?
Yes, this paper airplane drawing is made with straight lines and simple angles. It is a friendly drawing for beginners because each step adds only one clear part.
How can I make my paper airplane look sharper?
Make sure the lines meet cleanly at the nose. A sharp point helps the paper airplane look neat and fast.
Can I color the paper airplane?
Yes, you can color it lightly with blue, gray, or any favorite color. Add gentle shading near the fold lines to make the paper airplane look more three-dimensional.



