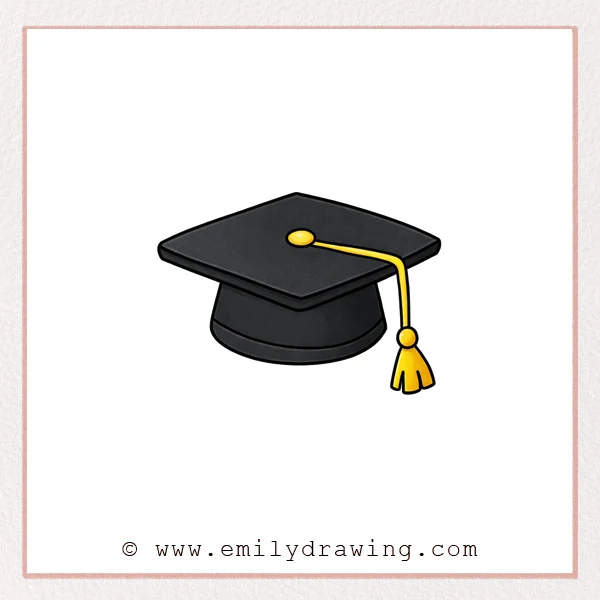
Drawing a graduation hat is a calm and simple activity for beginners. In this easy drawing tutorial, you will build the hat step by step, starting with the wide brim and ending with the tassel details.
What You Will Need
- Pencil
- Eraser
- Black pen or marker
- Paper
- Colored pencils or crayons
Here are my RECOMMENDED Art Supplies!
- Crayola Coloring Set (140 Pieces – Mega Value!)
- 24 Colored Crayon Set
- A4 Printer Paper
- Crayola Coloring Pencils
- HP Home Printer with Instant Ink!
Time needed:
22 minutes.
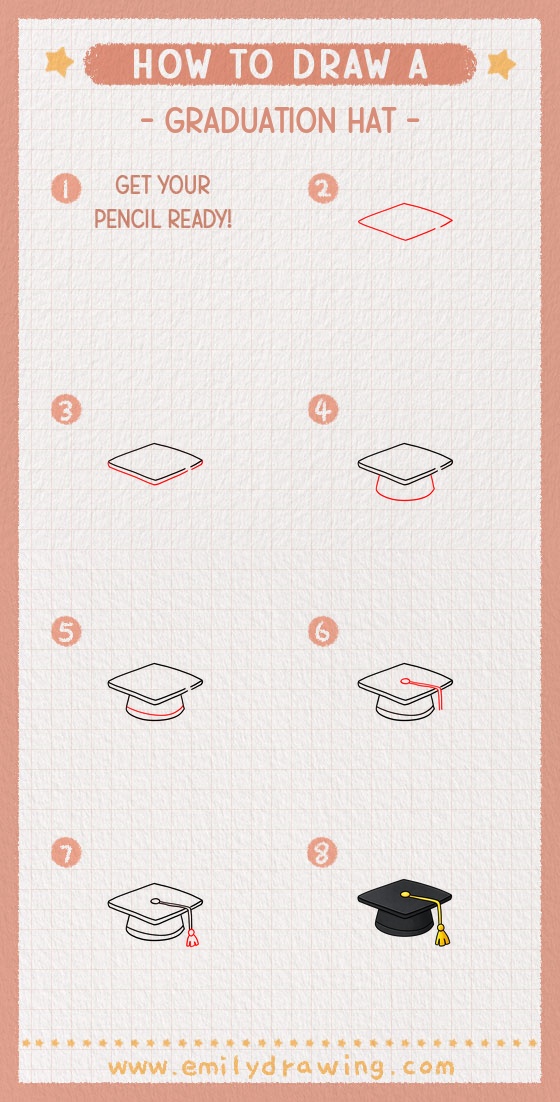
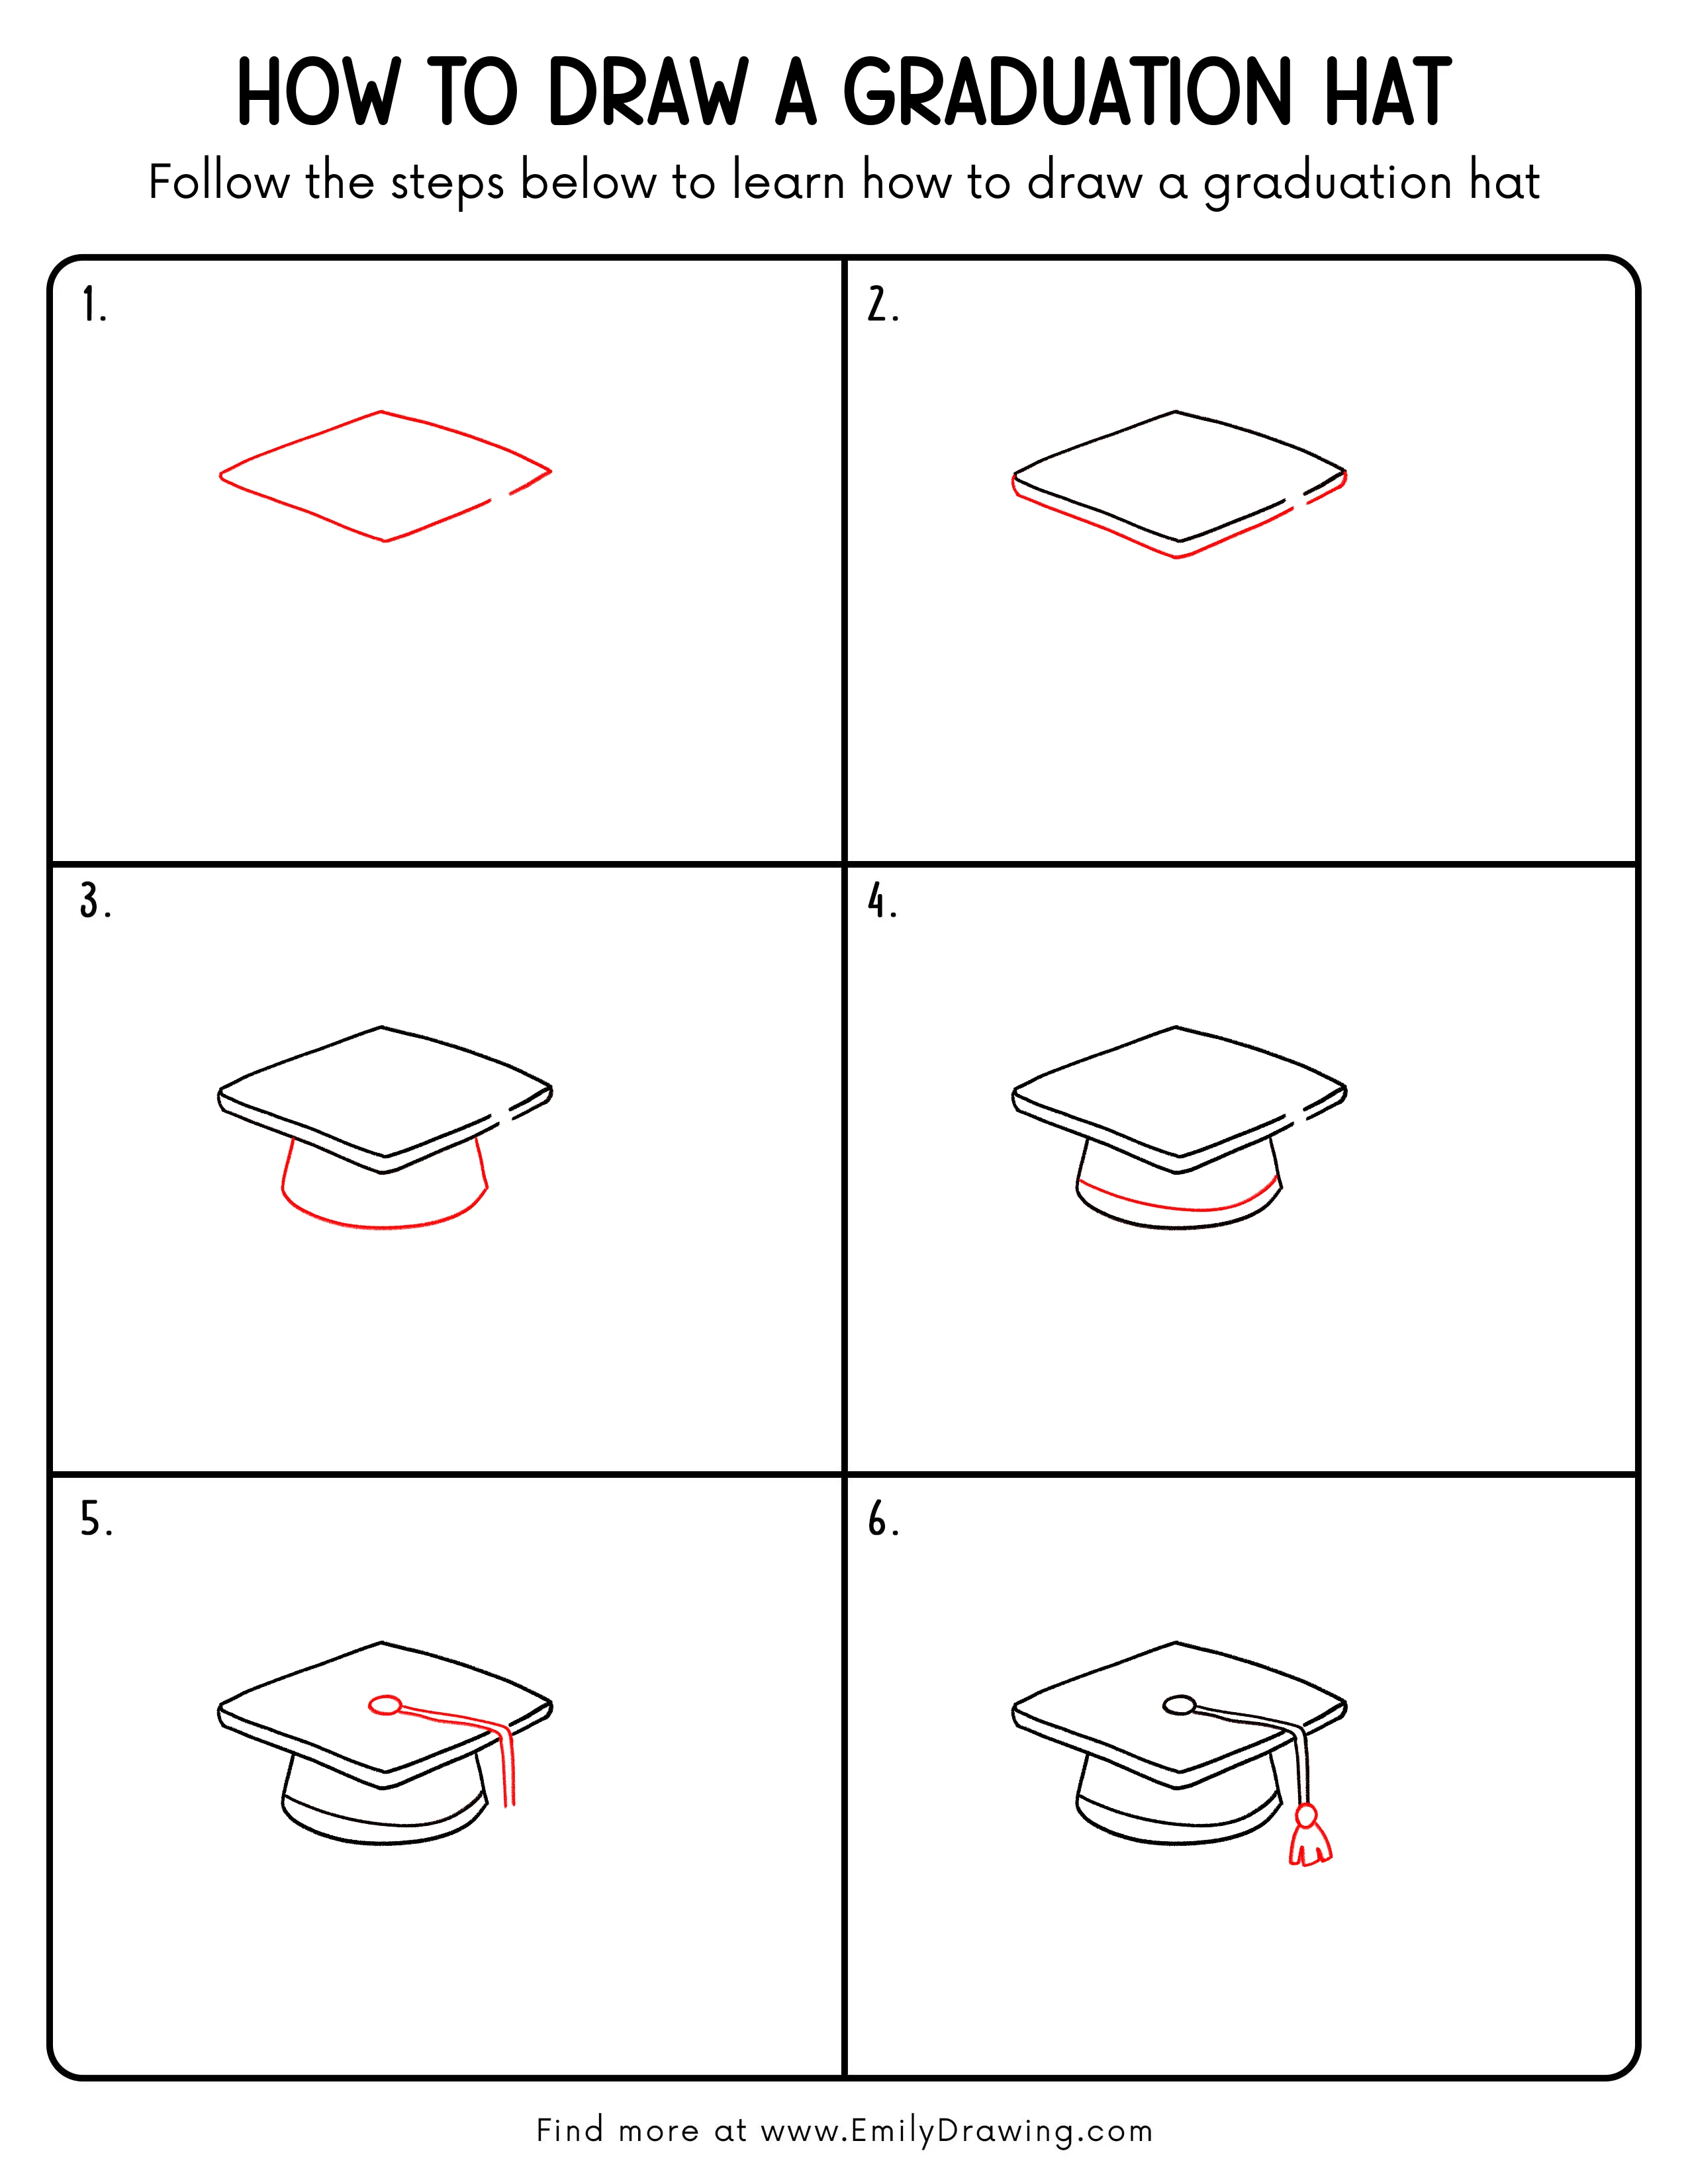
Step-by-Step Drawing Guide
Step 1: Sketch the Basic Brim Shape
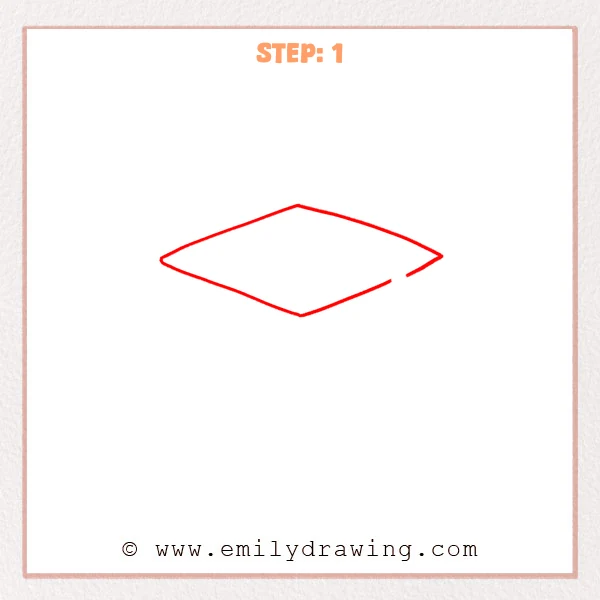
Start near the middle of the page and lightly sketch a wide diamond shape for the graduation hat brim. Let the left and right corners stretch out a little so the shape feels broad and balanced.
Pro Tip: Keep the lines light at first so it is easier to adjust the four corners evenly.
Step 2: Add Thickness to the Brim

Just below the diamond shape, sketch a second edge that follows the same angle to give the brim some thickness. Gently connect the left and right ends, and let the lower corners curve softly so the graduation hat looks more solid.
Pro Tip: Keep the gap between the two edges fairly even so the brim looks neat and balanced.
Step 3: Add the Cap Base
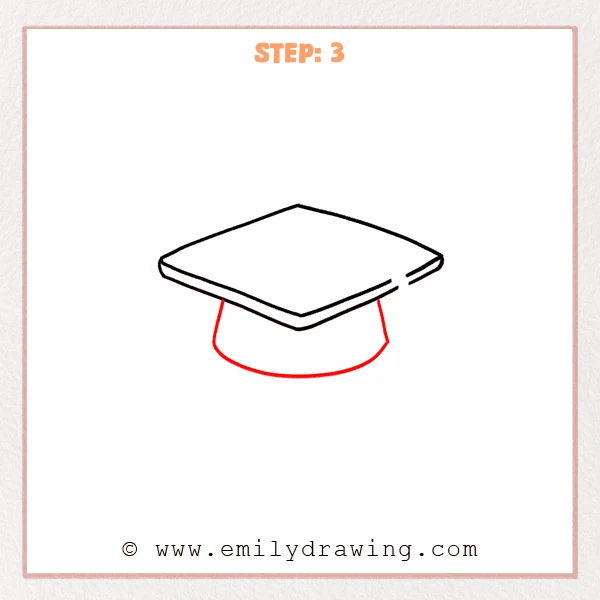
Under the brim, start shaping the body of the graduation hat. Let two short lines drop down from each side, then connect them with a soft curved line so the base looks rounded and steady.
Pro Tip: Keep the base a little narrower than the brim so the layers read clearly.
Step 4: Add the Front Band
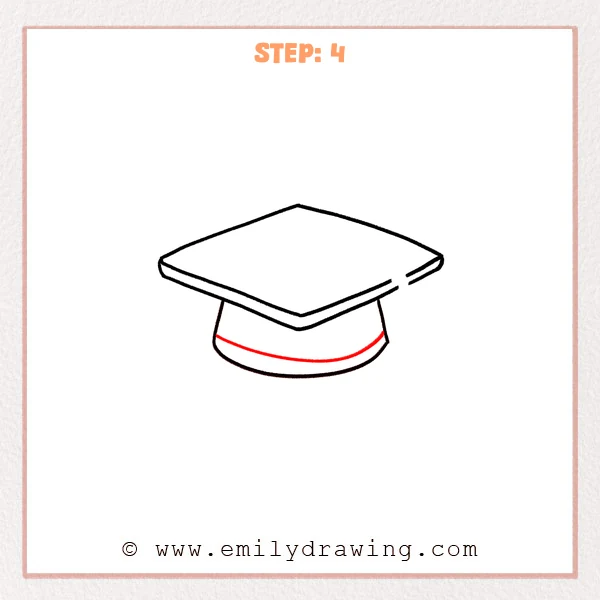
Across the front of the cap base, add a slim curved line that follows the rounded shape. Place it a little above the bottom edge so the graduation hat looks more finished and layered.
Pro Tip: Keep this curve close to the direction of the bottom edge so the band sits naturally on the cap.
Step 5: Add the Button and Tassel
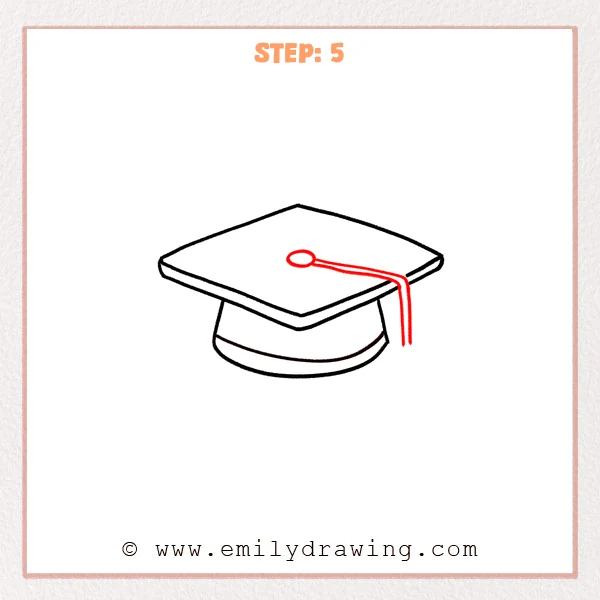
On top of the brim, start with a small circle for the button that holds the tassel. Then extend two close lines to the right, and let them fall gently over the edge so the graduation hat gets its classic tassel detail.
Pro Tip: Keep the tassel lines close and parallel so the detail looks clean and tidy.
Step 6: Finish the Tassel End
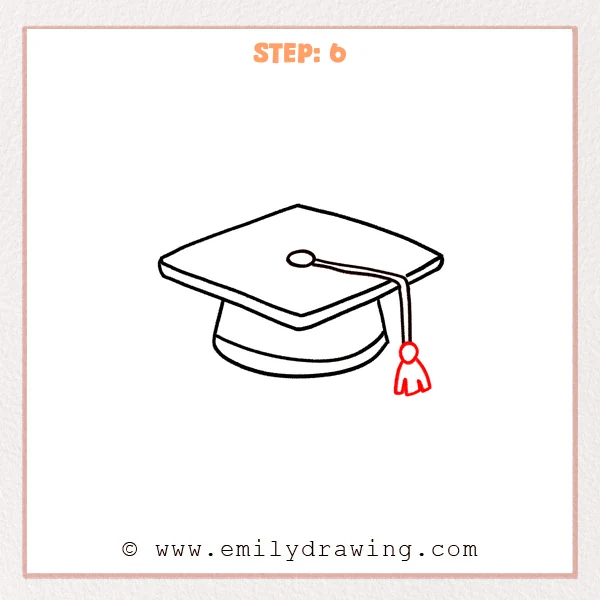
At the bottom of the hanging tassel, add a small round connector, then sketch a few short tassel strands below it. Let the tips spread slightly apart so the graduation hat looks complete and light.
Pro Tip: Keep the tassel end fairly small so it matches the size of the hat.
Step 7: Color in your drawing!
Fun Facts
- A graduation hat is also called a mortarboard.
- The flat square top makes it easy to recognize.
- The tassel is often moved from one side to the other during a graduation ceremony.
Pin it now, Draw later!
You have now drawn a graduation hat step by step, using simple shapes and soft details. To finish your drawing, darken the final outline and erase any extra sketch marks.
Try coloring the hat in black, navy, or school colors. You can also add light shading under the brim and around the cap base to make it look more three-dimensional.
One common beginner mistake is making the cap base too wide. Keeping it slightly narrower than the top helps the drawing feel balanced.
Keep practicing this easy drawing tutorial, and try more drawing for beginners to build your confidence.
Get the FREE Printable Drawing Guide
FREE Download Printable Graduation Hat Drawing Tutorial
Frequently Asked Questions
Is this graduation hat drawing good for beginners?
Yes, it uses simple lines and clear shapes, so it is a good beginner drawing lesson.
How do I make the graduation hat look more realistic?
Add gentle shading under the brim and keep the tassel lines neat and even.
Can I color the graduation hat in different colors?
Yes, you can use traditional black or choose school colors for a personal touch.