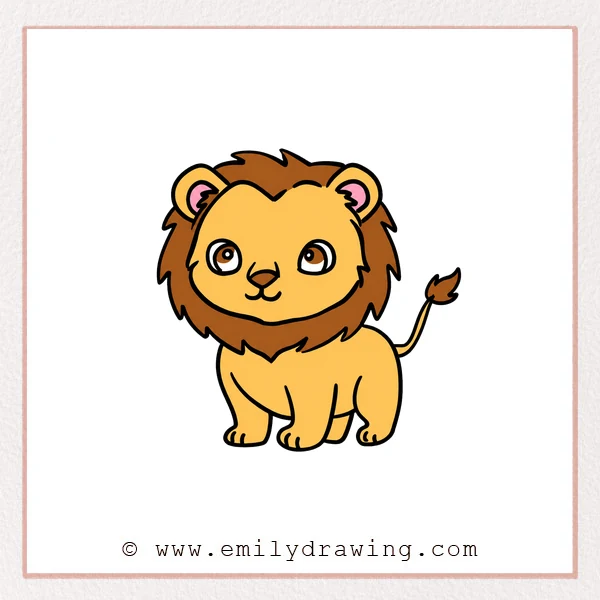
Learn how to draw a lioness with this simple step-by-step drawing guide. This easy drawing tutorial is great for beginners because it builds the lioness from large basic shapes into a cute finished character.
Take your time with each step. Light pencil lines will help you adjust the shapes before tracing the final drawing.
What You Will Need
- A pencil
- An eraser
- Drawing paper
- A black marker or pen
- Coloring tools, such as crayons, markers, or colored pencils
Here are my RECOMMENDED Art Supplies!
- Crayola Coloring Set (140 Pieces – Mega Value!)
- 24 Colored Crayon Set
- A4 Printer Paper
- Crayola Coloring Pencils
- HP Home Printer with Instant Ink!
Time needed:
14 minutes.
Step-by-Step Drawing Guide
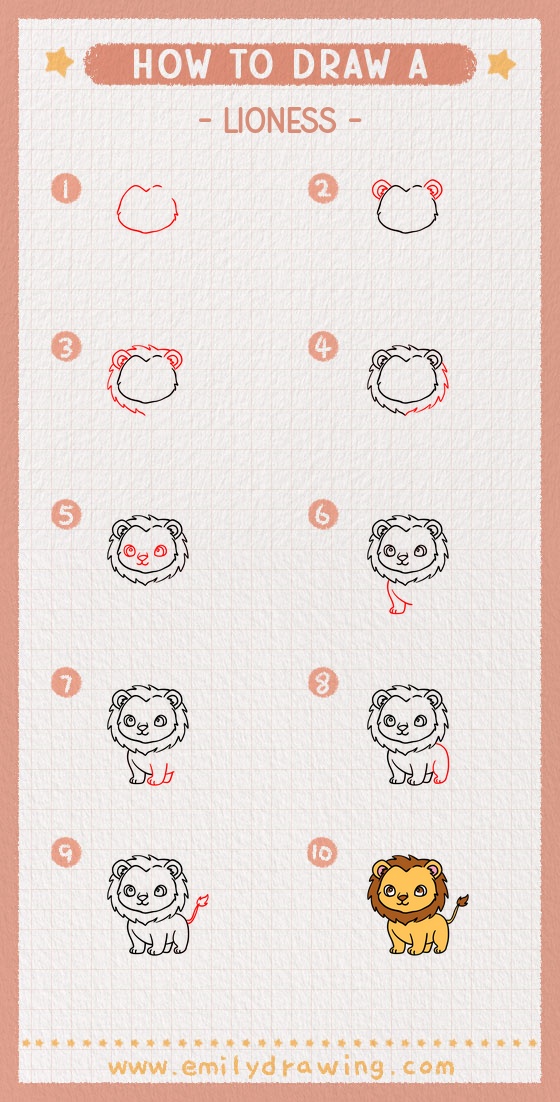
Step 1: Draw the Head Outline
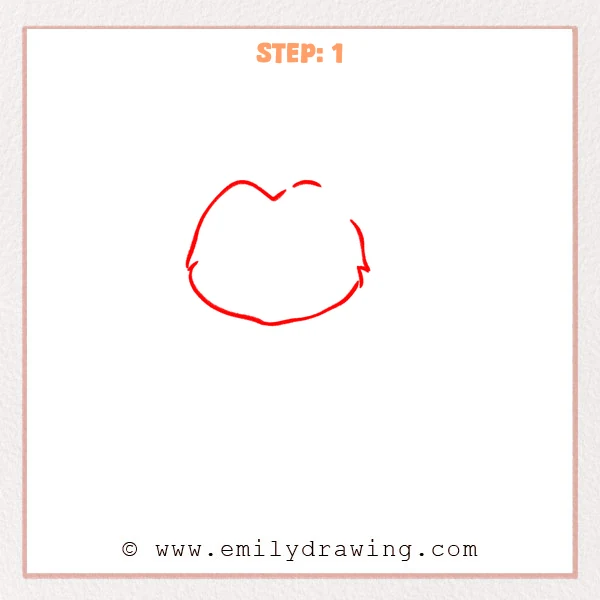
Start with a gently curved outline for the lioness’s head. Leave two small bumps near the top for the forehead and ear area, then make the bottom wide and rounded for the chin.
Pro Tip: Keep your lines light at first so the face shape is easier to adjust later.
[Alt Text: A beginner sketch showing the first outline of a lioness head shape.]
Step 2: Add the Round Ears
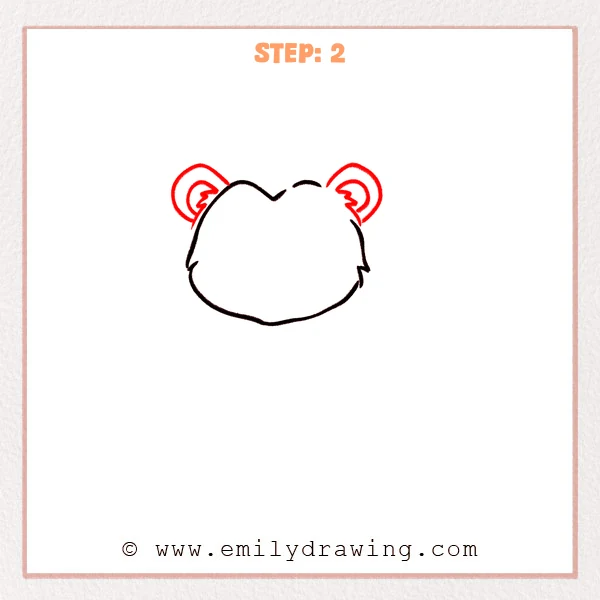
Add one rounded ear on each upper side of the head. Then draw a smaller curved line and a few short furry zigzags inside each ear to make the lioness look soft.
Pro Tip: Try to keep both ears close in size so the head feels balanced.
[Alt Text: A beginner lioness sketch with the head outline refined and two rounded ears added with inner fur details.]
Step 3: Draw the Top and Side Fur
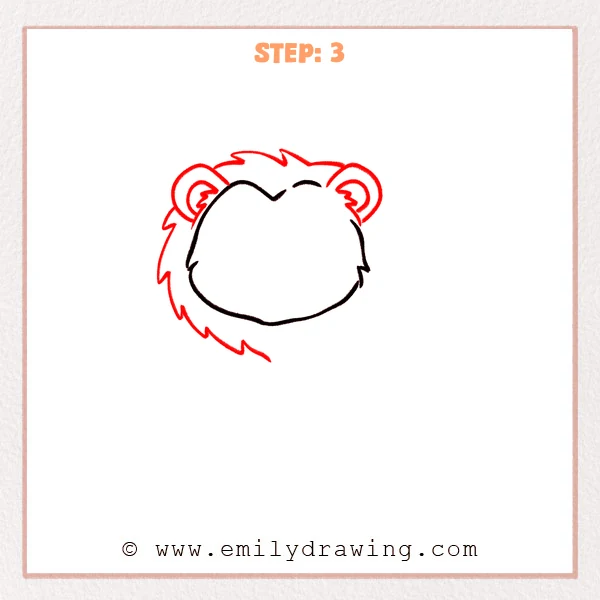
Add a few pointed tufts of fur between the two ears. Then draw a curved row of fur points along the outside of the left cheek to make the lioness’s head look fuller.
Pro Tip: Let the fur points vary slightly in size so they look more natural.
[Alt Text: A beginner lioness sketch progressing with pointed fur added on top of the head and along the left side.]
Step 4: Complete the Right and Bottom Fur
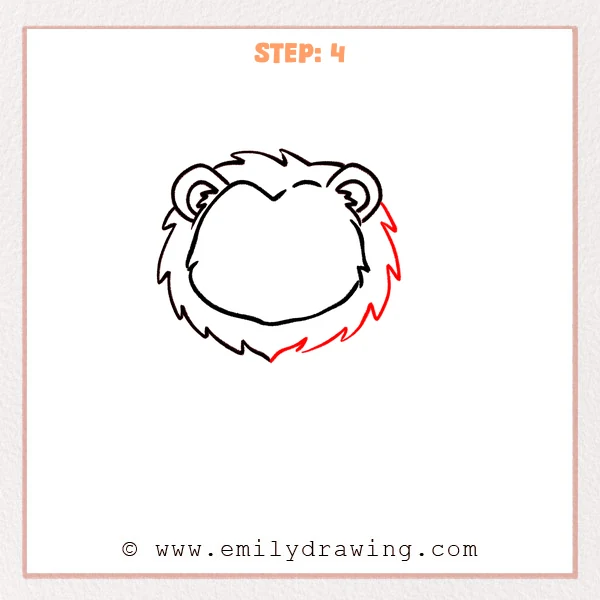
Continue adding pointed fur along the right side of the head, then curve the line down around the outside of the chin. This gives the lioness a full, fluffy outer outline around the face.
Pro Tip: Point the fur spikes along the curve of the face so the outline looks more natural and smooth.
[Alt Text: A beginner lioness sketch with the outer fur completed around the right side and bottom of the face.]
Step 5: Add the Eyes, Nose, and Mouth

Draw two large round eyes in the middle of the face, then add small highlight circles inside them. Next, place a small nose between the eyes and connect a curved mouth below it to give the lioness a cute, lively expression.
Pro Tip: Try to place both eyes at the same height so the expression looks more natural.
[Alt Text: A beginner lioness drawing with the fluffy head complete and new facial features added, including big round eyes, a small nose, and a curved mouth.]
Step 6: Draw the Front Leg and Paw
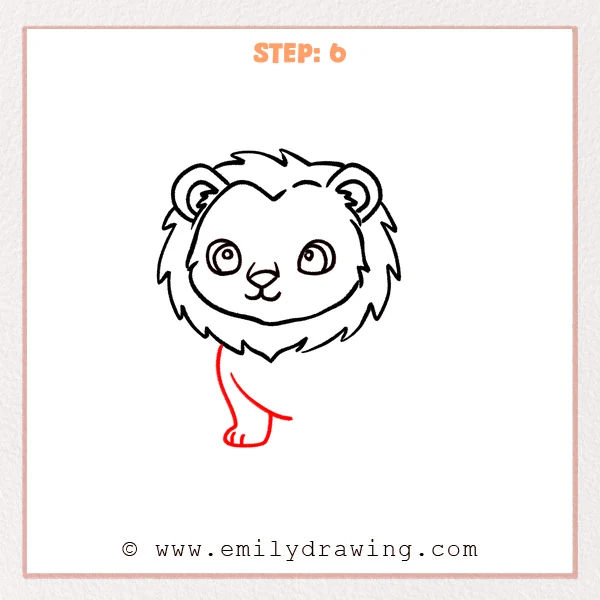
From the lower left side of the head, draw a long curved line downward to form the outside of the lioness’s front leg. Add the paw and a few small toes, then use an inner curved line to connect back toward the body so the leg looks soft and steady.
Pro Tip: Keep the front leg much narrower than the face to make the cute big-head proportion clear.
[Alt Text: A beginner lioness drawing progressing from the completed head to a new front leg and rounded paw with small toes.]
Step 7: Add the Second Front Leg and Back Leg
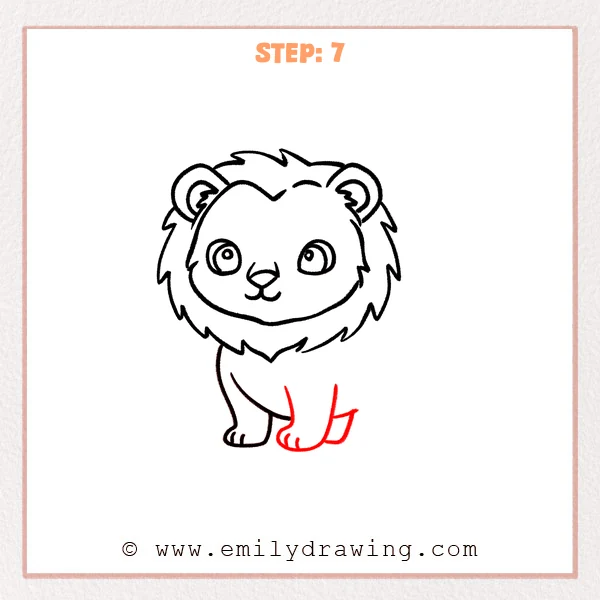
Draw another front leg near the middle of the body, then add a rounded paw with small toes. Next, add a bent back leg line on the right side so the lioness looks steady on her feet.
Pro Tip: Place the second front leg slightly behind the first one to give the body more depth.
[Alt Text: A beginner lioness drawing with the body progressing as a second front leg and a bent back leg are added.]
Step 8: Draw the Body and Back Paw
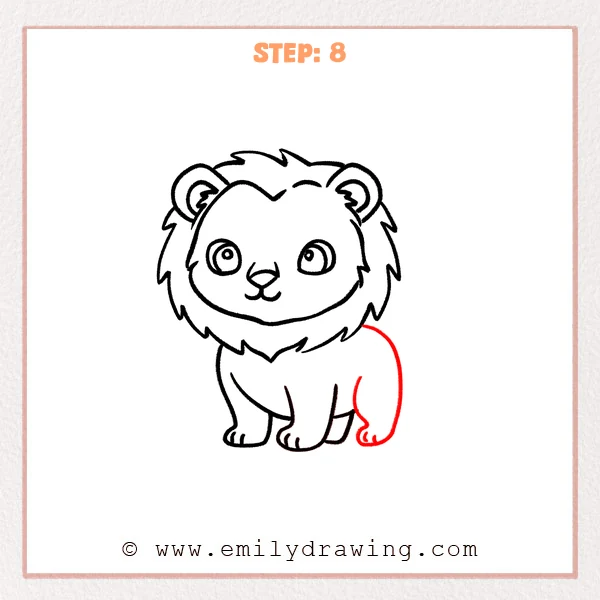
From the lower right side of the head, draw a large curved line to form the rounded back of the lioness’s body. Then draw the back leg and back paw with small toes so the body stands fully on the ground.
Pro Tip: Keep the back curve rounded so the little lioness’s body looks extra cute.
[Alt Text: A beginner lioness drawing with a rounded body, back leg, and back paw added to complete the standing pose.]
Step 9: Add the Tail and Tail Tuft
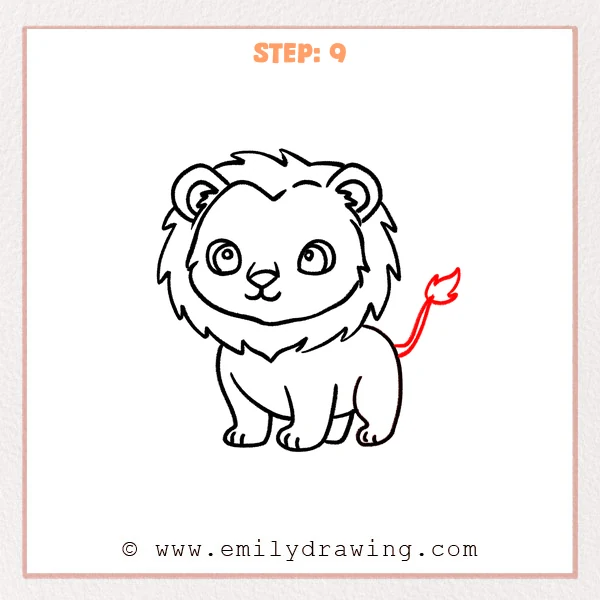
Draw a thin curved tail rising from the back of the body. Then add a pointed tuft of fur at the end to make the lioness’s pose look more lively.
Pro Tip: Keep the tail light and gently curved so it does not look too stiff.
[Alt Text: A beginner lioness drawing with the full body complete and a curved tail with a fluffy tuft added.]
Step 10: Color in your drawing!
Fun Facts
- A lioness is the female lion.
- Lionesses often live in family groups called prides.
- Lionesses are strong hunters and usually work together as a team.
- Unlike male lions, lionesses usually do not have large manes.
Pin it now, Draw later!
Now you know how to draw a lioness using simple shapes, soft curves, and beginner-friendly details. You can trace your final lines with a black marker, erase extra pencil marks, and color your lioness with warm golden, tan, or light brown shades.
Try drawing the lioness again with a different facial expression or a playful pose. Keep practicing, and enjoy making your own animal drawing collection.
Get the FREE Printable Drawing Guide
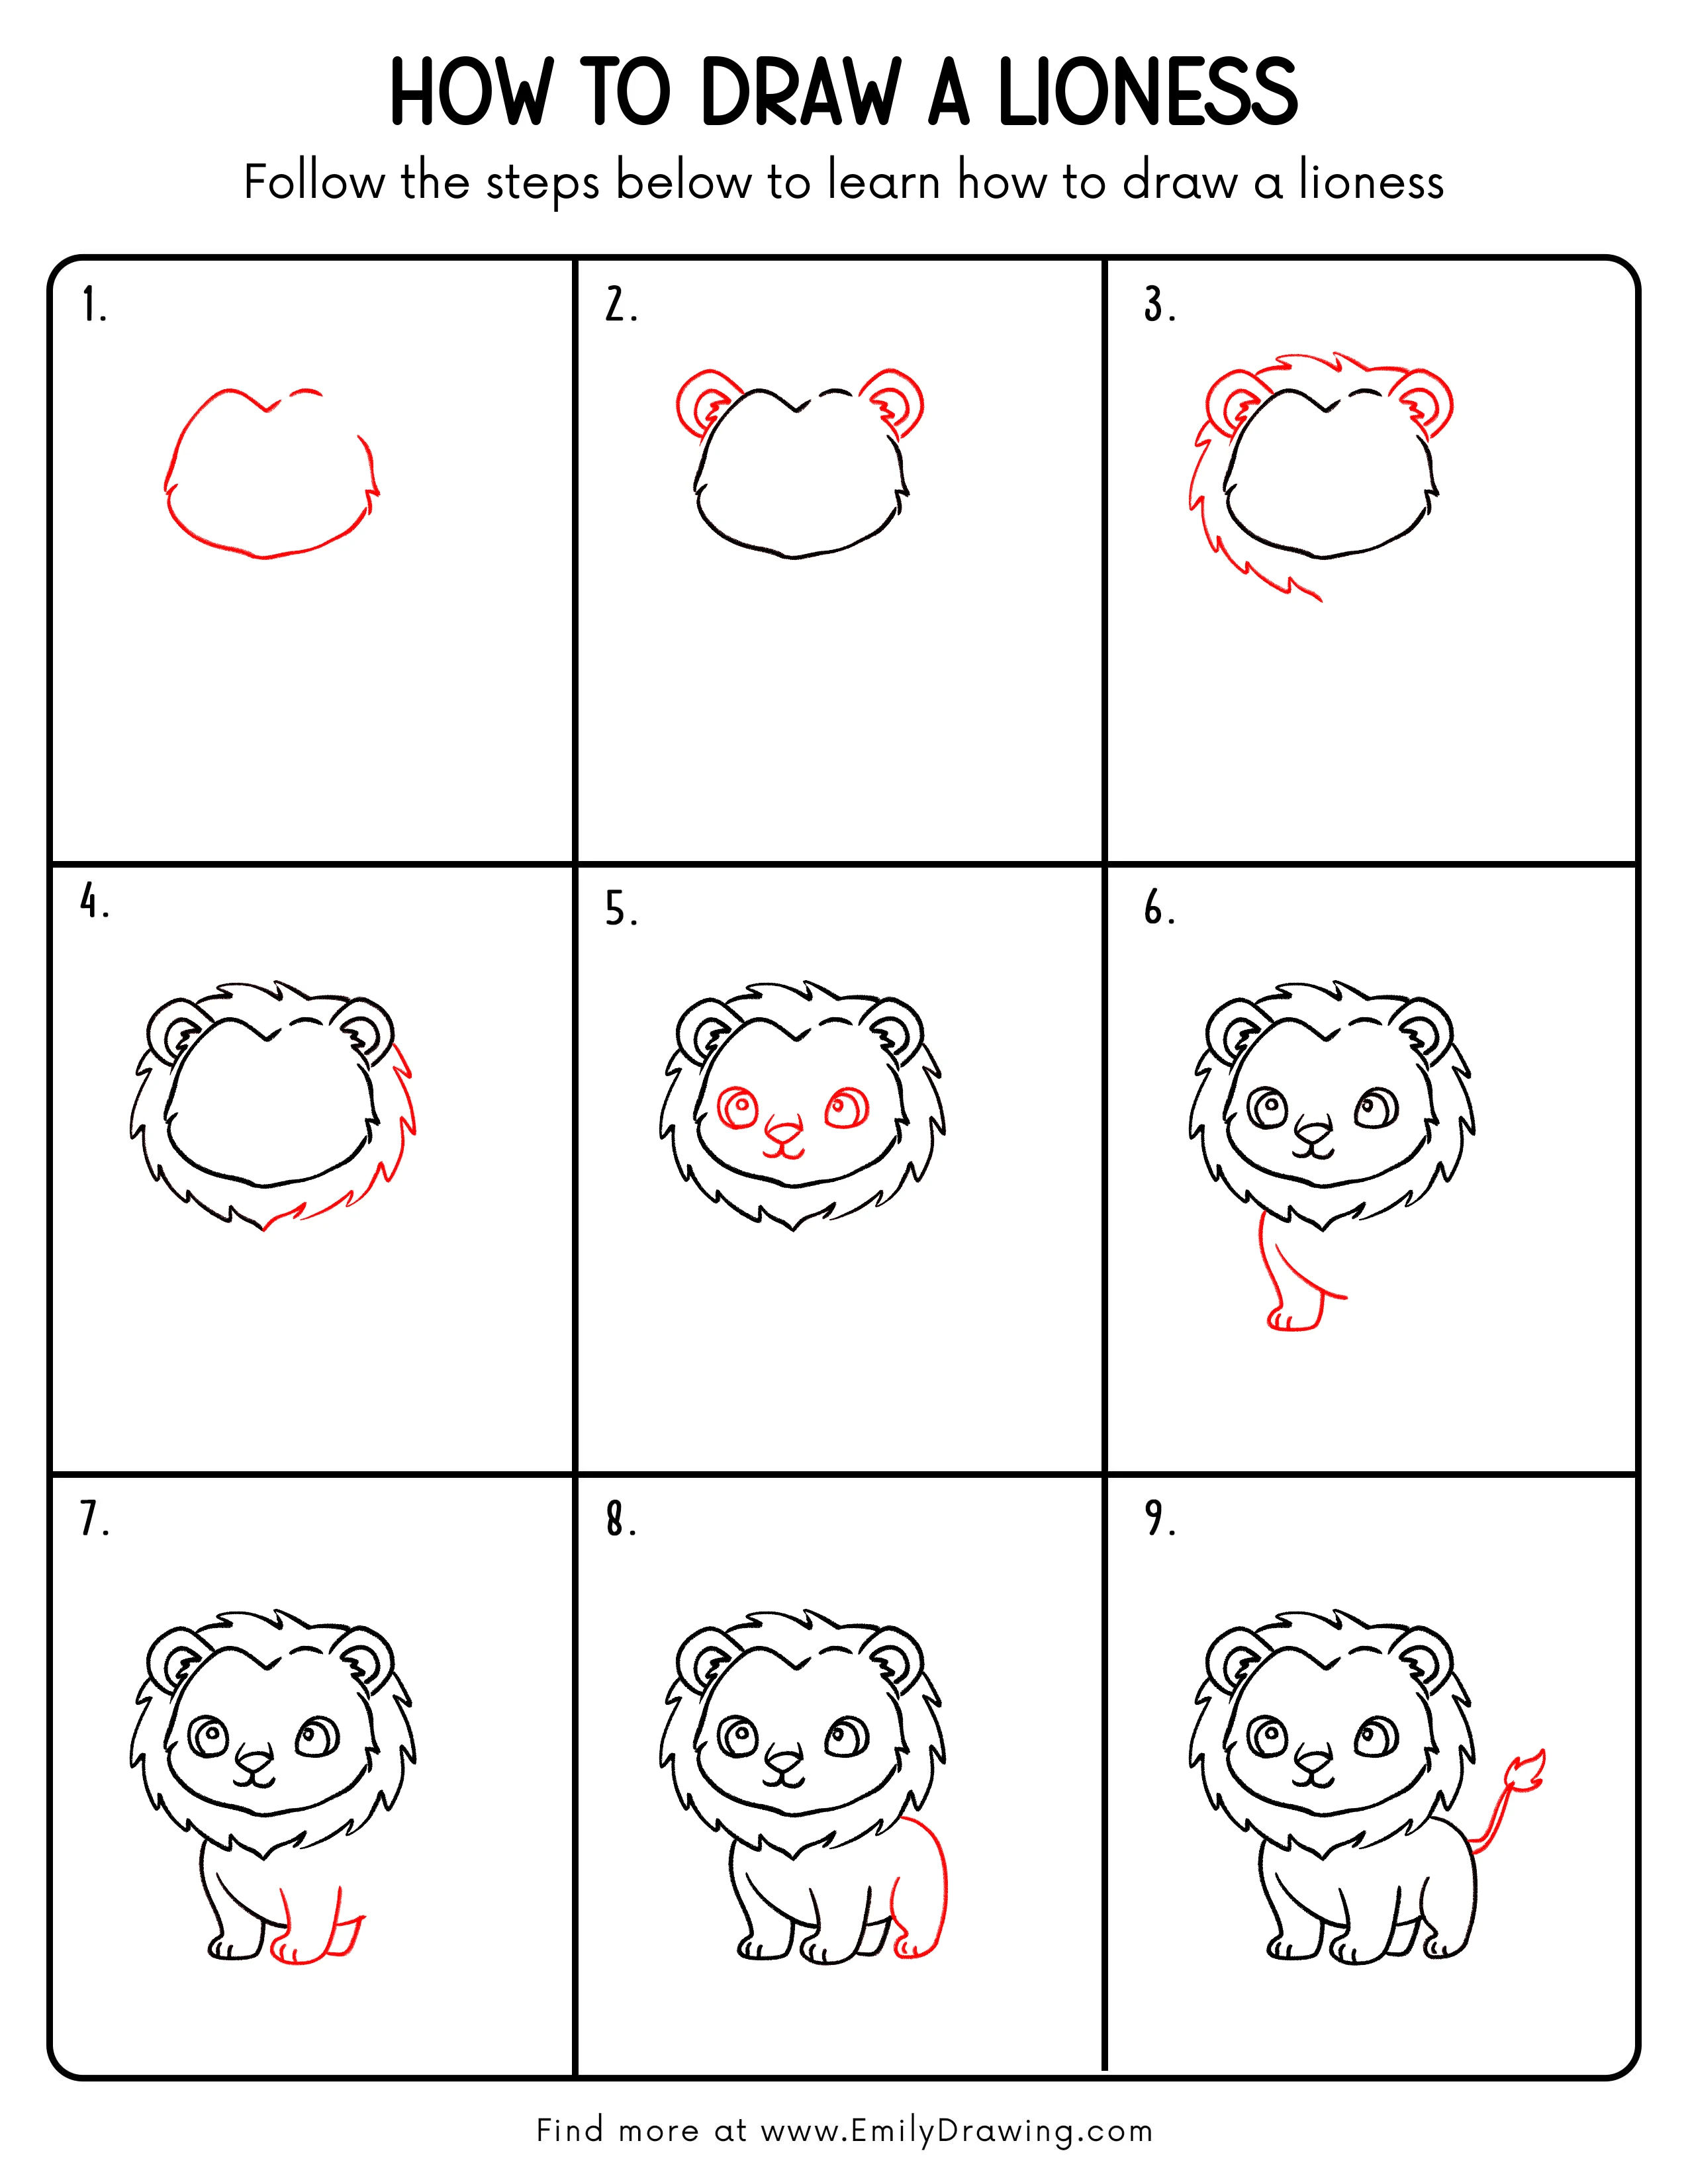
FREE Download Printable Lioness Drawing Tutorial
Frequently Asked Questions
Is this lioness drawing good for beginners?
Yes. This step by step drawing guide uses simple curved lines, round shapes, and small details, making it a good drawing for beginners.
How can I make my lioness look cuter?
Make the eyes large, keep the head rounded, and draw the body smaller than the face. These proportions help create a cute cartoon style.
What colors should I use for a lioness?
Use tan, golden yellow, light brown, or cream for the fur. You can use darker brown for the ear details, nose, tail tuft, and small shadows.