Learning how to draw a globe can be a calm and enjoyable activity for children and beginners. This easy drawing tutorial breaks the picture into small, simple stages, so you can build the shape with confidence and enjoy each part of the process.
What You Will Need
- Drawing paper
- Pencil
- Eraser
- Black pen or marker
- Colored pencils or crayons
Here are my RECOMMENDED Art Supplies!
- Crayola Coloring Set (140 Pieces – Mega Value!)
- 24 Colored Crayon Set
- A4 Printer Paper
- Crayola Coloring Pencils
- HP Home Printer with Instant Ink!
Time needed:
29 minutes.
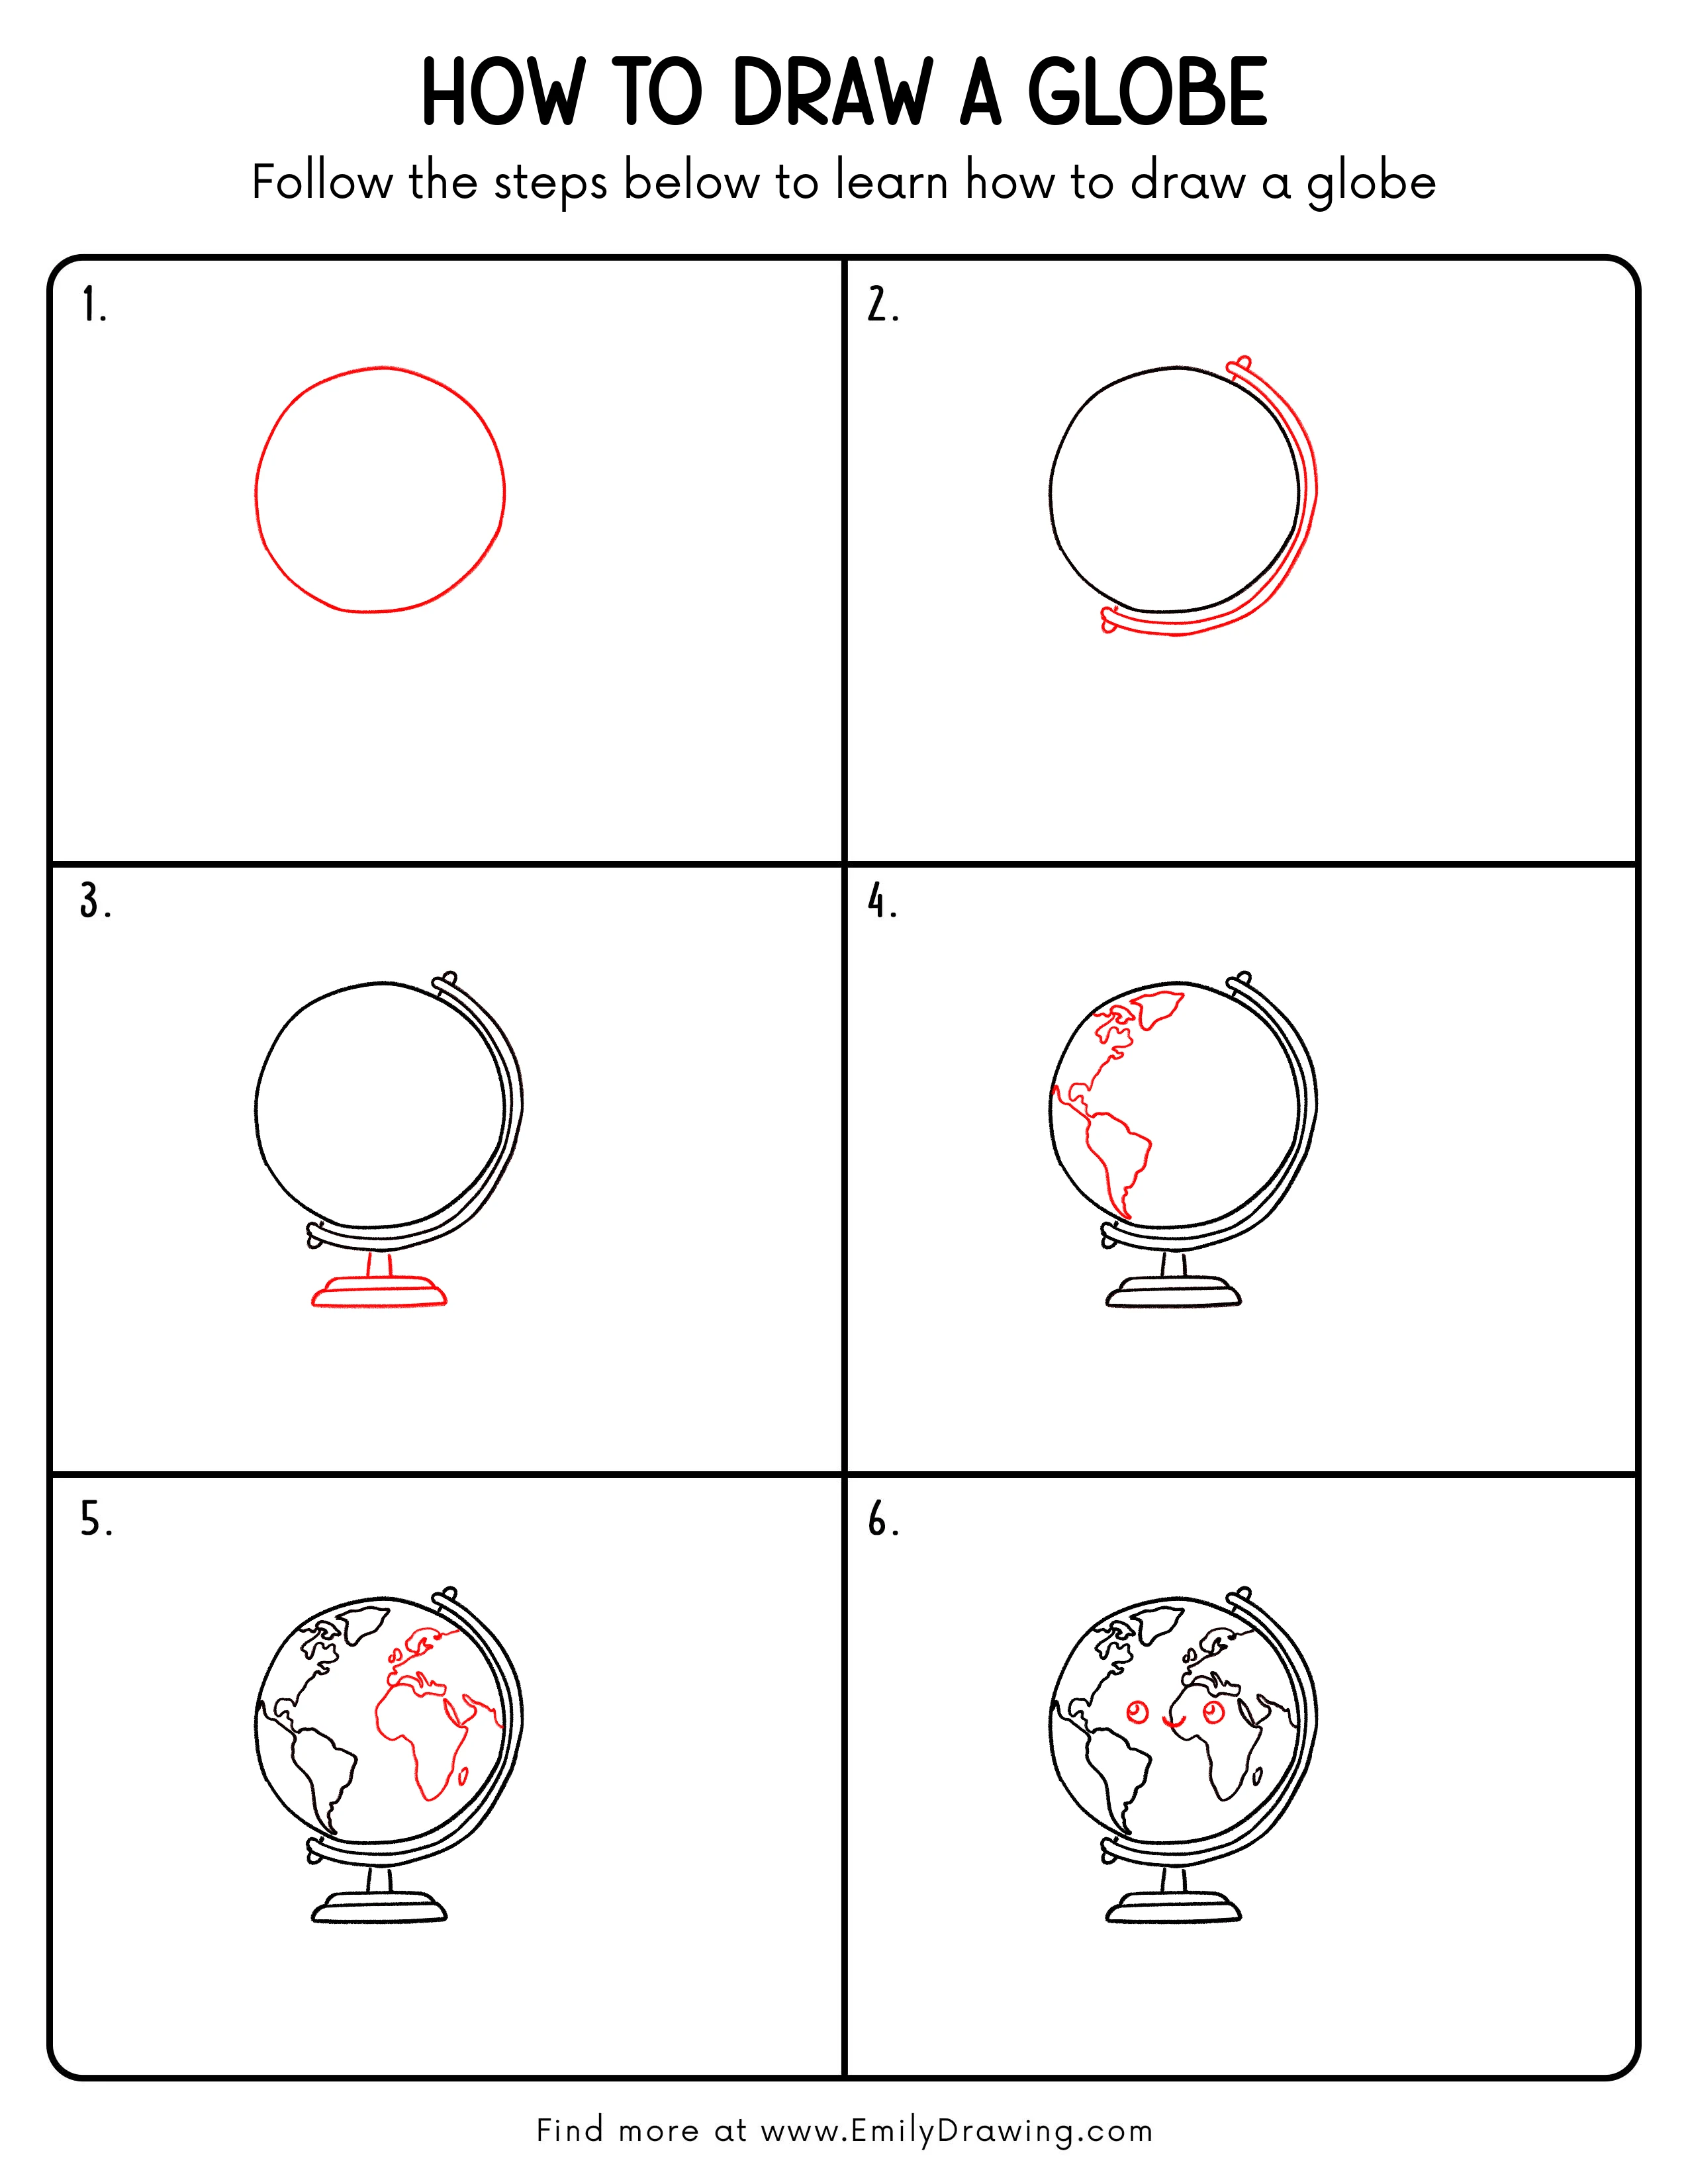
Step-by-Step Drawing Guide
Step 1: Draw the Outer Shape of the Globe
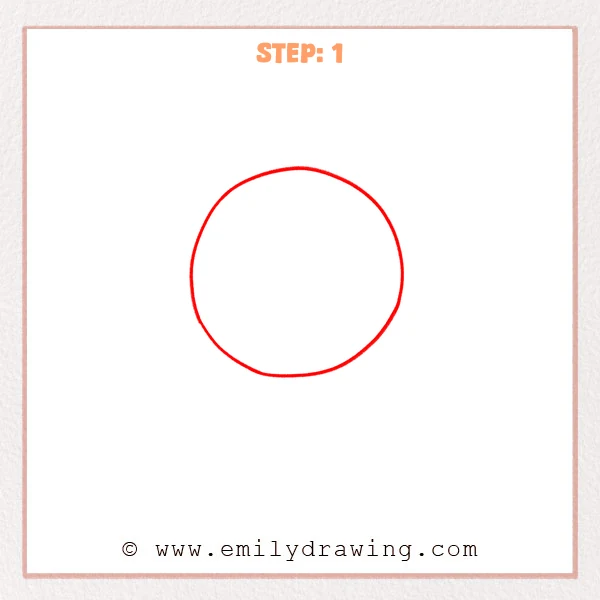
Start with a large circle in the middle of the page to build the main shape of the globe. Let the line feel soft and natural, rather than perfectly even, so the drawing feels relaxed and friendly.
Pro Tip: Use a light sketch first so the round shape is easier to adjust later.
Step 2: Add the Globe Frame
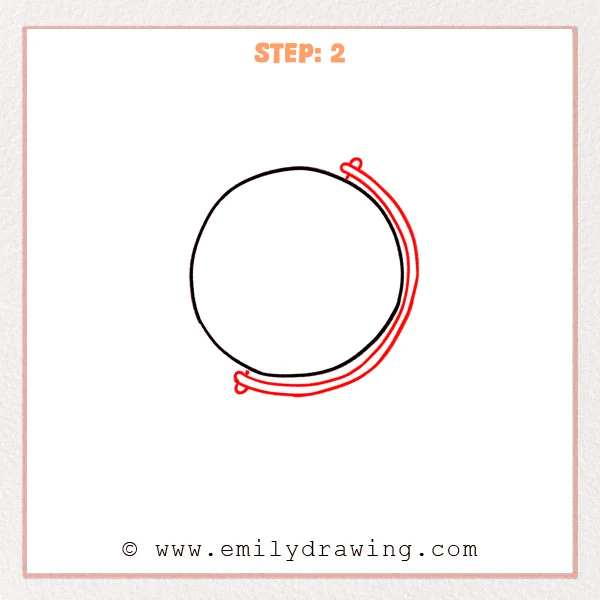
Start along the right side and lower edge of the circle, then add a double curved frame that follows the round shape. Place a small rounded cap at each end near the edge of the globe, so the stand begins to look clear and balanced.
Pro Tip: Keep the spacing between the two frame lines even so the globe looks neat.
Step 3: Add the Globe Base
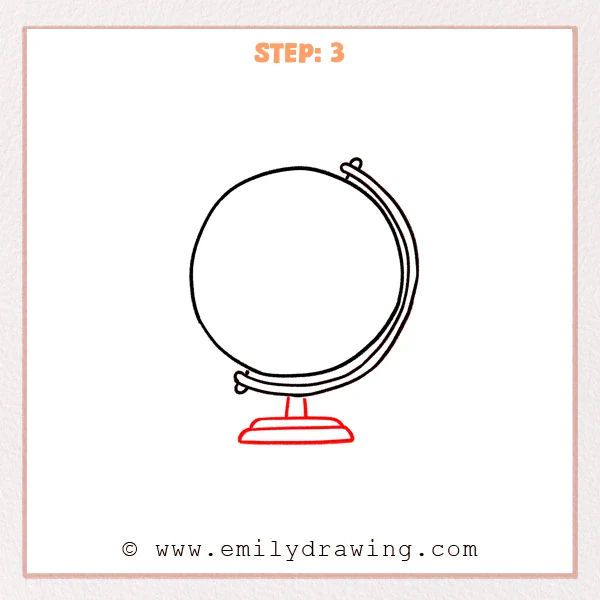
Start just below the globe and add two short vertical supports to connect the frame to the stand. Then place a flat layered base underneath, so the globe looks steady and complete.
Pro Tip: Keep the base balanced on both sides so the globe feels steady.
Step 4: Add the Continent Shapes
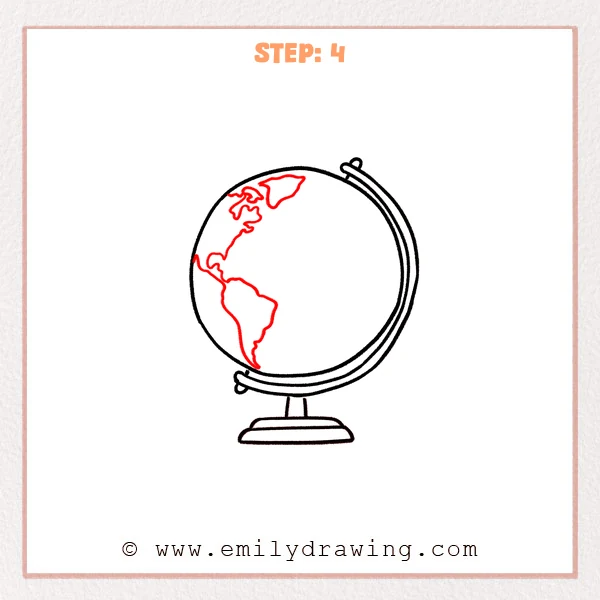
Start adding a few continent outlines across the left side and upper part of the globe, so the empty surface begins to look like a world map. Let the edges bend and turn naturally, and place them so they follow the round space of the globe.
Pro Tip: Keep the continent shapes simple at first so the main land areas are easier to place.
Step 5: Add More Continents on the Other Side
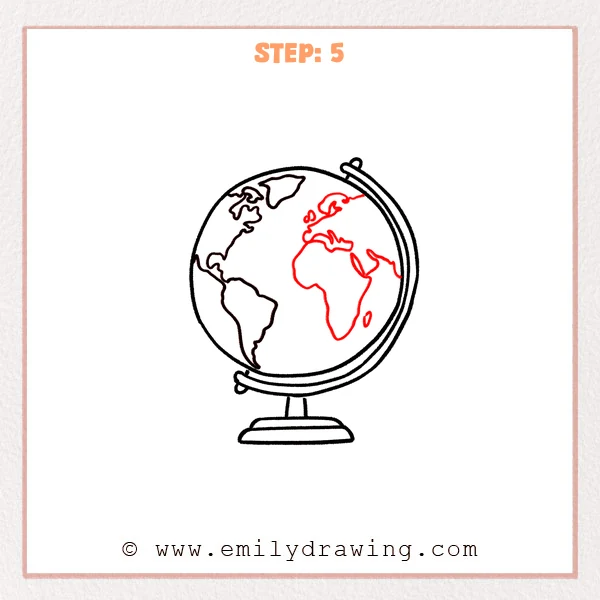
Start filling the right half of the globe with more continent and island shapes, so the surface feels fuller and more complete. Spread the outlines across the round space and let them curve gently with the globe to strengthen the world map look.
Pro Tip: Vary the sizes of the new land shapes so the globe looks more natural.
Step 6: Add a Cute Face
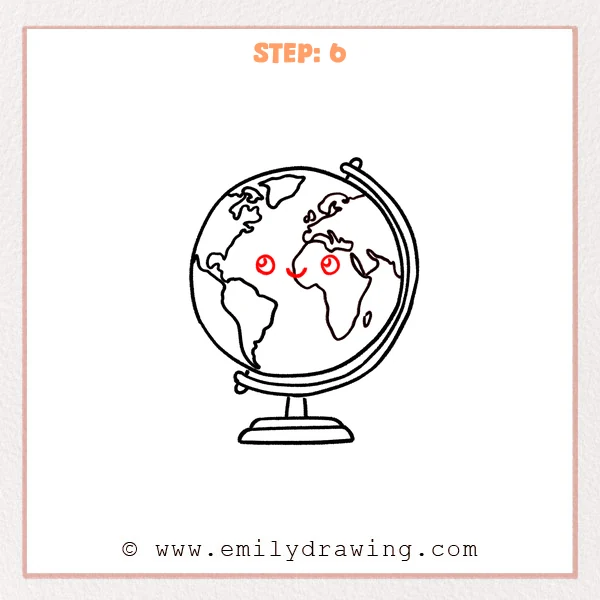
Start in the open middle area and add two round eyes, then place a small smiling mouth between them to give the globe a friendly look. Let the highlights inside the eyes stay clear, so the expression feels bright and lively.
Pro Tip: Keep both eyes on a similar level so the face looks calm and balanced.
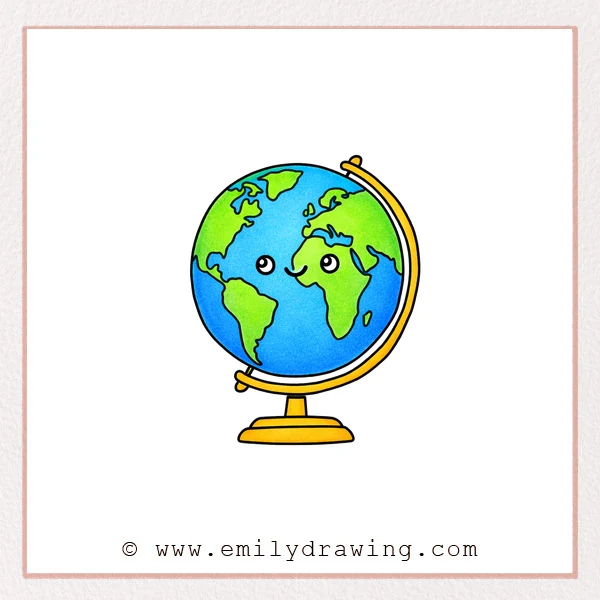
Step 7: Color in your drawing!
Fun Facts
- A globe shows the Earth as a round shape instead of a flat map.
- Many classroom globes can spin on a stand.
- Continents look curved on a globe because they wrap around the Earth.
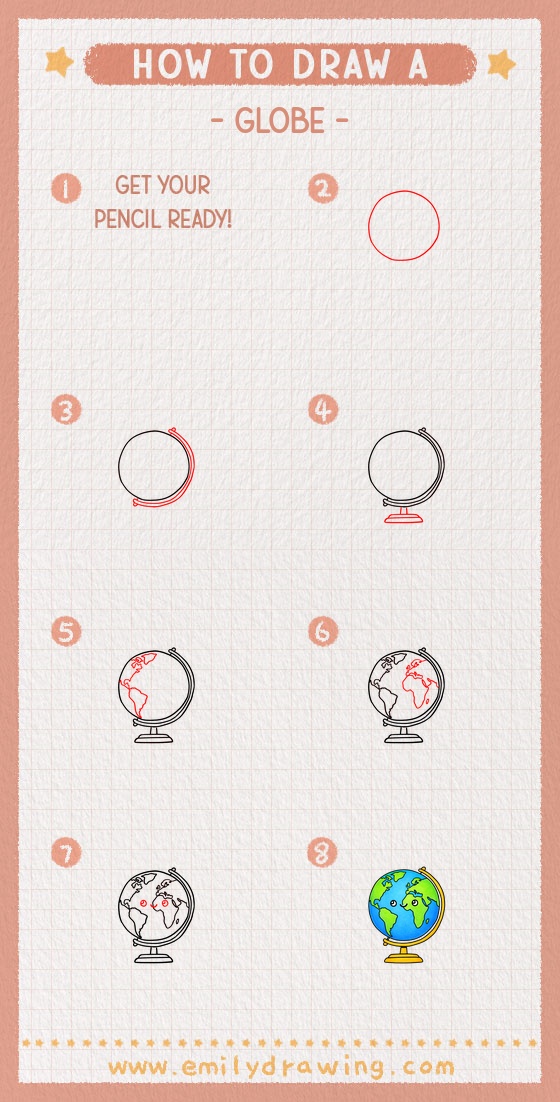
Pin it now, Draw later!
You started with a simple circle, then added the frame, base, continents, and a cheerful face. Try coloring the oceans blue and the land green or brown, then add light shading around one edge to make the globe feel more round. A common beginner mistake is making the small details too early, so take your time with the large shapes first. Keep practicing step by step drawing, and enjoy trying more easy drawing tutorials for beginners.
Get the FREE Printable Drawing Guide
FREE Download Printable Globe Drawing Tutorial
Frequently Asked Questions
Is this globe drawing good for beginners?
Yes, this easy drawing tutorial uses simple shapes and clear stages.
Do the continents need to be exact?
No, simple continent shapes work well for a friendly beginner drawing.
Can I color my globe in a cartoon style?
Yes, bright colors and soft shading can make your globe look playful and fun.