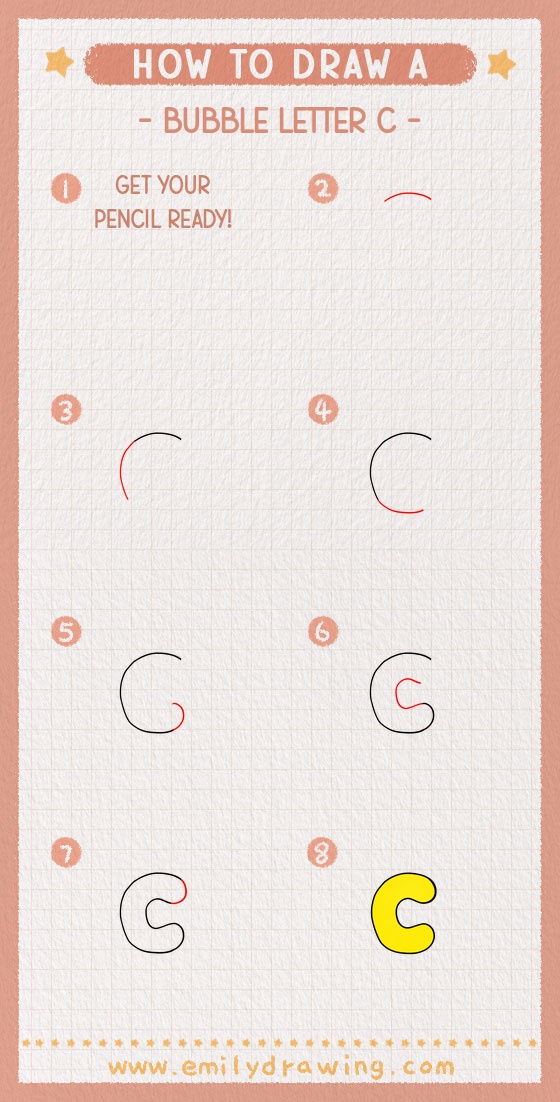
This easy drawing tutorial shows how to draw a bubble letter C step by step.
You will build it with smooth curves, then add an inner outline for thickness.

What You Will Need
- Pencil
- Eraser
- Black marker or pen
- Coloring tools (markers, crayons, or colored pencils)
- Paper
Here are my RECOMMENDED Art Supplies!
- Crayola Coloring Set (140 Pieces – Mega Value!)
- 24 Colored Crayon Set
- A4 Printer Paper
- Crayola Coloring Pencils
- HP Home Printer with Instant Ink!
Time needed:
13 minutes.
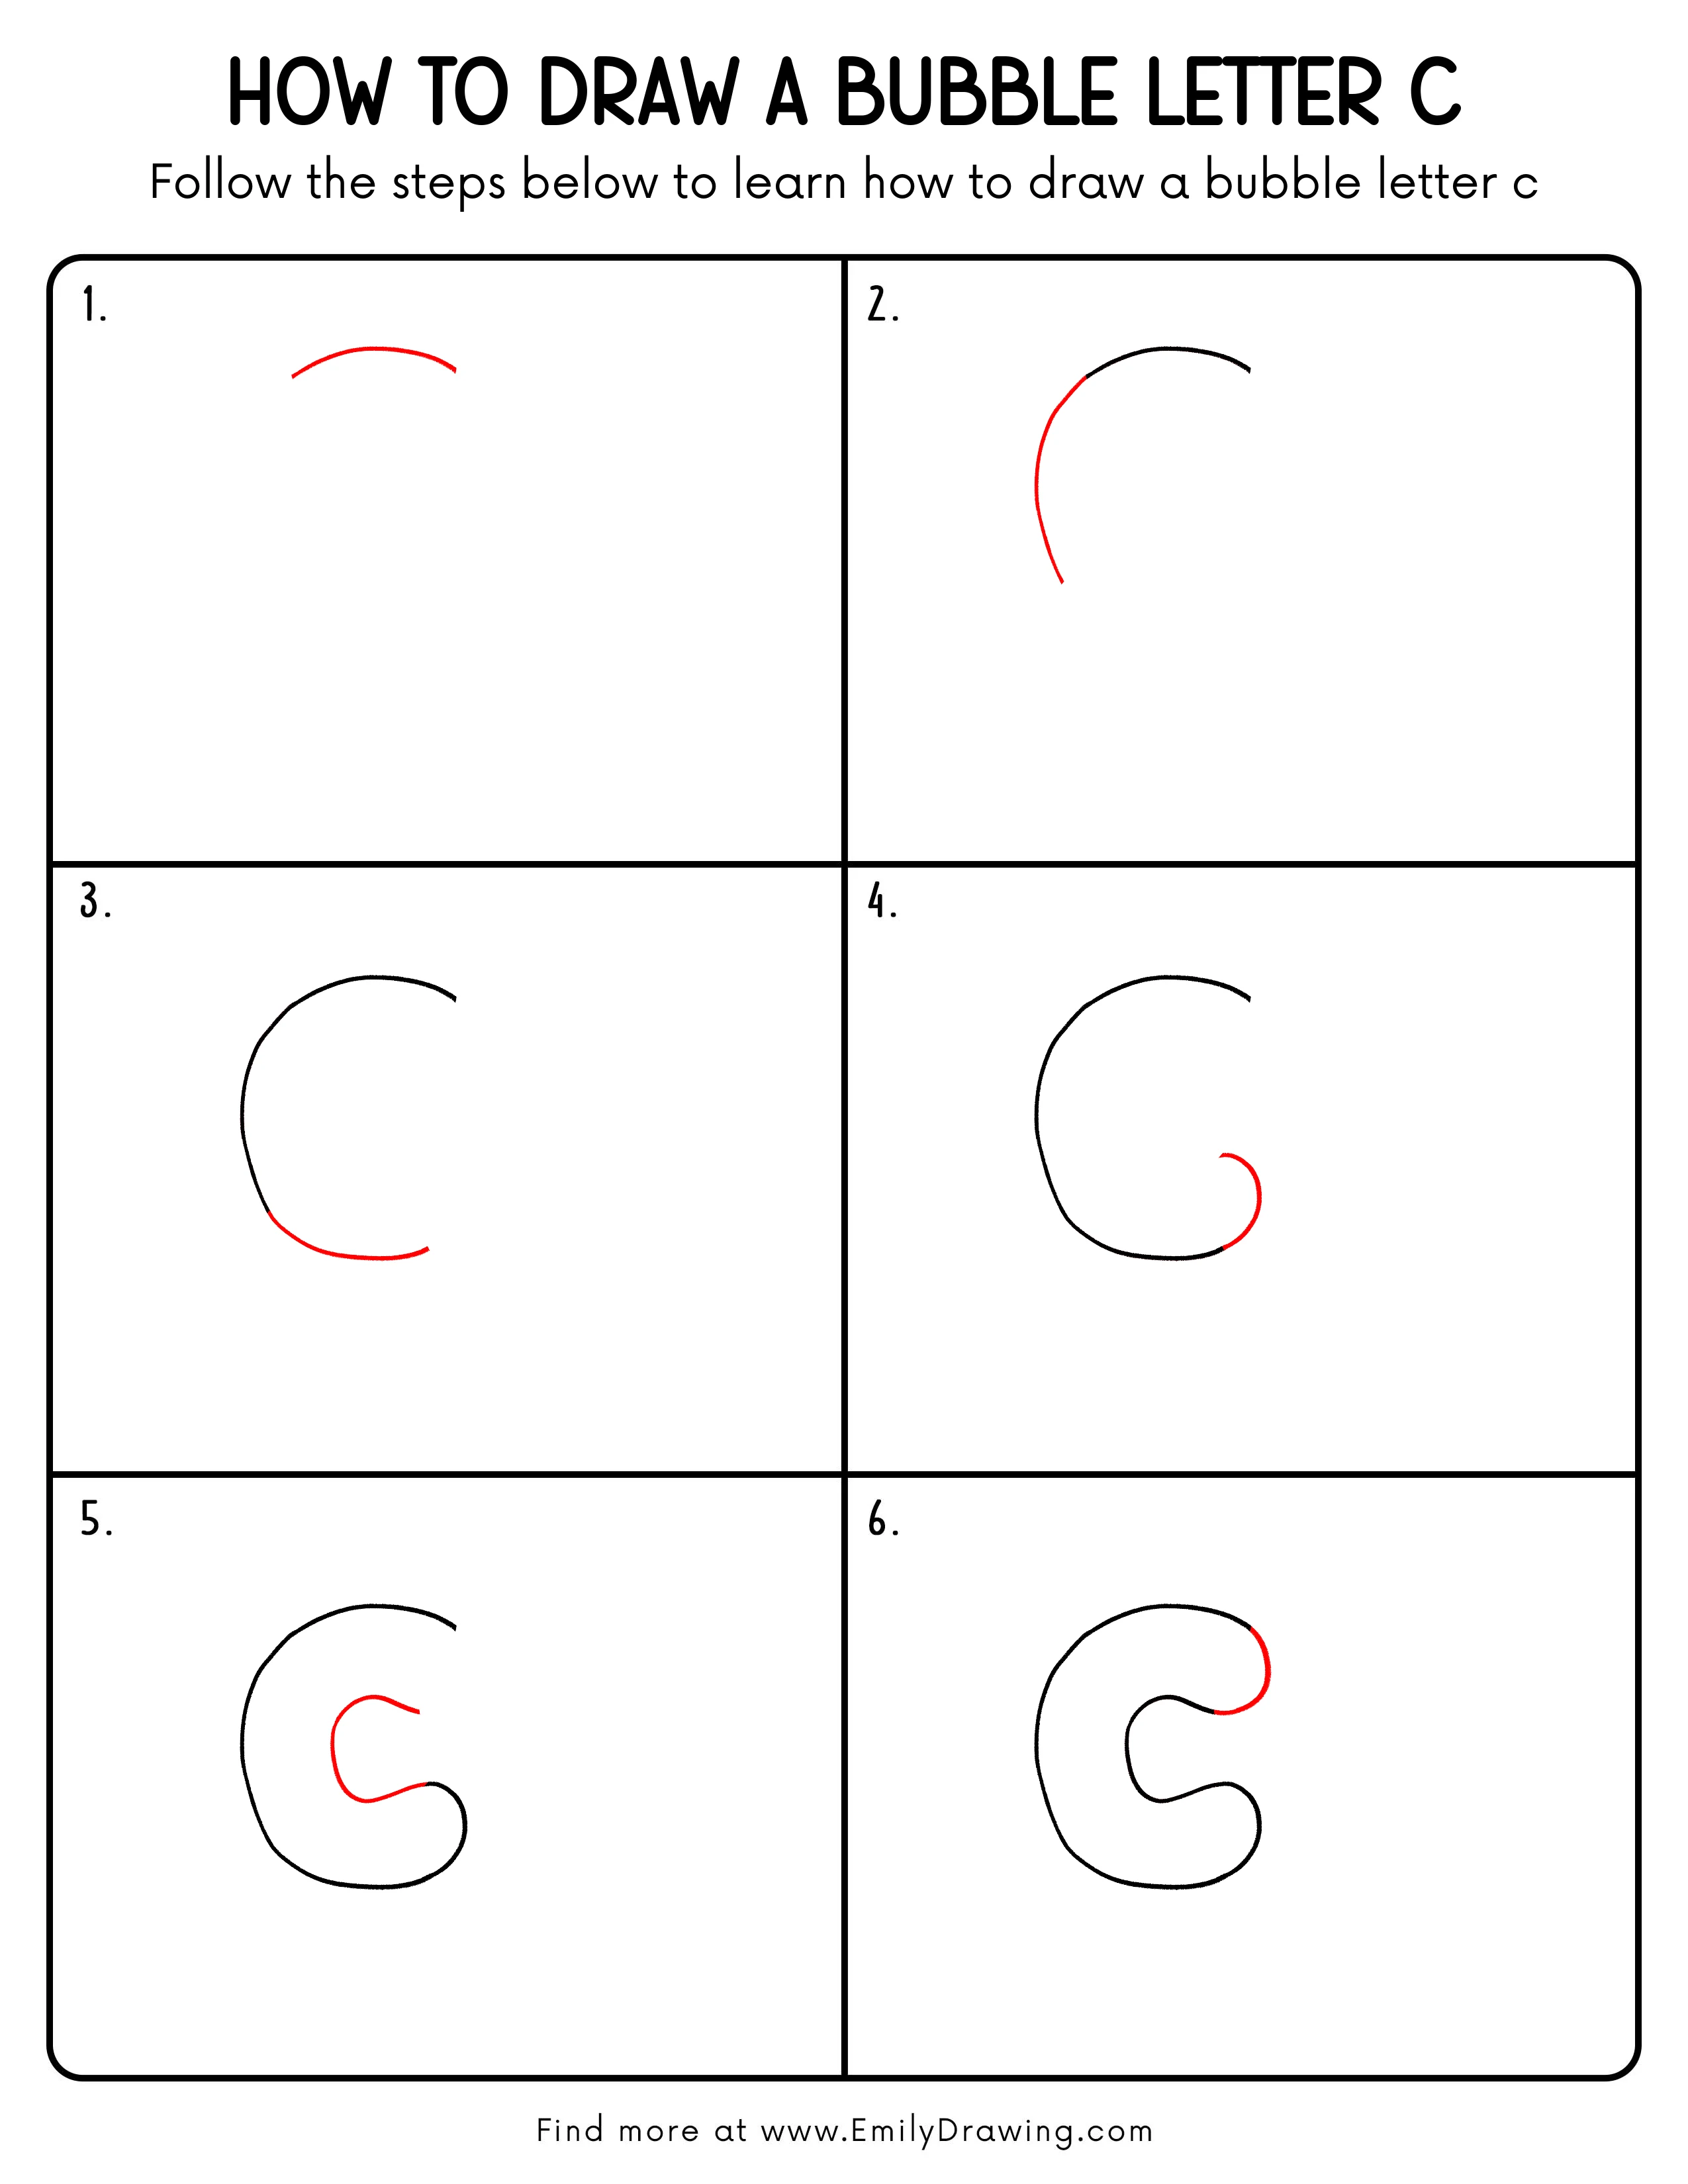
Step-by-Step Drawing Guide
Step 1: Draw the Top Curve
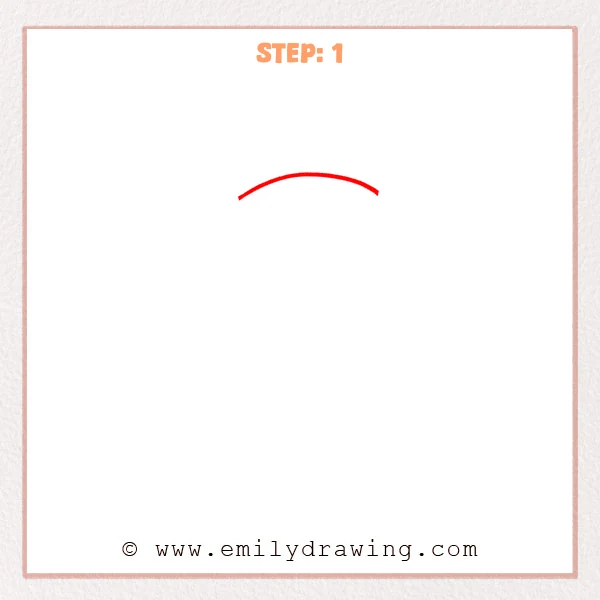
Start near the top and sketch a wide, smooth arc, like an upside-down rainbow.
Let both ends dip slightly downward so the “C” opening can form later.
Pro Tip: Keep the arc smooth and wide so the bubble letter feels full.
Step 2: Add the Long Left Curve
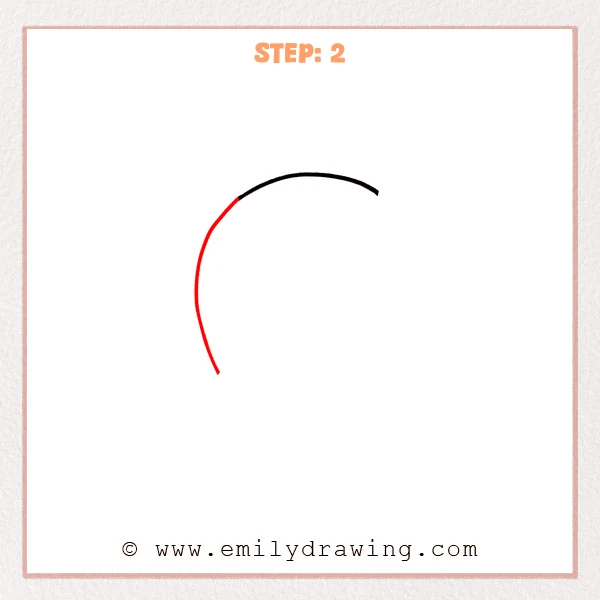
From the left end of the top arc, continue with a long, smooth curve down the left side.
Stop the line before you reach the bottom so the “C” stays open for now.
Pro Tip: Match the roundness of the top arc, and avoid any sharp corners.
Step 3: Add the Bottom Curve
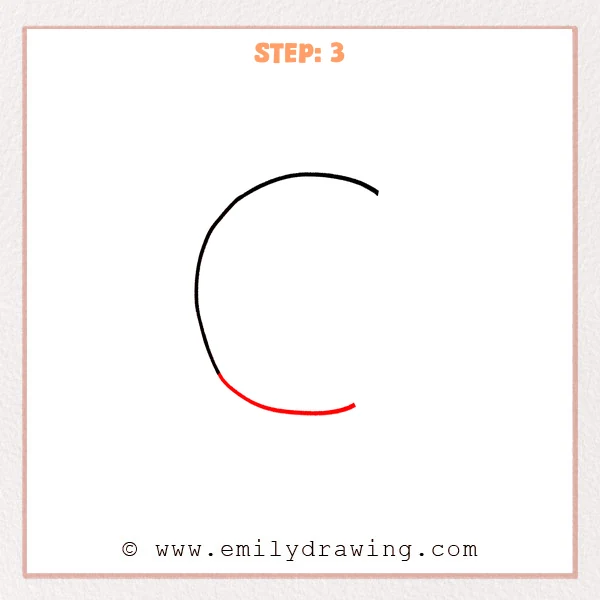
From the lower end of the left curve, sketch a wide arc that sweeps to the right, like a gentle smile.
Stop before closing the shape, keeping the right side open to hold the “C” gap.
Pro Tip: Match the bottom curve to the top curve so the C looks balanced.
Step 4: Draw the Inner Curl
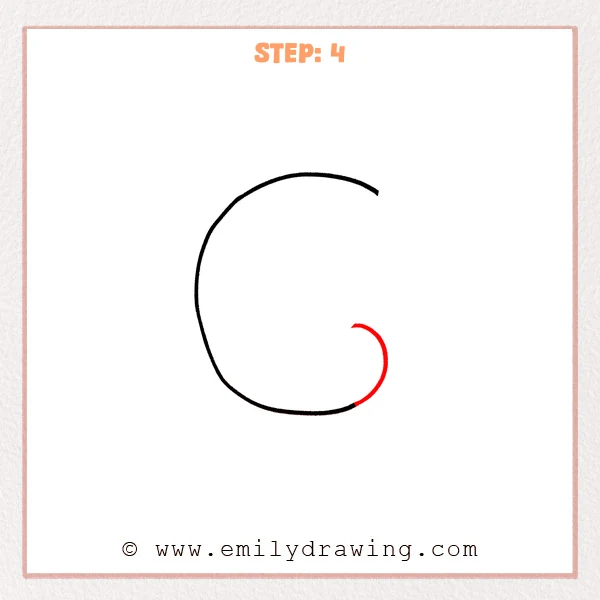
Inside the right opening, add a short curved stroke that curls upward like a small comma.
Keep a small, even gap from the outer outline so the bubble letter starts to feel thick.
Pro Tip: Leave an even space from the outer line so the C looks puffy and clean.
Step 5: Extend the Inner Outline
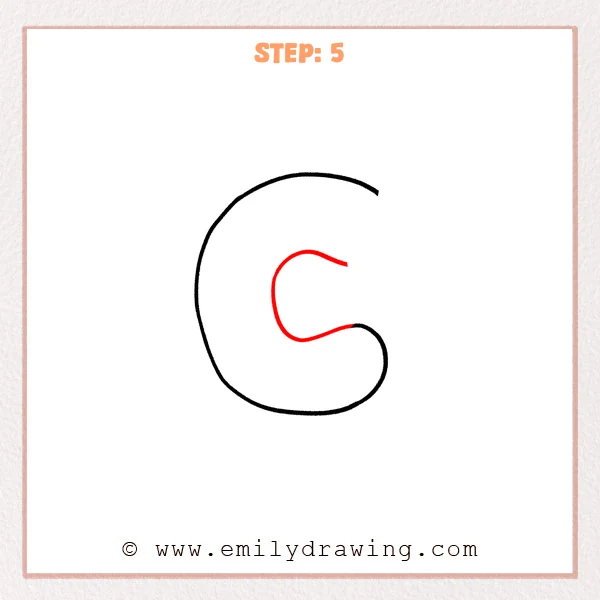
Continue from the inner curl and sweep it upward, then curve it back down to form a larger inner arc.
Bring this inner line toward the lower-right inner edge, but keep the “C” opening unclosed.
Pro Tip: Keep the spacing even between inner and outer lines for a puffy look.
Step 6: Round Out the Upper-Right Corner
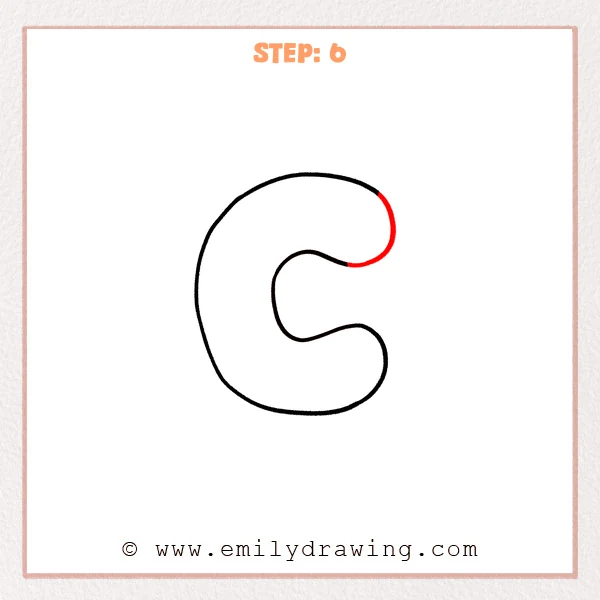
At the upper-right opening, add a rounded bulge on the outer edge to create a puffy corner.
Let this curve flow back into the top outline smoothly, with no sharp bend.
Pro Tip: Make the upper-right curve as full as the lower-right curve.
Step 7: Color in your drawing!
Fun Facts
- The letter C is one of the oldest letter shapes, coming from very early alphabets.
- In handwriting and logos, rounded letters like C often feel friendly and soft.
- Bubble letters are popular because their thick shapes make coloring and shading easier.
Pin it now, Draw later!
You started with the big outer “C,” then added an inner outline to make it look puffy.
For color, try a light base color first, then add a darker shade along one side.
A simple shadow under the letter can make it look like it is floating.
One common beginner mistake is making the inner gap uneven, so check spacing as you ink.
Keep practicing this bubble C, and try drawing the whole bubble letter alphabet next.
Get the FREE Printable Drawing Guide
FREE Download Printable Bubble Letter C Drawing Tutorial
Frequently Asked Questions
How do I make my bubble letter C look more even?
Lightly sketch first, then compare the top and bottom curves for balance.
Should I outline with pen before coloring?
Yes, outlining first helps the shape stay clean when you add color.
How can I add a 3D effect to the bubble letter C?
Add a second “shadow” outline to one side, then connect edges with short lines.