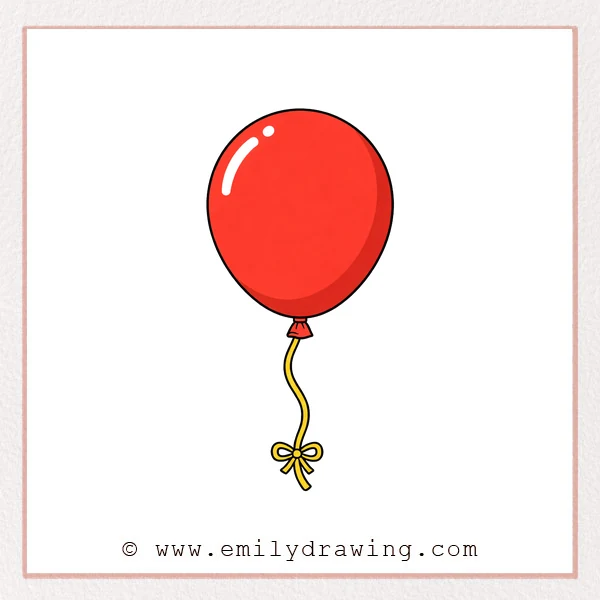
A balloon is a perfect beginner drawing because it uses simple curves and a few small details.
In this easy drawing tutorial, you will build a shiny balloon one step at a time.
What You Will Need
- Pencil
- Eraser
- Black pen or marker (optional for outlining)
- Paper
Here are my RECOMMENDED Art Supplies!
- Crayola Coloring Set (140 Pieces – Mega Value!)
- 24 Colored Crayon Set
- A4 Printer Paper
- Crayola Coloring Pencils
- HP Home Printer with Instant Ink!
Time needed:
12 minutes.
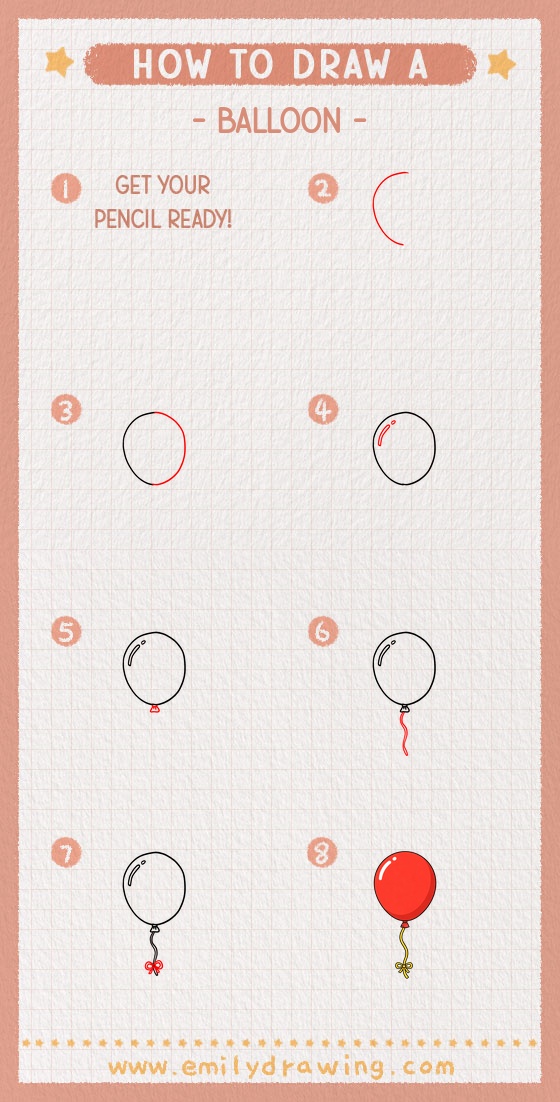
Step-by-Step Drawing Guide
Step 1: Draw the Balloon’s Side Curve
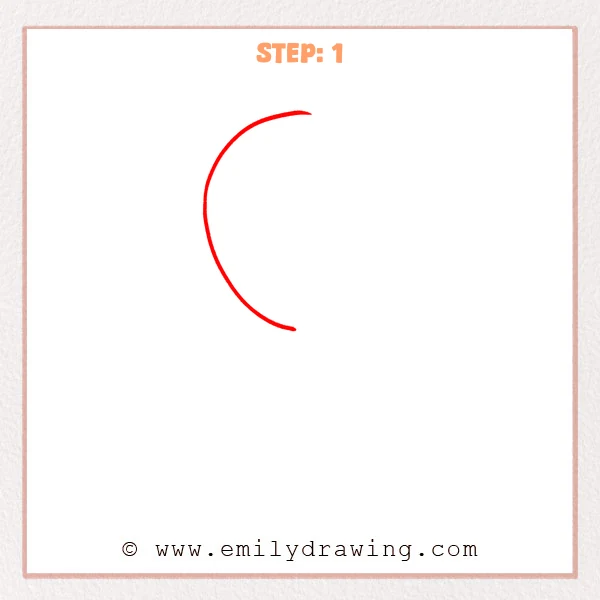
Start with one large curved line, like half of a “C” shape.
Keep the curve smooth and slightly narrower near the top.
Pro Tip: The smoother your curve is, the more inflated the balloon will look.
Step 2: Complete the Other Side Outline
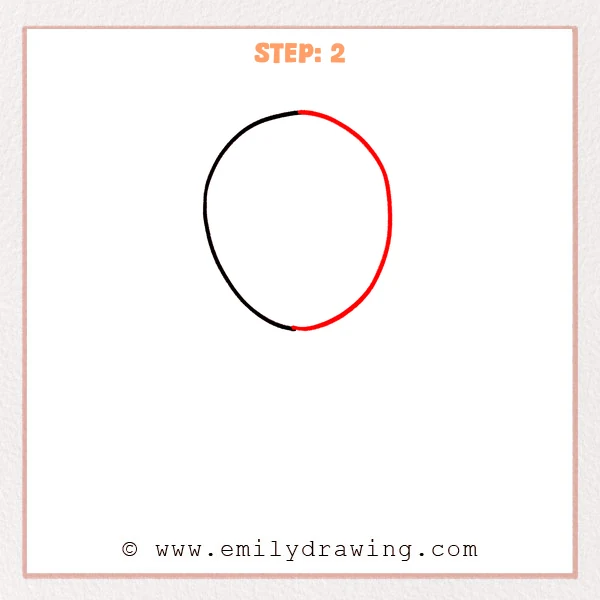
Draw a matching curve on the right to close the shape into a rounded oval.
Gently taper the top and bottom so the balloon looks nicely inflated.
Pro Tip: Keep the left and right curves evenly spaced for a balanced balloon.
Step 3: Add Shiny Highlights
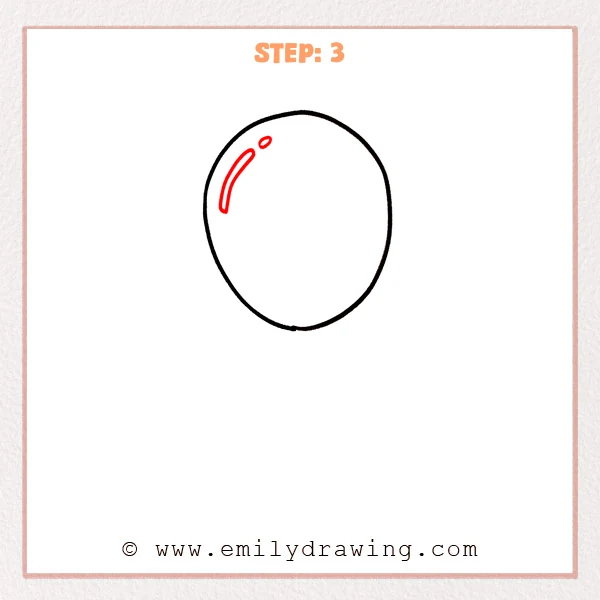
Draw a long, thin curved highlight near the upper-left area of the balloon.
Add a small oval highlight nearby to make the balloon look glossy.
Pro Tip: Leave a small gap between the highlight and the outline for a natural shine.
Step 4: Draw the Balloon Knot
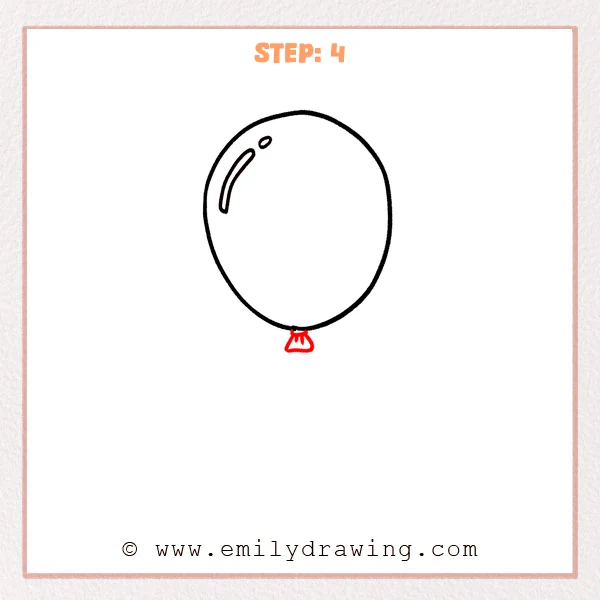
Add a small knot at the bottom center, shaped like a tiny trapezoid or pouch.
Draw two or three short lines above it to show the pinched folds.
Pro Tip: Keep the knot much smaller than the balloon so it feels light and realistic.
Step 5: Draw the Wavy String
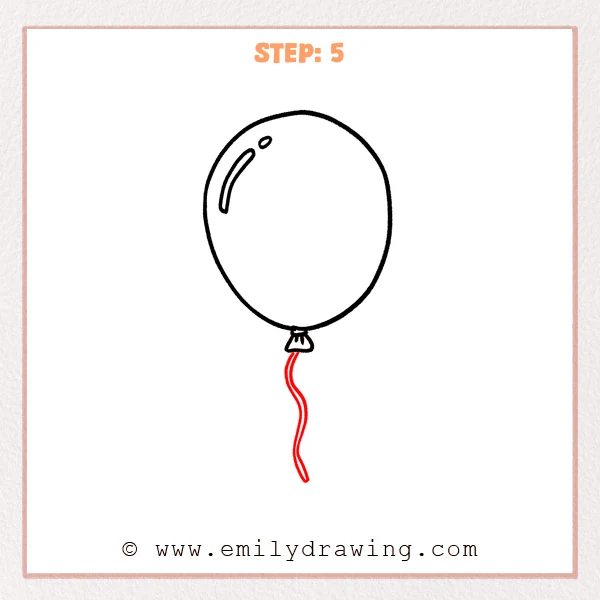
From under the knot, draw two close wavy lines to form the sides of the string.
Let the string sway gently left and right, then taper slightly near the end.
Pro Tip: Keep the two lines roughly parallel so the string looks like a thin ribbon.
Step 6: Add a Small Curl to the String End
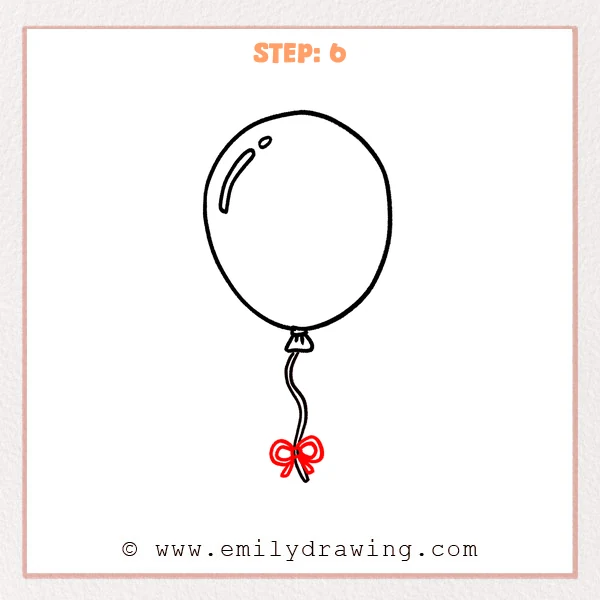
Draw a short curved line at the bottom of the string so the end looks slightly curled.
Make the curl follow the same flow as the string for a natural look.
Pro Tip: Keep the curl small—just a gentle bend will still read as string.
Step 7: Color in your drawing!
Fun Facts
- Balloons are often made from latex, which can stretch a lot without tearing.
- The shiny highlight you draw helps show where light is reflecting off the balloon.
- Real balloon strings often twist and curl because they are thin and lightweight.
Pin it now, Draw later!
You can trace your final lines with a pen, then erase leftover pencil marks for a clean look.
Try coloring your balloon and leaving the highlight areas white for a glossy finish.
Now you know how to draw a balloon step by step—try drawing a whole bunch in different sizes!
Get the FREE Printable Drawing Guide
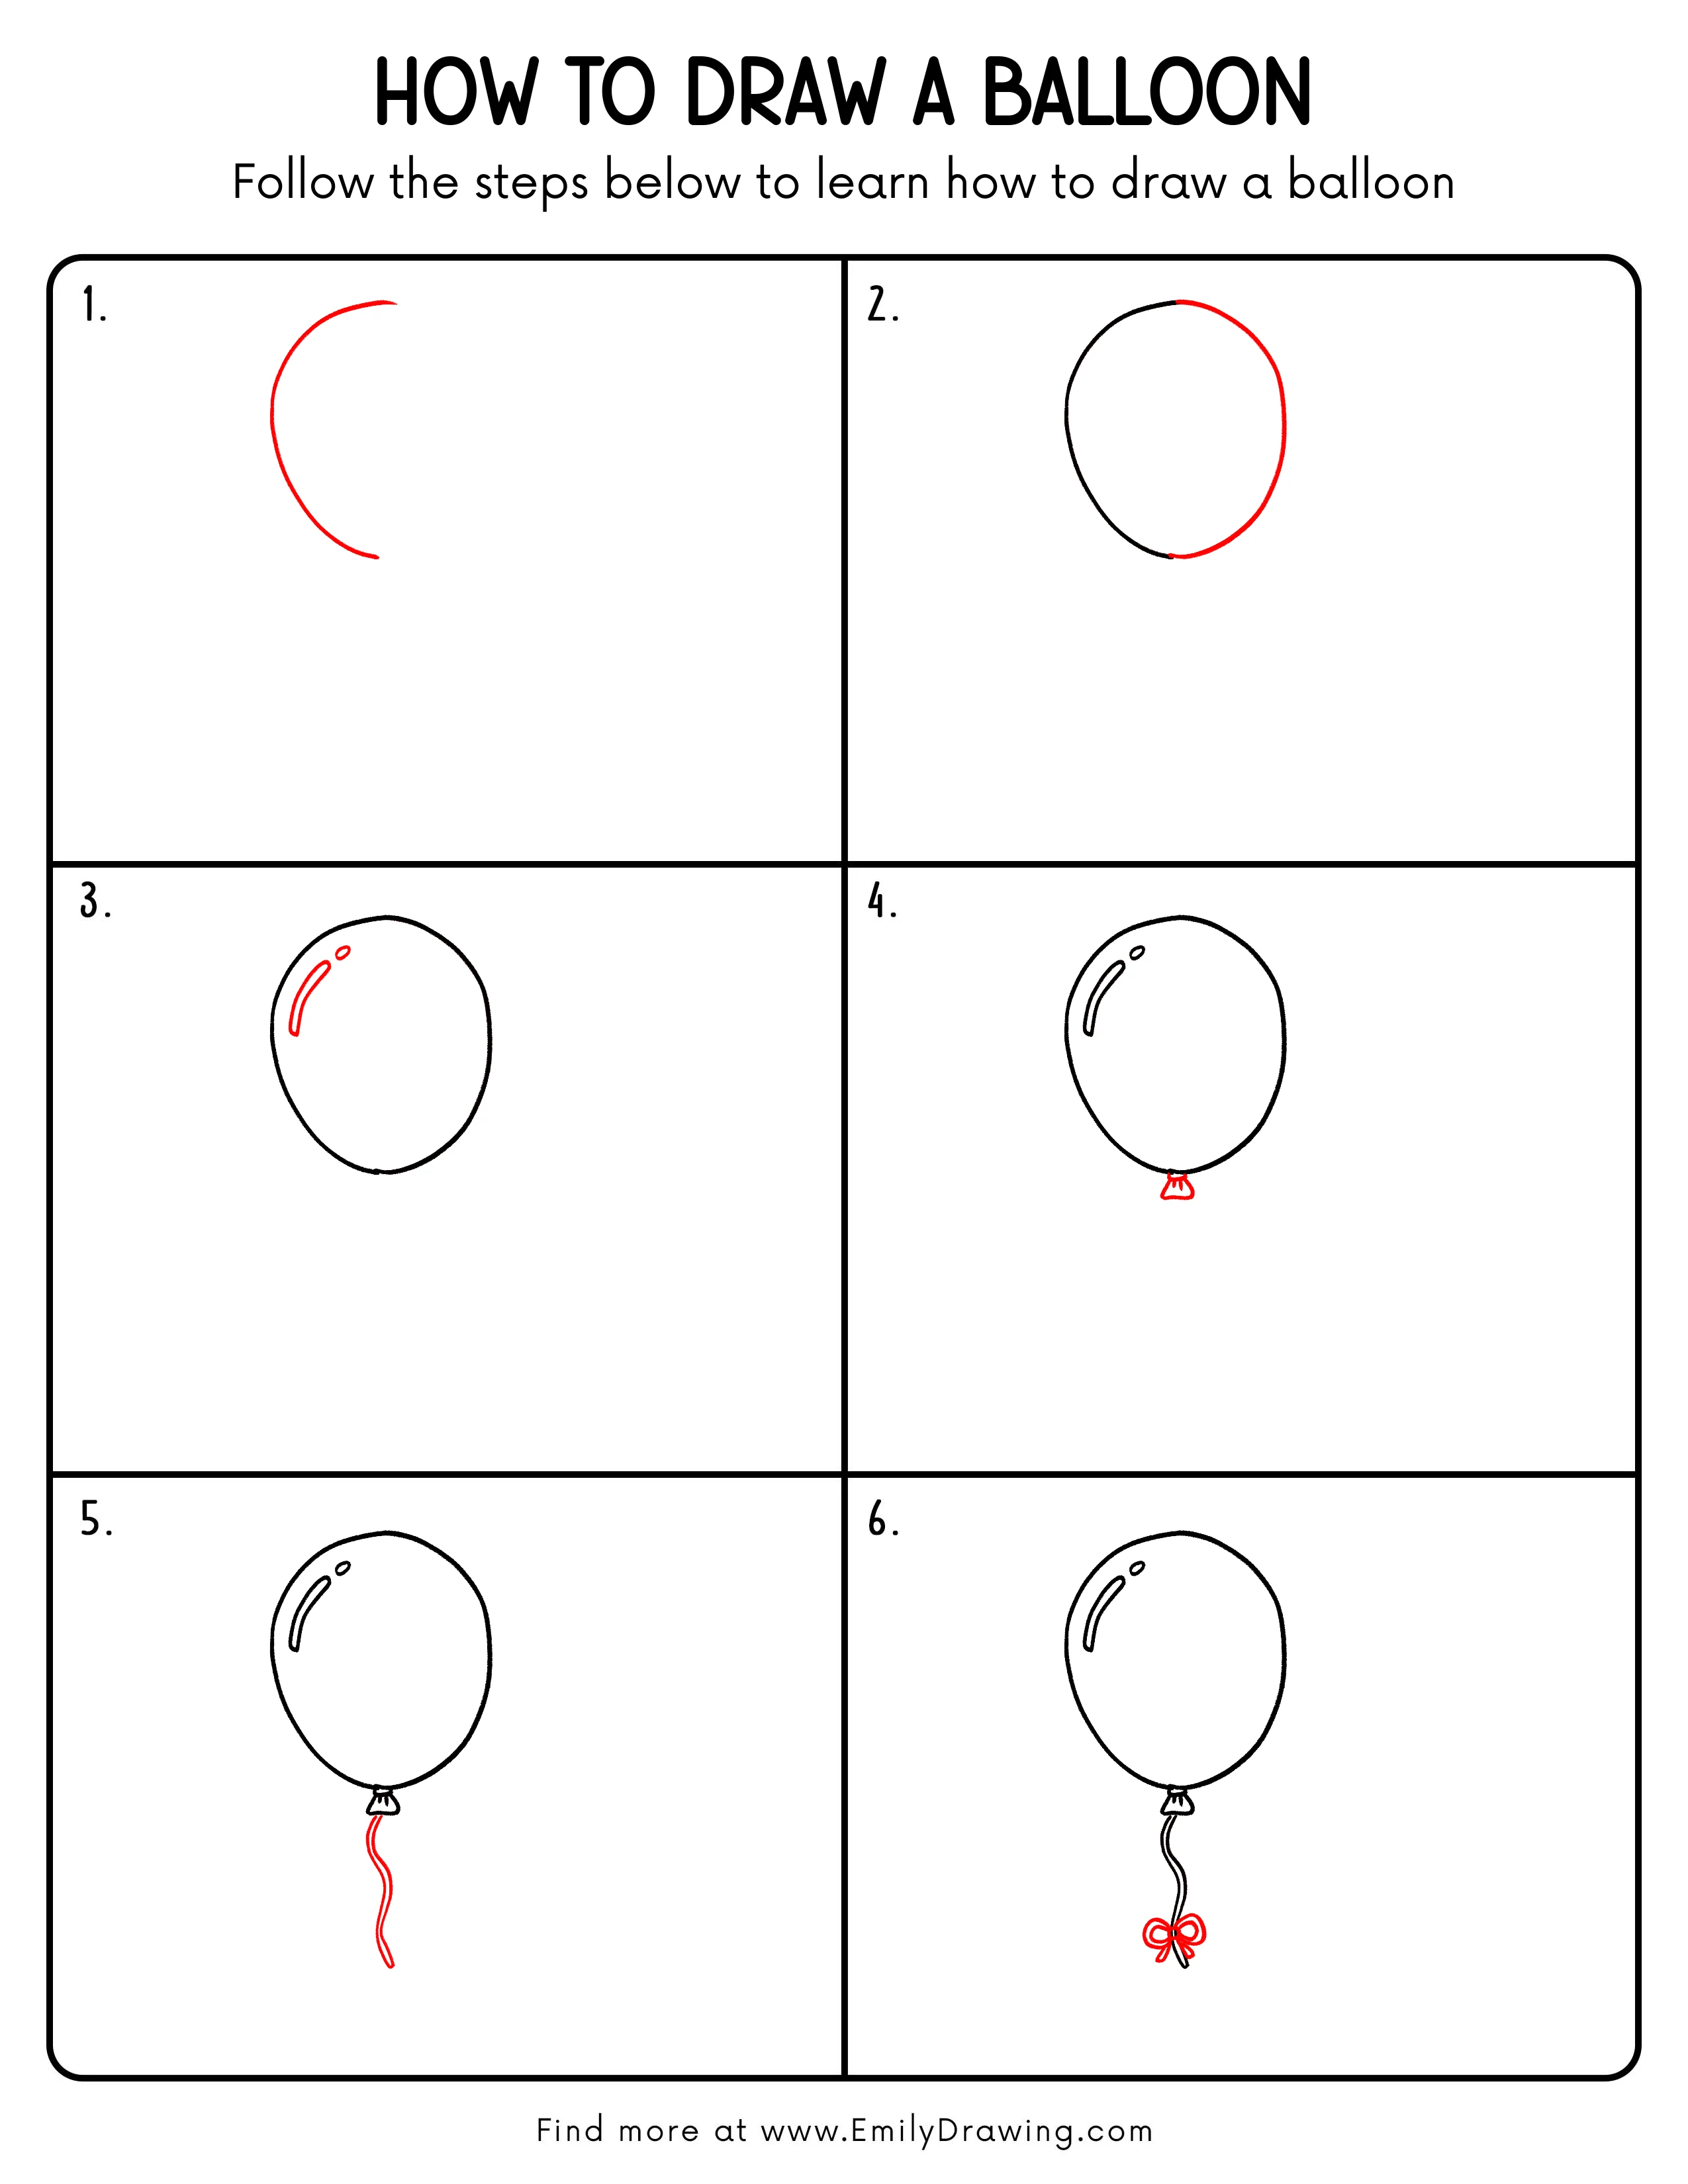
FREE Download Printable Balloon Drawing Tutorial
Frequently Asked Questions
1) Why does my balloon look uneven?
Try making both side curves match and keep the oval balanced left to right.
2) Where should I put the highlights?
Place them on one side (often upper-left) and keep them inside the outline.
3) How can I make the string look more natural?
Use gentle waves and small curves, and avoid sharp zigzags.