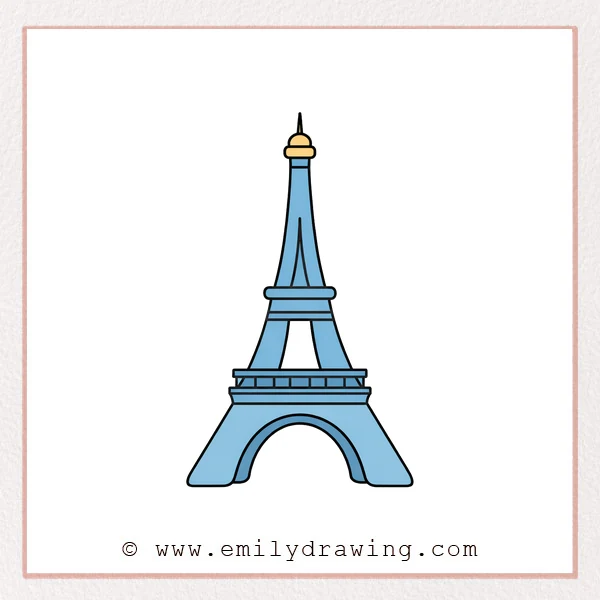
In this easy drawing tutorial, you will build the Eiffel Tower using simple shapes.
Take your time and keep your lines light until the final outline feels balanced.
What You Will Need
- Pencil or marker
- Eraser (if using pencil)
- Paper
- Optional: a ruler for straight edges
Here are my RECOMMENDED Art Supplies!
- Crayola Coloring Set (140 Pieces – Mega Value!)
- 24 Colored Crayon Set
- A4 Printer Paper
- Crayola Coloring Pencils
- HP Home Printer with Instant Ink!
Time needed:
21 minutes.
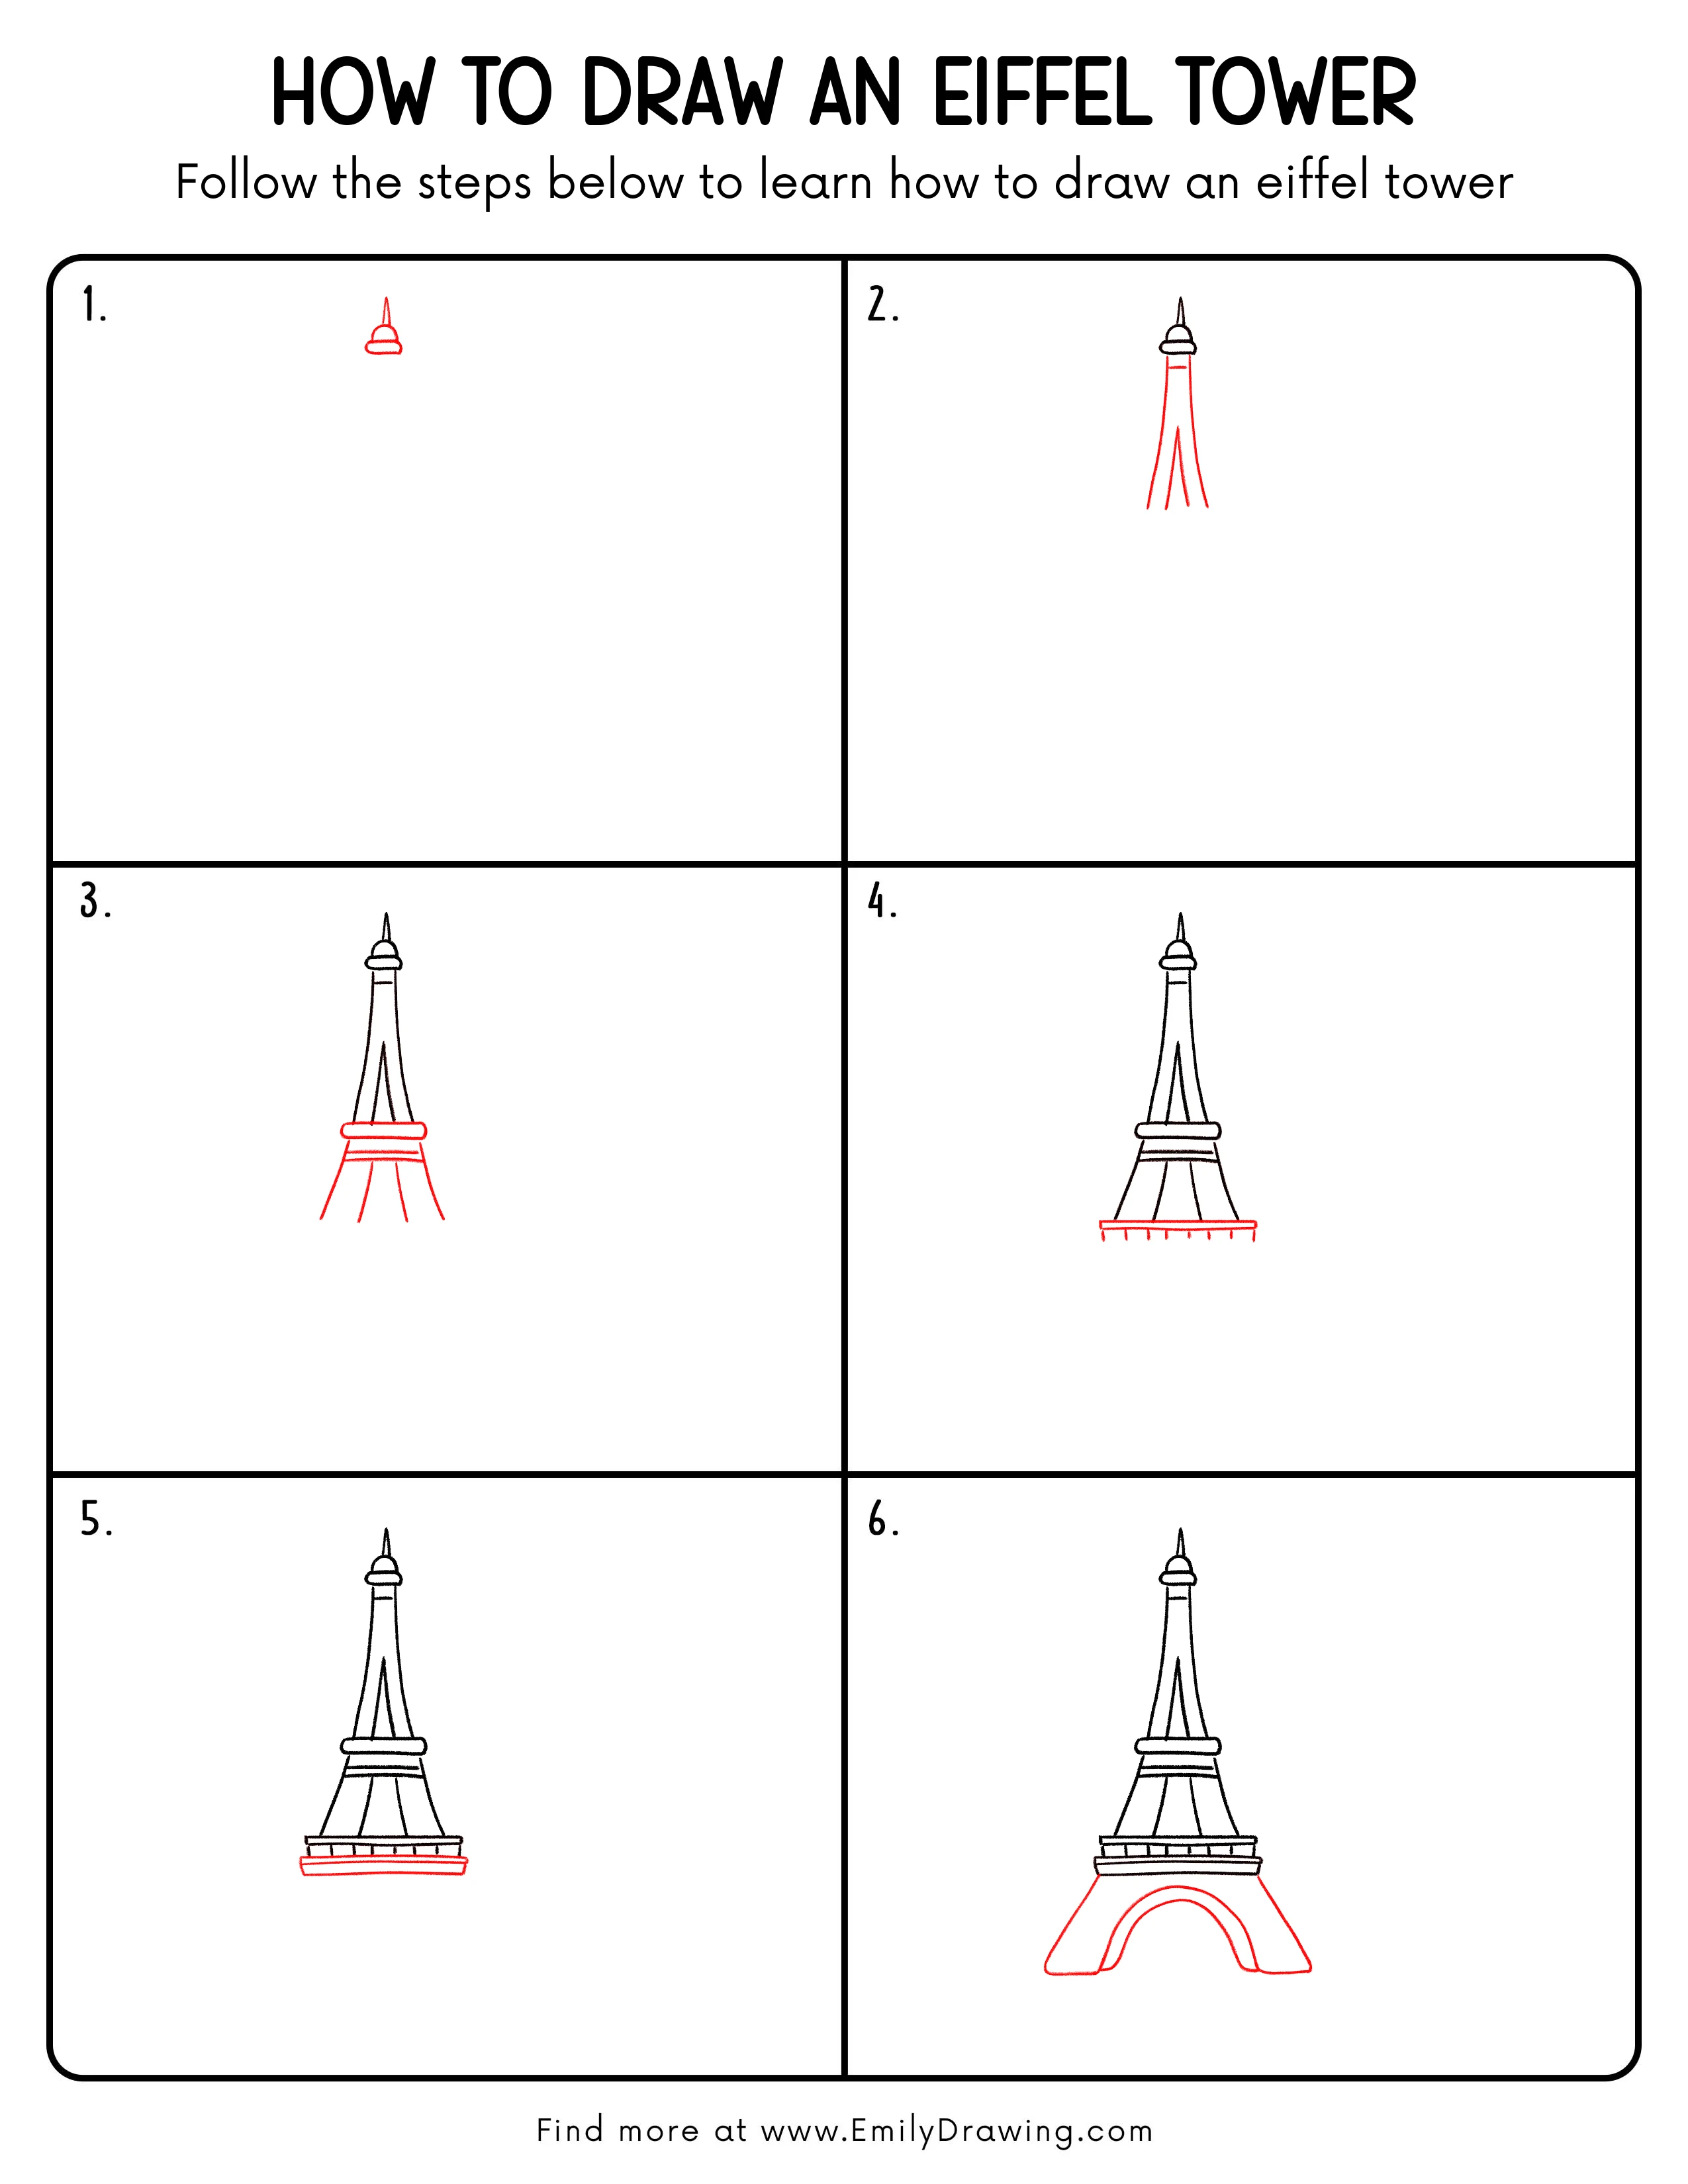
Step-by-Step Drawing Guide
Step 1: Sketch the Spire and Upper Deck
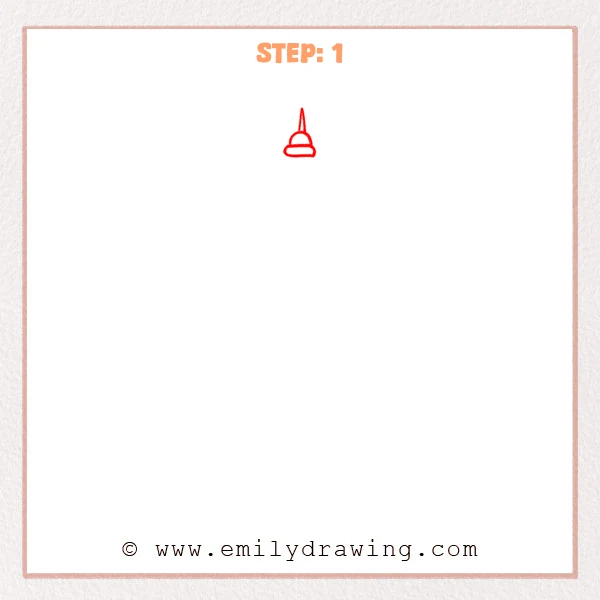
Start with a tall, narrow triangle near the top of the page for the spire.
Add two stacked, rounded horizontal shapes beneath it to suggest the upper deck.
Pro Tip: Keep the spire centered and slightly slim so the tower stays symmetrical later.
Step 2: Add the Tall Legs and Inner Supports
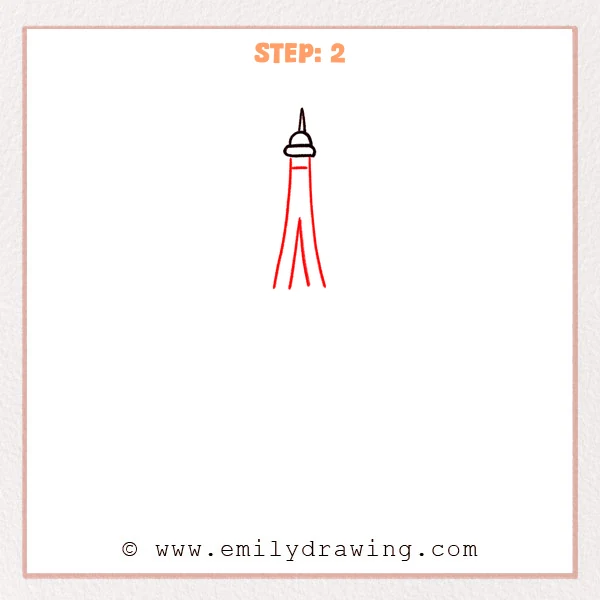
From the deck, draw two long lines slanting outward to form the main sides of the tower.
Inside, add two lines that meet into an “A” shape for support, and place a short bar near the top.
Pro Tip: Keep both outer legs evenly spaced so the Eiffel Tower stays balanced.
Step 3: Add the Middle Deck and Lower Legs
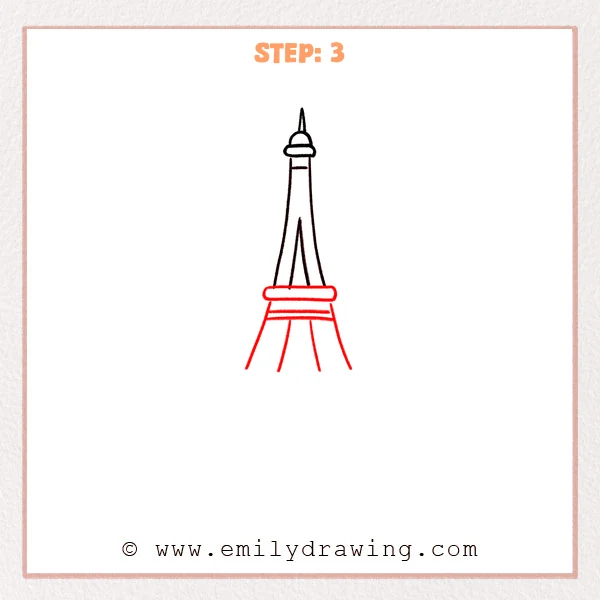
Draw a long rounded rectangle across the lower middle to create the second viewing deck.
Add a few short horizontal bars beneath it, then extend the legs farther outward for the lower section.
Pro Tip: Keep the middle deck level, and let it extend equally on both sides.
Step 4: Draw the Base Platform and Railing
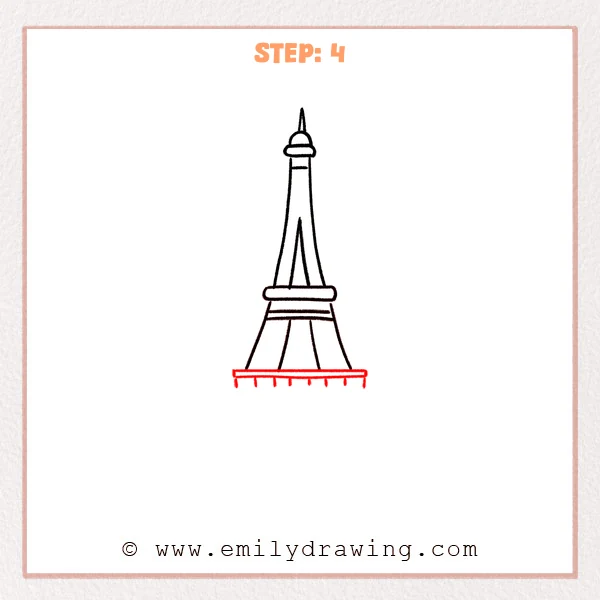
Add a long horizontal base at the bottom, with short downturned ends like a platform edge.
Along the underside, place several evenly spaced short vertical marks for railing posts.
Pro Tip: Space the small posts evenly so the base looks neat and stable.
Step 5: Thicken the Base With a Second Layer
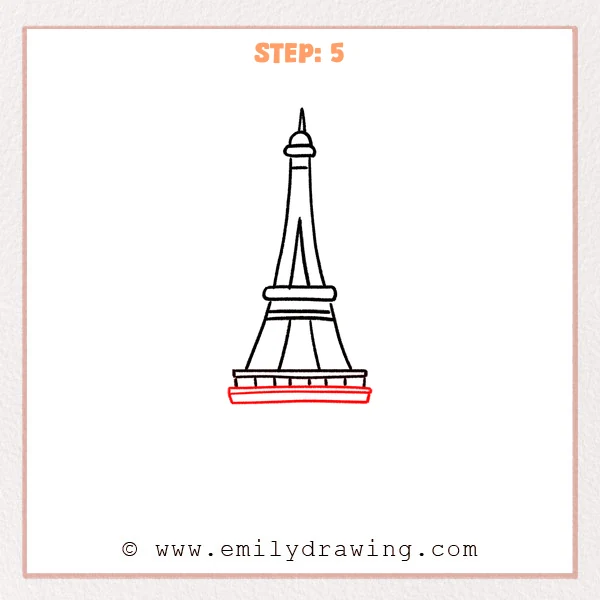
Draw a longer, slightly curved line under the base to create a thicker foundation edge.
Connect the ends so the base reads as a two-layer platform.
Pro Tip: Let the lower edge extend a bit wider than the upper one for a solid base.
Step 6: Draw the Big Bottom Arch
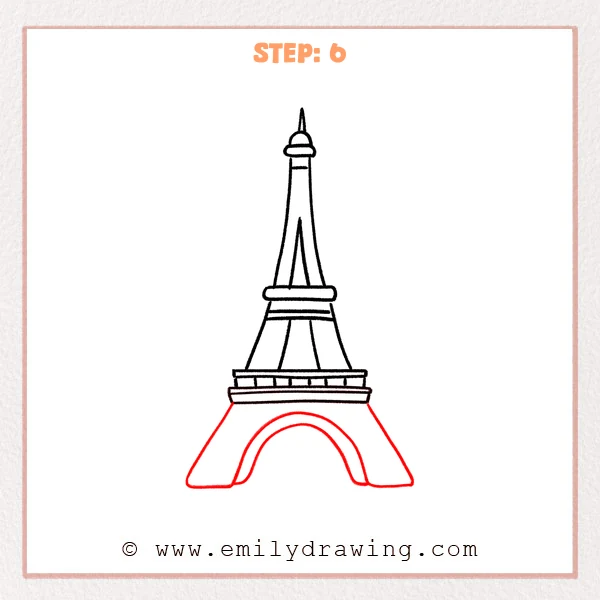
From the base, add two wide outer curves that form the left and right “feet” of the tower.
Inside, draw a smaller arch to give the opening a thicker, layered look.
Pro Tip: Match the inner arch curve to the outer one and keep the spacing even.
Step 7: Color in your drawing!
Fun Facts
- The Eiffel Tower was built for the 1889 World’s Fair in Paris.
- Its shape narrows upward to help it stay stable in wind.
- At night, the tower is famous for its sparkling lights.
Pin it now, Draw later!

Go over your favorite lines with a darker pen or marker, then erase extra sketch marks.
You can add tiny dots or short dashes to suggest iron beams without crowding the drawing.
Keep practicing this step by step drawing, and try adding a sky or city background next.
Get the FREE Printable Drawing Guide
FREE Download Printable Eiffel Tower Drawing Tutorial
Frequently Asked Questions
How do I make the Eiffel Tower look more realistic?
Add small crossbars on the legs and keep the sides evenly symmetrical.
What if my tower looks lopsided?
Lightly erase, then compare left and right angles before you redraw the lines.
Can I color the Eiffel Tower drawing?
Yes—use light gray or warm brown, and keep the shading simple and even.