
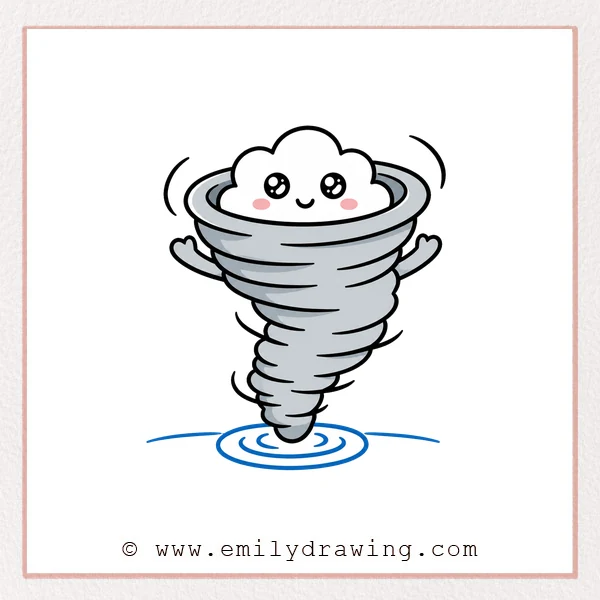
In this easy drawing tutorial, you will learn how to draw tornado in a cute and friendly style.
This step by step drawing guide is made for beginners, using simple curves, rounded shapes, and clear details.
Take your time with each part, and let the spinning lines build the tornado slowly.
What You Will Need
- A pencil
- An eraser
- Black marker or pen
- Red pencil or crayon for guide lines
- Paper
- Coloring tools, if you want to add color
Here are my RECOMMENDED Art Supplies!
- Crayola Coloring Set (140 Pieces – Mega Value!)
- 24 Colored Crayon Set
- A4 Printer Paper
- Crayola Coloring Pencils
- HP Home Printer with Instant Ink!
Time needed:
30 minutes.
Step-by-Step Drawing Guide
Step 1: Draw the Top Cloud of the Tornado
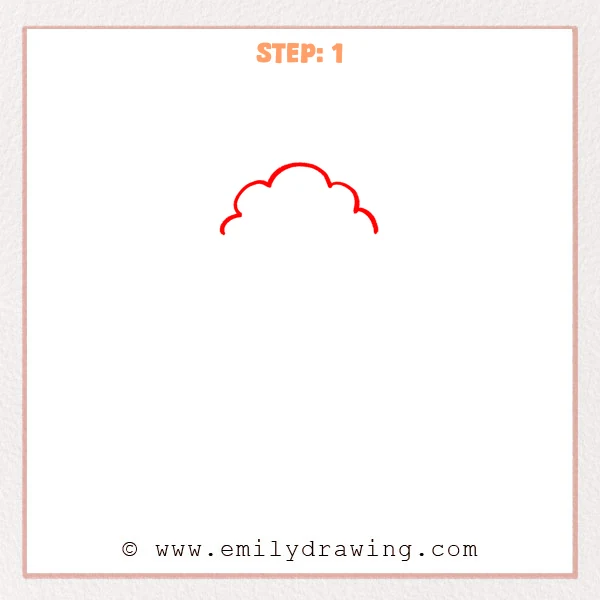
Start near the upper part of the page with one continuous curved line.
Connect several rounded bumps of different sizes to form a fluffy cloud top, leaving the bottom open for now.
Pro Tip: Keep the middle curve slightly higher so the tornado top feels balanced and natural.
Step 2: Add a Cute Face
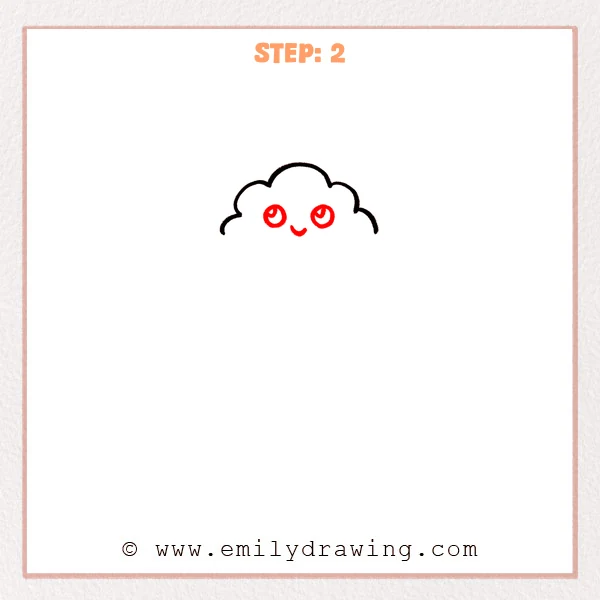
Darken the cloud outline in black so the top shape looks clearer.
Draw two round eyes in the middle of the cloud, then add a small curved smile to make the tornado look friendly.
Pro Tip: Keep both eyes about the same size and place them on one level line.
Step 3: Draw the Spinning Air
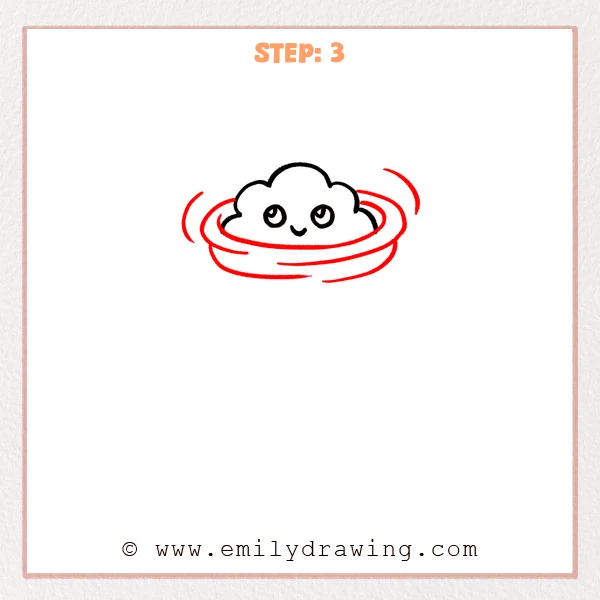
Draw several long curved lines around the cloud, letting them wrap around the body like rings.
Add shorter curves on both sides to show the tornado spinning quickly.
Pro Tip: Keep the ends of the curves open so the spinning motion feels light.
Step 4: Extend the Swirling Body Downward
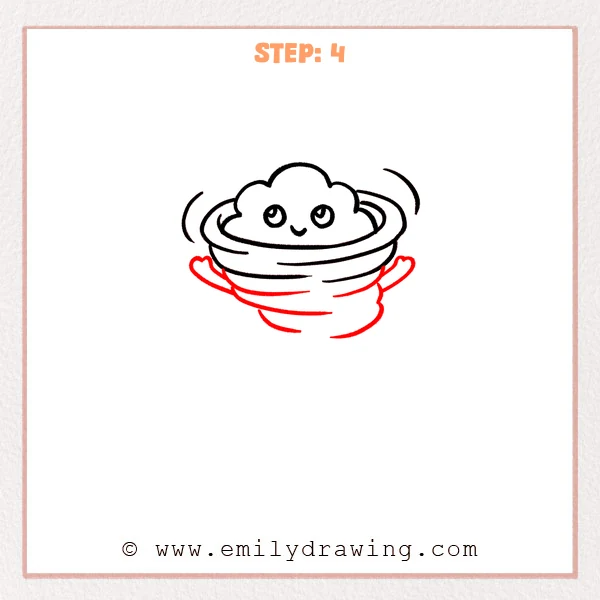
Add several downward-curving lines beneath the spinning air to form a wider swirling body.
Place lifted curved air strokes on both sides so the tornado looks more energetic.
Pro Tip: Let the lower lines narrow gradually to prepare for the tornado tip later.
Step 5: Draw the Narrowing Bottom Swirl
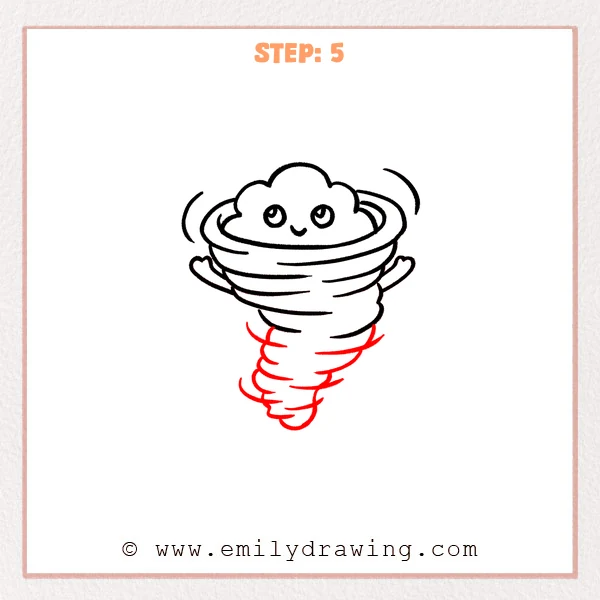
Continue adding curved spinning lines below the body, making each layer smaller as it goes down.
Shape the bottom into a rounded little tip to complete the tornado’s narrowing form.
Pro Tip: Avoid making the bottom too sharp, because a rounded tip better fits the cute tornado style.
Step 6: Add the Ground Swirl
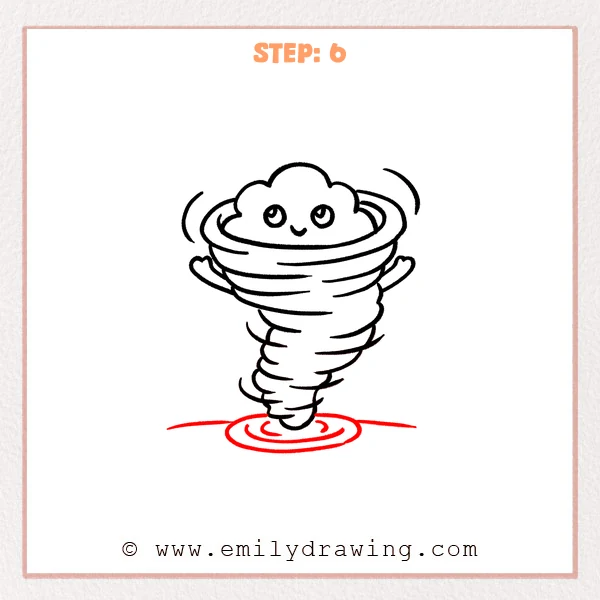
Draw a flat oval ring under the tornado to show where the wind touches the ground.
Add a few short curved lines inside the oval so the ground also feels like it is spinning.
Pro Tip: Keep the oval level so the tornado looks steady on the ground.
Step 7: Color in your drawing!
Fun Facts
Tornadoes are spinning columns of air that stretch from a storm cloud toward the ground.
They can look wide at the top and narrow near the bottom, which makes them fun to draw with curved lines.
In cartoon drawing for beginners, a friendly face can make a powerful weather shape feel gentle and playful.
Pin it now, Draw later!
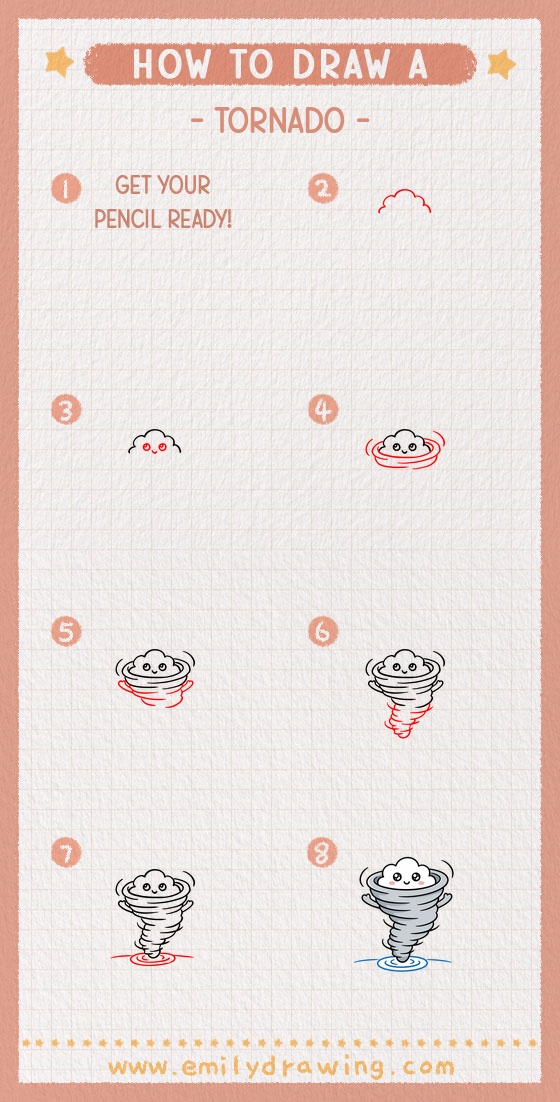
Now you know how to draw tornado using simple cloud bumps, curved motion lines, and a narrow swirling body.
Trace your favorite lines carefully, erase extra sketch marks, and add soft gray or blue shading if you like.
Keep practicing this step by step drawing, and try making your next tornado taller, wider, or extra swirly.
Get the FREE Printable Drawing Guide
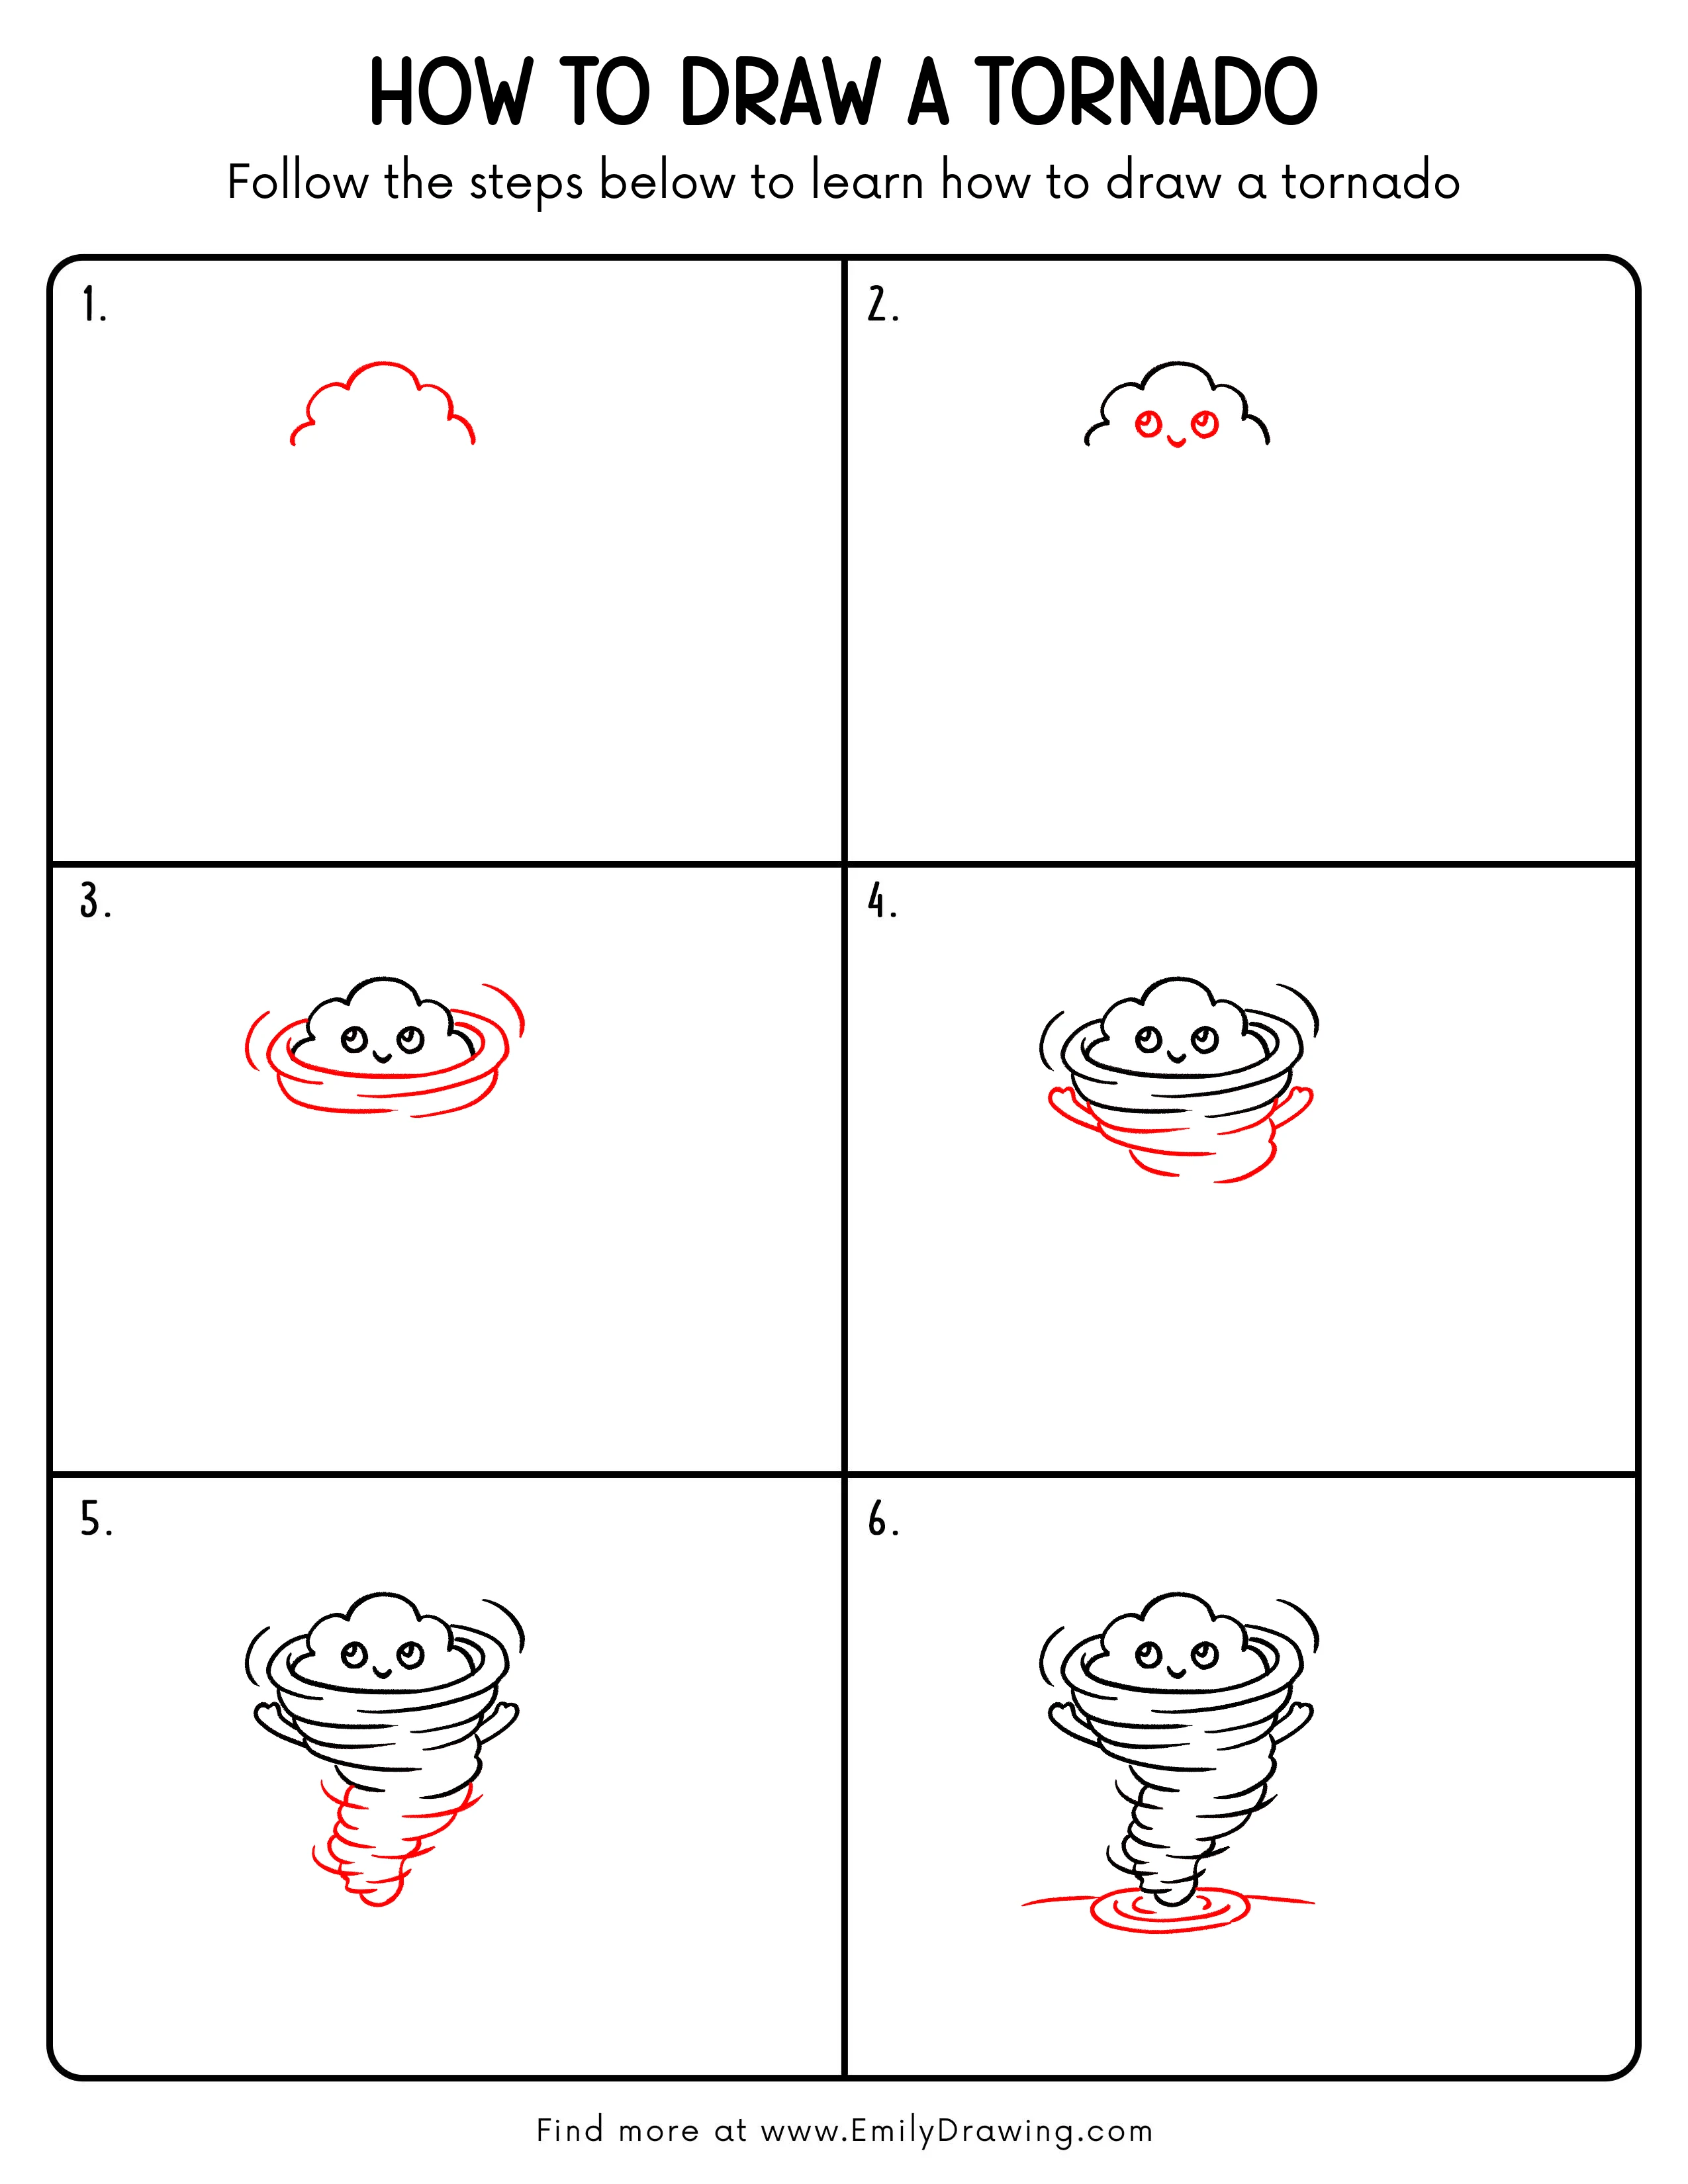
FREE Download Printable Tornado Drawing Tutorial
Frequently Asked Questions
Is this tornado drawing good for beginners?
Yes, this is a drawing for beginners because it uses simple curves, ovals, and rounded shapes.
How can I make my tornado look more like it is spinning?
Add more curved lines around the body, and keep them flowing in the same direction.
Can I color this tornado drawing?
Yes, you can use light gray, blue, or purple shades while keeping the cute face clear.



