
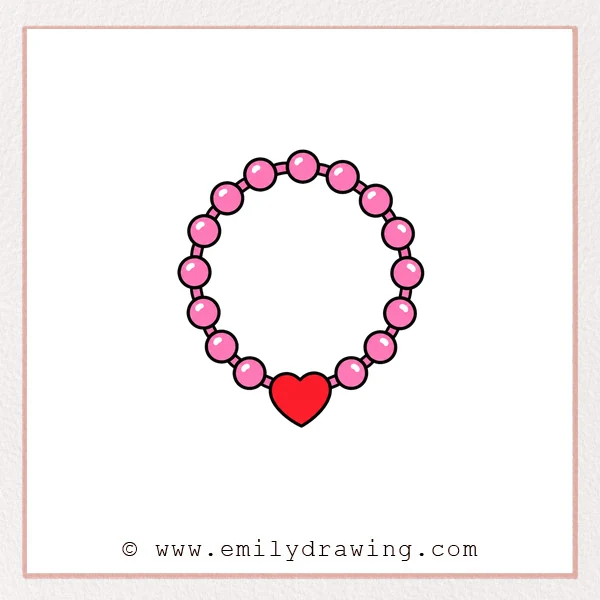
Learn how to draw rosary beads with a simple, calm approach. This easy drawing tutorial is made for beginners who want clear shapes and steady steps. Take your time, and build the rosary one small part at a time.
What You Will Need
- Pencil
- Eraser
- Black marker or pen
- Paper
- Coloring tools, if you want to add color
Here are my RECOMMENDED Art Supplies!
- Crayola Coloring Set (140 Pieces – Mega Value!)
- 24 Colored Crayon Set
- A4 Printer Paper
- Crayola Coloring Pencils
- HP Home Printer with Instant Ink!
Time needed:
15 minutes.
Step-by-Step Drawing Guide
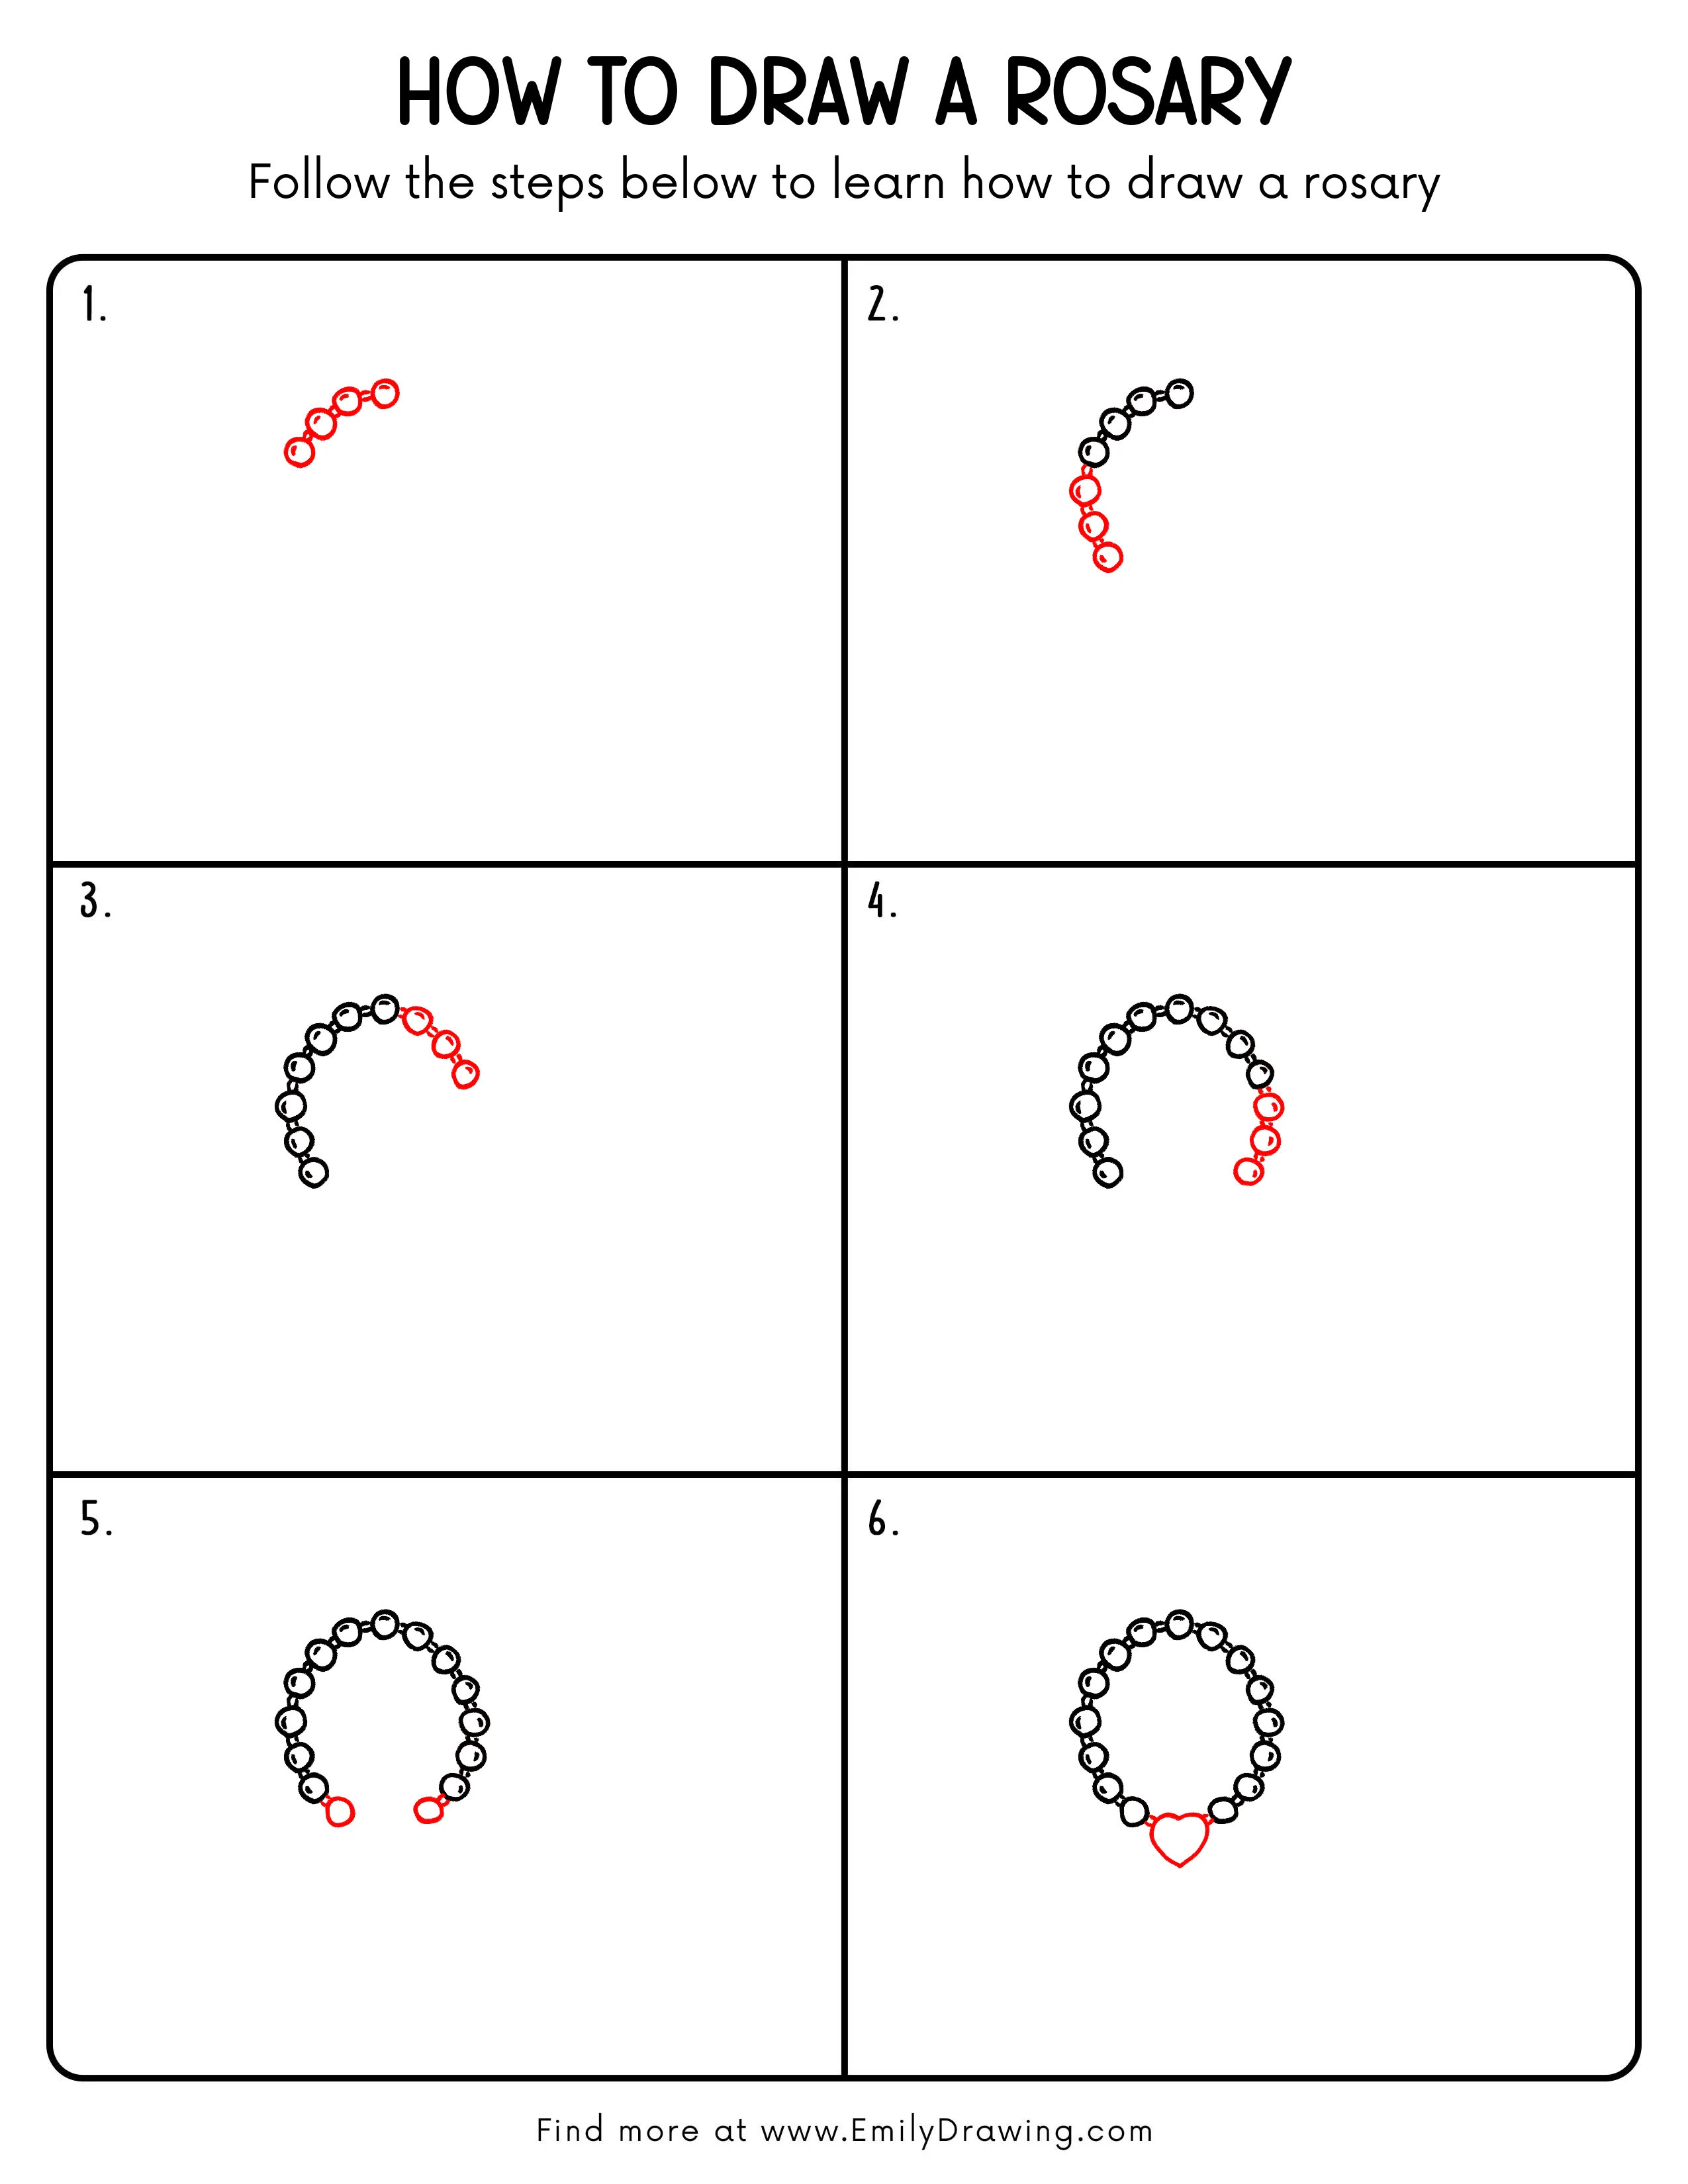
Step 1: Draw the First String of Rosary Beads
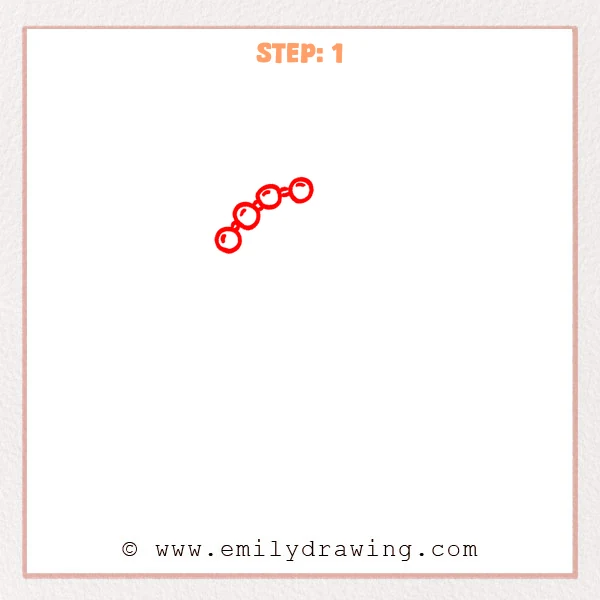
Start with five small round beads along a gently rising curve. Place them close together, then connect each bead with short little lines.
Pro Tip: Keep each bead close in size so the rosary looks neat and balanced.
Step 2: Extend the Rosary Curve Downward
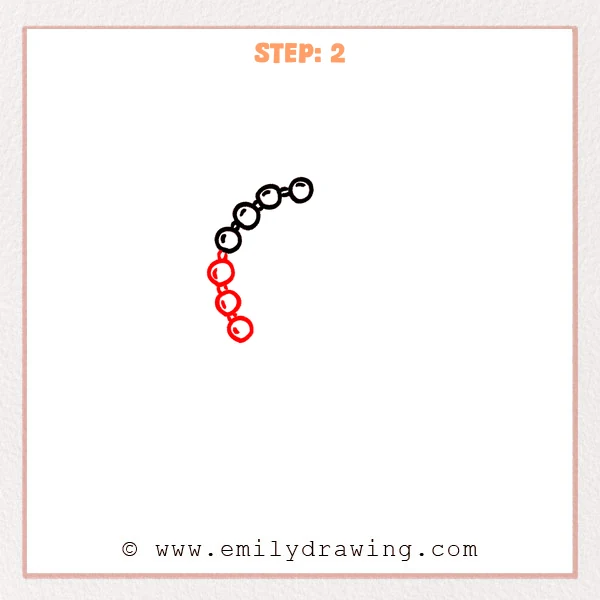
Add three more round beads below the left side of the first string. Follow the curve downward, and keep each bead connected with short lines.
Pro Tip: Place the new beads along the same curve so the line does not suddenly turn straight.
Step 3: Extend the Rosary String to the Right
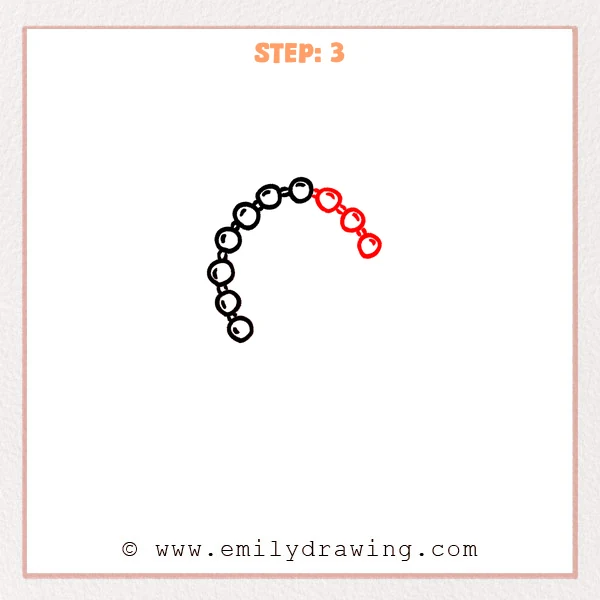
Add three more round beads to the upper right side, curving the string downward. Connect the new beads with short lines to make the rosary arc feel more complete.
Pro Tip: Keep the spacing on the right similar to the left so the rosary feels natural.
Step 4: Add More Beads Down the Right Side
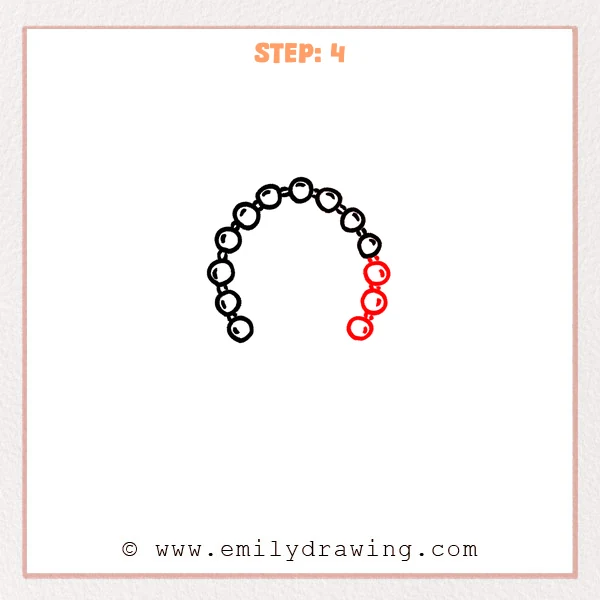
Draw three more round beads below the right side of the string. Follow the downward curve, and connect each new bead with short little lines.
Pro Tip: Watch the length on both sides so the right strand does not become too straight or too far out.
Step 5: Add Two Bottom Beads
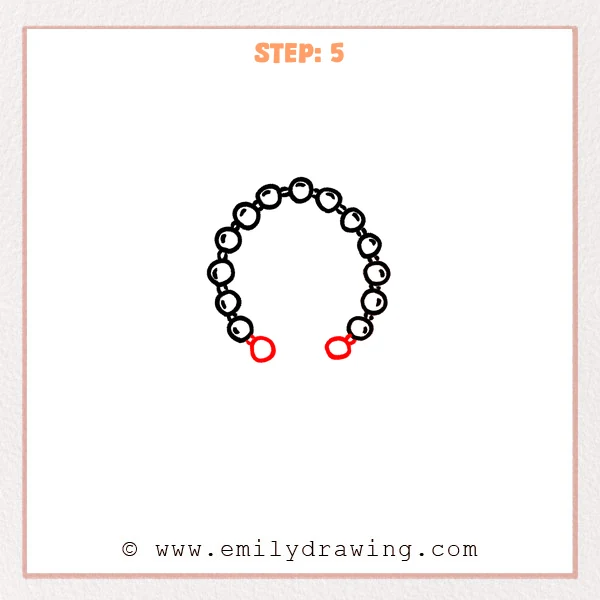
Add one round bead below each lower end of the rosary. Connect them with short lines, leaving a small open space between the two sides.
Pro Tip: Keep the two bottom beads at a similar height so the center part will be easier to connect later.
Step 6: Draw the Heart Pendant
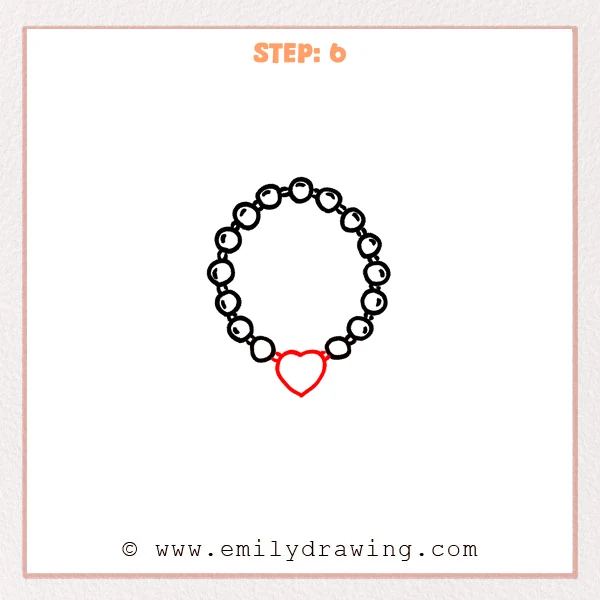
Draw a heart-shaped pendant between the two bottom beads. Connect both sides of the heart to the beads with short lines, making the rosary shape feel complete.
Pro Tip: Point the heart tip straight down in the center so the pendant feels steady.
Step 7: Color in your drawing!
Fun Facts
Rosaries are often made with strings of beads used for prayer and reflection.
Many rosaries include a special pendant or cross near the bottom.
Beads can be round, oval, wooden, glass, or decorated with many colors.
Pin it now, Draw later!
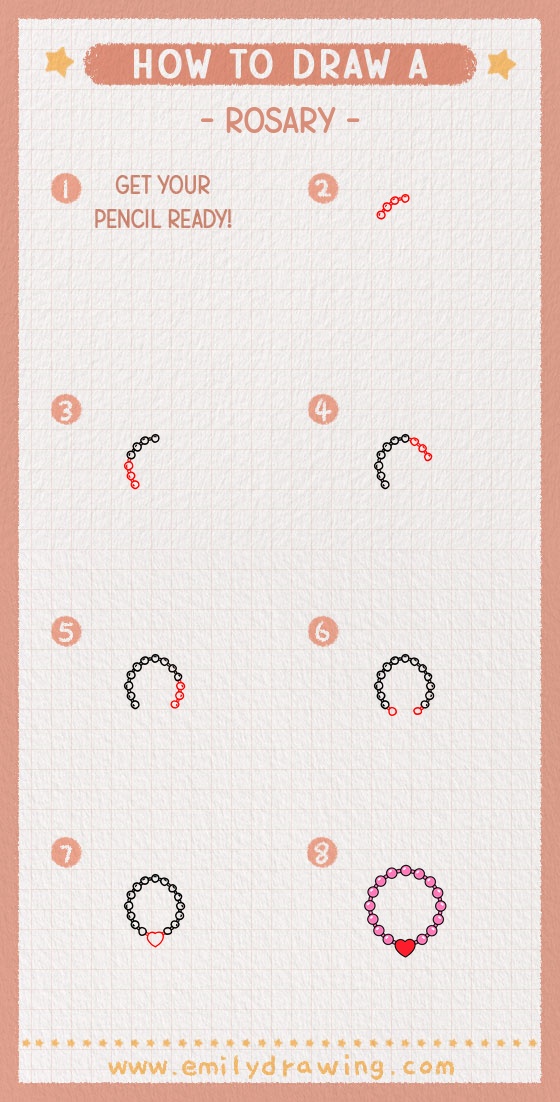
Now you know how to draw rosary beads using simple circles, short connectors, and a heart pendant. Trace your final lines carefully, then erase any extra pencil marks. You can color the beads softly, add shine marks, or decorate the heart to make your drawing personal.
Keep practicing this step by step drawing, and try changing the bead size or pendant shape next time.
Get the FREE Printable Drawing Guide
FREE Download Printable Rosary Drawing Tutorial
Frequently Asked Questions
Is this rosary drawing for beginners?
Yes, this drawing for beginners uses easy circles and short lines. Each step adds only a small new part.
How can I make the rosary beads look more even?
Lightly sketch the curve first, then place each bead along that guide. Keep the spacing steady as you draw.
Can I add a cross instead of a heart pendant?
Yes, you can replace the heart with a small cross. Keep it centered at the bottom so the rosary still looks balanced.



