
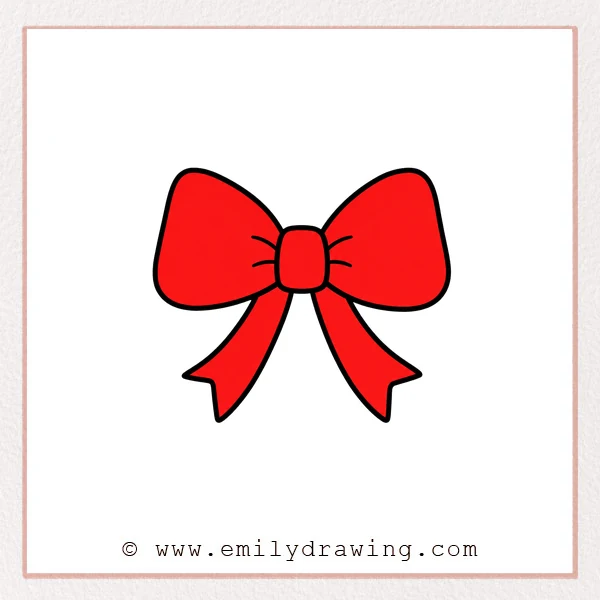
Learning how to draw ribbon is a gentle way to practice curved lines and simple shapes. This easy drawing tutorial uses rounded loops, a small center knot, and flowing tails. Take your time with each step, and let the ribbon feel soft and light.
What You Will Need
- Pencil
- Eraser
- Drawing paper
- Black marker or pen
- Coloring tools, such as crayons or colored pencils
Here are my RECOMMENDED Art Supplies!
- Crayola Coloring Set (140 Pieces – Mega Value!)
- 24 Colored Crayon Set
- A4 Printer Paper
- Crayola Coloring Pencils
- HP Home Printer with Instant Ink!
Time needed:
29 minutes.
Step-by-Step Drawing Guide
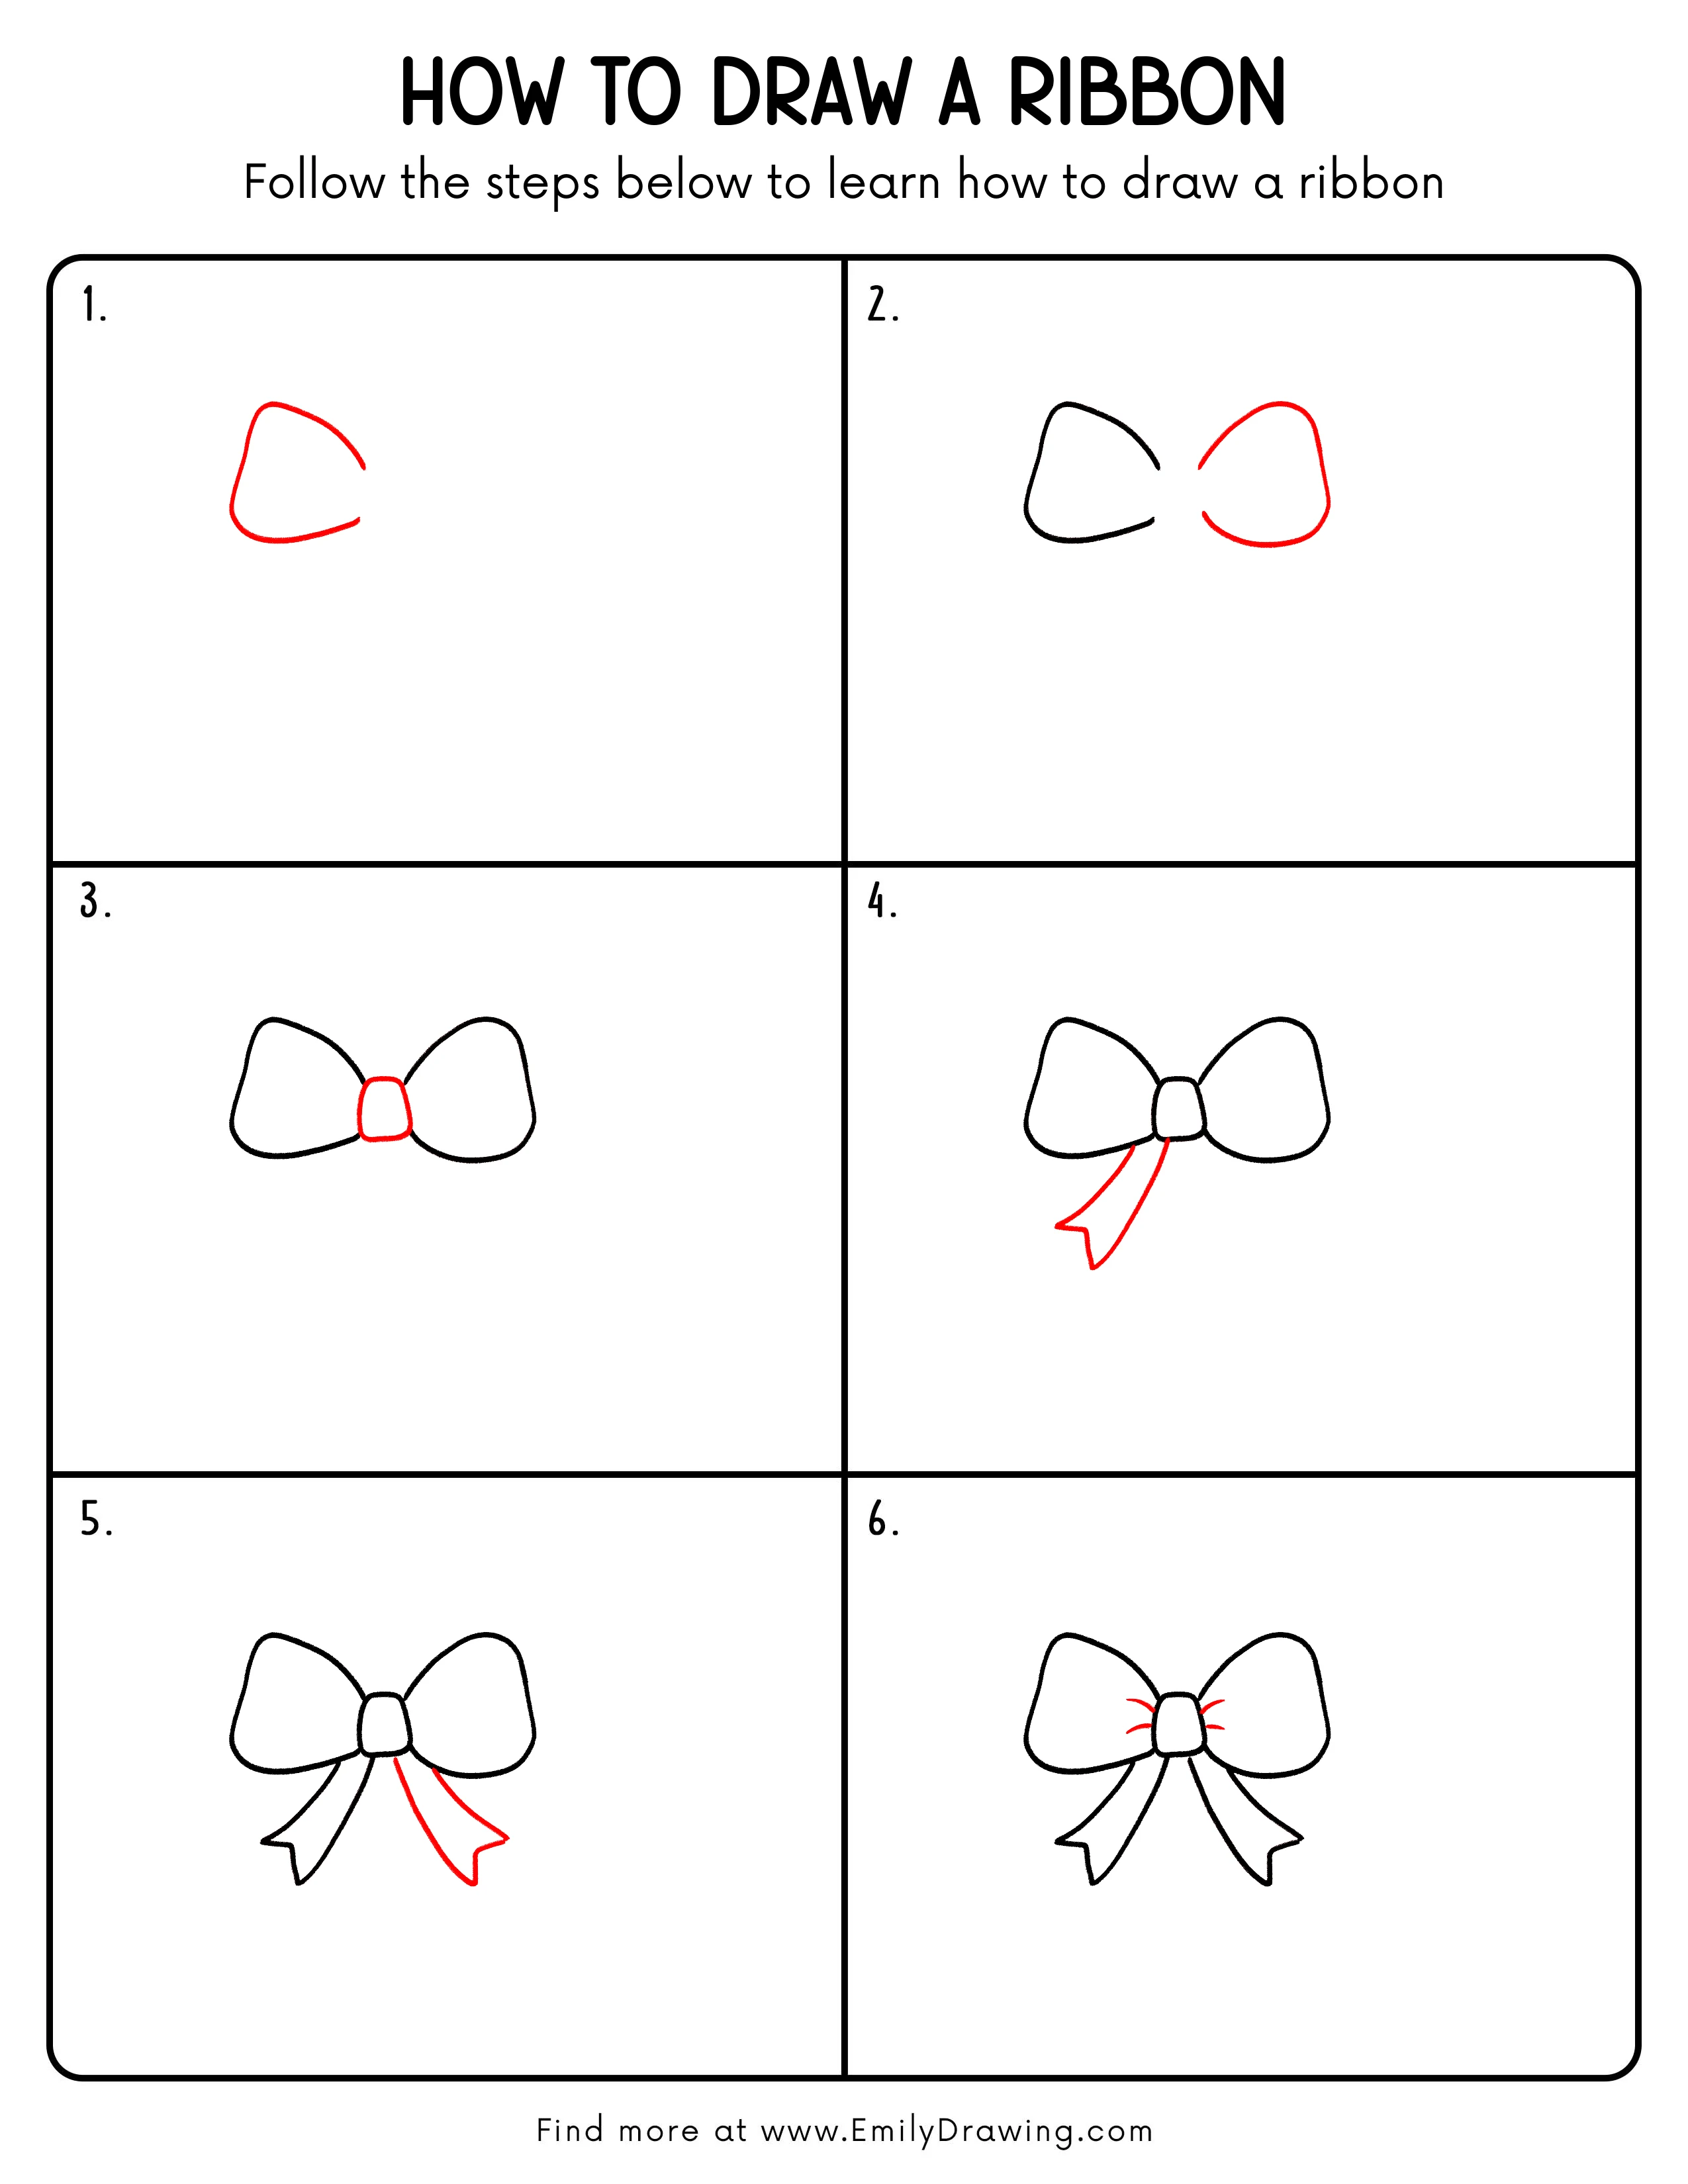
Step 1: Draw the First Ribbon Shape
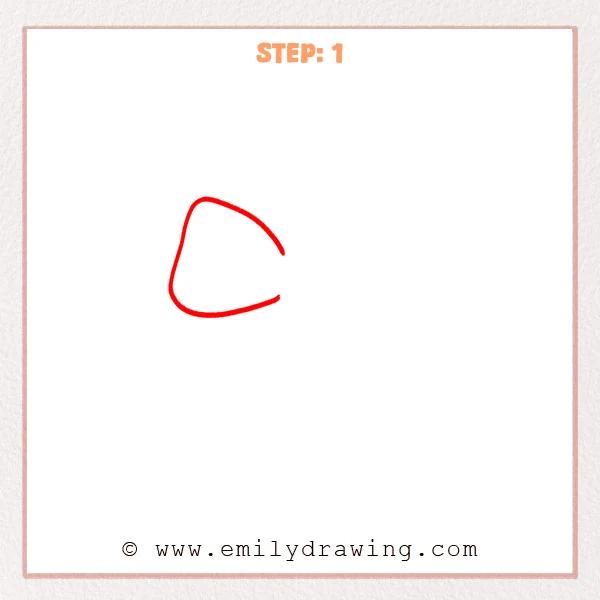
Start with a soft, curved triangular outline. Keep the left side rounded and leave the right side open for the next ribbon part. This first shape will become one loop of the ribbon.
Pro Tip: Let the bottom edge curve upward slightly so the ribbon feels more natural.
Step 2: Add the Right Ribbon Outline
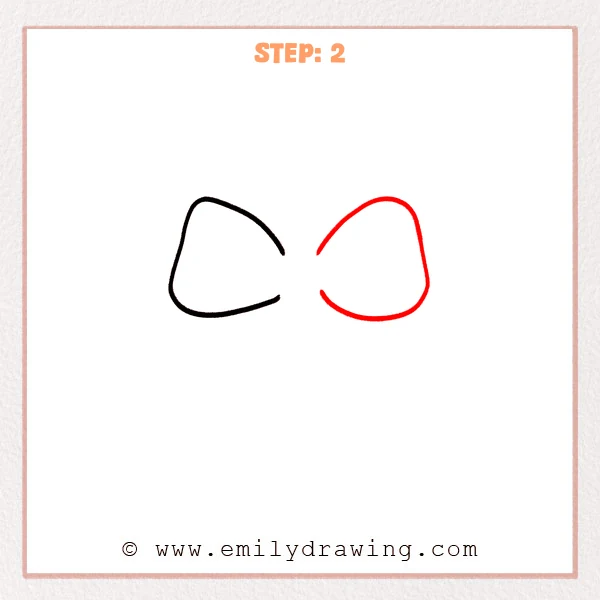
Draw a second rounded, curved outline on the right side. Leave its opening facing left so it feels balanced with the first ribbon piece. Try to make both loops feel wide and soft.
Pro Tip: The right outline can be slightly larger to make the ribbon look more open.
Step 3: Draw the Center Knot
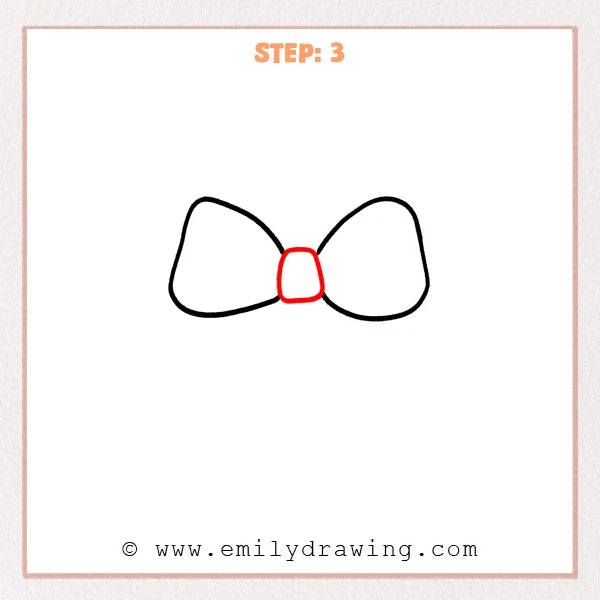
Draw a small rounded square between the two ribbon sides. Let it connect both sides to form the center knot of the ribbon. This small shape helps hold the bow together.
Pro Tip: Keep the center knot fairly small so the ribbon loops look light and balanced.
Step 4: Add the Left Ribbon Tail
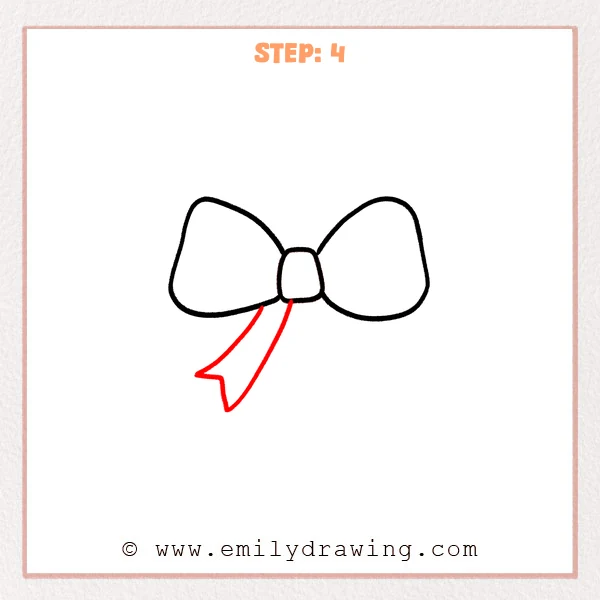
Draw a strip flowing down and left from the bottom of the center knot. Add a small V-shaped notch at the end to make it look like a cut ribbon tail. Keep the tail loose and slightly curved.
Pro Tip: Keep both edges of the tail slightly curved instead of making them too straight.
Step 5: Add the Right Ribbon Tail
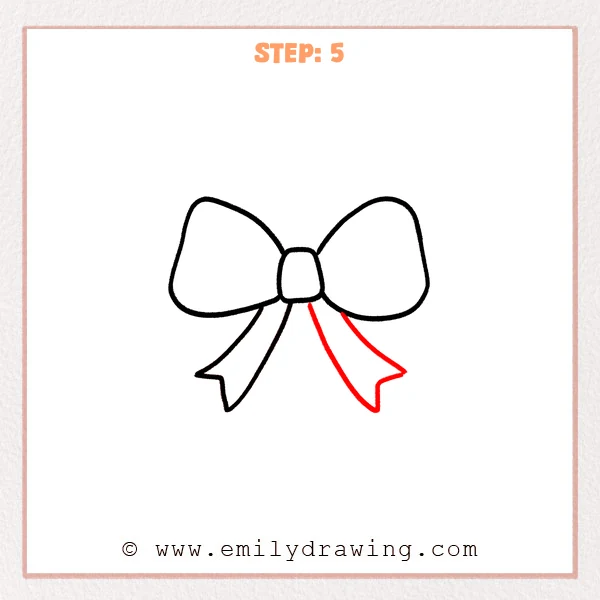
Draw another strip flowing down and right from the bottom of the center knot. Add a pointed notch at the end so both ribbon tails feel naturally balanced. The two tails should look like they hang from the same knot.
Pro Tip: Keep the right tail close in length to the left one, but let the angle vary slightly.
Step 6: Add Knot Wrinkle Lines
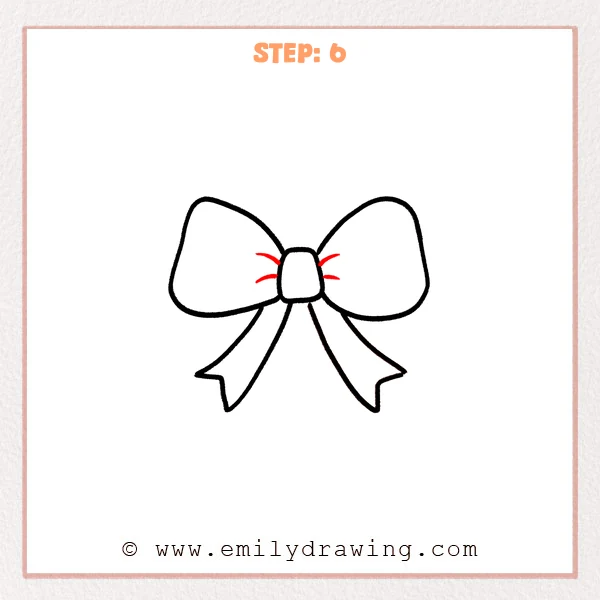
Add a few short curved lines beside the center knot. Let the lines reach outward from the knot edges to show the ribbon being gathered. These small details make the ribbon look gently folded.
Pro Tip: Keep the wrinkle lines short and light so they do not overpower the bow shape.
Step 7: Color in your drawing!
Fun Facts
- Ribbons are often used to decorate gifts, clothing, hair, and celebration crafts.
- A bow is made by folding ribbon into loops and tightening it at the center.
- Drawing ribbon is great practice for smooth curves and simple symmetry.
Pin it now, Draw later!
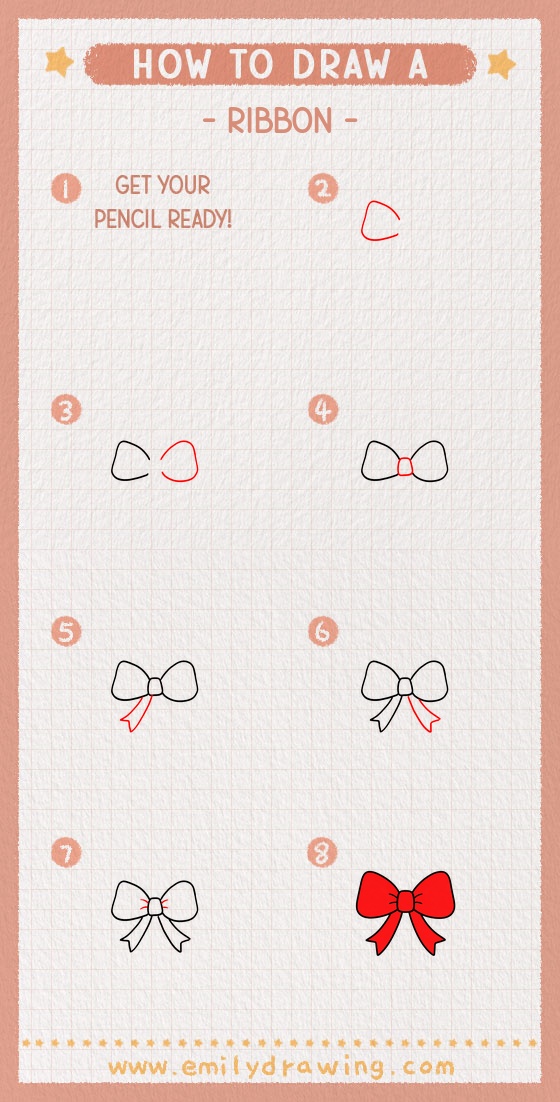
Now your ribbon drawing has loops, a center knot, hanging tails, and small fold details. You can trace the final lines with a marker, then color the ribbon in red, pink, blue, or any shade you like. Keep practicing this step by step drawing, and try using your ribbon on cards, gifts, or cute character drawings.
Get the FREE Printable Drawing Guide
FREE Download Printable Ribbon Drawing Tutorial
Frequently Asked Questions
Is this ribbon drawing good for beginners?
Yes, this ribbon drawing for beginners uses simple curves and clear shapes. Each part builds slowly, so it is easy to follow.
How can I make my ribbon look softer?
Use rounded corners and gentle curved lines. Avoid sharp angles except for the small notches at the tail ends.
Can I decorate the ribbon after drawing it?
Yes, you can add dots, stripes, sparkles, or a soft shadow. Small decorations can make the ribbon feel more cheerful.



