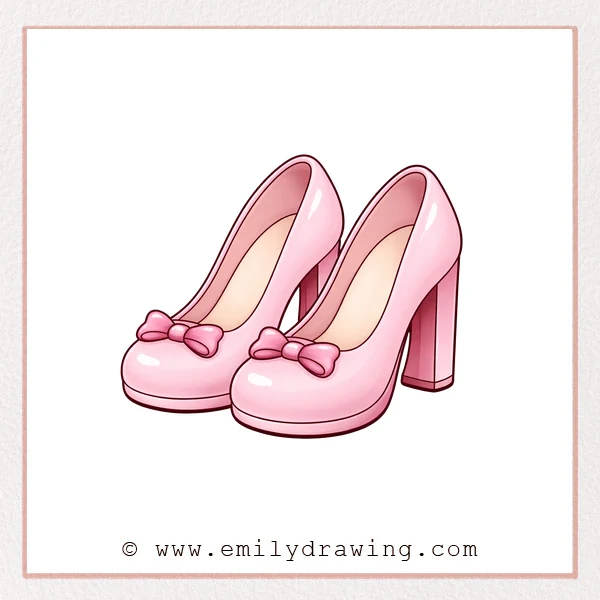
High heels have smooth curves, clear edges, and fun details like bows.
This easy drawing tutorial builds the shoes in simple shapes, step by step.
What You Will Need
- Pencil
- Eraser
- Black pen or marker
- Paper
- Colored pencils or markers (optional)
Here are my RECOMMENDED Art Supplies!
- Crayola Coloring Set (140 Pieces – Mega Value!)
- 24 Colored Crayon Set
- A4 Printer Paper
- Crayola Coloring Pencils
- HP Home Printer with Instant Ink!
Time needed:
22 minutes.
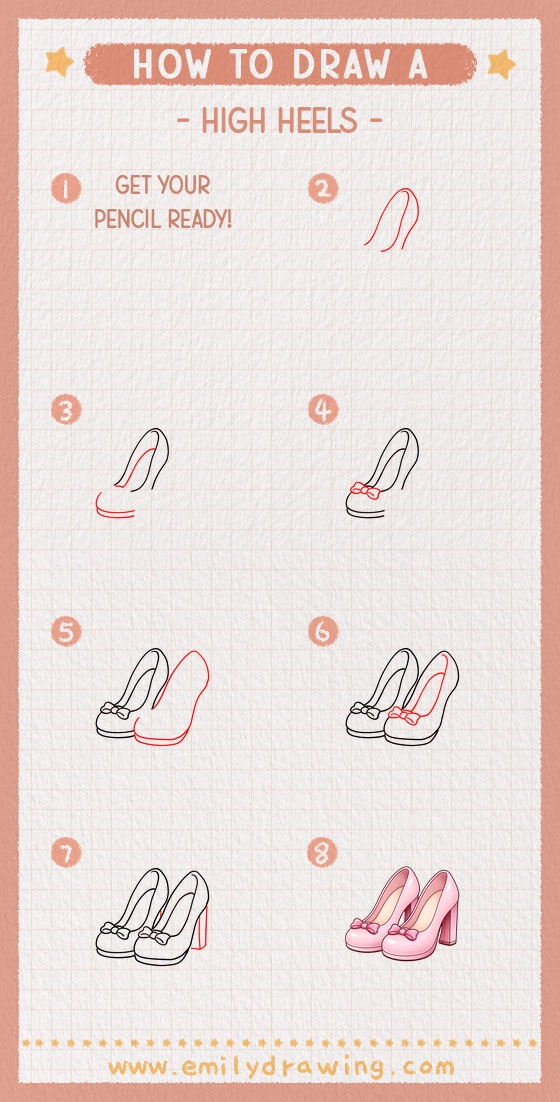
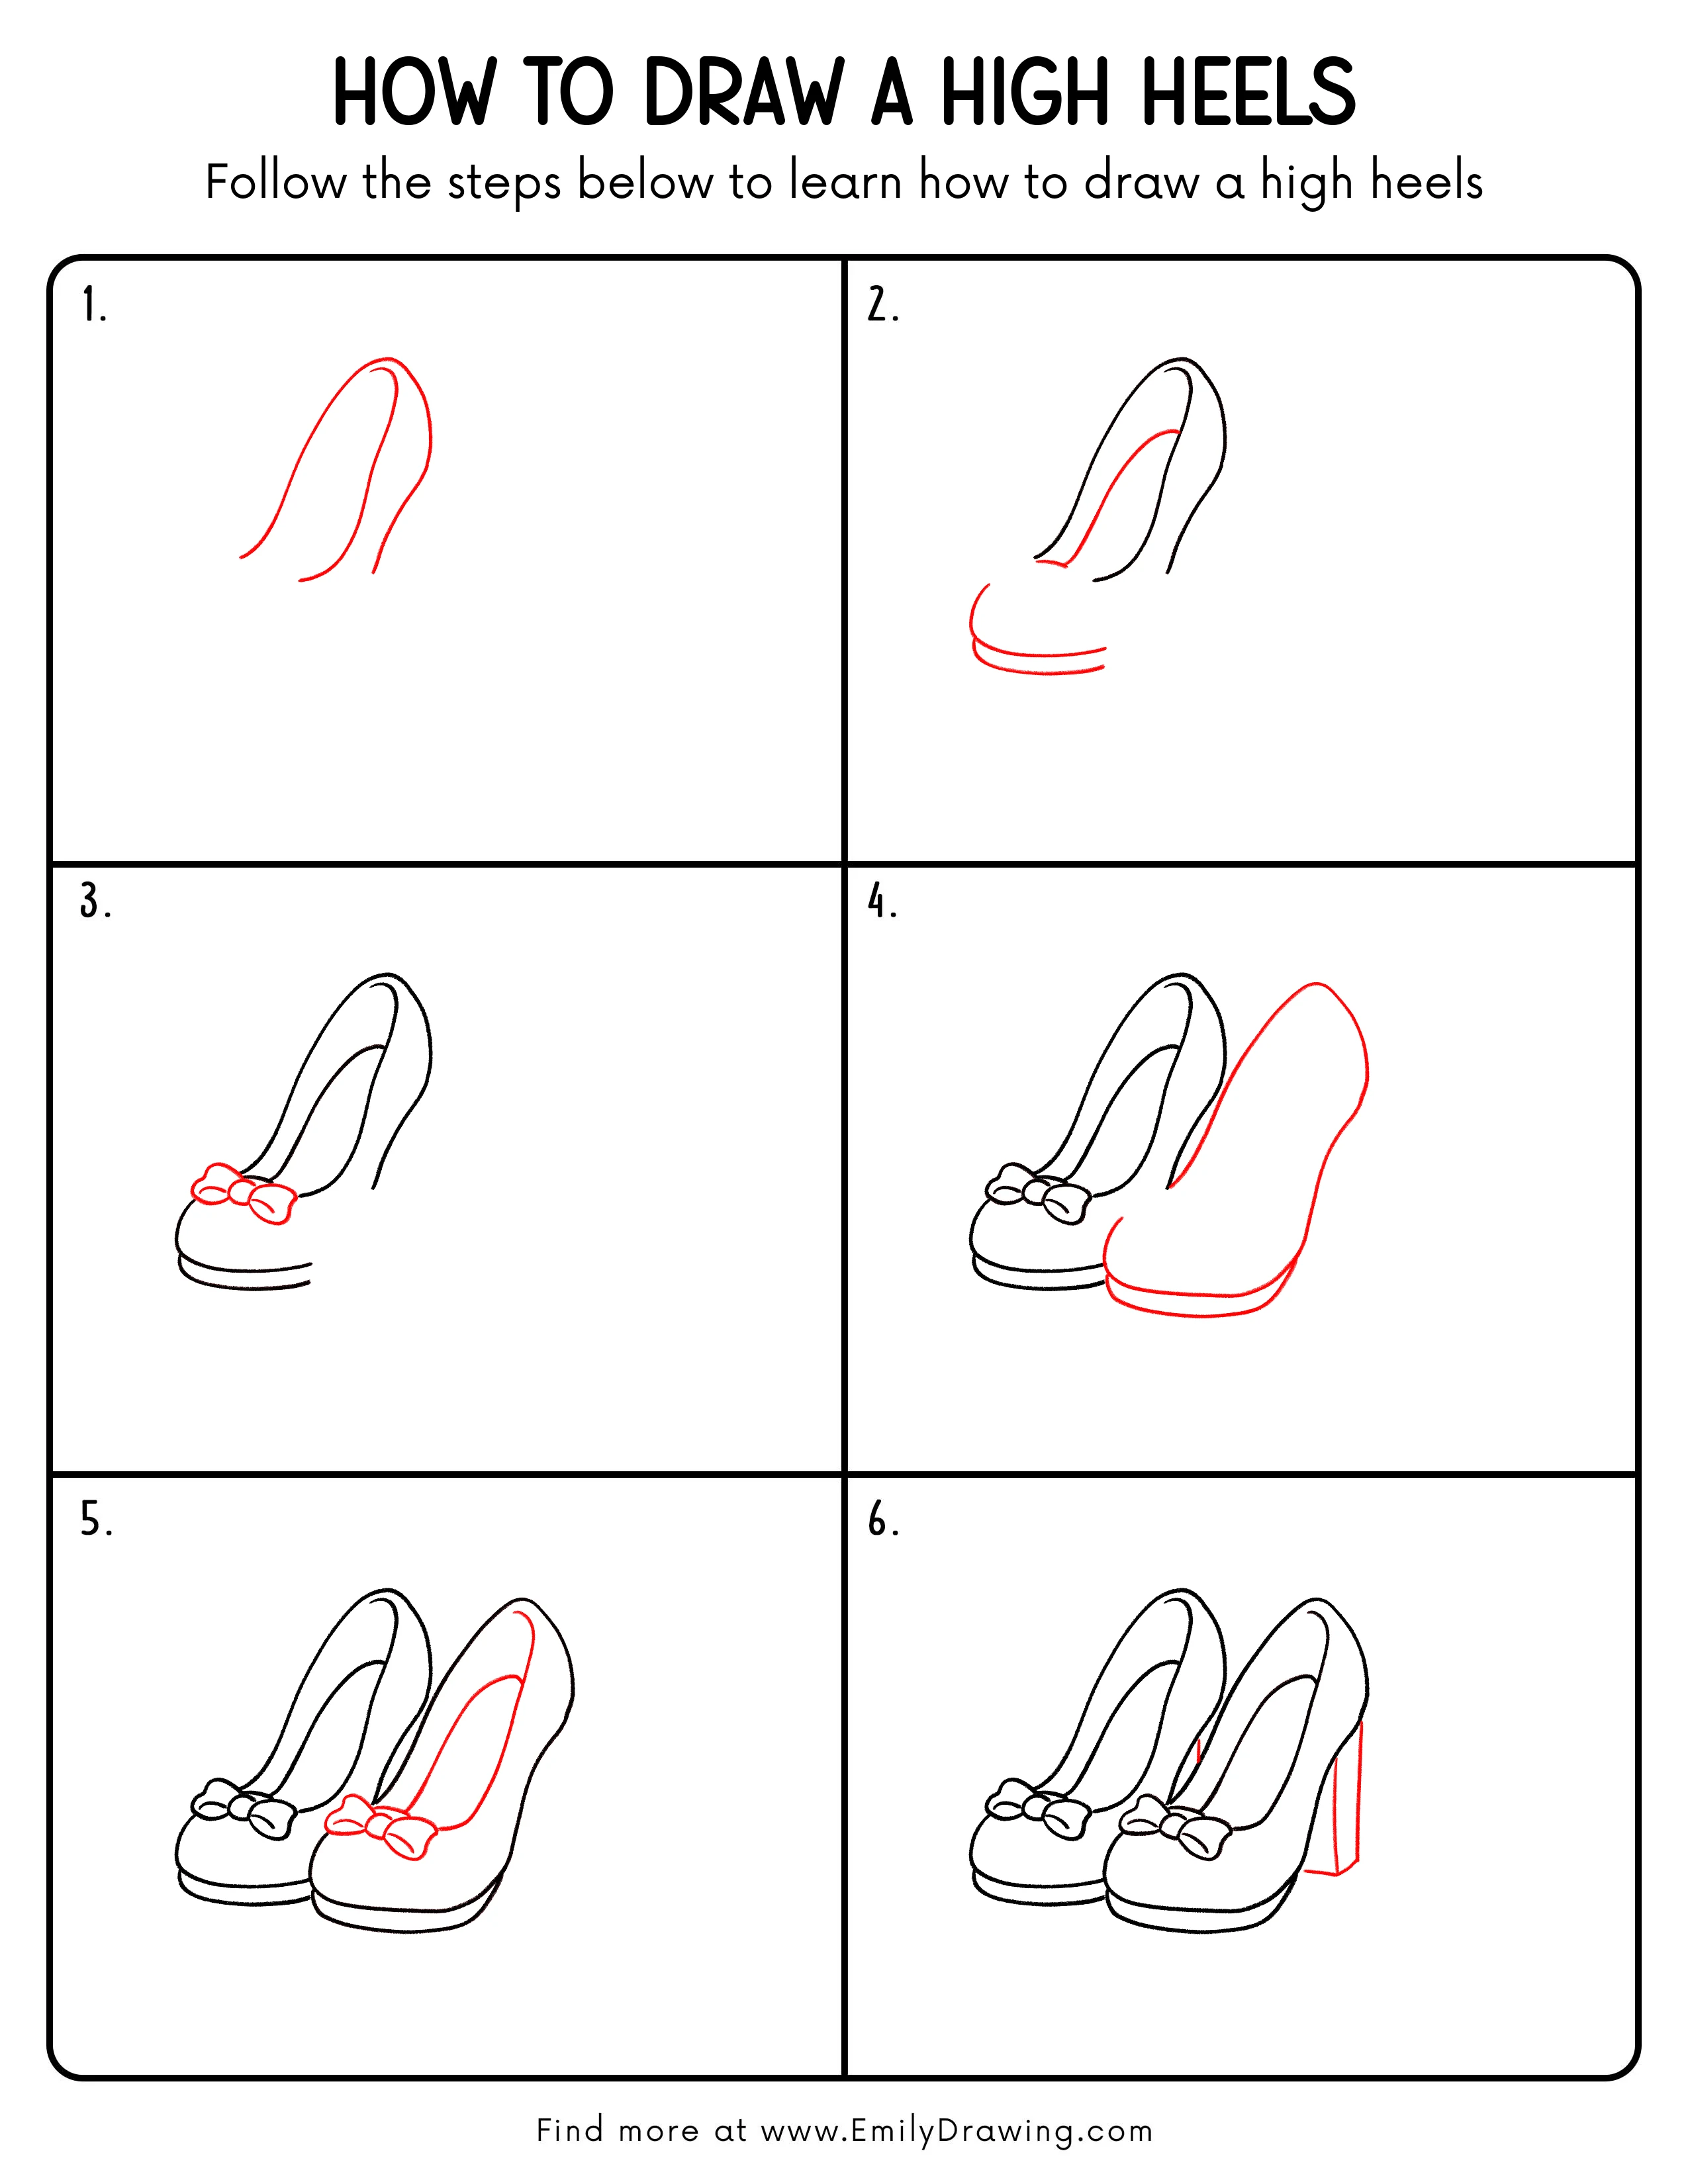
Step-by-Step Drawing Guide
Step 1: Sketch the Outer Silhouette
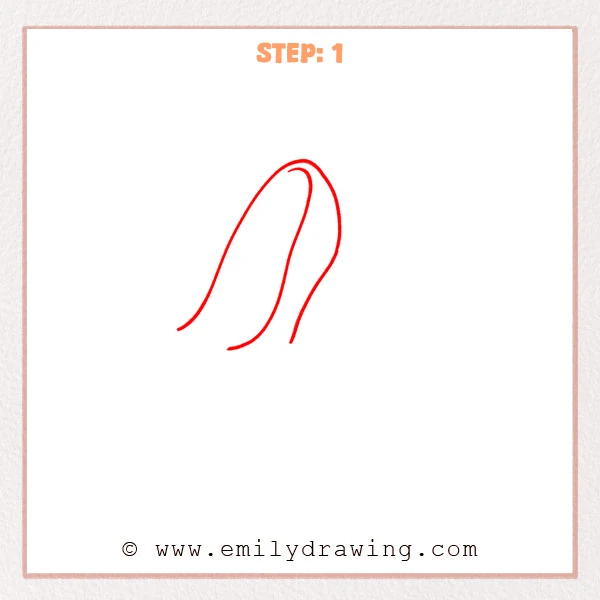
Start with one long curved line to block in the shoe’s outer profile from toe to heel.
Add a shorter inner curve to suggest the opening and the inside edge.
Pro Tip: Keep the first outline light, and leave room to adjust the toe and heel ends.
Step 2: Darken the Outline and Add the Sole
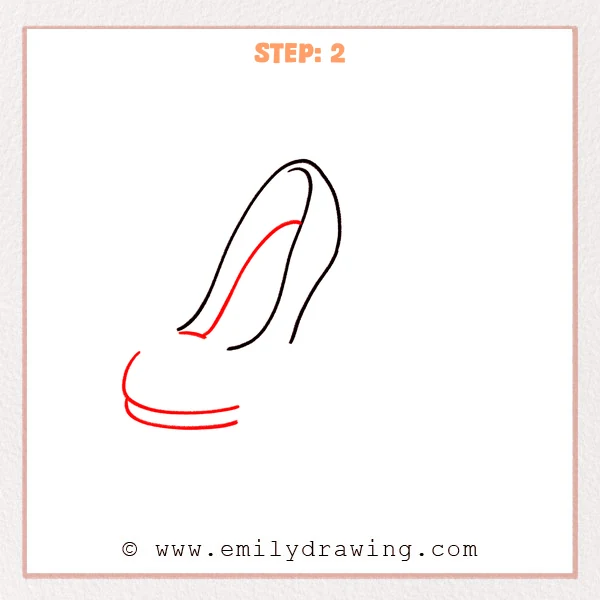
Trace over the outer silhouette with a cleaner line so the shoe edge feels crisp.
Add two parallel curved lines under the front to set the sole or platform thickness.
Pro Tip: Keep the spacing between the two sole lines even for a believable thickness.
Step 3: Add a Bow Decoration
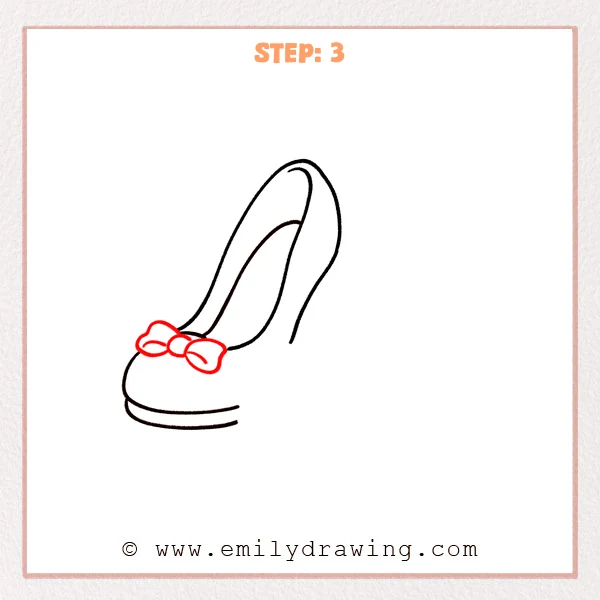
Draw a small oval for the knot, then add two rounded bow loops on each side.
Add a few curved fold lines inside the bow to make it feel dimensional.
Pro Tip: Keep the bow mostly symmetrical, but a slight size difference looks natural.
Step 4: Sketch the Second Shoe Shape
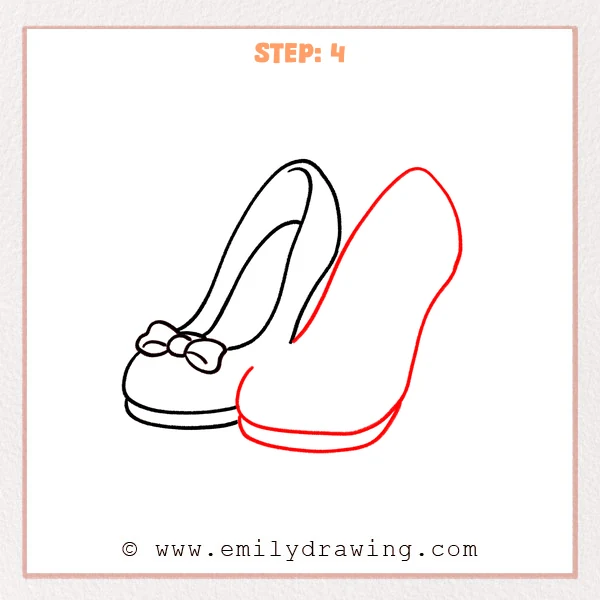
Draw a larger outer silhouette beside the first shoe to set the full toe-to-heel curve.
Add two curved lines underneath for the sole/platform so both heels match in style.
Pro Tip: Match the sole curve direction to the first shoe to keep the pair consistent.
Step 5: Add the Inner Line and Bow to the Second Shoe
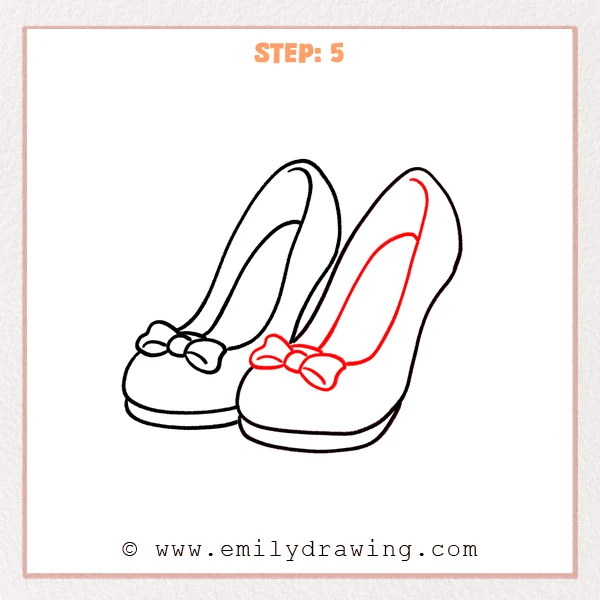
Draw a long inner curve on the second shoe to show the opening and inside edge.
Add a matching bow on the toe, then place a few curved fold lines for detail.
Pro Tip: Keep the second bow close in size to the first so the pair feels matched.
Step 6: Add the Heel Block
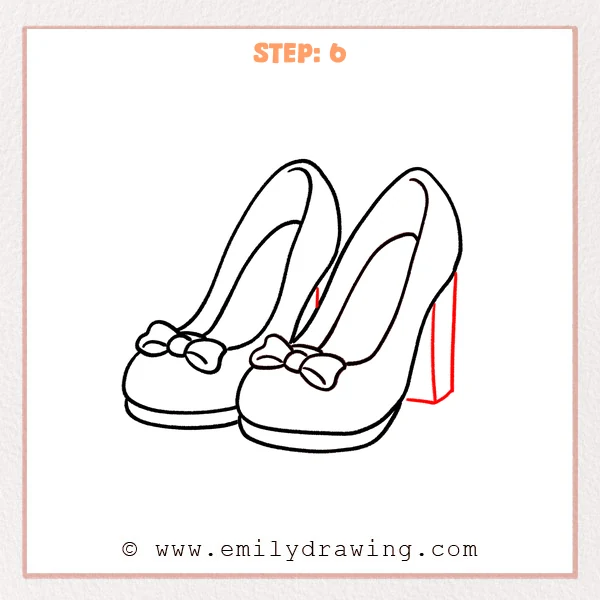
Draw a tall rectangular block under the back of the right shoe to form the chunky heel.
Add a short connecting line so the heel attaches clearly to the shoe.
Pro Tip: Keep the bottom edge of the heel flat so the shoe looks stable.
Step 7: Color in your drawing!
Fun Facts
- High heels were not always made for fashion; they also appeared in riding history.
- A platform sole can make a heel look taller while adding visual thickness.
- Many classic dress shoes use a simple “S-curve” to feel elegant.
Pin it now, Draw later!
Erase extra sketch lines, then carefully re-ink the clean edges.
If you like, add color or simple highlights to make the shoes shine.
Keep practicing this step by step drawing method, and try new heel shapes next time!
Get the FREE Printable Drawing Guide
FREE Download Printable High Heels Drawing Tutorial
Frequently Asked Questions
How do I make the high heels look more realistic?
Use smooth, confident curves and keep both shoes consistent in size and angle.
Small details like a clean sole edge and neat bow folds help a lot.
What if my shoe shape looks uneven?
Lightly redraw the outer silhouette and compare the toe and heel heights.
An eraser is part of drawing for beginners, so adjust slowly.
Can I draw different styles using this easy drawing tutorial?
Yes, keep the same basic outline, then change the toe shape or heel type.
Try a pointed toe, a thinner heel, or remove the bow for a new look.