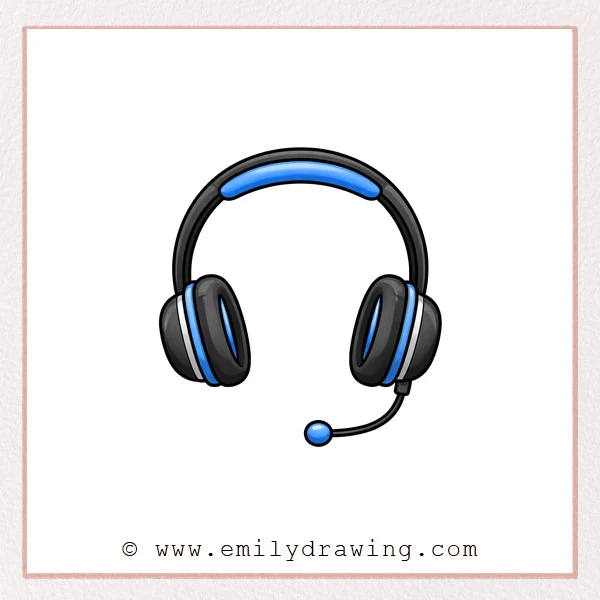
Headphones are a fun object to draw because they are mostly simple curves.
In this easy drawing tutorial, you will build the shape one piece at a time.
Take your time, and keep your lines light until you like the proportions.
What You Will Need
- Pencil
- Eraser
- Black marker or pen (optional for clean outlines)
- Paper
Here are my RECOMMENDED Art Supplies!
- Crayola Coloring Set (140 Pieces – Mega Value!)
- 24 Colored Crayon Set
- A4 Printer Paper
- Crayola Coloring Pencils
- HP Home Printer with Instant Ink!
Time needed:
14 minutes.
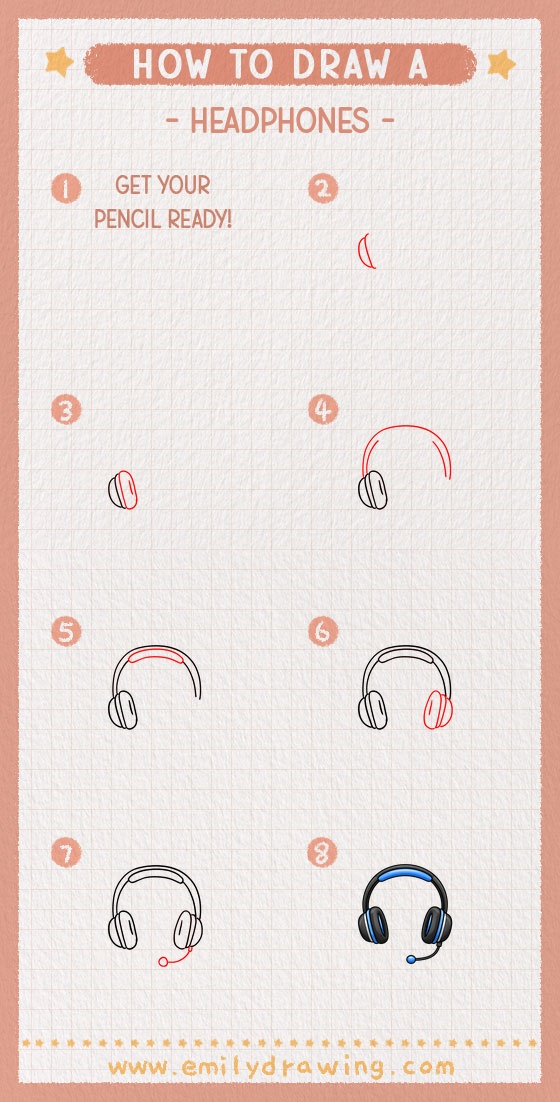
Step-by-Step Drawing Guide
Step 1: Sketch One Earcup Outline
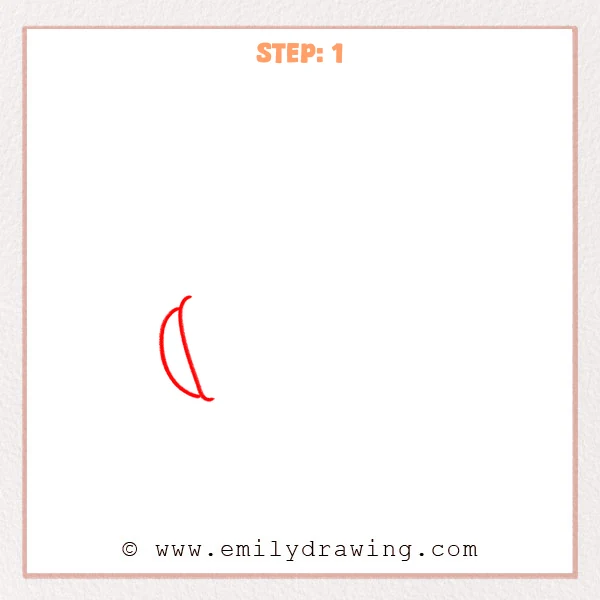
Start with a long, slim curved line for the outer edge of one earcup.
Add a shorter curved line inside it to suggest the ear pad thickness.
Keep the shapes simple and open for now.
Pro Tip: Keep the gap between the two curves even to feel like soft padding.
[Alt Text: Step 1 of how to draw headphones—one earcup is sketched with two curved lines showing an outer edge and an inner padding line.]
Step 2: Thicken the Earcup and Add Cushion Detail
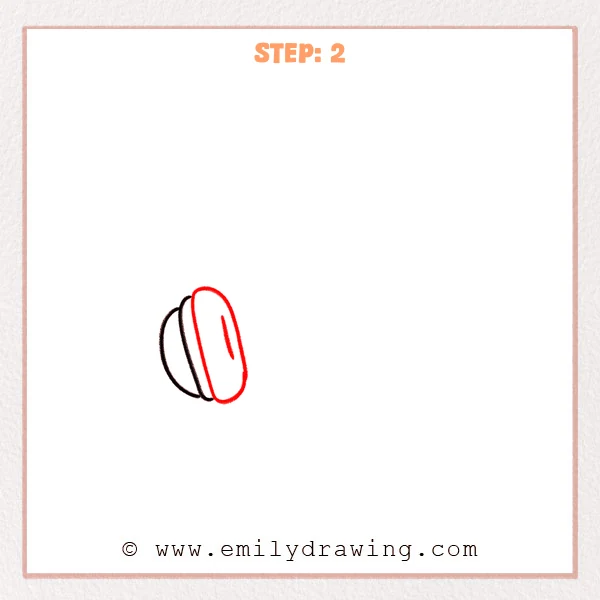
Draw a larger rounded outline around the first earcup to make it look padded.
Add one short curved line on the front to show a gentle cushion dip.
This small detail makes the earcup feel more three-dimensional.
Pro Tip: Keep the outer outline roughly parallel to the inner shape for a clean pad.
[Alt Text: Step 2 of how to draw headphones—the earcup is thickened with a larger rounded outline, and a small inner curve is added to suggest cushion depth.]
Step 3: Add the Headband Arch
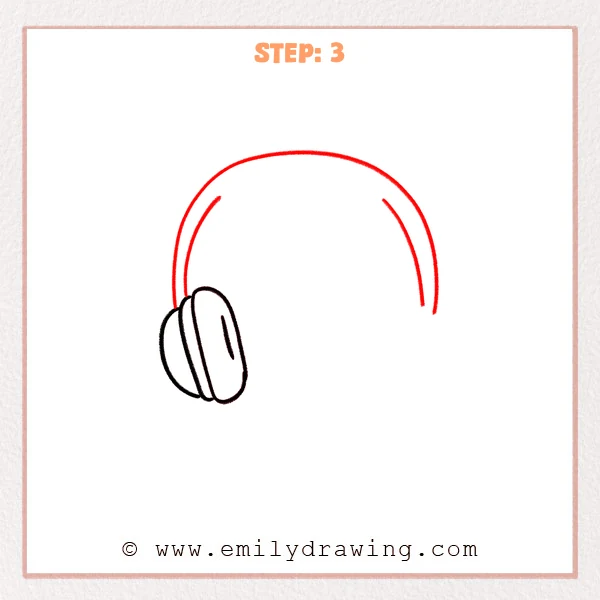
From the top of the earcup, draw a large arch curving up and over.
Draw a second, parallel arch inside it to show headband thickness.
Let the arches taper slightly as they move downward.
Pro Tip: Keep the spacing between the two headband arcs similar at both ends.
[Alt Text: Step 3 of how to draw headphones—a large curved headband is added above the earcup, with a second inner curve to show thickness.]
Step 4: Draw the Headband Cushion
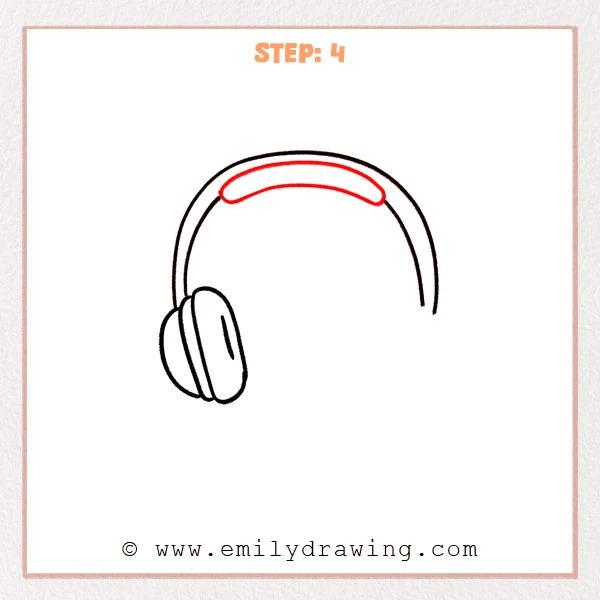
Inside the top of the headband, sketch a long curved capsule shape.
Leave small gaps at both ends so the cushion doesn’t touch the band edges.
This makes the padding look soft and set into the headband.
Pro Tip: Match the cushion curve to the headband curve so it feels snug.
[Alt Text: Step 4 of how to draw headphones—a curved, rounded-rectangle cushion is added inside the top of the headband above the earcup.]
Step 5: Add the Second Earcup
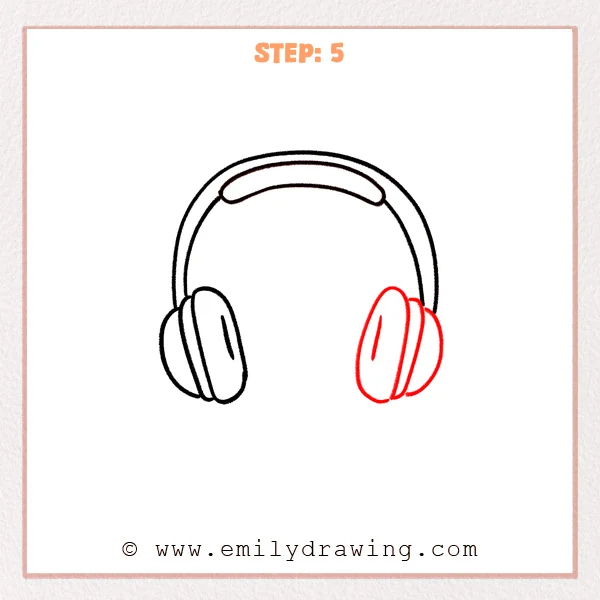
Under the other side of the headband, draw a matching earcup shape.
Add an inner curve for thickness, plus a short front curve for the cushion dip.
Include a back curve to hint at the rear pad behind the earcup.
Pro Tip: Keep both earcups similar in size and height for a balanced look.
[Alt Text: Step 5 of how to draw headphones—the second earcup is added on the right, matching the first earcup’s padded shape and inner cushion details.]
Step 6: Add the Microphone Boom
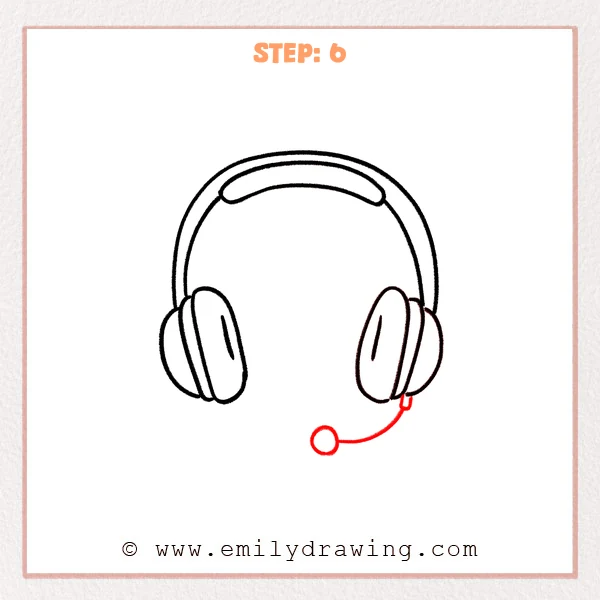
Draw a small rounded connector under one earcup for the mic hinge.
Extend a smooth curved line outward and downward to form the boom arm.
Finish with a small circle at the tip to show the microphone head.
Pro Tip: Use one smooth curve for the boom so it feels flexible and clean.
[Alt Text: Step 6 of how to draw headphones—a small hinge is added under the right earcup, with a curved microphone boom ending in a small circular mic tip.]
Step 7: Color in your drawing!
Fun Facts
- Over-ear headphones use larger cushions to help block outside noise.
- Many headsets place the microphone on a flexible boom for easy positioning.
- Headband padding helps spread pressure so headphones feel comfortable longer.
Pin it now, Draw later!
Trace the final lines you want with a darker pencil or a pen.
Erase extra sketch marks and smooth any uneven curves.
If you like, add simple shading inside the ear pads to show softness.
Now you know how to draw headphones step by step—try drawing them in different styles next!
Get the FREE Printable Drawing Guide
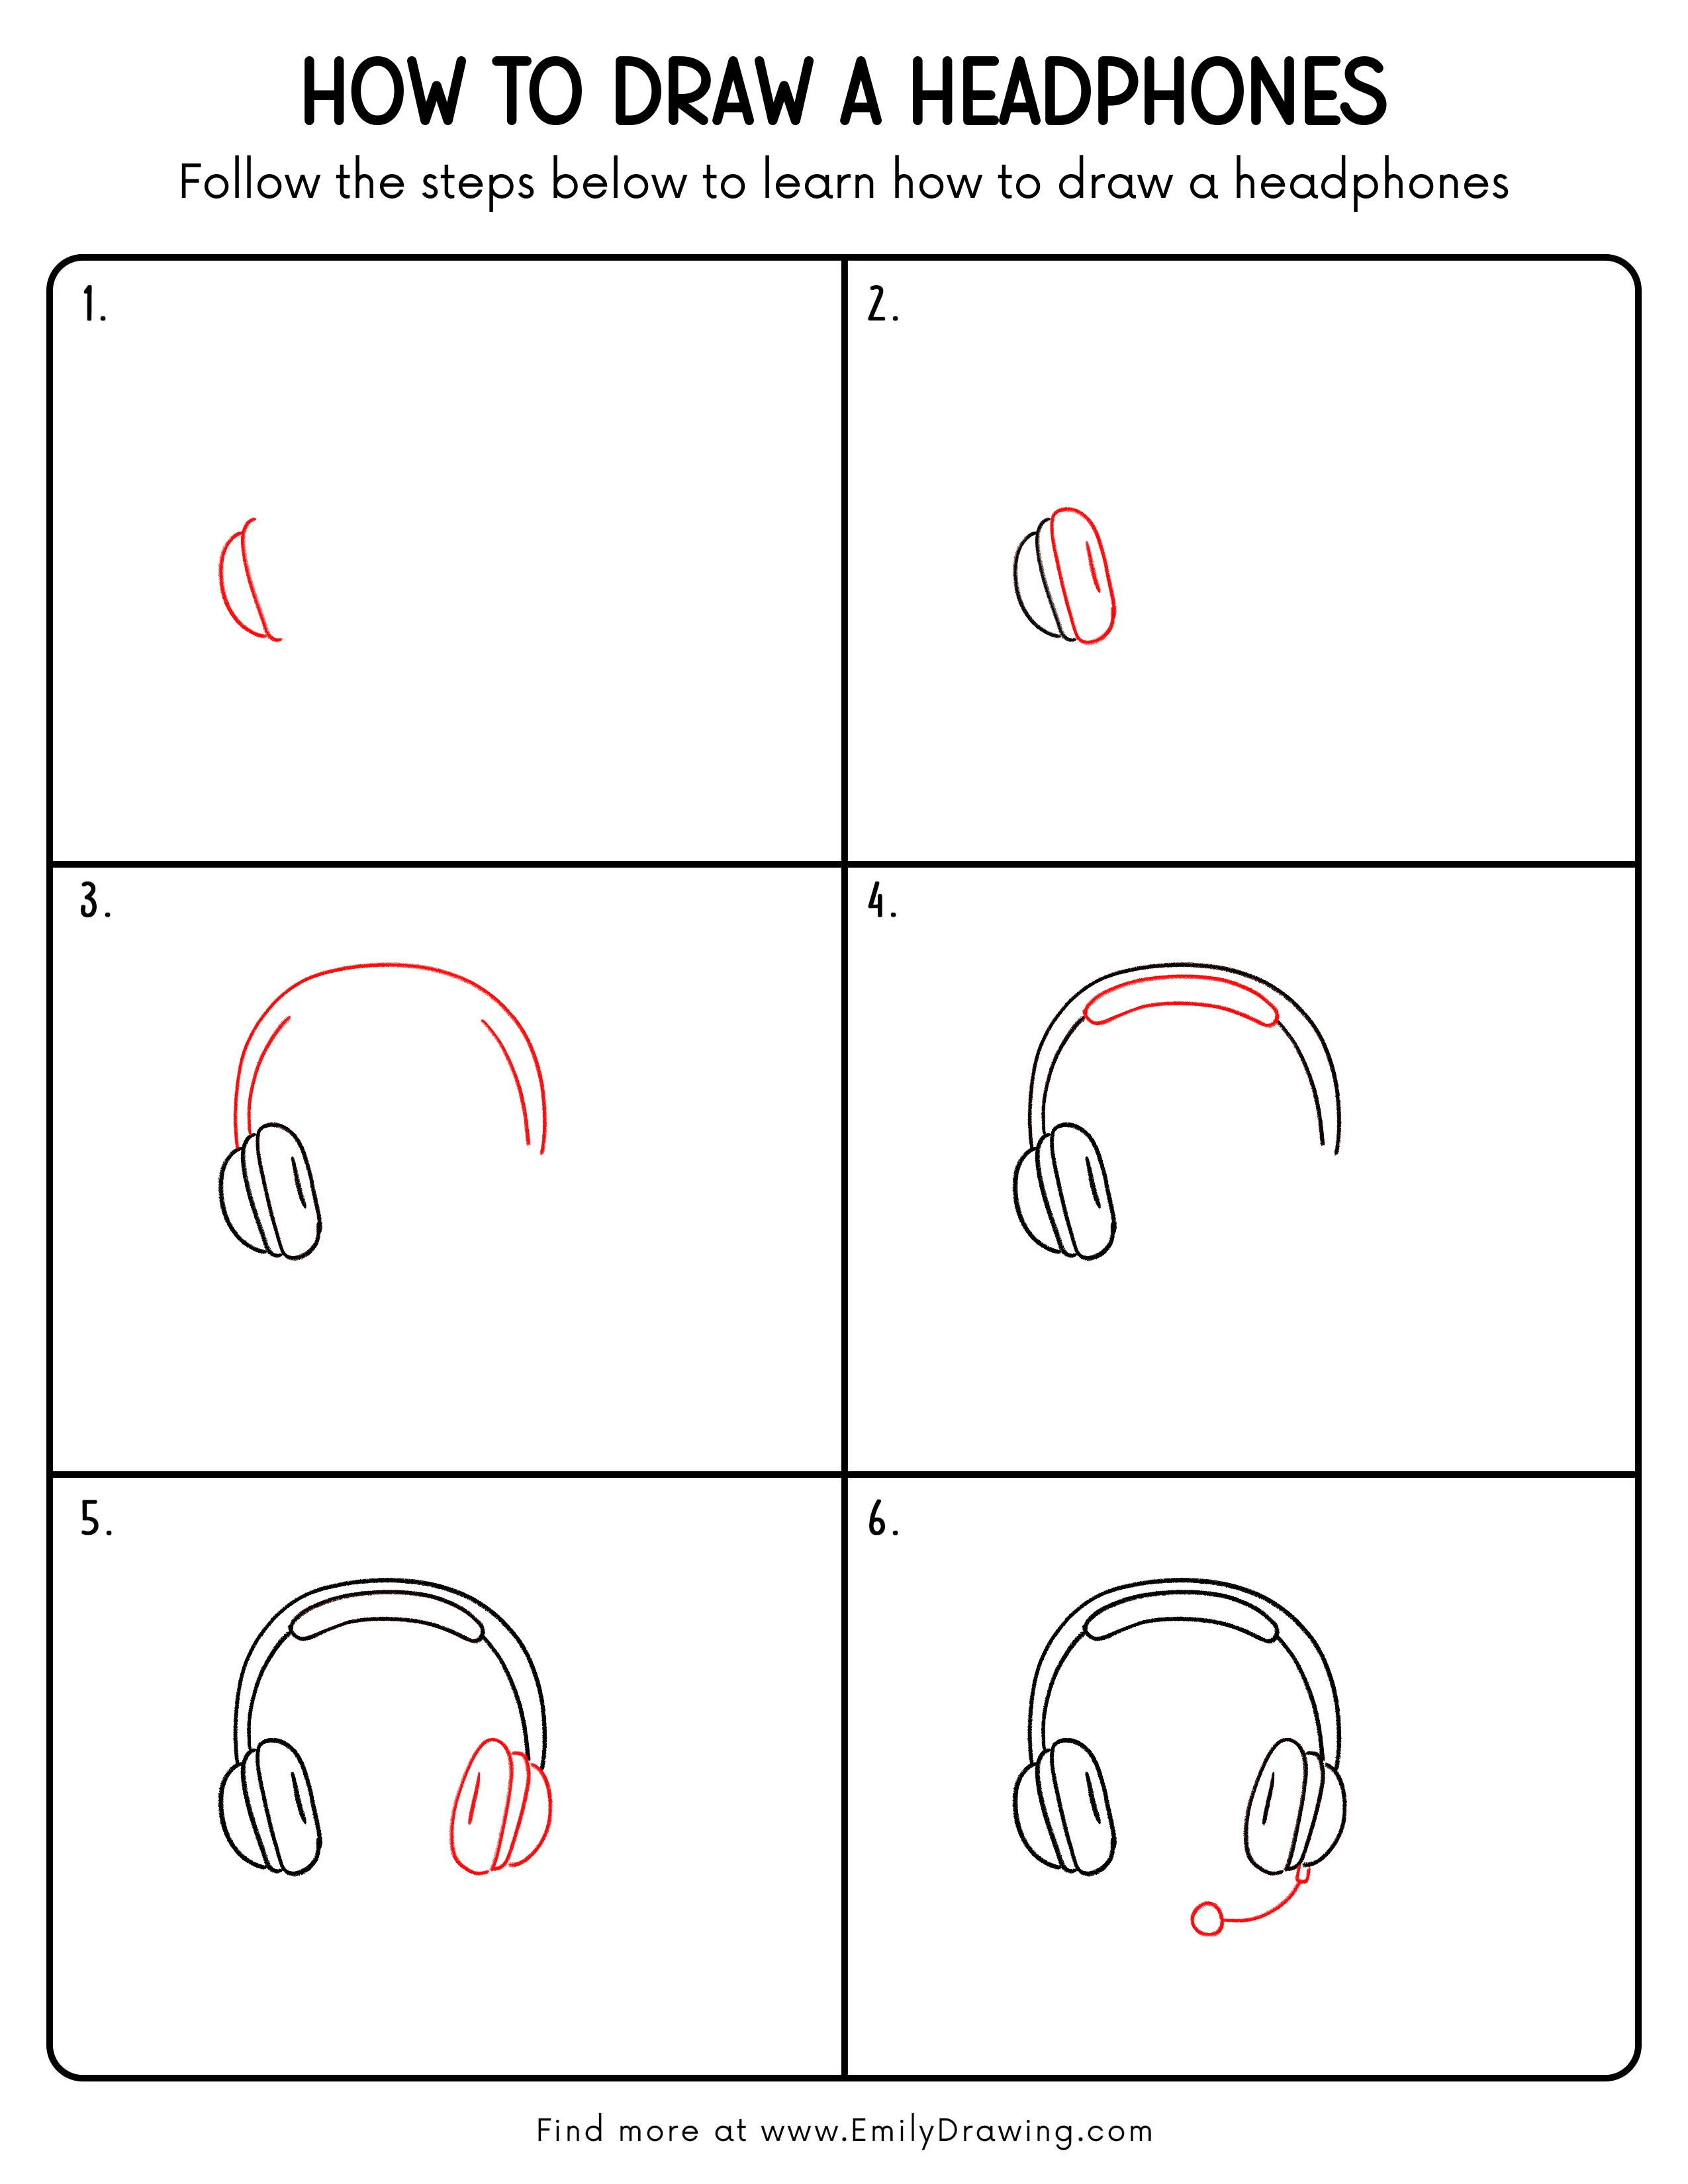
FREE Download Printable Headphones Drawing Tutorial
Frequently Asked Questions
How do I make the headphones look more symmetrical?
Lightly sketch a center guideline first, then match both earcups to it.
Check that the earcups sit at the same height and feel evenly spaced.
How can I make the ear pads look softer?
Round the corners more and add a small inner curve to show cushion depth.
A tiny shadow line near the inner edge can also suggest softness.
Can I draw different types of headphones using these steps?
Yes, keep the same basic shapes and change details like earcup size or band width.
You can also remove the microphone to make regular music headphones.