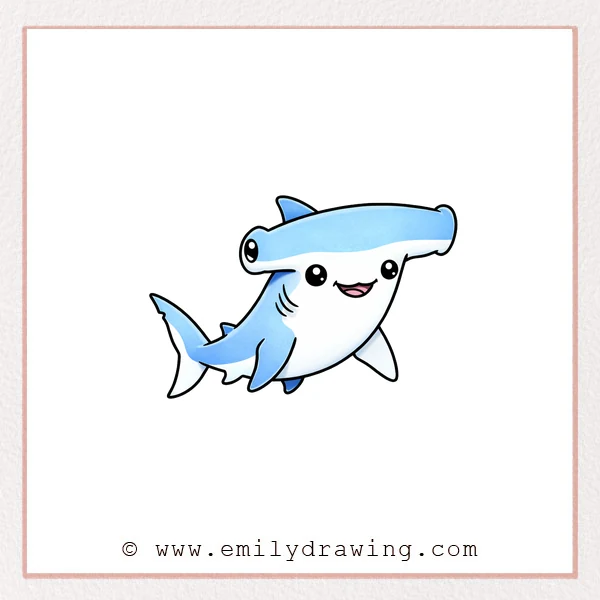
Hammerhead sharks have a unique head shape that makes them easy to recognize.
In this easy drawing tutorial, you will build a cute hammerhead shark with simple shapes.
Take your time, and keep your lines light until you like the look.
What You Will Need
- Pencil
- Eraser
- Black marker or pen
- Coloring tools (crayons, markers, or colored pencils)
- Paper
Here are my RECOMMENDED Art Supplies!
- Crayola Coloring Set (140 Pieces – Mega Value!)
- 24 Colored Crayon Set
- A4 Printer Paper
- Crayola Coloring Pencils
- HP Home Printer with Instant Ink!
Time needed:
17 minutes.
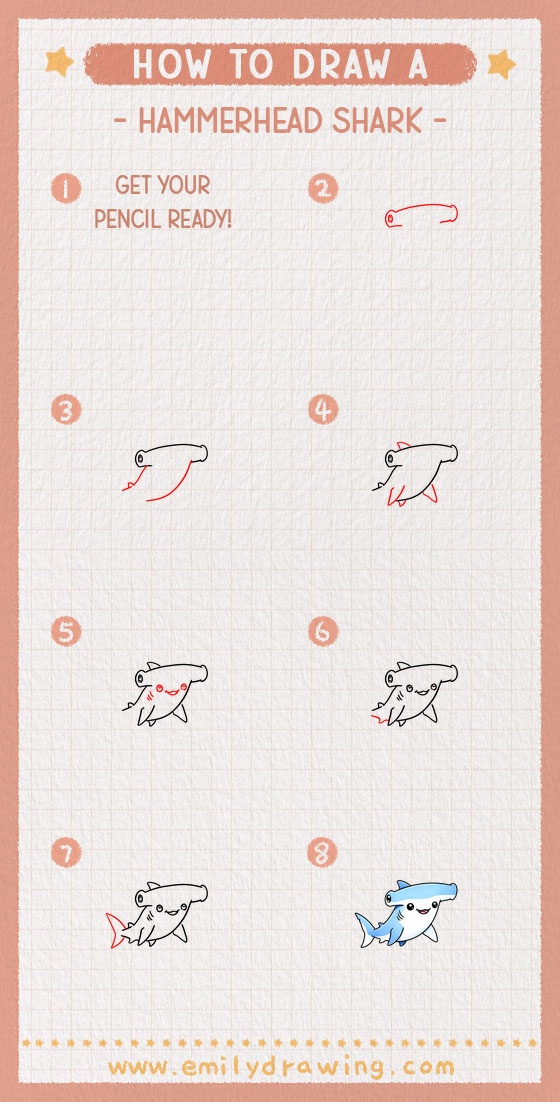
Step-by-Step Drawing Guide
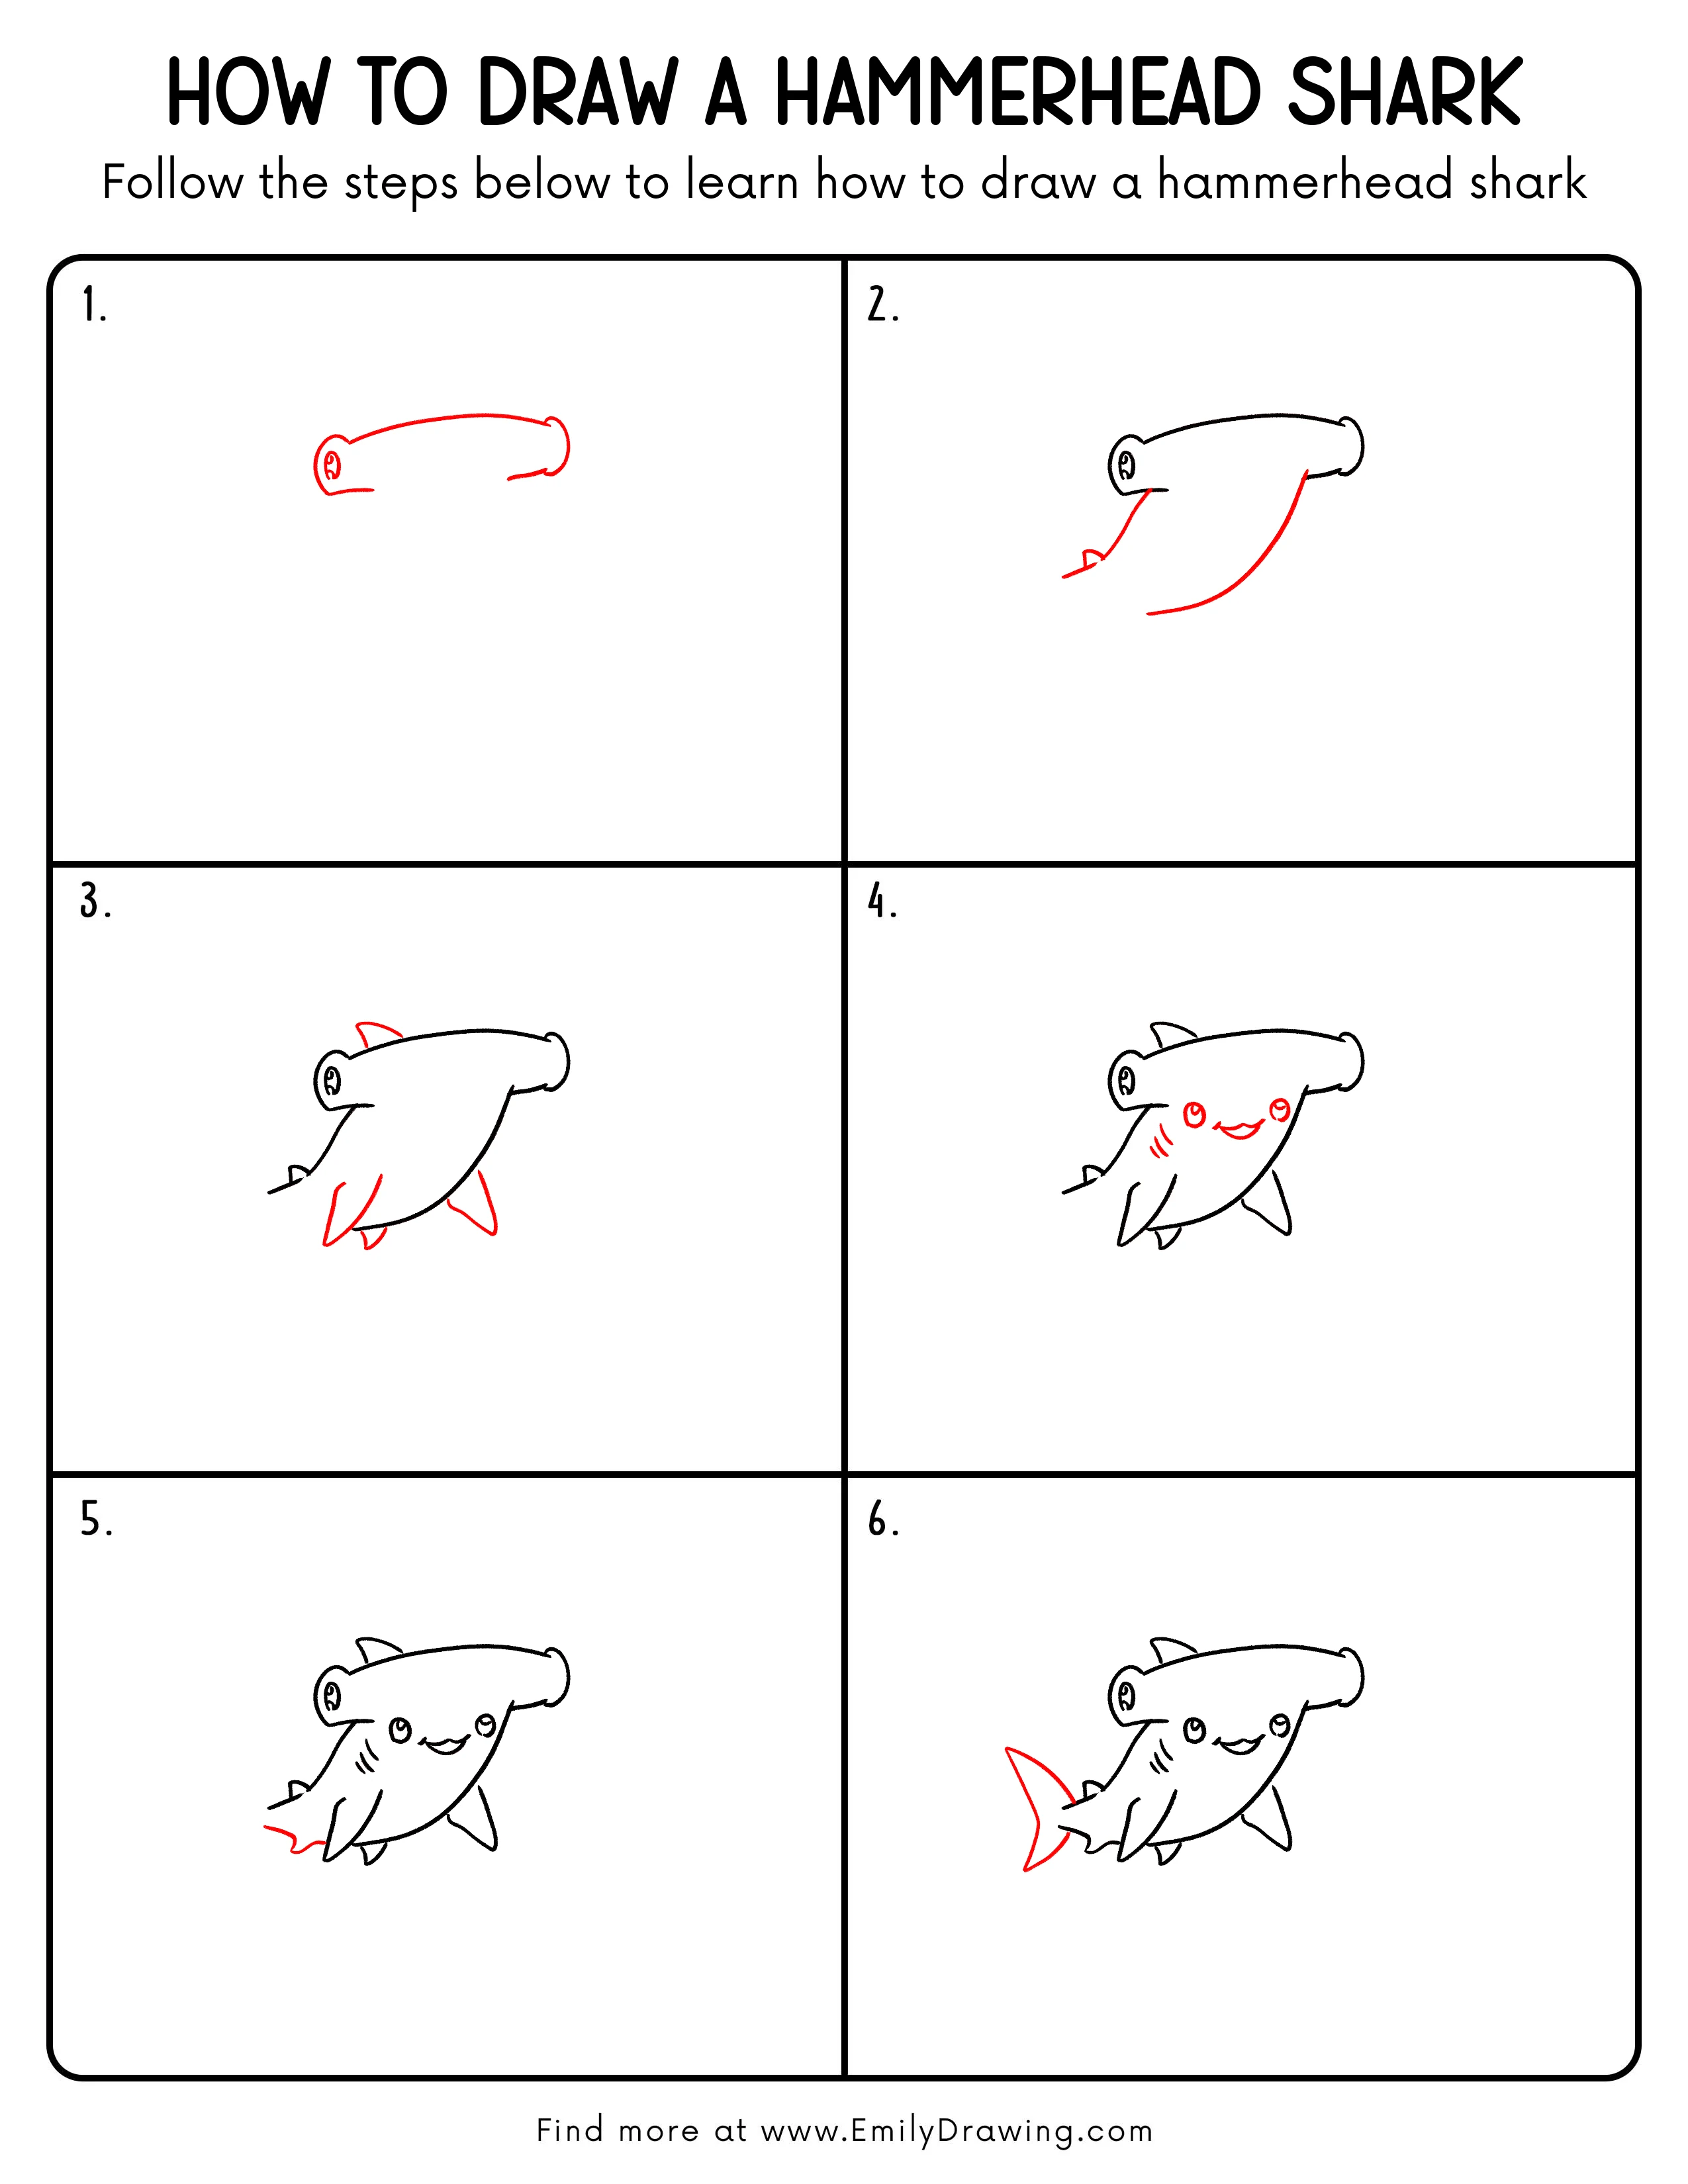
Step 1: Sketch the Hammerhead Shape
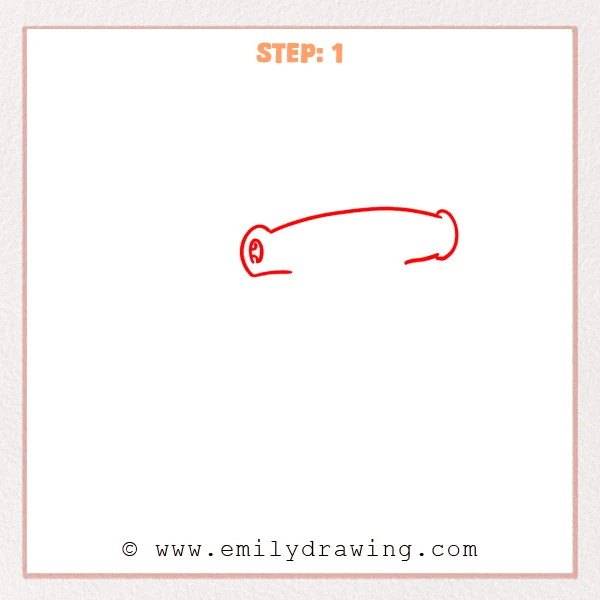
Start with one long curved line to form the top edge of the hammer-shaped head.
Round off both ends with smooth hook-like curves so the tips look soft and rounded, then place a small eye marker on one side.
Pro Tip: Keep the hammerhead wide and flat, and make both tips rounded instead of pointy.
Step 2: Add the Belly Line and Pectoral Fin Guide
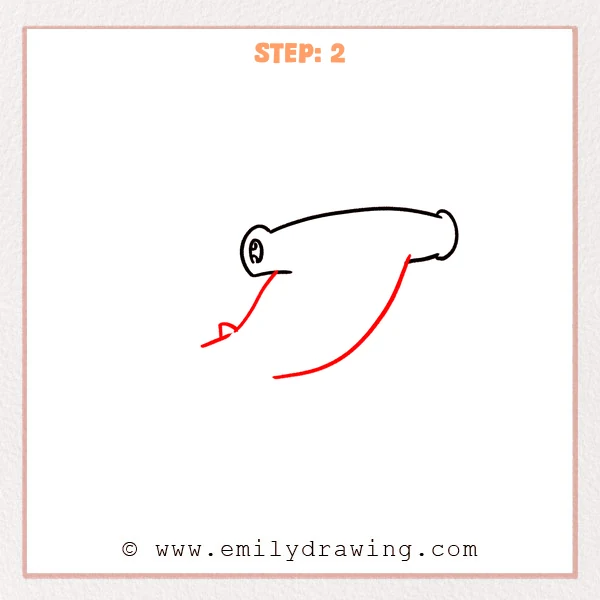
Draw a long sweeping curve down and back to form the belly of the body.
Add a slanted line dropping from the underside near the head, then place a small triangle at the end to guide the pectoral fin.
Pro Tip: Keep the belly curve full and long, without turning straight too early.
Step 3: Add the Dorsal and Side Fins
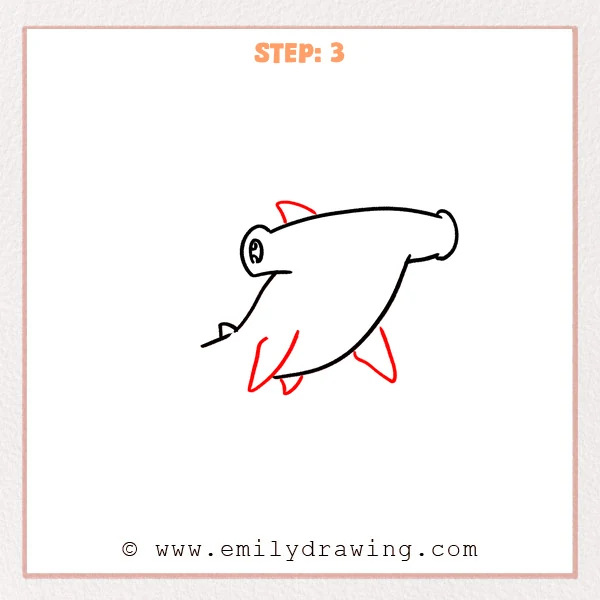
Draw a small backward-leaning triangle on the mid-back for the dorsal fin.
Add two larger triangular fins along the underside (one forward, one back), then place a tiny belly fin between them to suggest motion.
Pro Tip: Slightly round the fin tips so the shark looks more natural and friendly.
Step 4: Add the Face and Gills
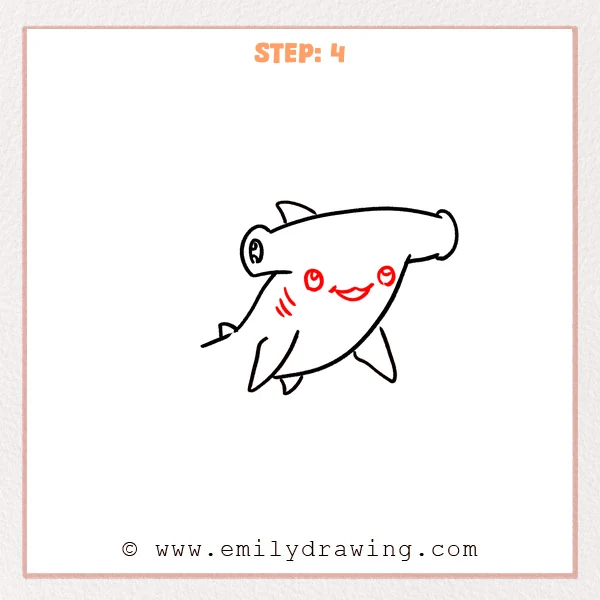
Draw two round eyes on the front half of the body, and add tiny highlights inside.
Add a curved smiling mouth between them, then draw three short curved marks on the side for gills.
Pro Tip: Keep both eyes the same size, and tilt them slightly to match the body curve.
Step 5: Add the Tail Outline
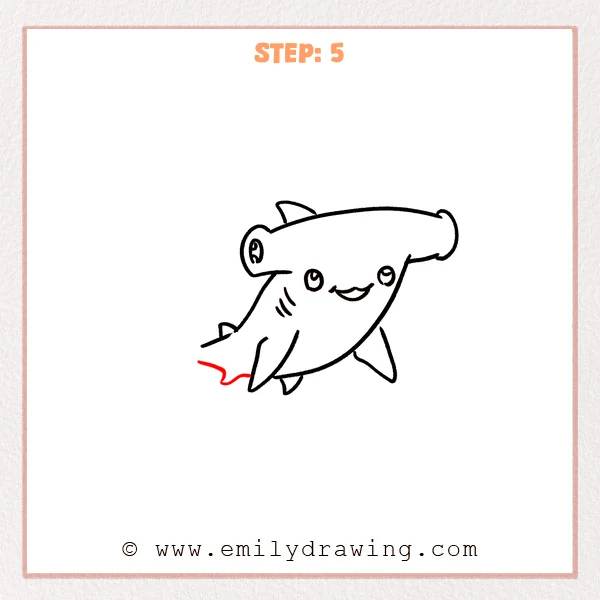
Draw a small wavy curve at the back-left to form a simple tail shape, like a little waving flag.
Keep it clean and smooth so it connects naturally to the end of the body.
Pro Tip: Make the tail wave gentle, because a small bend looks more like swimming.
Step 6: Refine the Tail Fin Shape
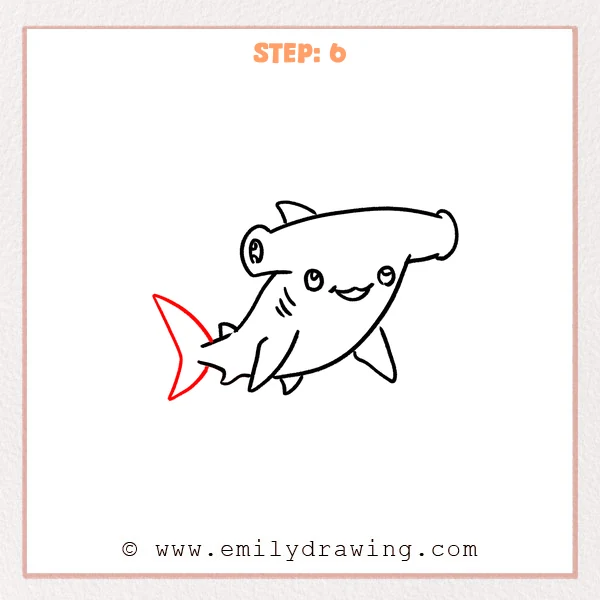
Expand the simple tail into a big crescent tail fin, drawing two pointed lobes (top and bottom).
Add an inner curve to create a notch in the middle, so the tail looks strong and shark-like.
Pro Tip: Give both tail lobes a similar curve, and keep the edges smooth and clean.
Step 7: Color in your drawing!
Fun Facts
- A hammerhead shark’s wide head is called a “cephalofoil,” and it helps the shark sense its surroundings.
- Their eyes sit far apart, which can help them see more of the ocean around them.
- Many hammerhead sharks like warm, coastal waters.
Pin it now, Draw later!
Trace your favorite lines with a black pen, then erase extra pencil marks.
You can color the top darker and the belly lighter for a classic shark look.
Now you know how to draw a hammerhead shark step by step—try drawing a whole shark family next!
Get the FREE Printable Drawing Guide
FREE Download Printable Hammerhead Shark Drawing Tutorial
Frequently Asked Questions
1) How do I make the hammerhead look more like a real shark?
Make the smile smaller, sharpen the fins slightly, and add a few more gill lines.
2) What if my shark body looks too short?
Extend the belly curve farther back before you draw the tail fin.
3) Can I turn this into an even easier drawing for beginners?
Yes—use fewer fins, keep the tail simple, and draw just one eye.