In this easy drawing tutorial, you will learn how to draw a hawk step by step.
We will build simple shapes first, then add feathers and small details.
What You Will Need
- Pencil
- Eraser
- Black pen or marker
- Paper
- Colored pencils or crayons (optional)
Here are my RECOMMENDED Art Supplies!
- Crayola Coloring Set (140 Pieces – Mega Value!)
- 24 Colored Crayon Set
- A4 Printer Paper
- Crayola Coloring Pencils
- HP Home Printer with Instant Ink!
Time needed:
23 minutes.
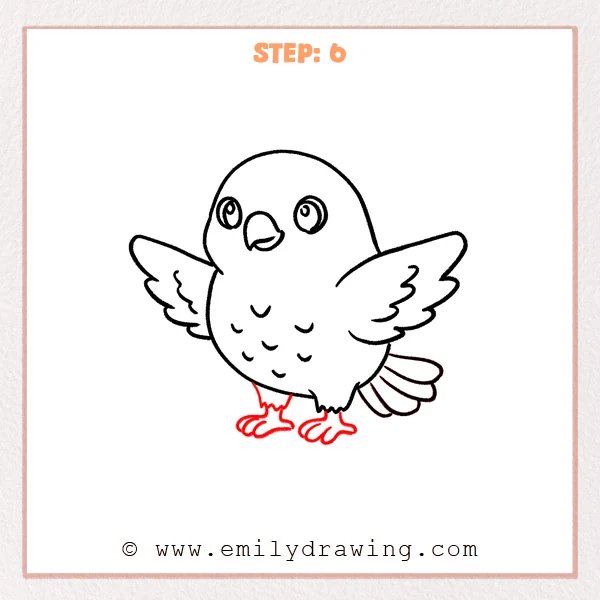
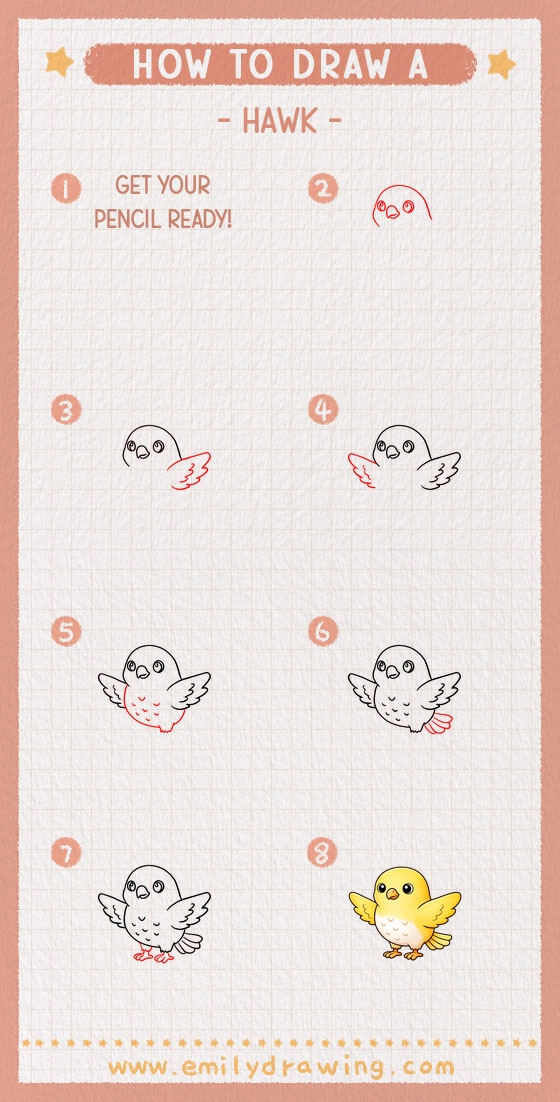
Step-by-Step Drawing Guide
Step 1: Sketch the Head and Facial Features
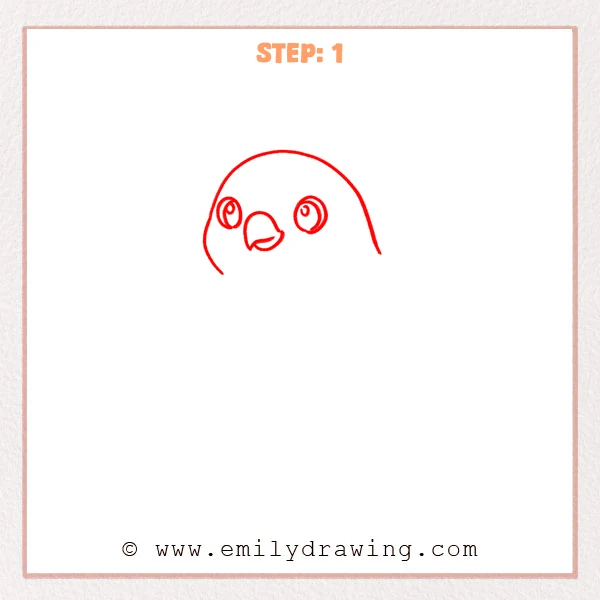
Start with a large curved outline to form the hawk’s head and face shape.
Add one rounded eye on each side, then draw a hooked beak in the middle with a small line to separate the mouth.
Pro Tip: Keep both eyes level, spaced about one eye-width apart.
Step 2: Add the Big Wing Shape
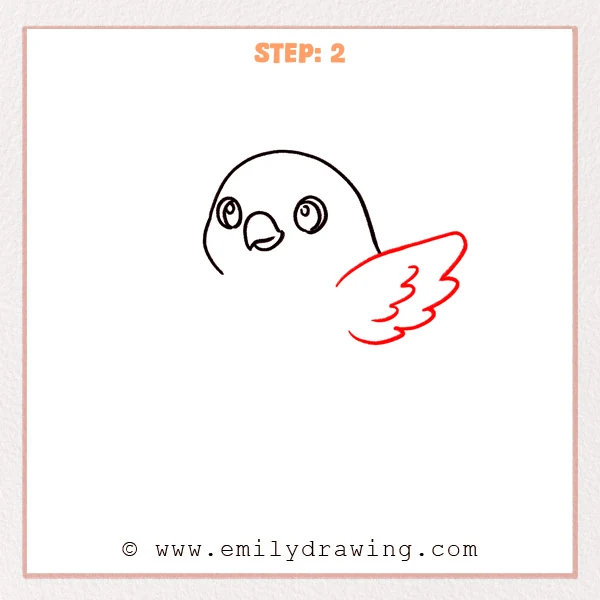
On the right side of the head, draw a long curved wing outline that reaches outward.
At the tip, add a few rounded bumps to suggest layered feathers and a soft edge.
Pro Tip: Keep the wing base close to the lower side of the head for a natural join.
Step 3: Add the Body and the Other Wing
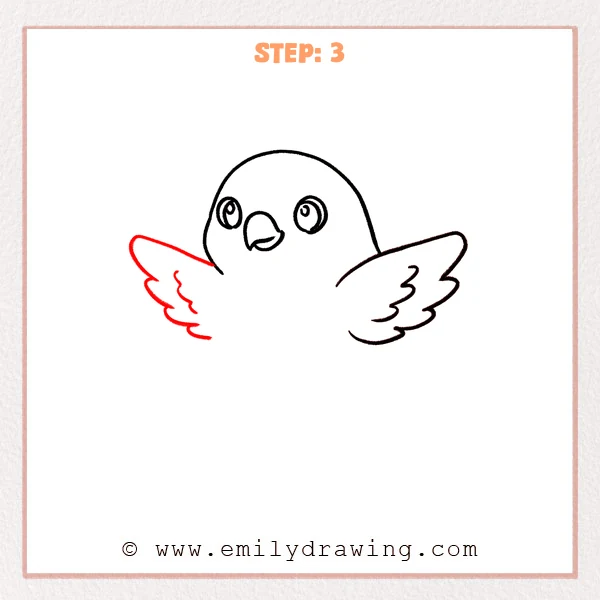
Draw a large curved line under the head to create a round body that meets the wing base.
On the left side, add a matching wing shape and a few small curves for simple feather layers.
Pro Tip: Keep both wings a similar size, with tips at a similar height for balance.
Step 4: Add Belly Feather Details and a Small Tail
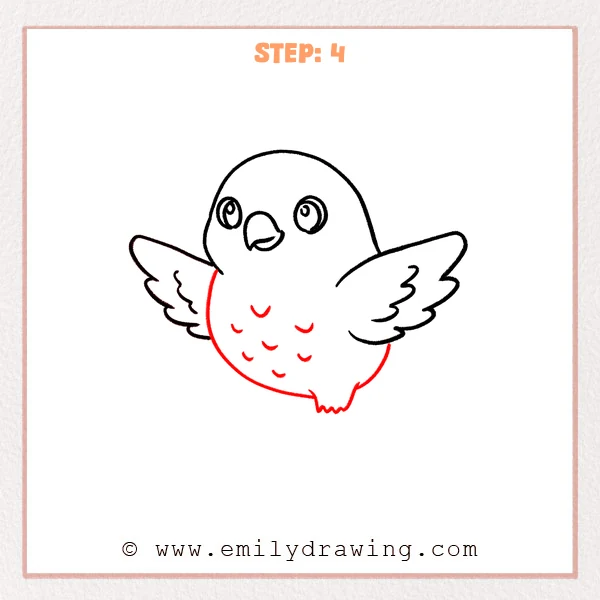
Add a few small “U”-shaped curves in the belly area to suggest feather texture.
Draw a small tail/feet edge at the bottom using tiny zigzag bumps for a layered look.
Pro Tip: Don’t pack the belly marks too tightly; a little space keeps feathers clean.
Step 5: Add Fan-Shaped Tail Feathers
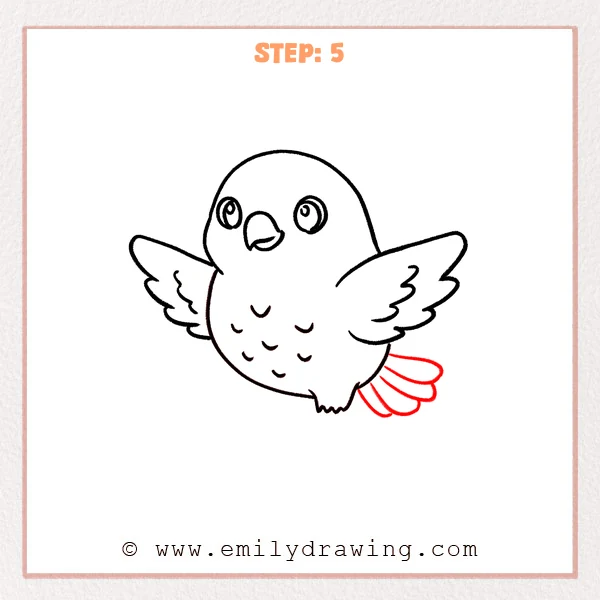
From the lower right side of the body, draw several long curved tail feathers that fan outward.
Use parallel curved lines to split the tail into separate feathers, so each one reads clearly.
Pro Tip: Let the tail feathers spread from one small base area to keep it tidy.
Step 6: Draw the Legs and Talons
Add two short legs under the body, using tiny zigzag edges to show fluffy feathers at the top.
Draw two feet, giving each foot three rounded toes so the hawk can stand firmly.
Pro Tip: Place both feet under the body so the center of balance feels natural.
Step 7: Color in your drawing!
Fun Facts
- Hawks have excellent eyesight and can spot small prey from far away.
- Many hawks use wide wings and tail feathers to steer smoothly in the air.
- Hawks are found on most continents and live in many different habitats.
Pin it now, Draw later!
Trace your final lines with a pen, then erase the extra pencil marks.
You can color your hawk with a darker back, a lighter belly, and bright eyes.
Keep practicing this step by step drawing, and try drawing your hawk in a flying pose next time.
Get the FREE Printable Drawing Guide
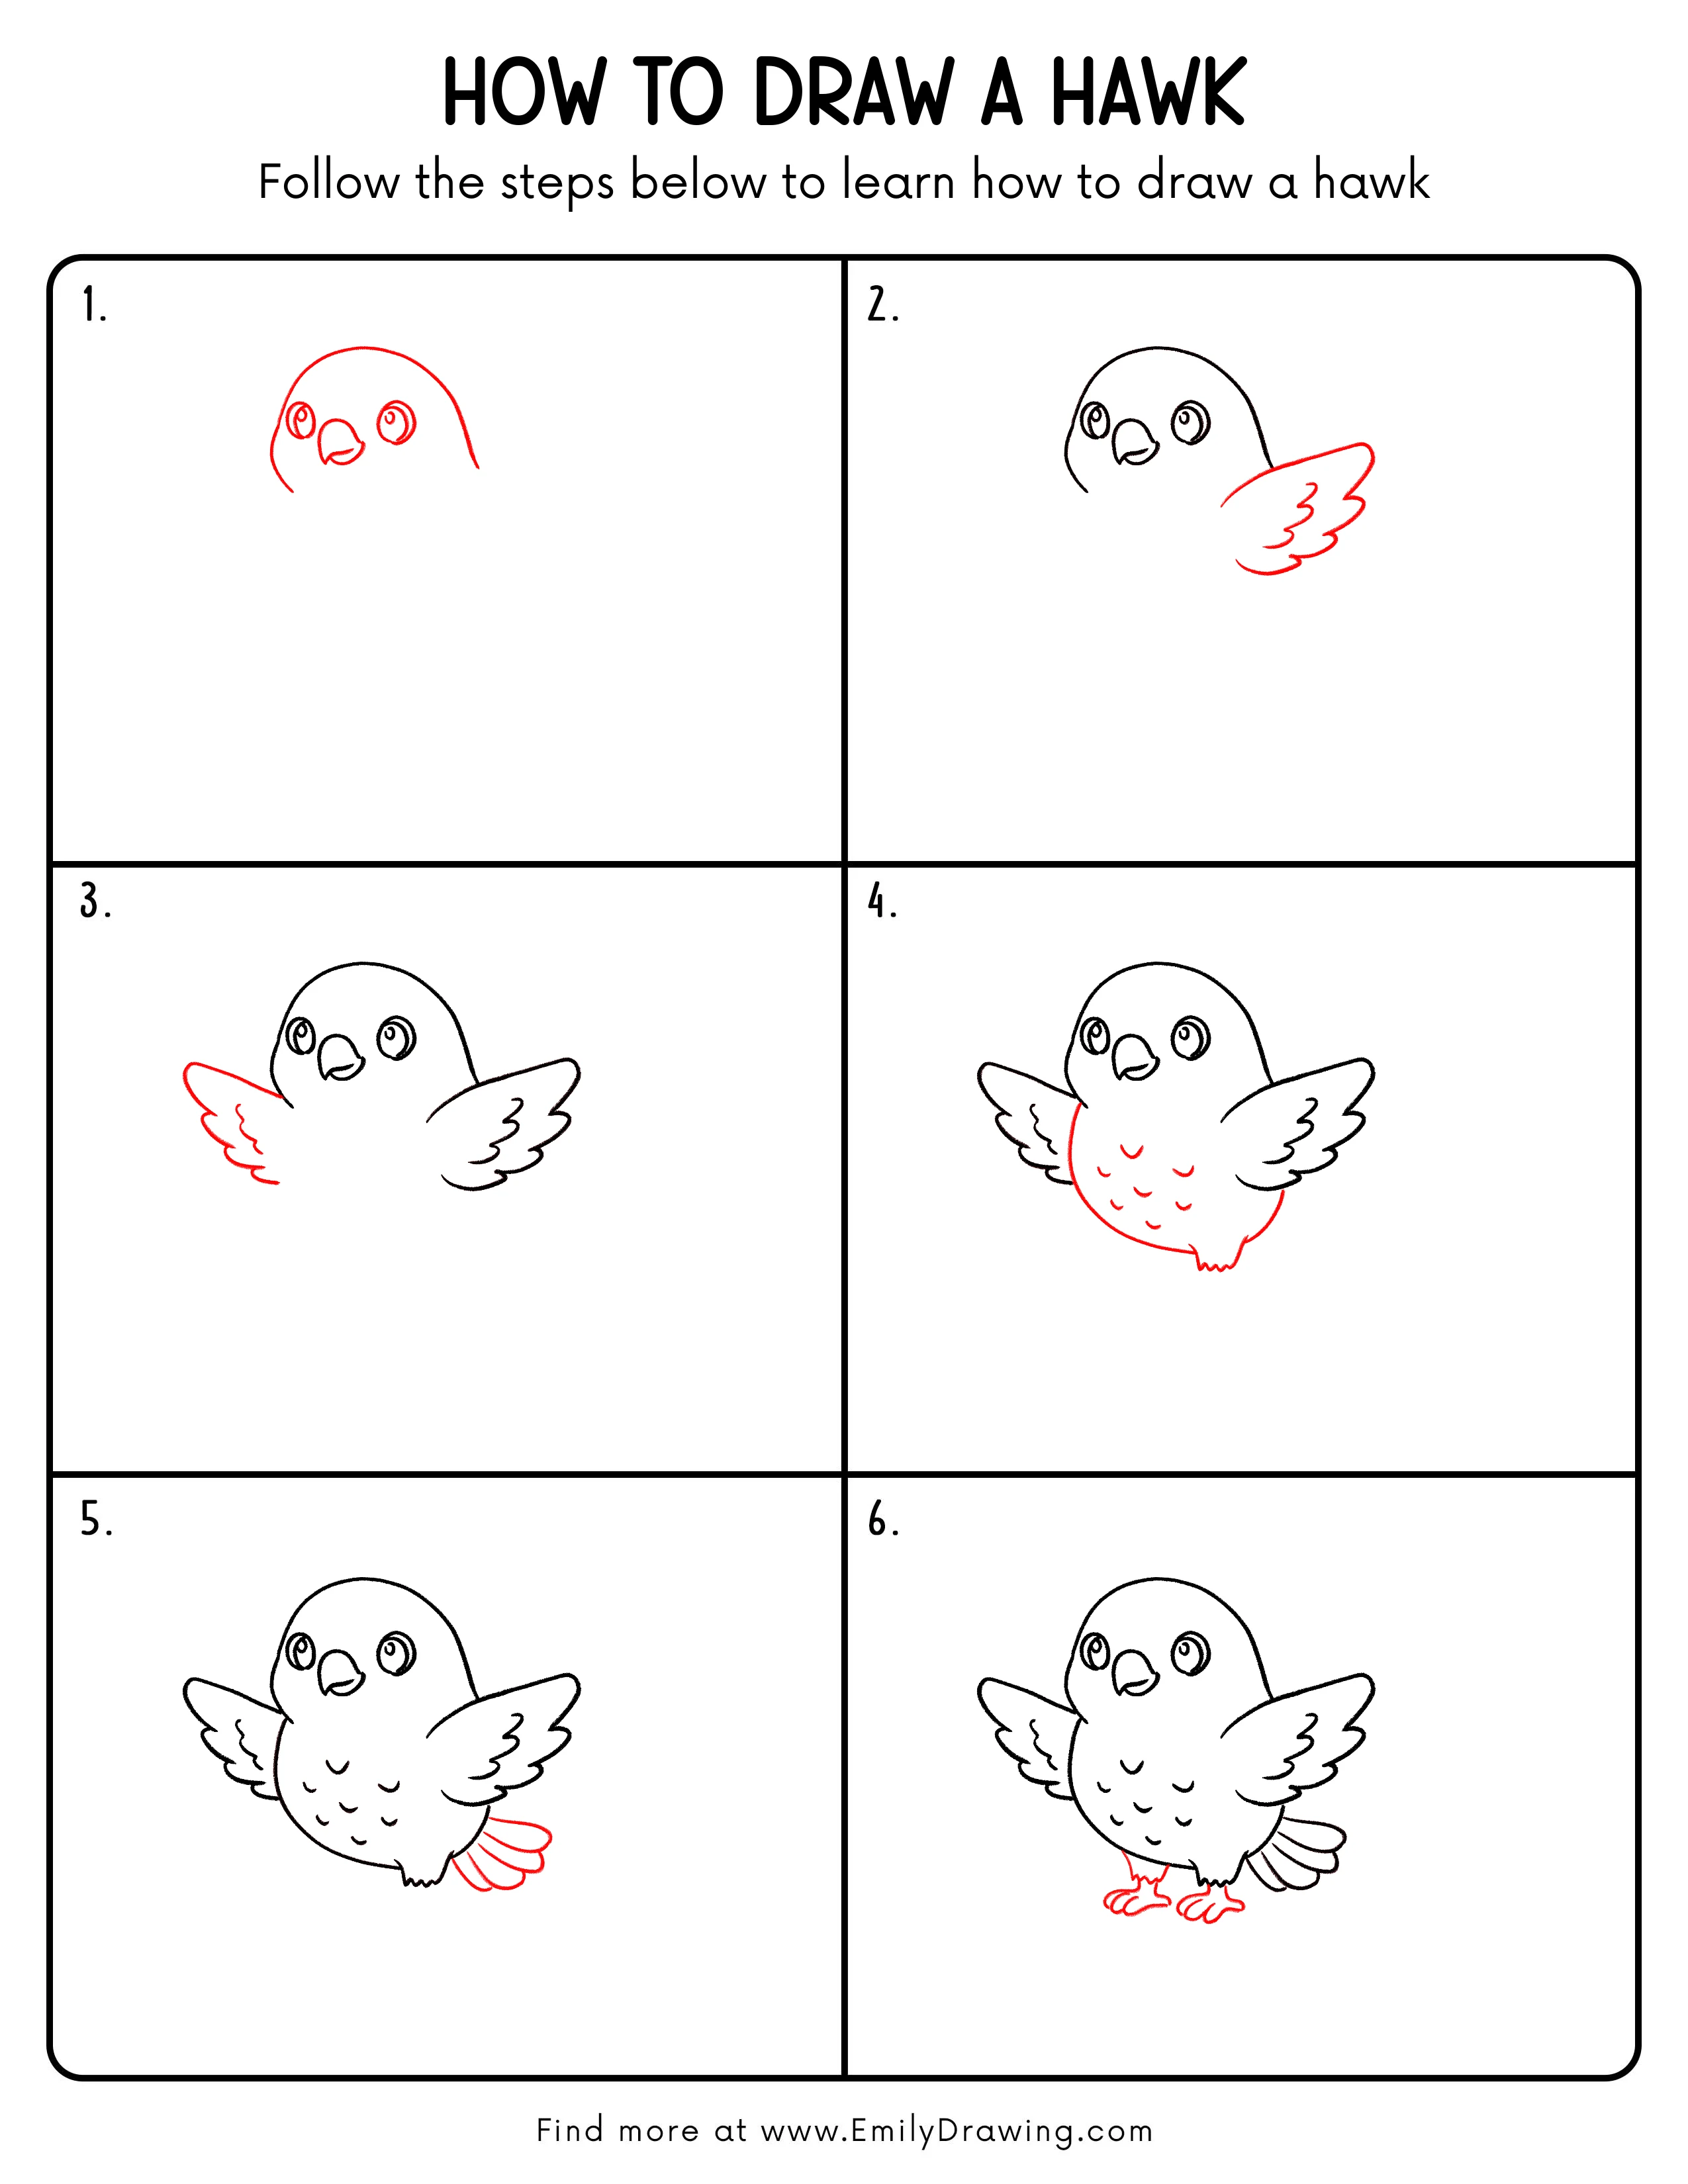
FREE Download Printable Hawk Drawing Tutorial
Frequently Asked Questions
1) How do I make the hawk look more realistic?
Add a few extra feather lines on the wings and tail, and sharpen the beak tip slightly.
2) What if my wings look uneven?
Lightly sketch both wing shapes first, then adjust the curves before tracing.
3) Can I draw a different bird with these steps?
Yes, keep the same simple body shapes and change the beak and tail to match your bird.