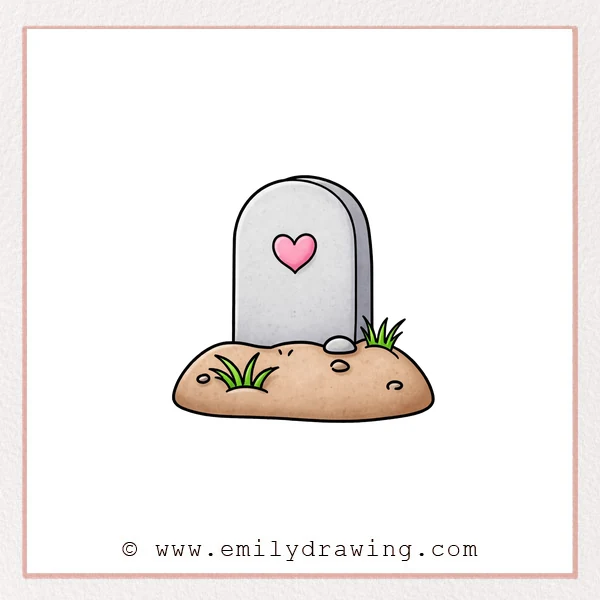
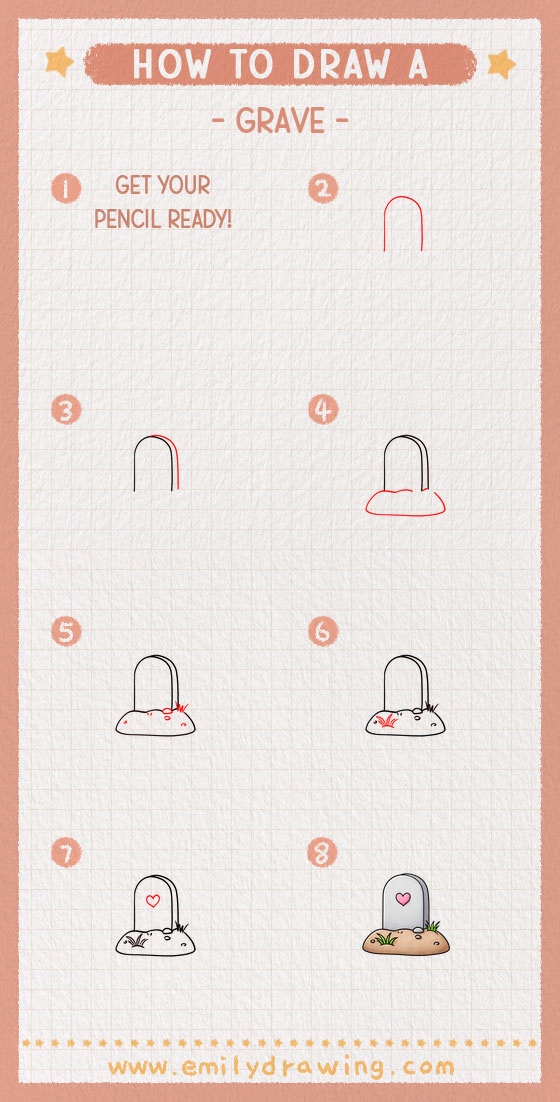
This easy drawing tutorial shows how to draw a simple grave with clean shapes. We will build the outline first, then add ground details and a small symbol. Take your time and keep each line smooth.
What You Will Need
- Pencil
- Eraser
- Black marker or pen
- Red pencil or any colored pencil (optional, for guide lines)
- Paper
Here are my RECOMMENDED Art Supplies!
- Crayola Coloring Set (140 Pieces – Mega Value!)
- 24 Colored Crayon Set
- A4 Printer Paper
- Crayola Coloring Pencils
- HP Home Printer with Instant Ink!
Time needed:
15 minutes.
Step-by-Step Drawing Guide
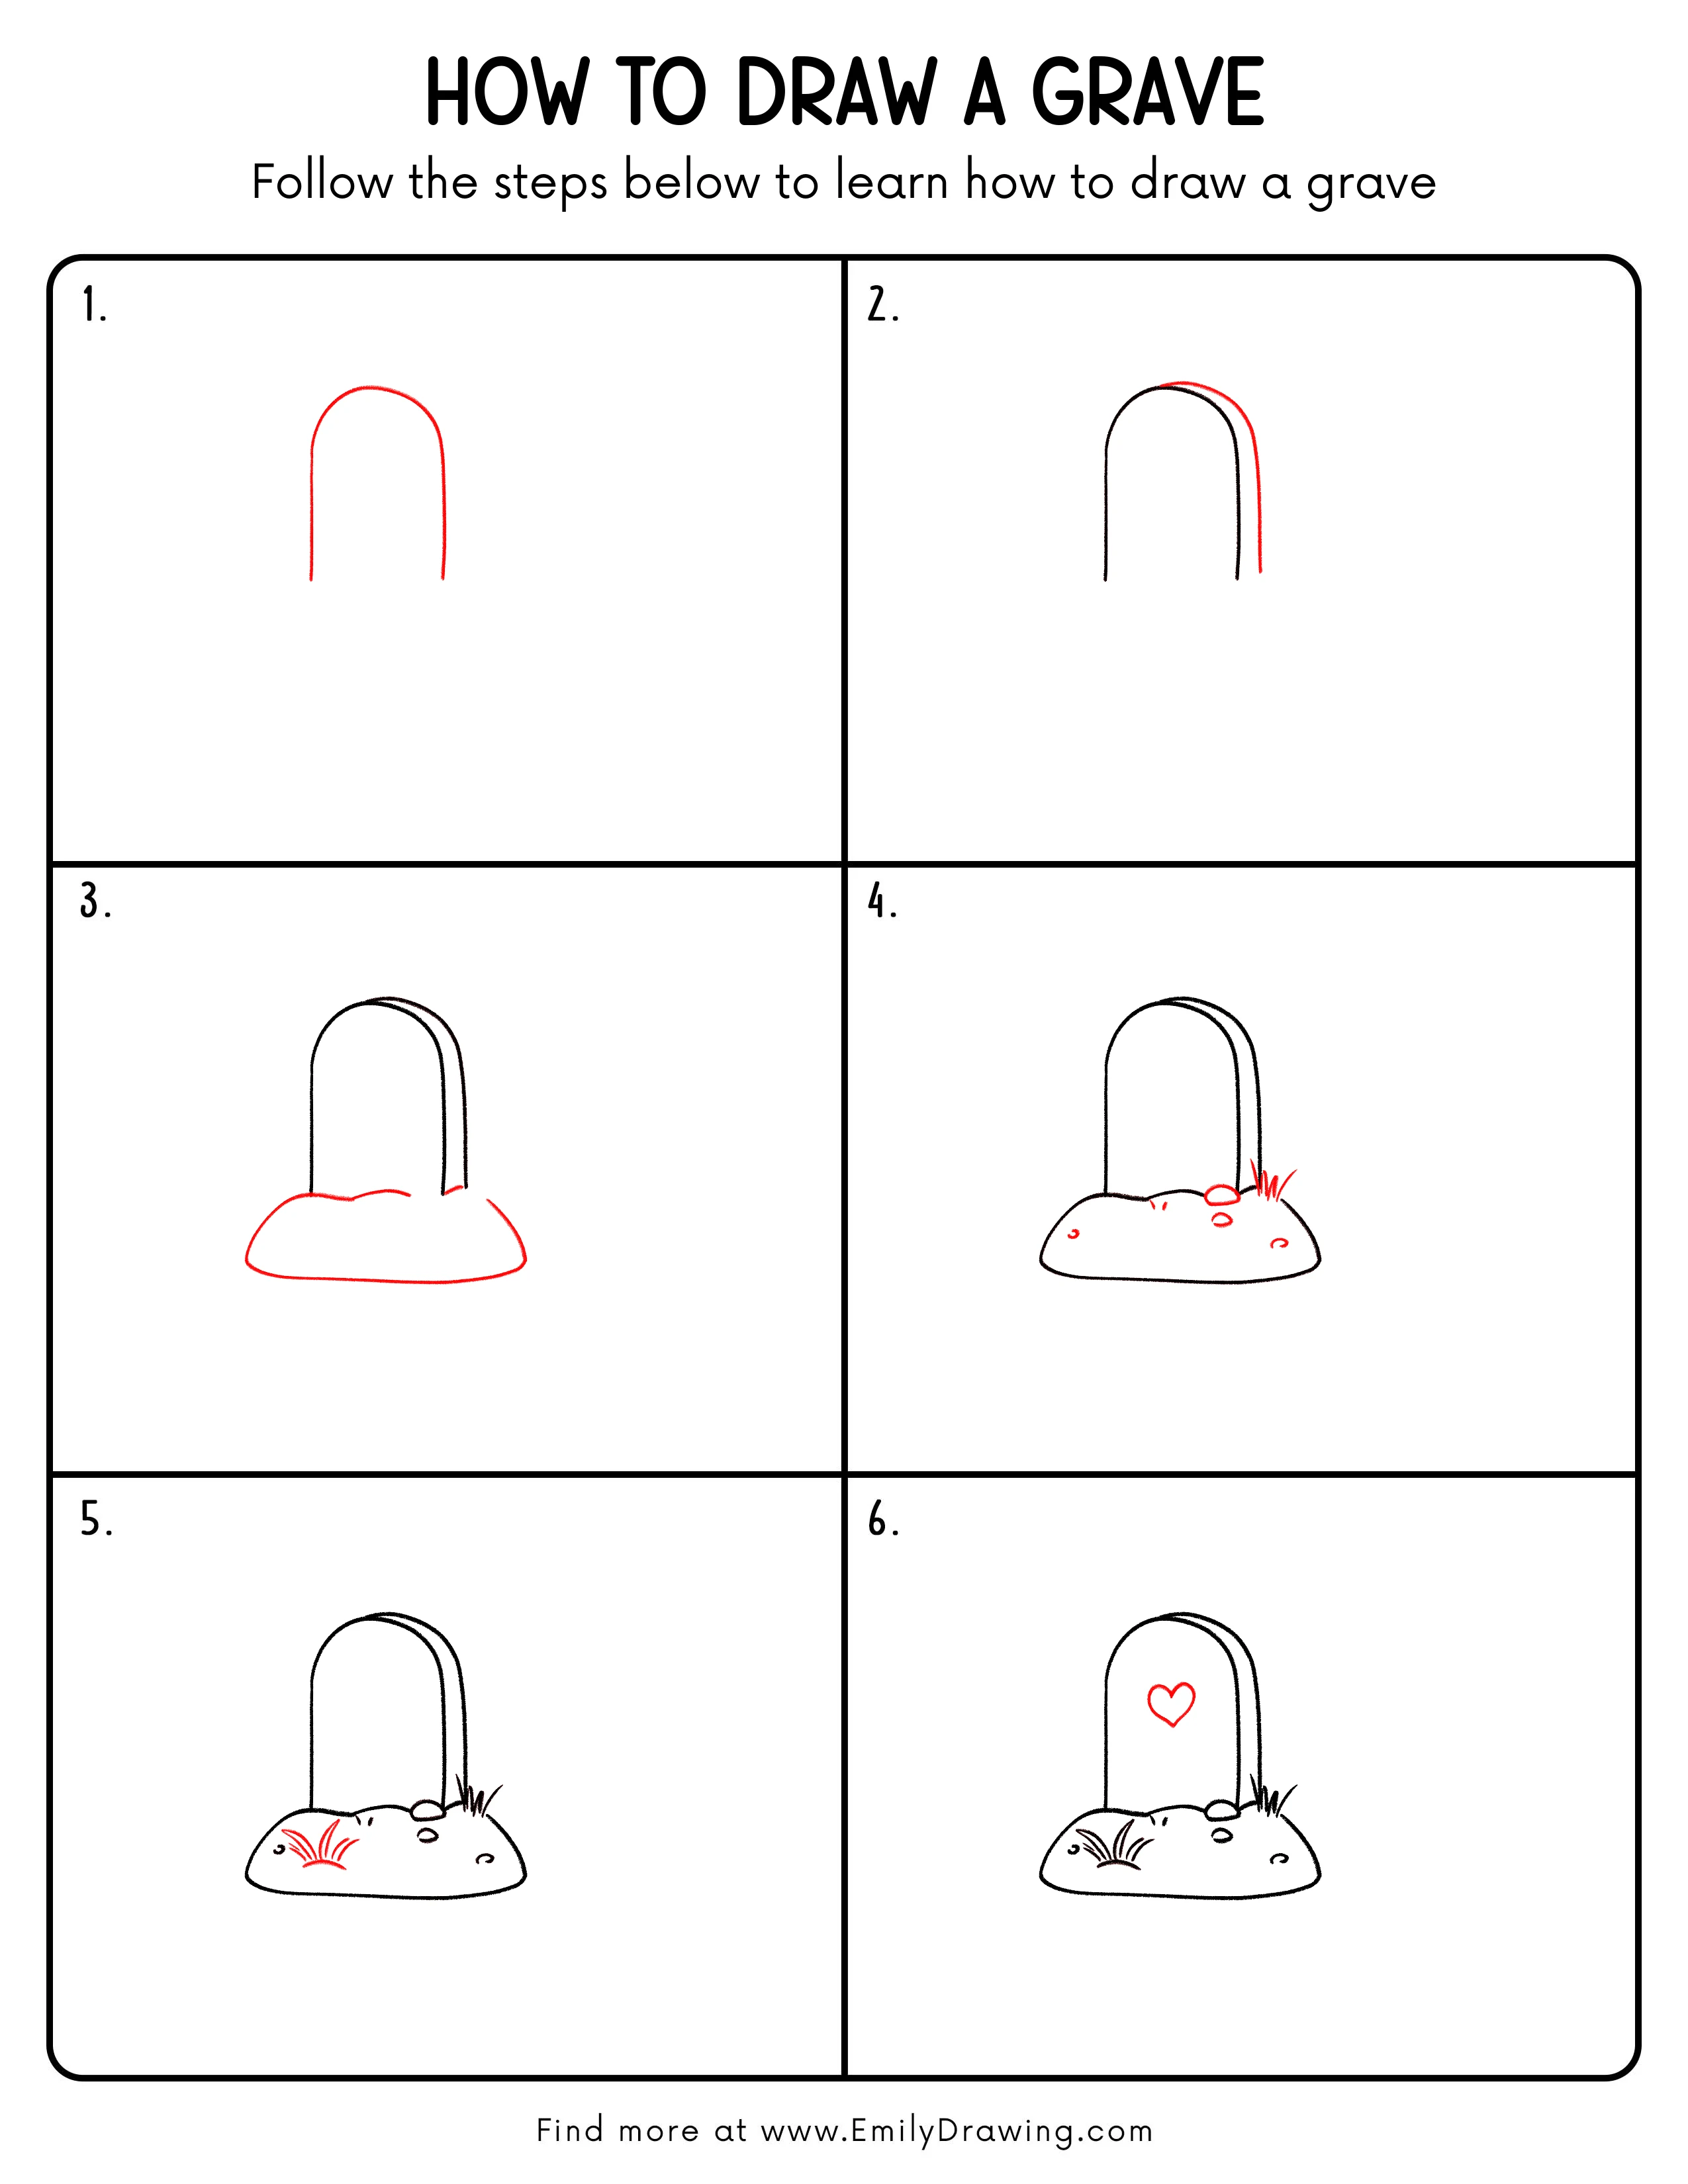
Step 1: Draw the Grave Outline
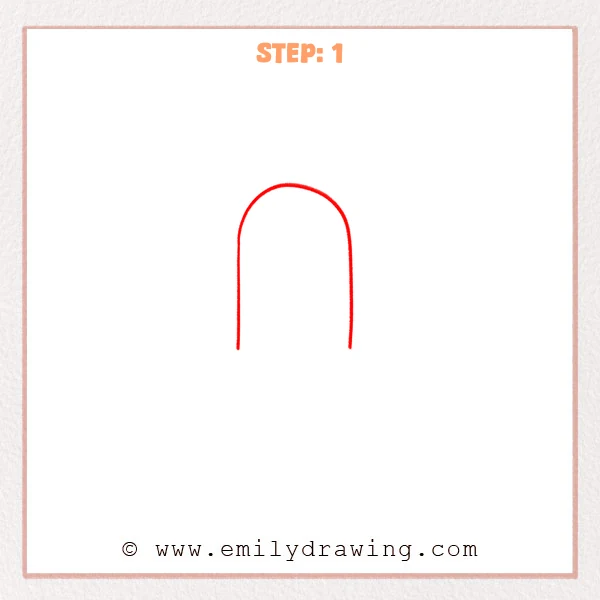
Start with a tall upside-down “U” to form the rounded top of the grave. Pull two nearly parallel lines straight down for the sides, and keep the bottom open for now.
Pro Tip: Keep both sides evenly spaced, and make the top curve smooth and round.
Step 2: Thicken the Right Edge
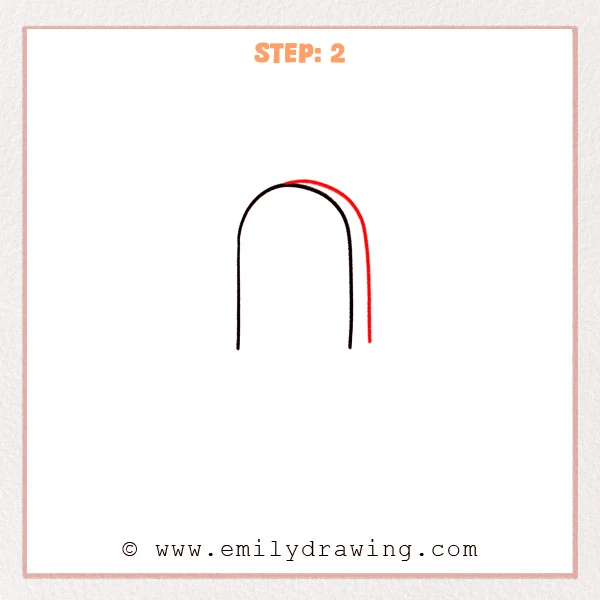
Draw a second, parallel line just outside the right side, then add a short outer curve along the top to match the rounded arch. This creates a thicker edge so the grave looks more solid and dimensional.
Pro Tip: Keep the gap even between the two outlines for a clean, consistent thickness.
Step 3: Draw the Dirt Mound
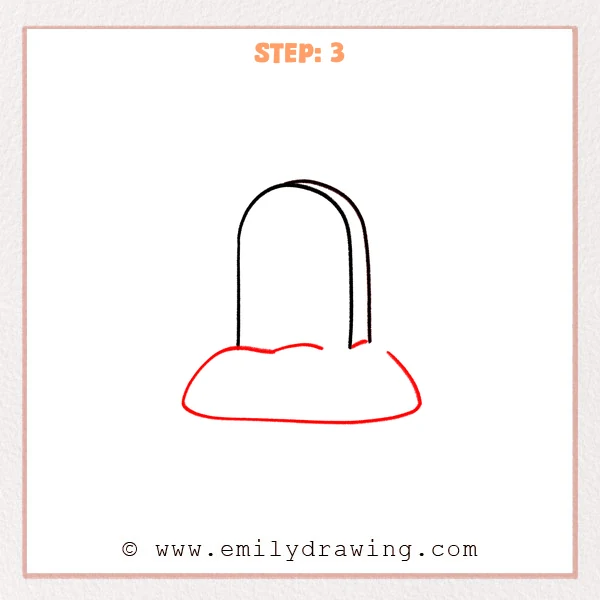
Add a wide, low “cloud” shape in front of the bottom of the grave, with a couple of gentle bumps along the top. Let the mound touch the two sides lightly so the grave looks planted in the ground.
Pro Tip: Make the mound a bit wider than the grave so it feels stable on the ground.
Step 4: Add Stones and Grass
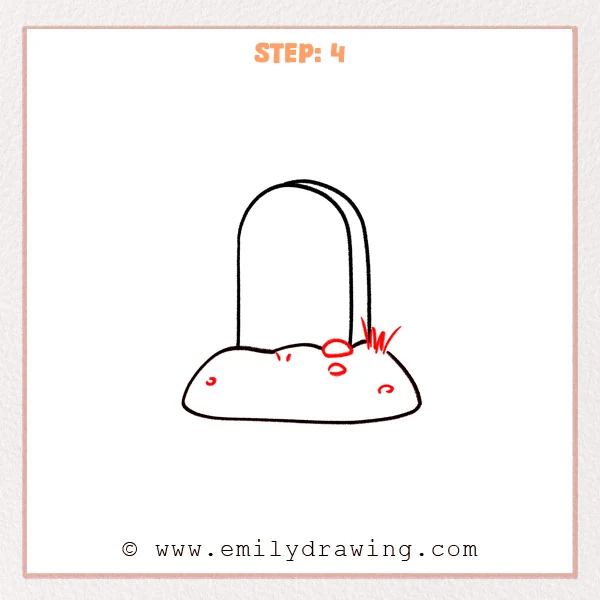
Sprinkle a few small details on the mound using tiny curved marks for pebbles or dents. Then draw a little tuft of grass on the right side with a few sharp, upward strokes.
Pro Tip: Spread details out lightly and leave plenty of open space for a neat look.
Step 5: Add a Grass Tuft on the Left
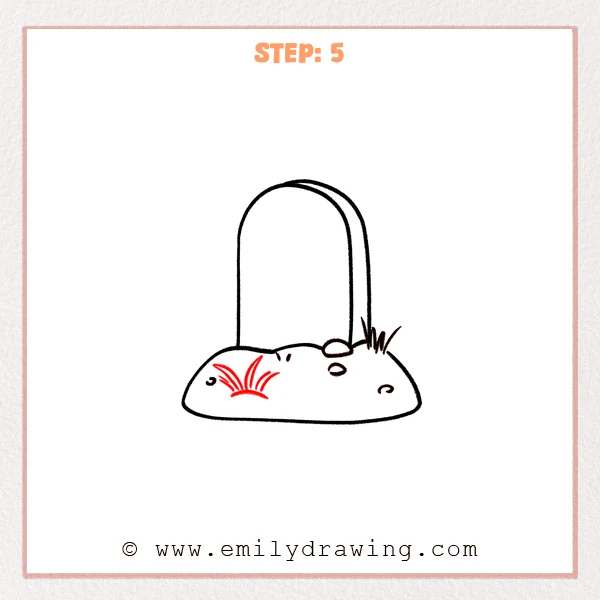
Draw another tuft of grass on the left front of the mound, starting with a small curved base. Add a few blades that curve upward with different heights, fanning slightly outward for a natural look.
Pro Tip: Use one smooth stroke per blade so the grass feels lively and clean.
Step 6: Draw a Heart on the Grave
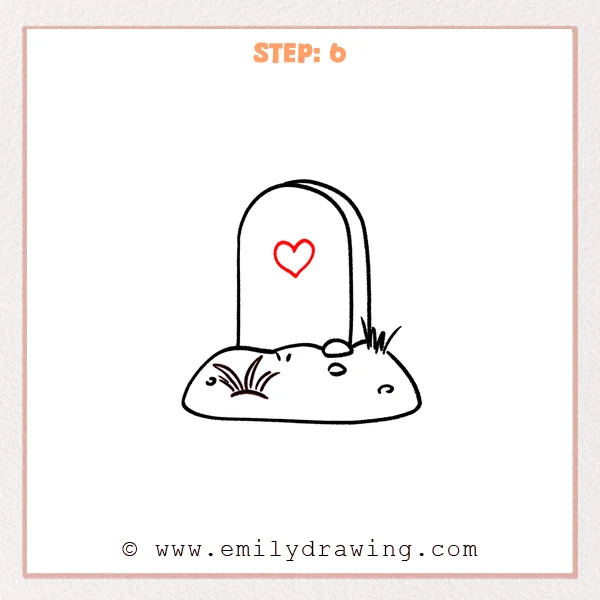
Add a small heart near the upper center of the grave: draw two curved bumps, then bring them down to a point. Keep it medium-sized with space around it so it reads as a simple decoration.
Pro Tip: Make both top bumps similar in size, and align the point with the center line.
Step 7: Color in your drawing!
Fun Facts
- Many older gravestones use rounded tops because the shape is sturdy and easy to carve.
- Small symbols on a grave can represent love, memory, or a family sign.
- Simple ground details, like grass and pebbles, help a drawing feel more real.
Pin it now, Draw later!
Trace your final lines with a darker pen if you like, then erase any guide marks. You can add a name, dates, or a small border on the stone for extra style. Keep practicing step by step, and try drawing a whole little graveyard scene next.
Get the FREE Printable Drawing Guide
FREE Download Printable Grave Drawing Tutorial
Frequently Asked Questions
Q: How do I keep the grave shape symmetrical?
A: Lightly mark a center line first, then match the left and right curves to it.
Q: What if my dirt mound looks too flat?
A: Add one more gentle bump on top and slightly round the corners.
Q: Can I decorate the grave without making it messy?
A: Use one simple symbol and leave plenty of blank space around it.