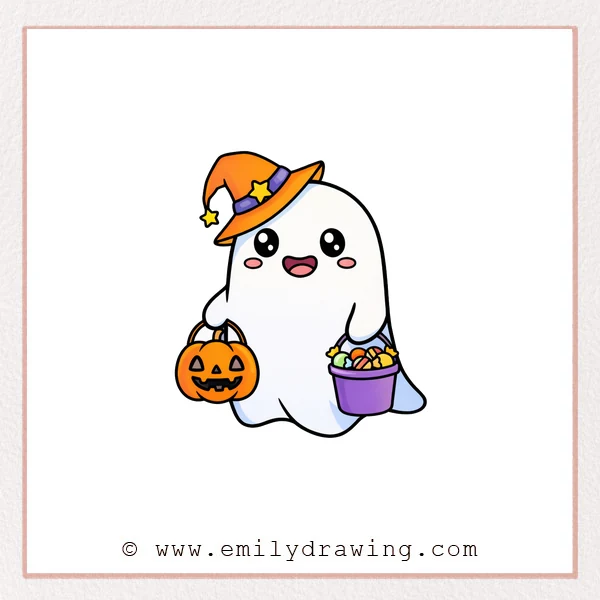
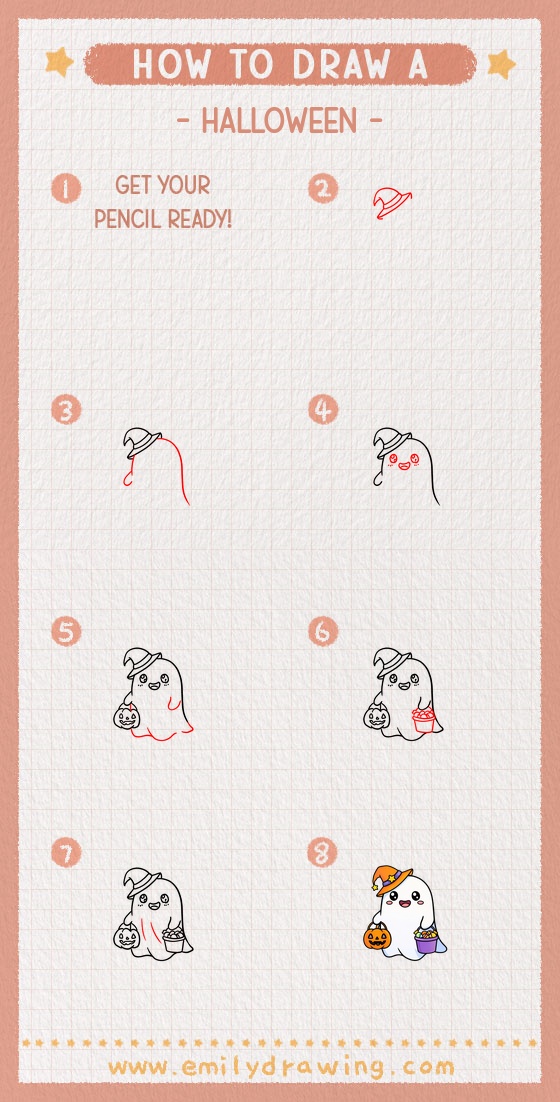
This easy drawing tutorial shows how to draw a halloween ghost character step by step.
We will build simple shapes first, then add cute details and fun props.
Take your time and keep your lines light until you are happy.
What You Will Need
- Pencil
- Eraser
- Black fineliner or marker
- Red pencil (optional, for planning lines)
- Paper
Here are my RECOMMENDED Art Supplies!
- Crayola Coloring Set (140 Pieces – Mega Value!)
- 24 Colored Crayon Set
- A4 Printer Paper
- Crayola Coloring Pencils
- HP Home Printer with Instant Ink!
Time needed:
27 minutes.
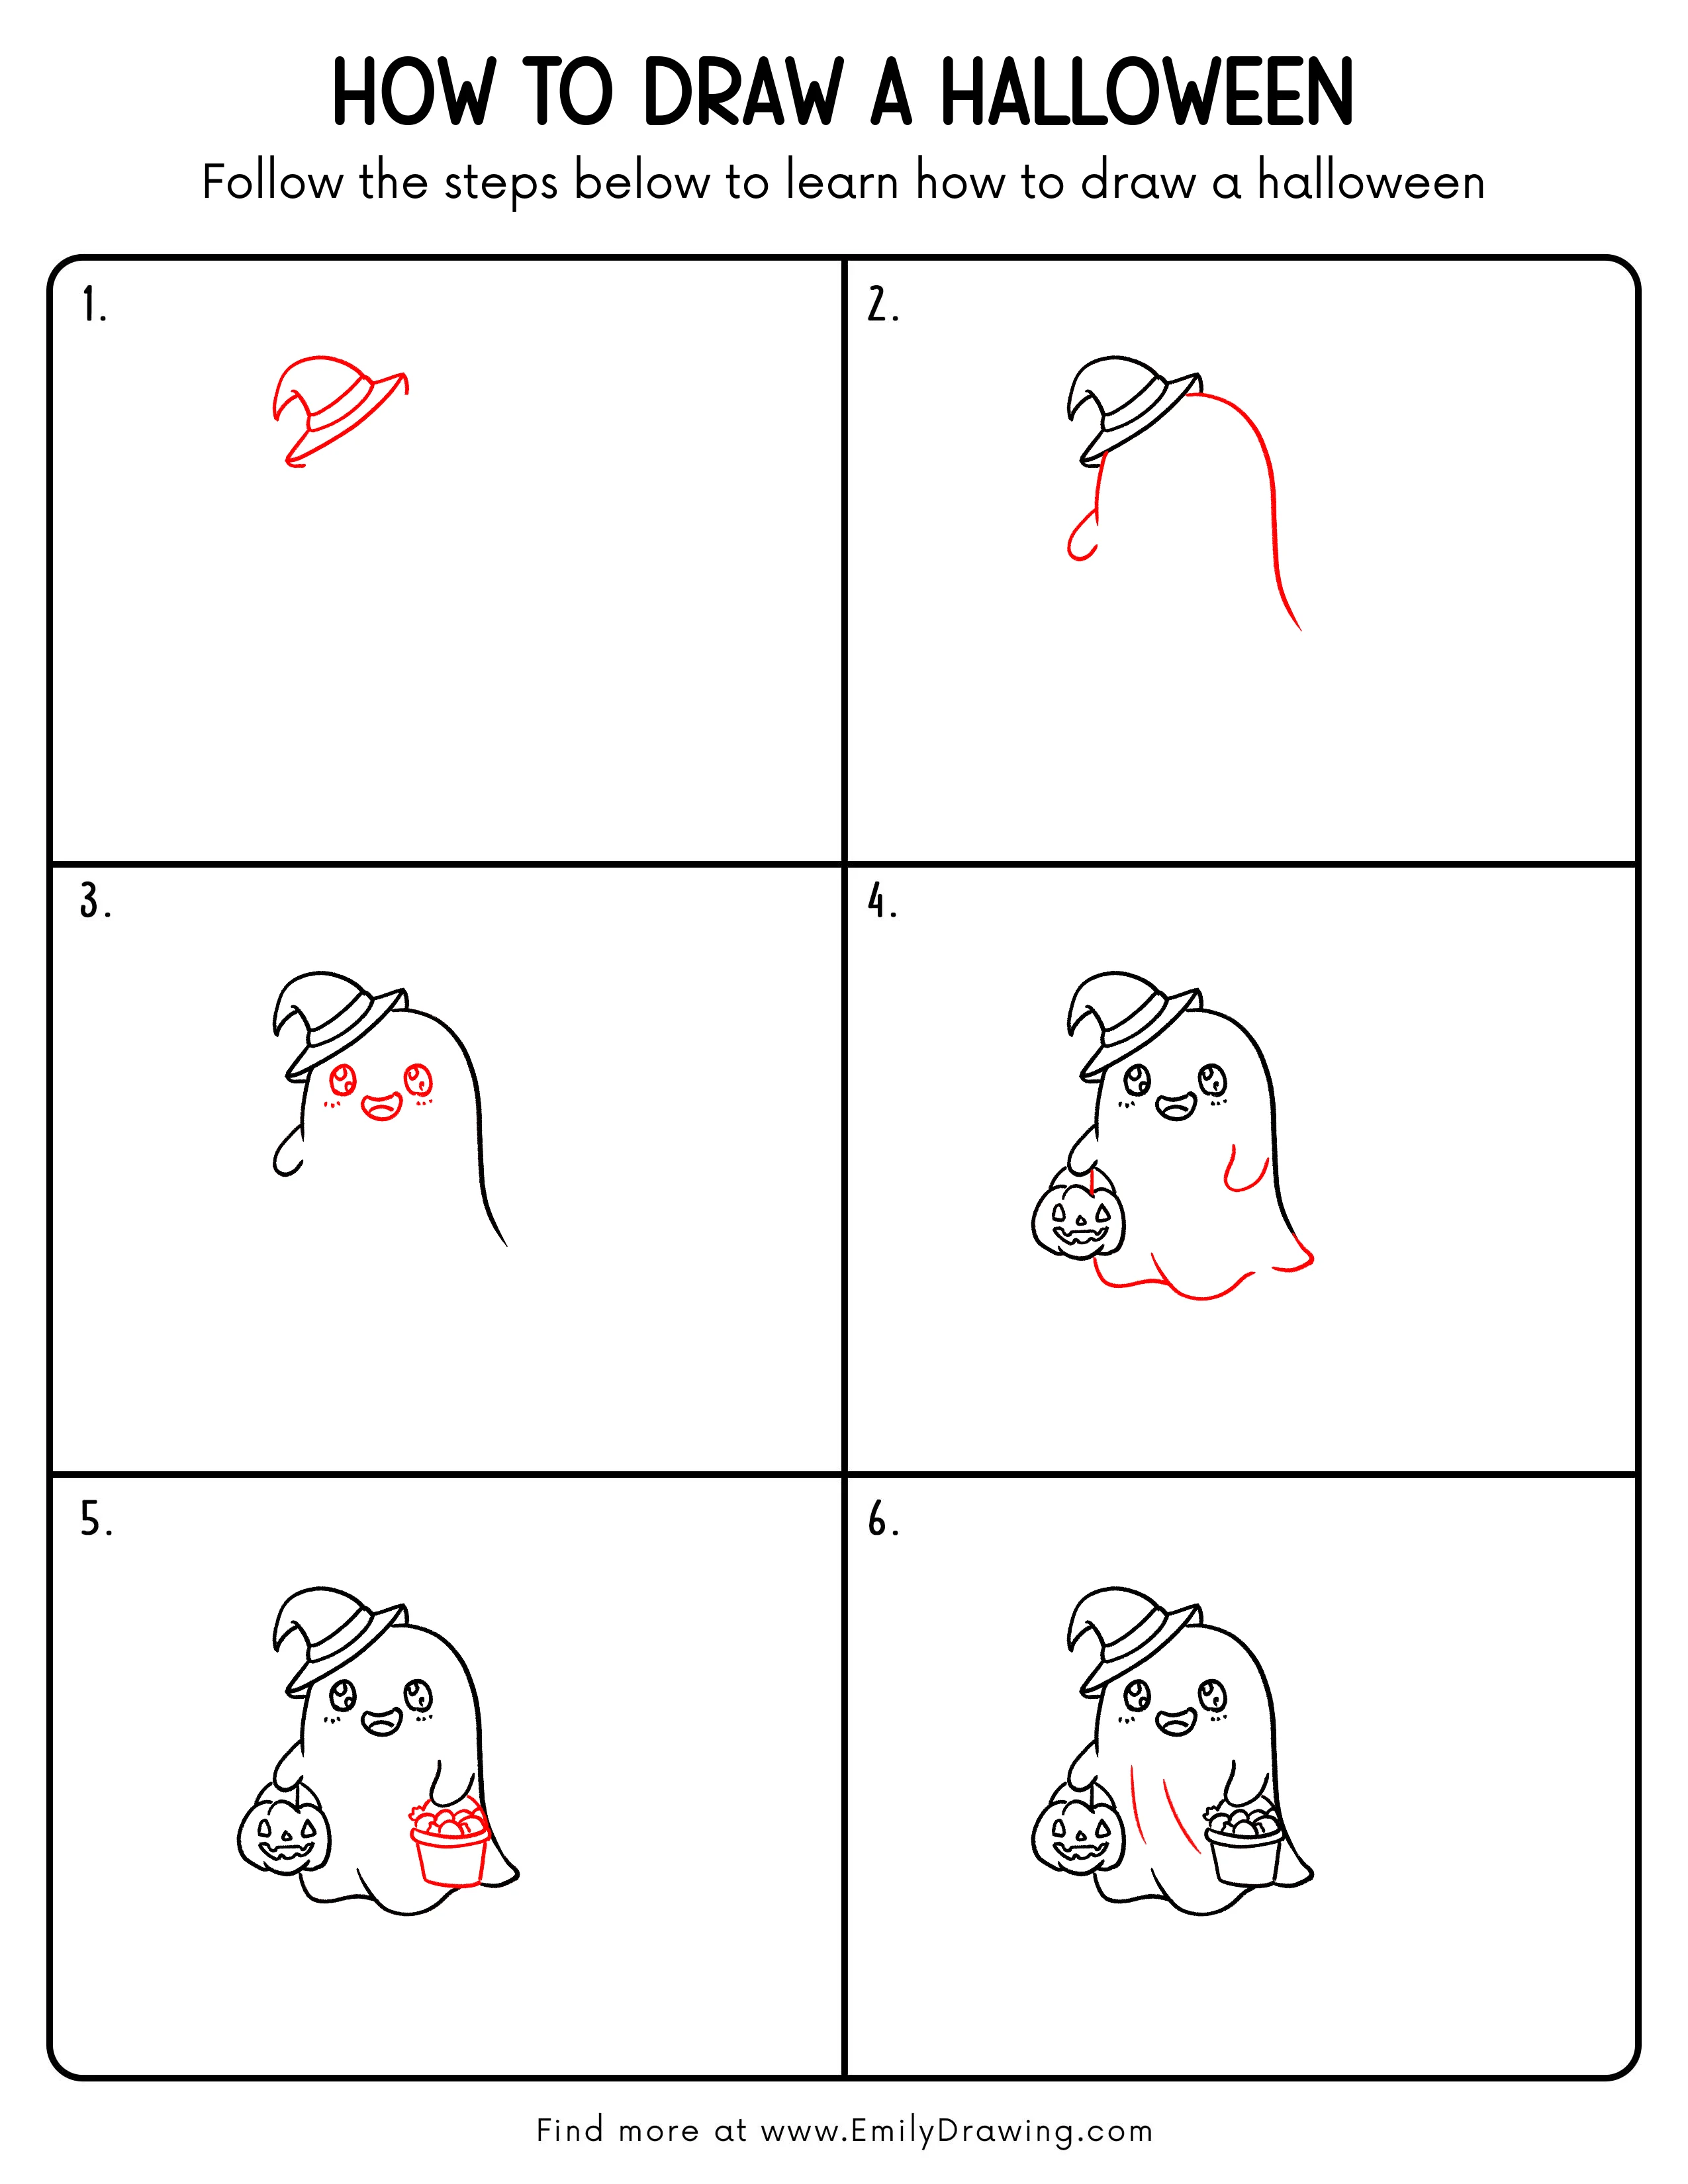
Step-by-Step Drawing Guide
Step 1: Block in the Hat Shape
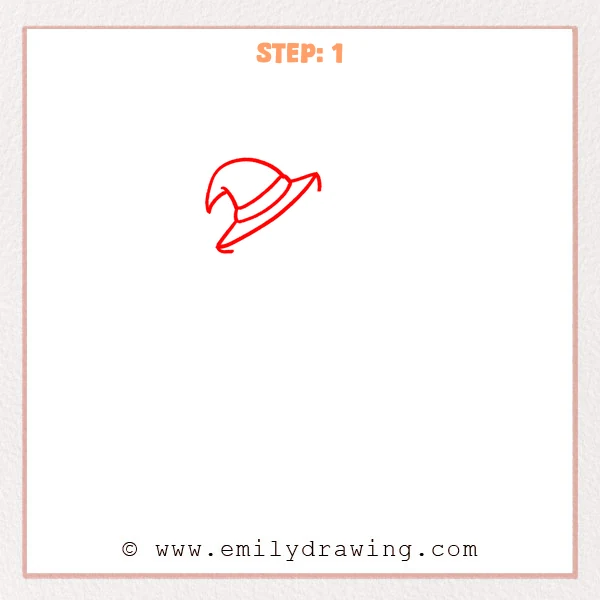
Start with a curved dome for the hat, letting the top lean to one side.
Add a long, sweeping arc underneath for the brim, then draw a band around the middle to separate the layers.
Pro Tip: Make the brim arc wider than the hat body so it feels properly spread out.
Step 2: Add the Flowing Cloak Outline
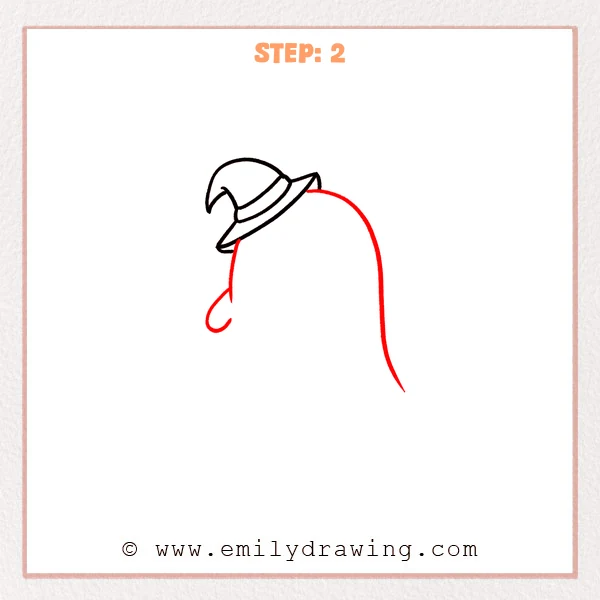
From beneath the right side of the brim, pull a long curved line downward like a hanging cloak.
Add a shorter inner edge on the left, then curl a small hook at the bottom for a playful halloween feel.
Pro Tip: Keep the outer line longer and smoother, and place the inner line closer to show thickness.
Step 3: Add a Cute Face
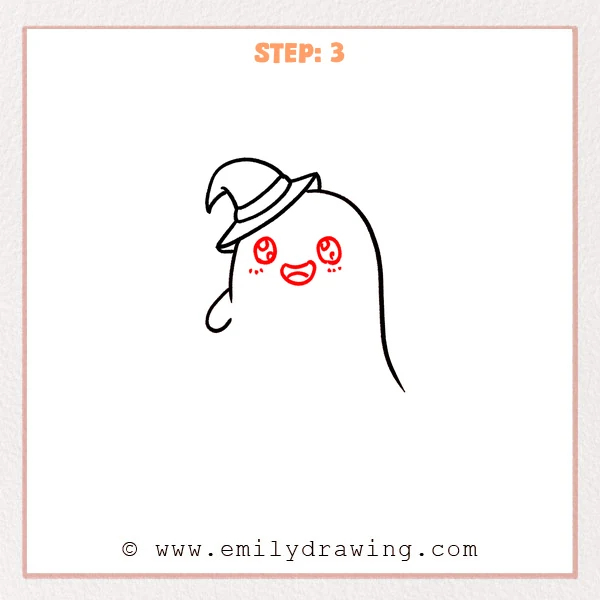
Draw two large round eyes on the upper cloak, then add small swirl shapes inside for a halloween magic look.
Add an open smiling mouth in the center, and draw a small inner curve to show the inside of the mouth.
Pro Tip: Lightly mark both eye positions first so they sit at the same height.
Step 4: Add Arms and a Pumpkin Treat Bucket
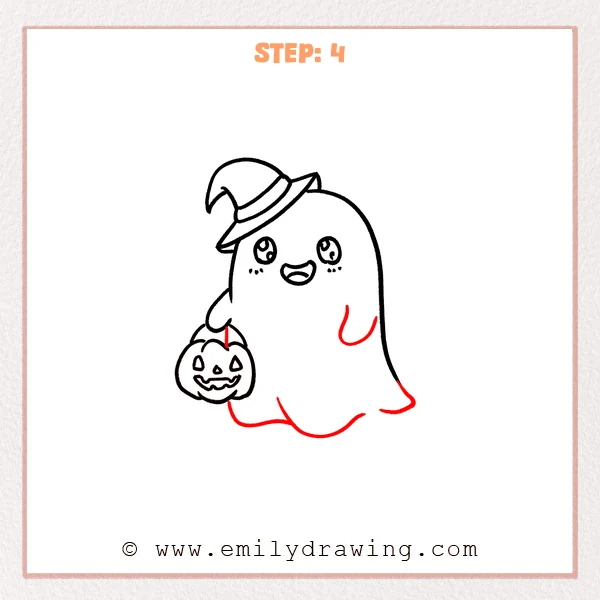
Draw a small curved arm on the left, then add a short handle line where it holds something.
Sketch a round pumpkin bucket and add triangle eyes and a jagged mouth like a halloween jack-o’-lantern.
Pro Tip: Make the pumpkin bucket slightly bigger than the hand so it reads clearly.
Step 5: Add a Second Candy Bucket
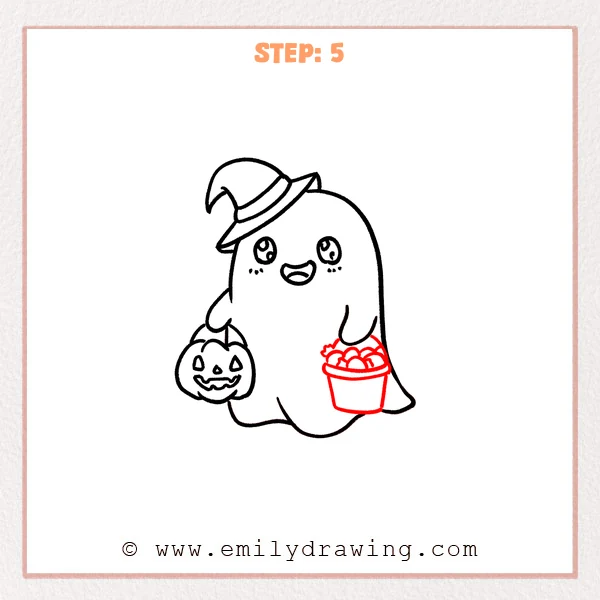
Under the right arm, draw a small bucket shape, then add a thick rim around the top.
Fill the opening with a pile of round candies and little wrapped shapes so it looks packed.
Pro Tip: Vary the candy sizes a bit so the pile feels more natural.
Step 6: Add Drapery Fold Lines
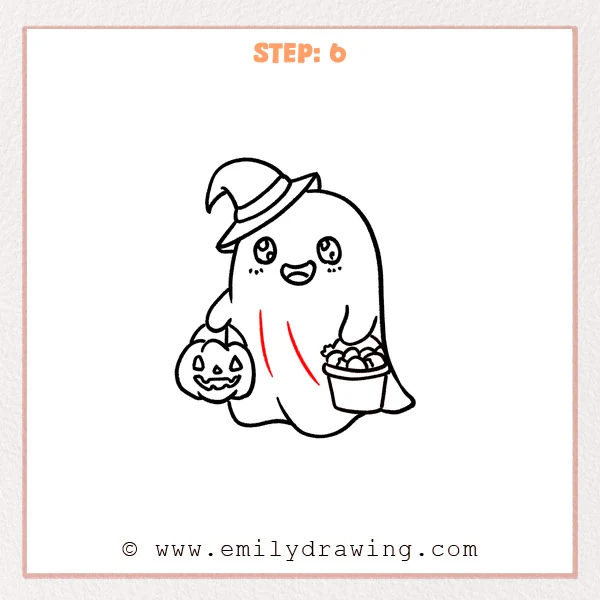
Lightly draw two curved lines down the front to suggest hanging fabric folds.
Let each line narrow slightly, then relax again as it goes down for a flowing halloween cloak feel.
Pro Tip: Keep fold lines light and few—two or three is enough.
Step 7: Color in your drawing!
Fun Facts
- Ghosts are a classic halloween symbol because spooky stories often feature friendly or scary spirits.
- Jack-o’-lantern faces are inspired by carved pumpkins used as glowing decorations.
- Simple curved lines can make a character look soft, cute, and floaty.
Pin it now, Draw later!
Trace your favorite lines with a fineliner once everything looks balanced.
Erase extra sketch marks, then add color if you like—orange for the pumpkin and dark tones for the hat look great.
Try drawing a second halloween ghost with a different hat tilt or a new candy bucket.
Get the FREE Printable Drawing Guide
FREE Download Printable Halloween Drawing Tutorial
Frequently Asked Questions
How do I make the ghost look more like it is floating?
Lift the bottom hem higher on one side and keep the curves smooth and light.
What if my hat looks crooked in a bad way?
Redraw the brim as one clean arc and align the band to match the hat’s tilt.
Can I simplify the candy bucket?
Yes—draw fewer candy circles and keep just one or two wrapped shapes.