Learn how to draw a guitar with a curved body and narrow neck. This drawing for beginners combines flowing curves with straight details.
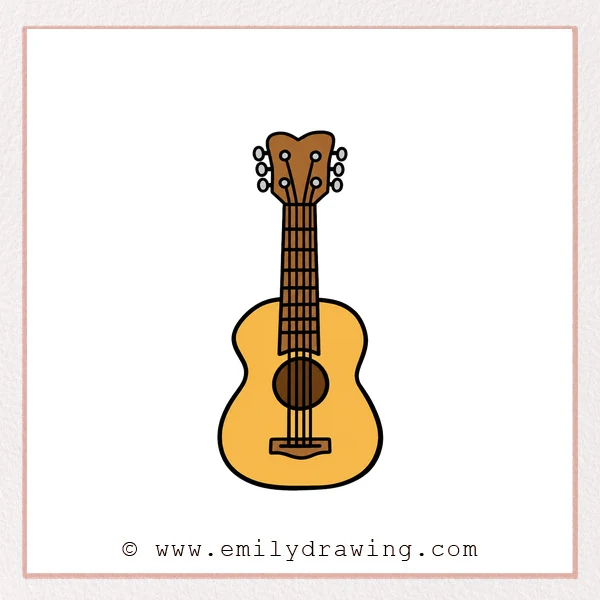
This easy drawing tutorial breaks the shapes into six manageable stages. Follow the step by step drawing at your own pace.
What You Will Need
- Drawing paper
- A pencil and eraser
- Colored pencils or crayons, if desired
Here are my RECOMMENDED Art Supplies!
- Crayola Coloring Set (140 Pieces – Mega Value!)
- 24 Colored Crayon Set
- A4 Printer Paper
- Crayola Coloring Pencils
- HP Home Printer with Instant Ink!
Time needed:
30 minutes.
Step-by-Step Drawing Guide
Step 1: Draw the Headstock
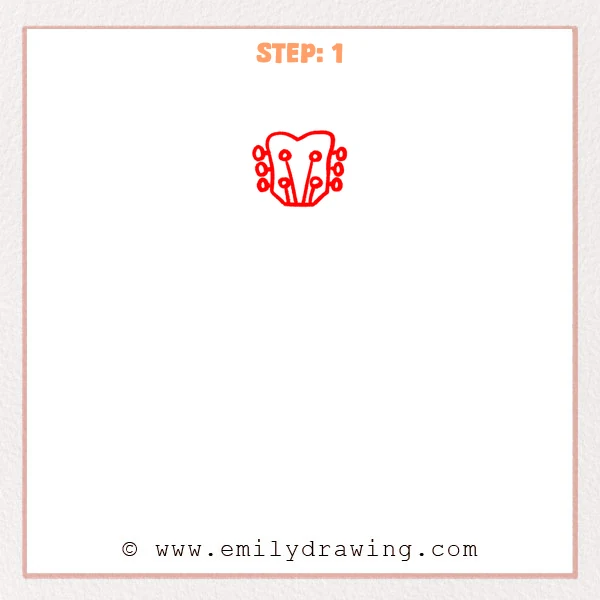
Outline a short headstock with curved upper corners and a shallow top notch. Add three oval tuning keys per side and four circles with lines inside.
Pro Tip: Leave plenty of paper below the headstock for the guitar.
Step 2: Extend the Neck
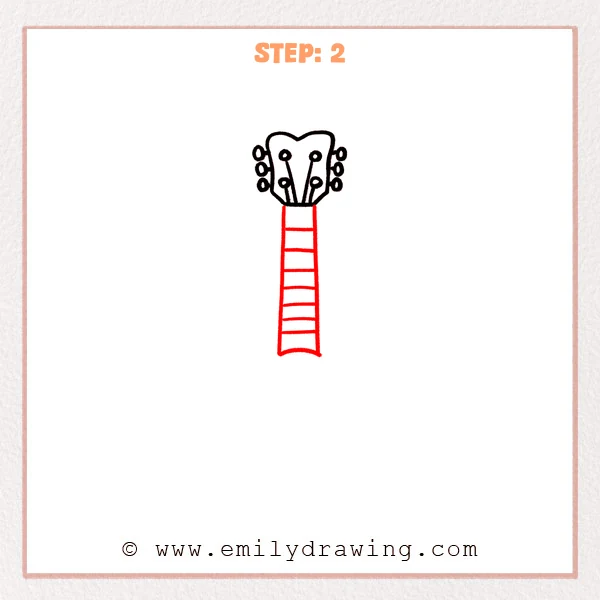
Draw two long, nearly parallel lines downward from the headstock. Join their bottoms with a shallow curve and add seven crosswise fret lines.
Pro Tip: Keep each fret line within the neck edges.
Step 3: Outline the Body
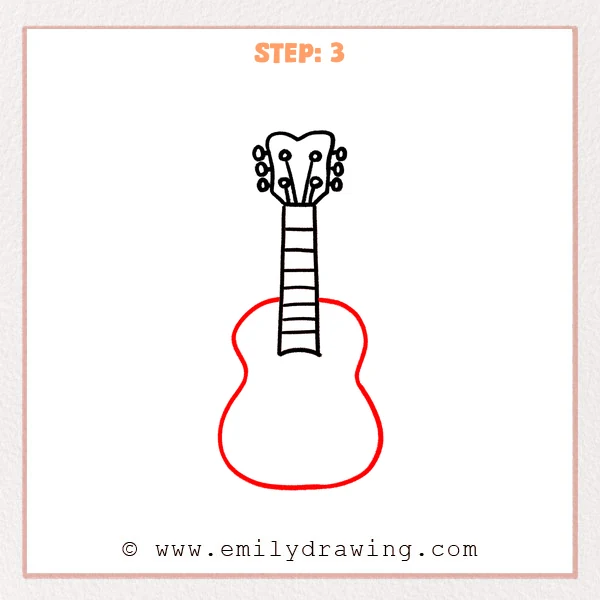
Curve outward from both sides of the lower neck. Narrow the middle, then widen the bottom and join the curves underneath.
Pro Tip: Make the lower body wider than the upper shoulders.
Step 4: Add the Sound Hole
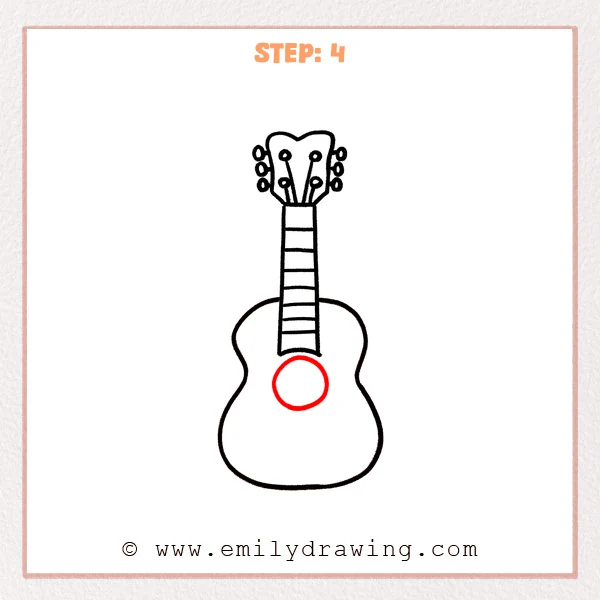
Draw a circle directly below the end of the neck. Keep the circle inside the narrow middle of the body.
Pro Tip: Lightly mark the circle center before drawing its outline.
Step 5: Draw the Bridge
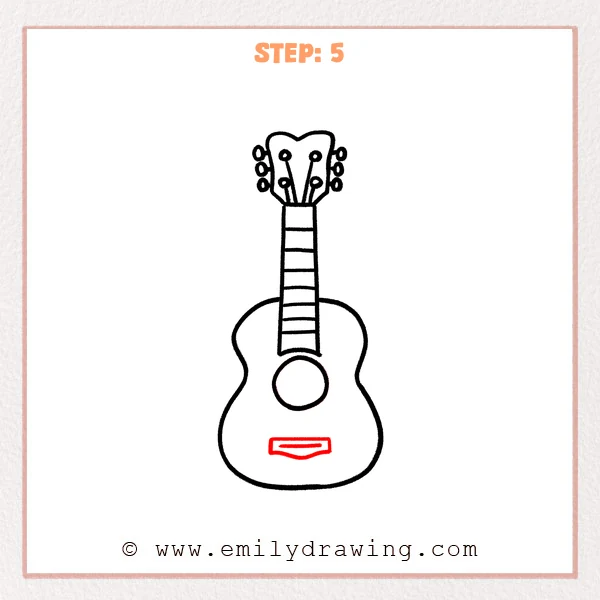
Draw a low bridge shape beneath the sound hole. Give its bottom a slight central point and add a horizontal slot inside.
Pro Tip: Align the bridge center with the neck and sound hole.
Step 6: Stretch the Strings
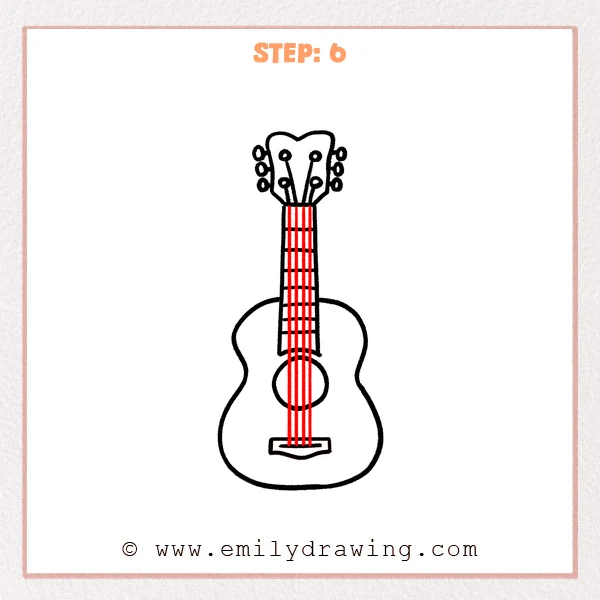
Draw four long strings from the headstock base to the bridge slot. Carry them straight across the neck frets and sound hole.
Pro Tip: Use a ruler lightly if the long strings feel difficult.
Step 7: Color in your drawing!
Fun Facts
- The guitar drawing uses a narrow waist to separate its two rounded body sections.
- The strings overlap the sound hole, creating a clear sense of layering.
Pin it now, Draw later!
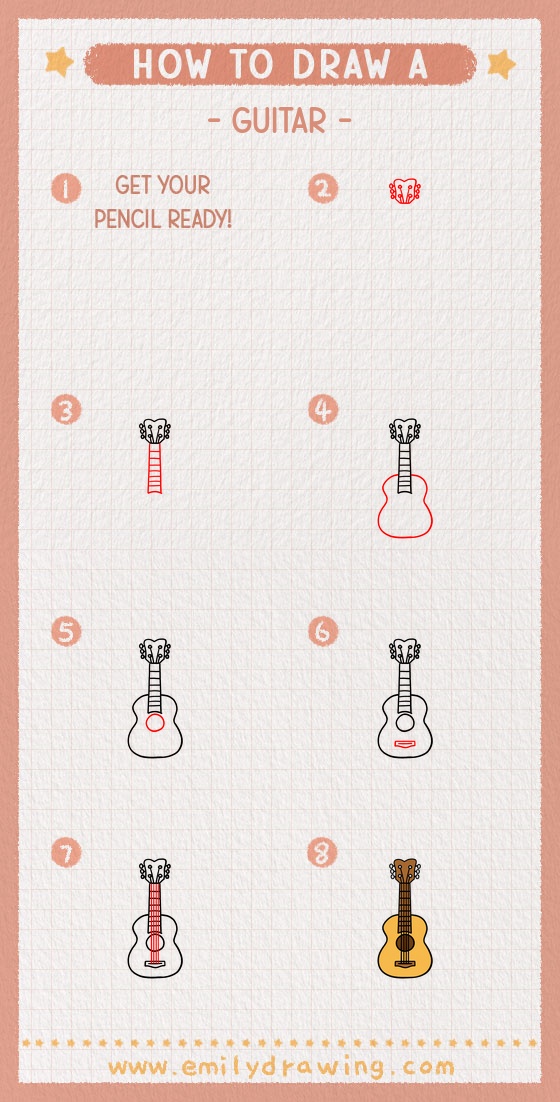
Your guitar now has a headstock, fretted neck, sound hole, bridge, and strings. Color the body lightly so the strings remain easy to see. Try another guitar drawing with a decorative body pattern.
Get the FREE Printable Drawing Guide
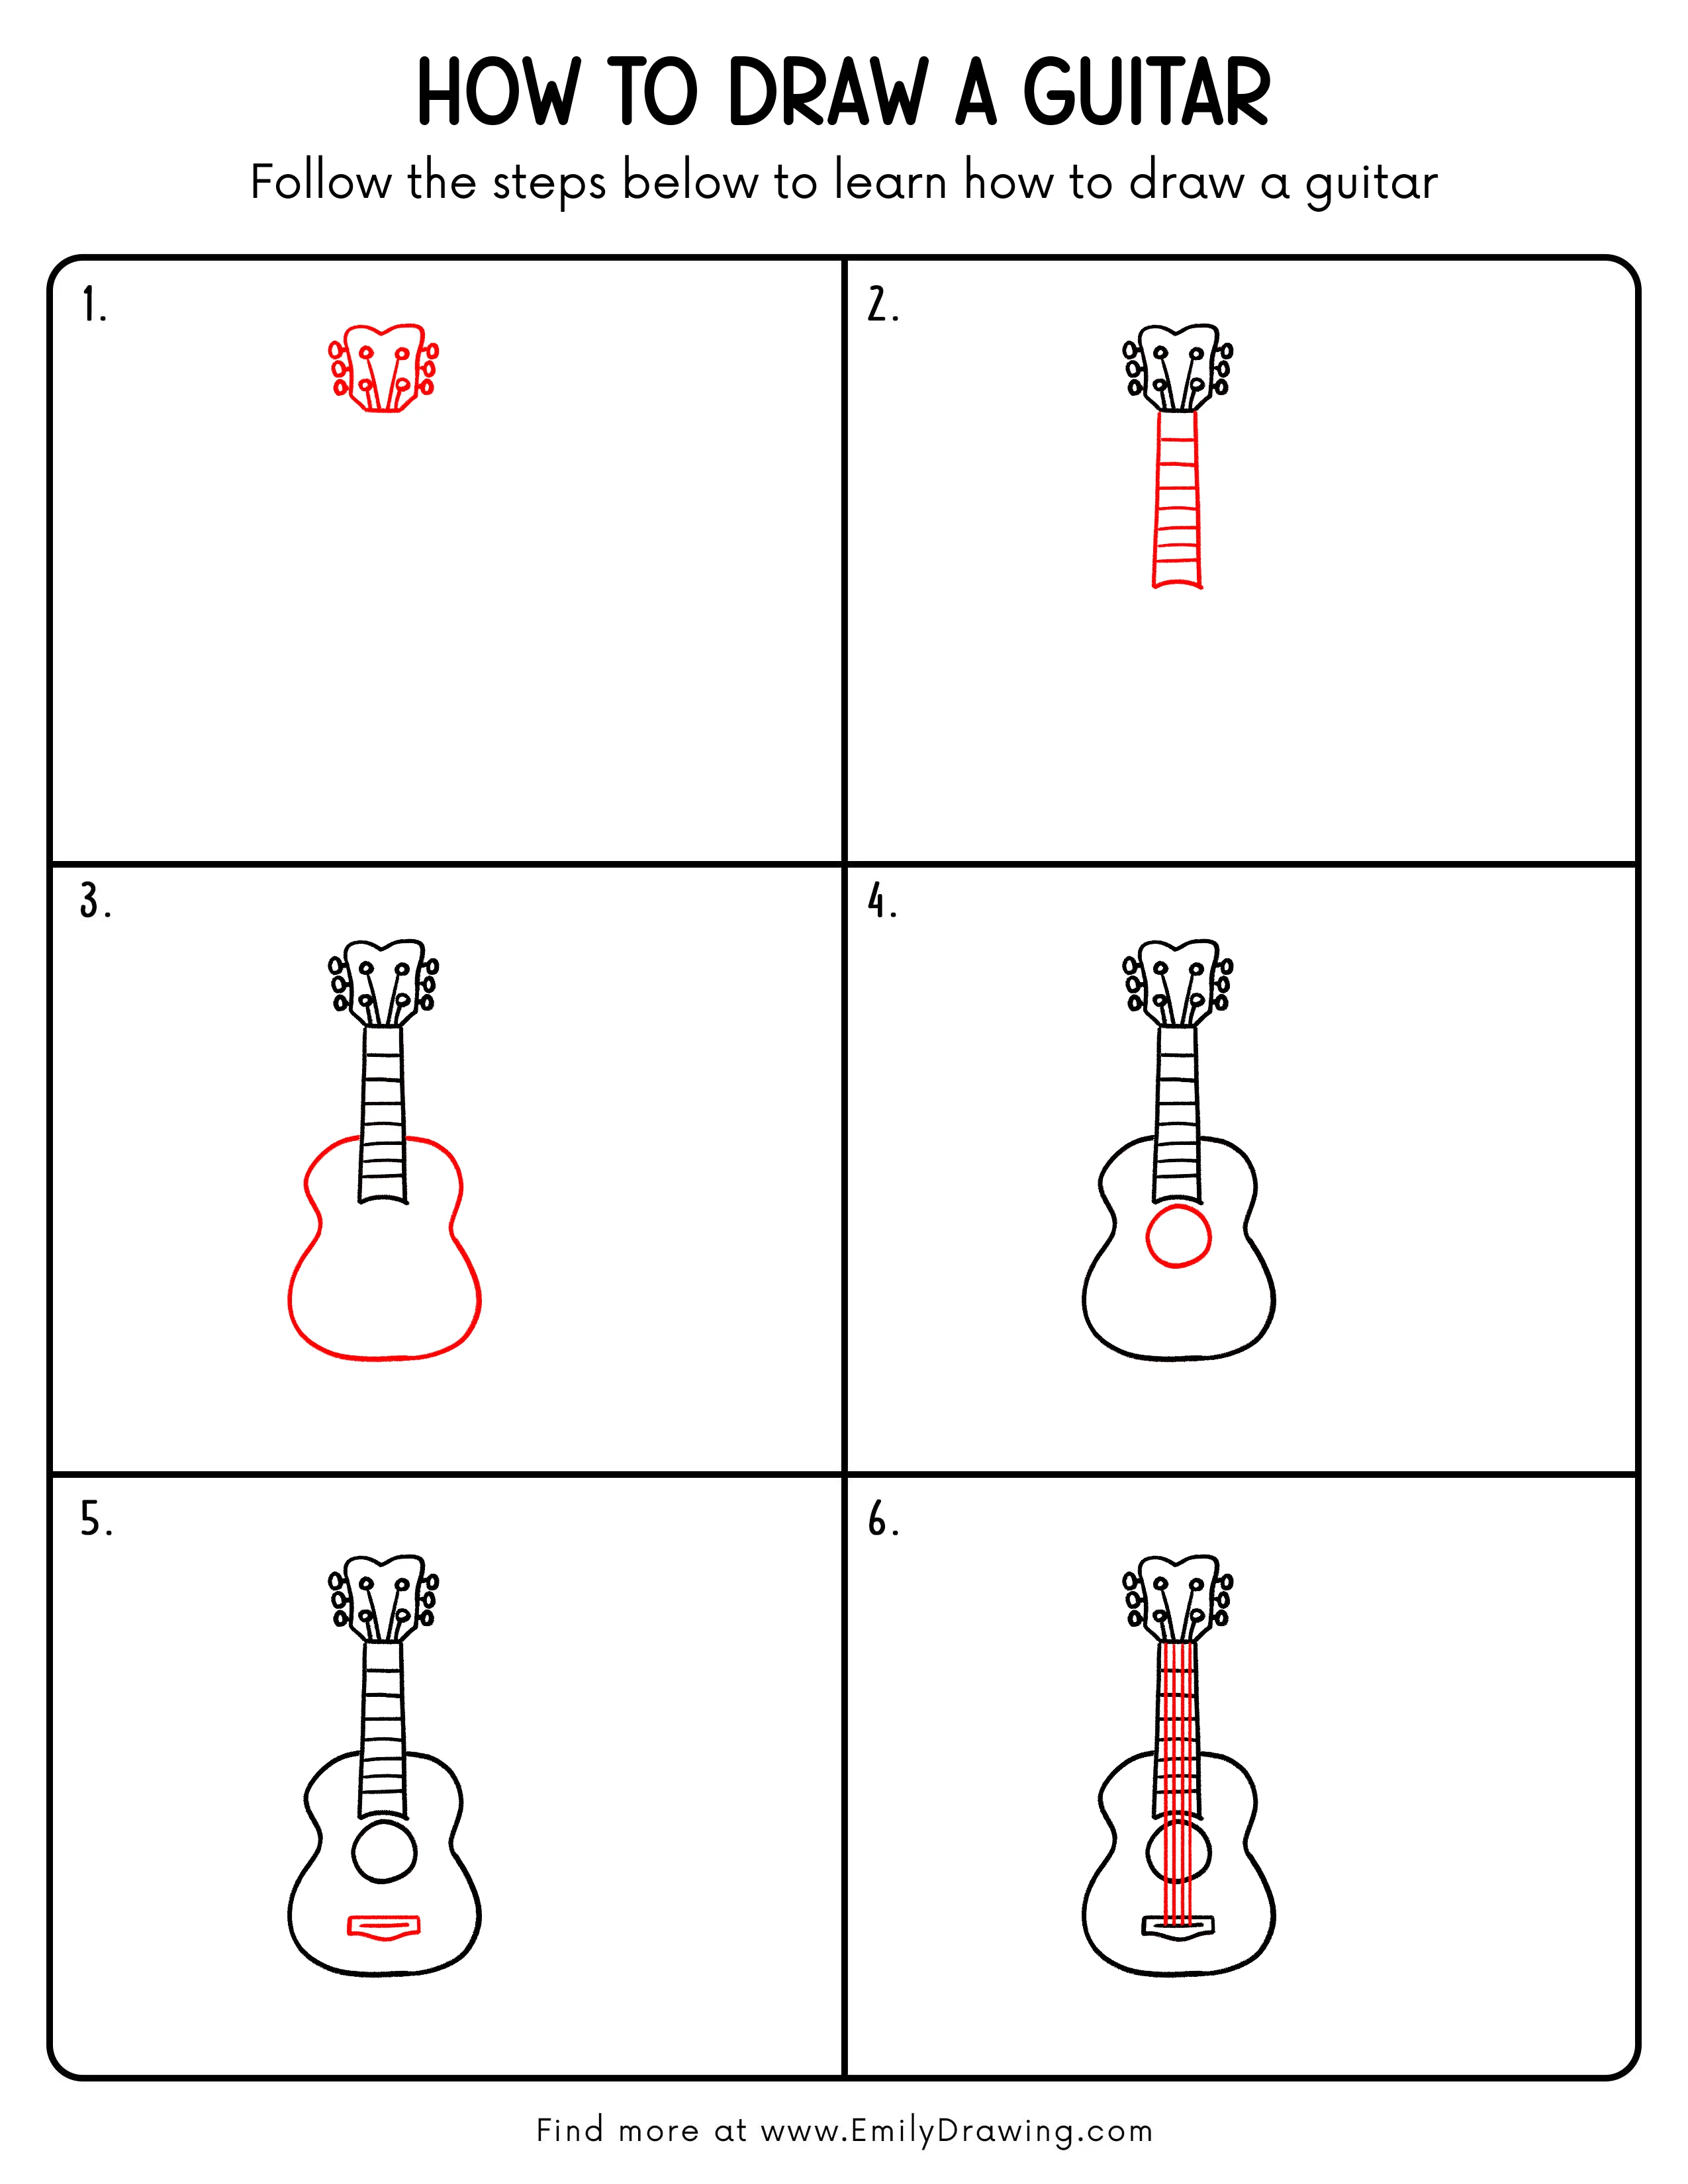
FREE Download Printable Guitar Drawing Tutorial
Frequently Asked Questions
How do I keep the guitar body even?
Use the neck as a center guide and compare both sides as you draw.
Must I add more strings to this guitar?
You can follow the four visible strings in this simplified design, or adapt the details later.