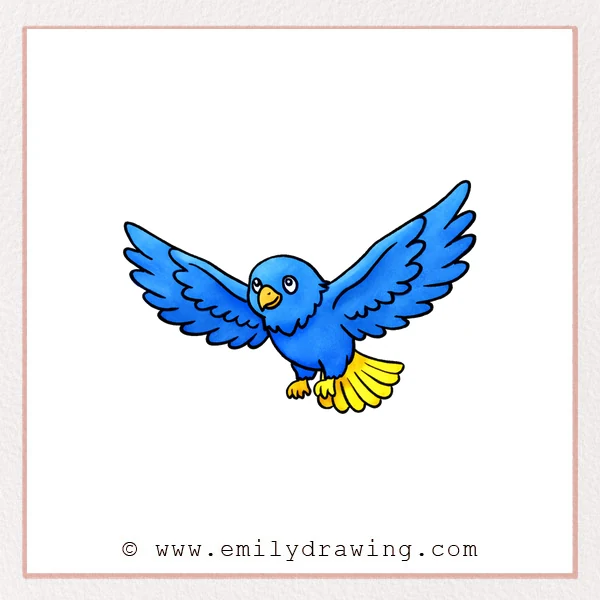
Drawing a flying eagle can feel big at first, but this easy drawing tutorial keeps each part simple and clear. In this step by step drawing guide, you will build the eagle slowly, from the face to the wings, tail, and feet. It is a calm way to practice drawing for beginners while creating a strong bird in flight.
What You Will Need
- Drawing paper
- Pencil
- Eraser
- Black pen or marker
- Colored pencils or crayons
Here are my RECOMMENDED Art Supplies!
- Crayola Coloring Set (140 Pieces – Mega Value!)
- 24 Colored Crayon Set
- A4 Printer Paper
- Crayola Coloring Pencils
- HP Home Printer with Instant Ink!
Time needed:
21 minutes.
Step-by-Step Drawing Guide
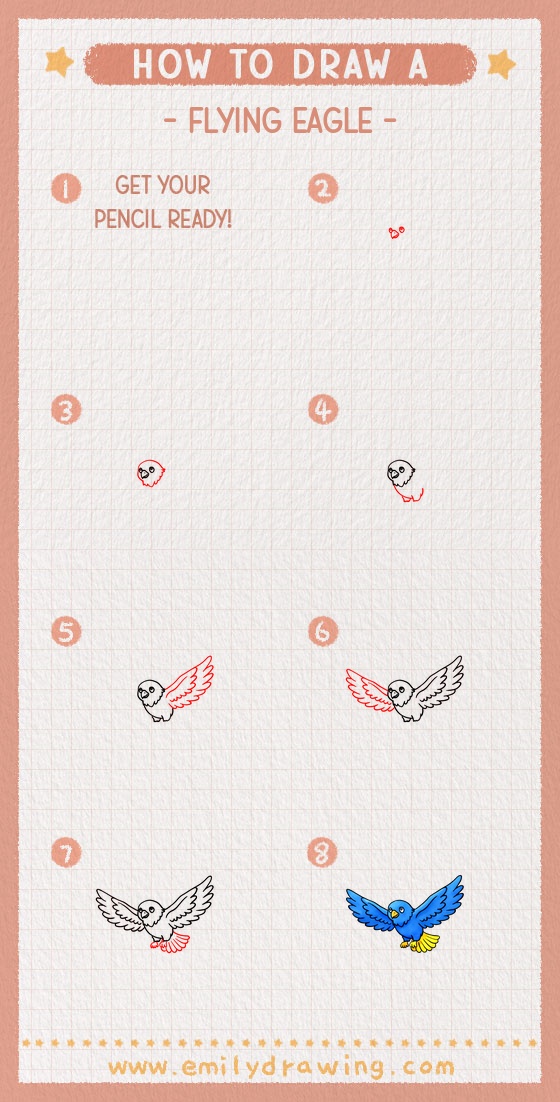
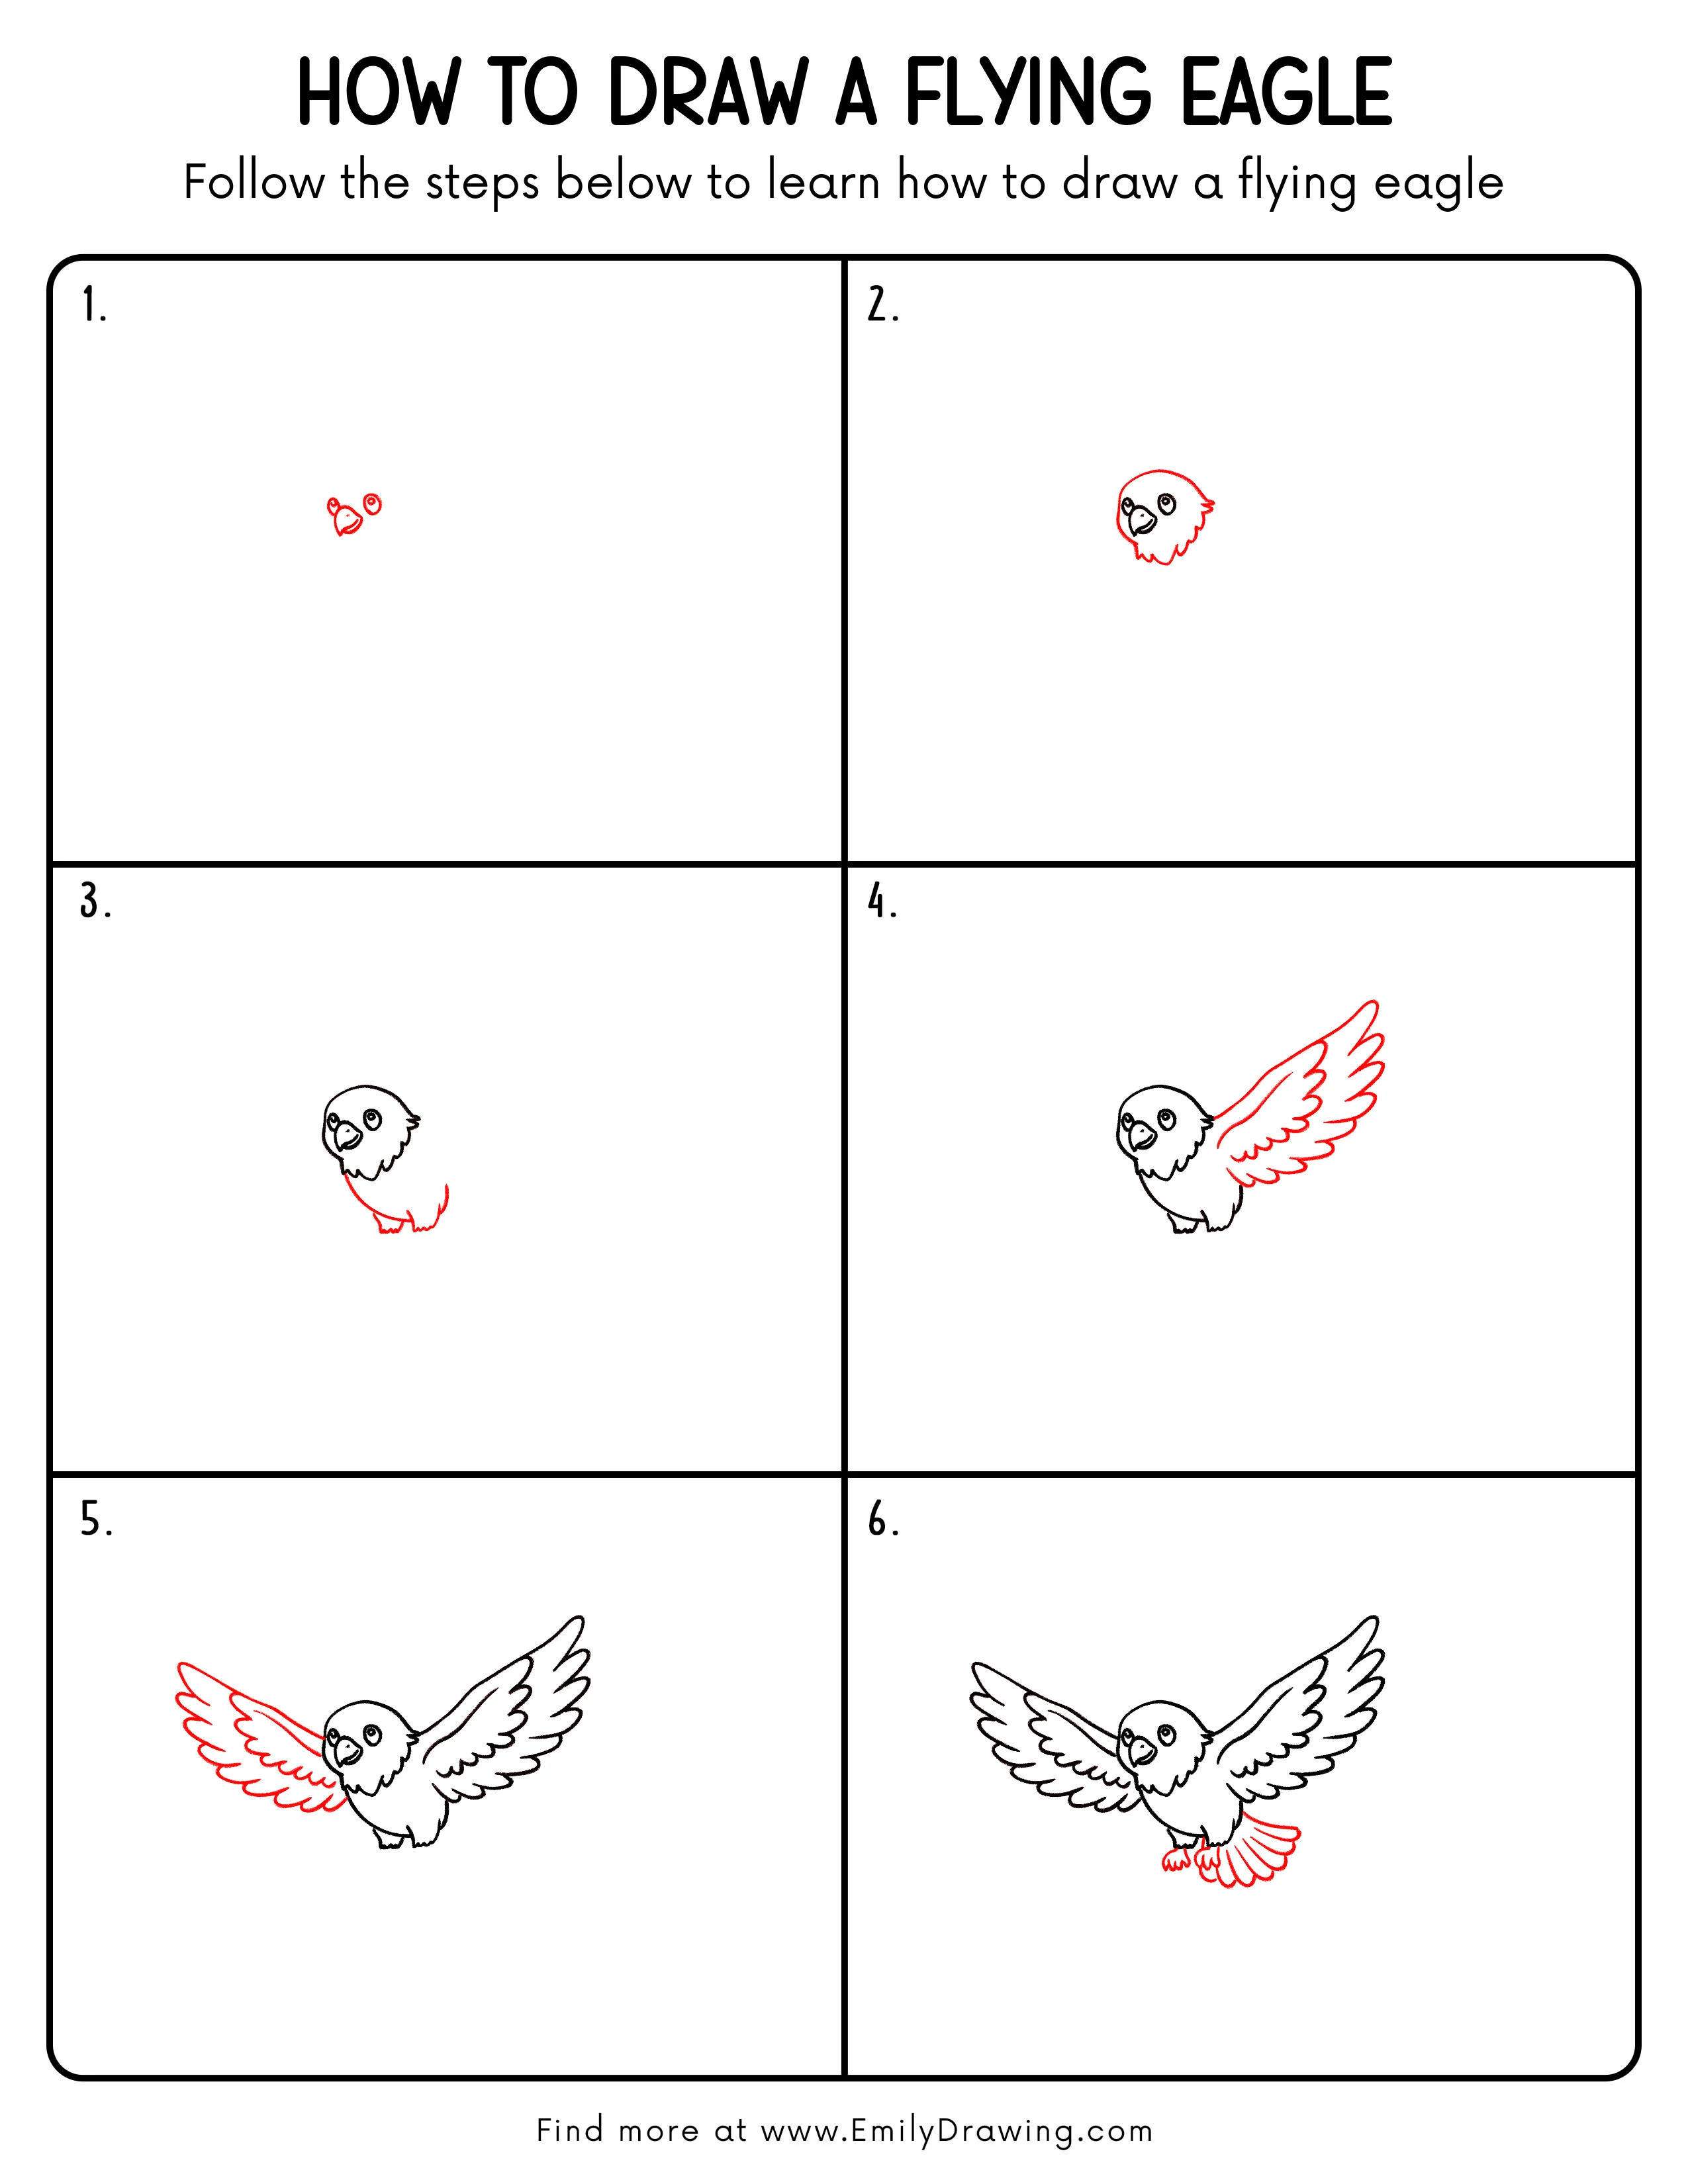
Step 1: Start the Eagle’s Face
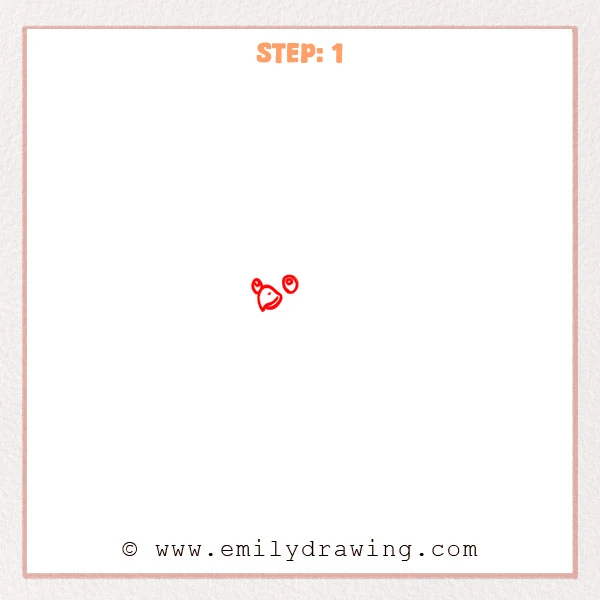
Start with two small circles near the center for the eye placement. Then add a curved, pointed beak shape just below and between them, so the flying eagle begins with a simple face guide.
Pro Tip: Keep the eyes at a similar height so the face feels balanced.
[Alt Text: Early sketch of a flying eagle showing two round eyes and a small curved beak shape in the center.]
Step 2: Add the Head and Feathered Edge
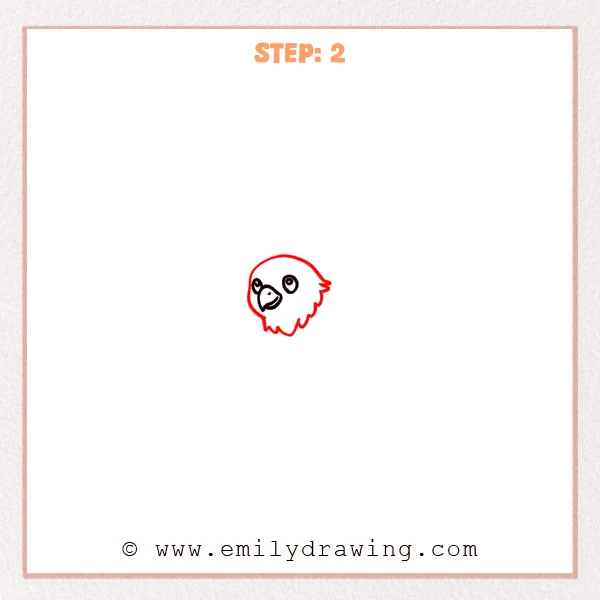
Start around the face and add a rounded outline for the eagle’s head. Then refine the lower edge and back of the head with small pointed feather shapes, so the flying eagle begins to look fuller and more lively.
Pro Tip: Vary the feather points a little so the edge feels more natural.
[Alt Text: Drawing of a flying eagle with the face in place and a rounded head outline added, including small feather points along the lower and back edge.]
Step 3: Add the Body Shape
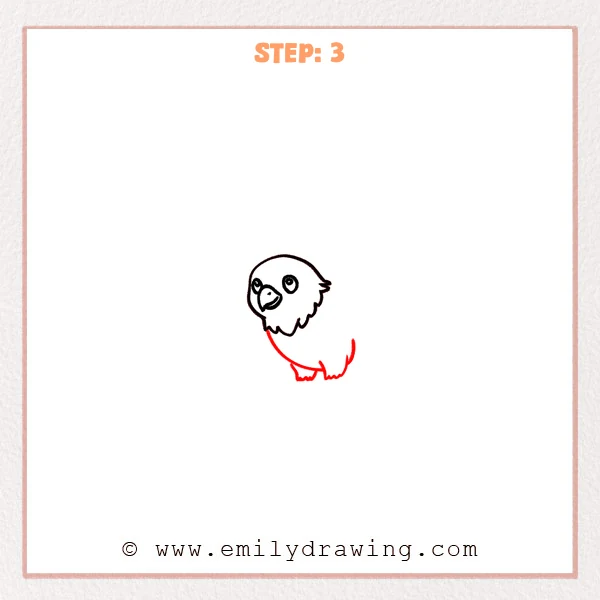
Start under the head and extend a smooth curved line backward to build the body outline. Then add a few uneven feather points along the lower edge, so the flying eagle begins to show a soft chest and belly shape.
Pro Tip: Keep the body line smooth first, then add feathers so the proportions stay easier to control.
[Alt Text: Drawing of a flying eagle with the head complete and a curved body outline added below, including small feather points along the lower body.]
Step 4: Add the Open Wing
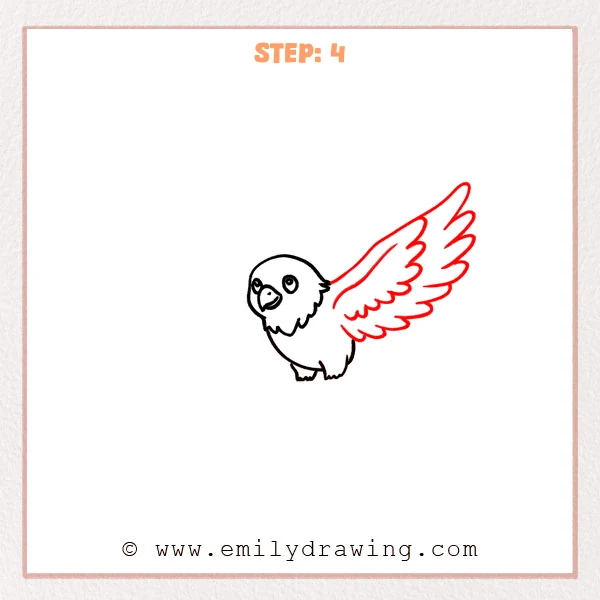
Start from the upper back and extend one large wing upward and outward. Keep the outer edge long and smooth, then add several curved feather sections inside, so the flying eagle begins to look wide, airy, and strong in motion.
Pro Tip: Set the wing’s main direction first, then divide it into feather sections.
[Alt Text: Drawing of a flying eagle with the head and body complete, plus one large raised wing with layered feathers added on the back.]
Step 5: Add the Second Open Wing
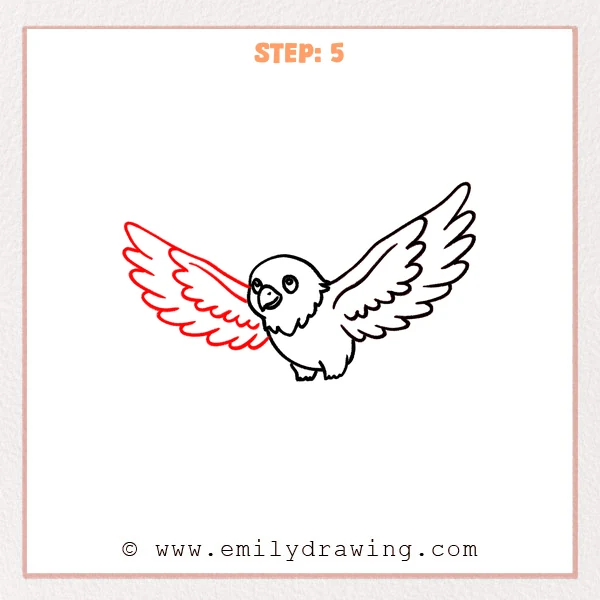
Start from the left side behind the head and add the second wing stretching outward. Keep the outer line broad and lifted, then add layered feather shapes inside, so the flying eagle looks more balanced in the air.
Pro Tip: The wings do not need to match exactly, as long as their size and direction feel close.
[Alt Text: Drawing of a flying eagle with both wings spread open, showing layered feathers on each side and a balanced flying pose.]
Step 6: Add the Tail and Little Feet Details
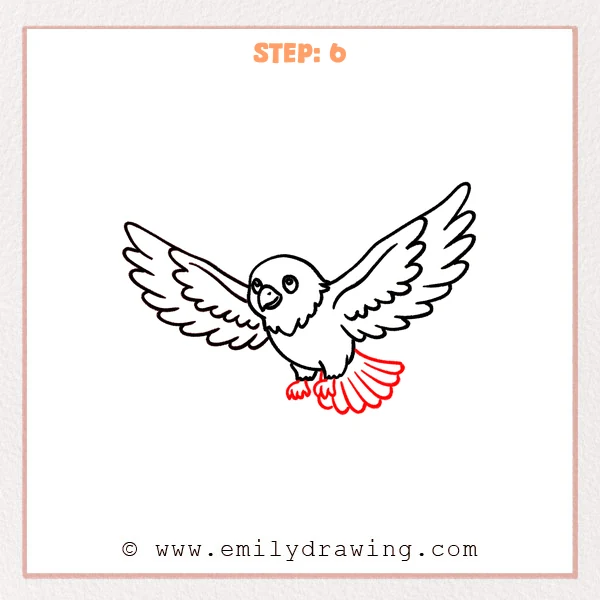
Start at the lower back and open out a fan of tail feathers, so the tail spreads gently in flight. Then refine both small feet with short, rounded toes, so the flying eagle looks more complete and neatly finished.
Pro Tip: Let the tail feathers spread from one base point so the direction stays neat.
[Alt Text: Drawing of a flying eagle with both wings complete, plus a fan-shaped tail and refined small feet added under the body.]
Step 7: Color in your drawing!
Fun Facts
Eagles are known for their strong wings and sharp eyesight. Many eagles can spot movement far below while flying high in the sky. Their wide wings help them glide smoothly through the air.
Pin it now, Draw later!
You have now built a flying eagle step by step, starting with the face and ending with the tail and feet. A few gentle colors, like brown feathers, a golden beak, and soft shading under the wings, can help the drawing feel fuller and more alive. One common beginner mistake is making the wings too small for the body, so take your time and keep the wings wide and open. Keep practicing this easy drawing tutorial, and try drawing your eagle in different flying poses next time.
Get the FREE Printable Drawing Guide
FREE Download Printable Flying Eagle Drawing Tutorial
Frequently Asked Questions
Is this flying eagle drawing good for beginners?
Yes. The shapes are simple, and each step adds only one small part at a time.
How can I make the wings look more natural?
Use long curved lines first, then add feather layers over them with gentle changes in size.
Do both wings need to be exactly the same?
No. They only need to feel close in size and direction for the drawing to look balanced.