Learning how to draw a flag can be a calm and simple art activity. This step by step drawing guide shows an easy way to sketch a flag on a pole, making it a friendly drawing for beginners.

What You Will Need
- Drawing paper
- Pencil
- Eraser
- Black pen or marker
- Red, blue, or other coloring tools
Here are my RECOMMENDED Art Supplies!
- Crayola Coloring Set (140 Pieces – Mega Value!)
- 24 Colored Crayon Set
- A4 Printer Paper
- Crayola Coloring Pencils
- HP Home Printer with Instant Ink!
Time needed:
15 minutes.
Step-by-Step Drawing Guide
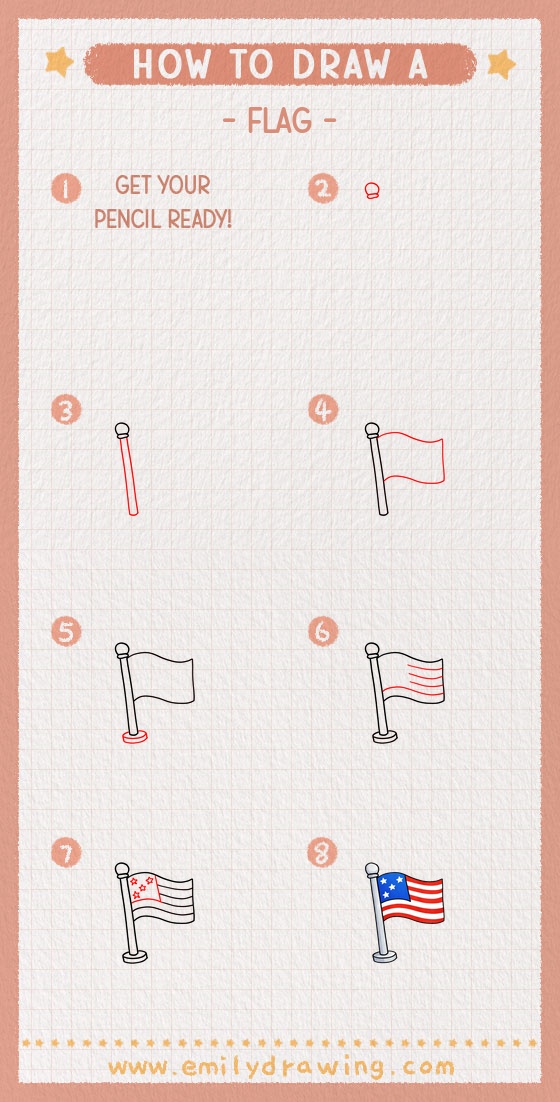
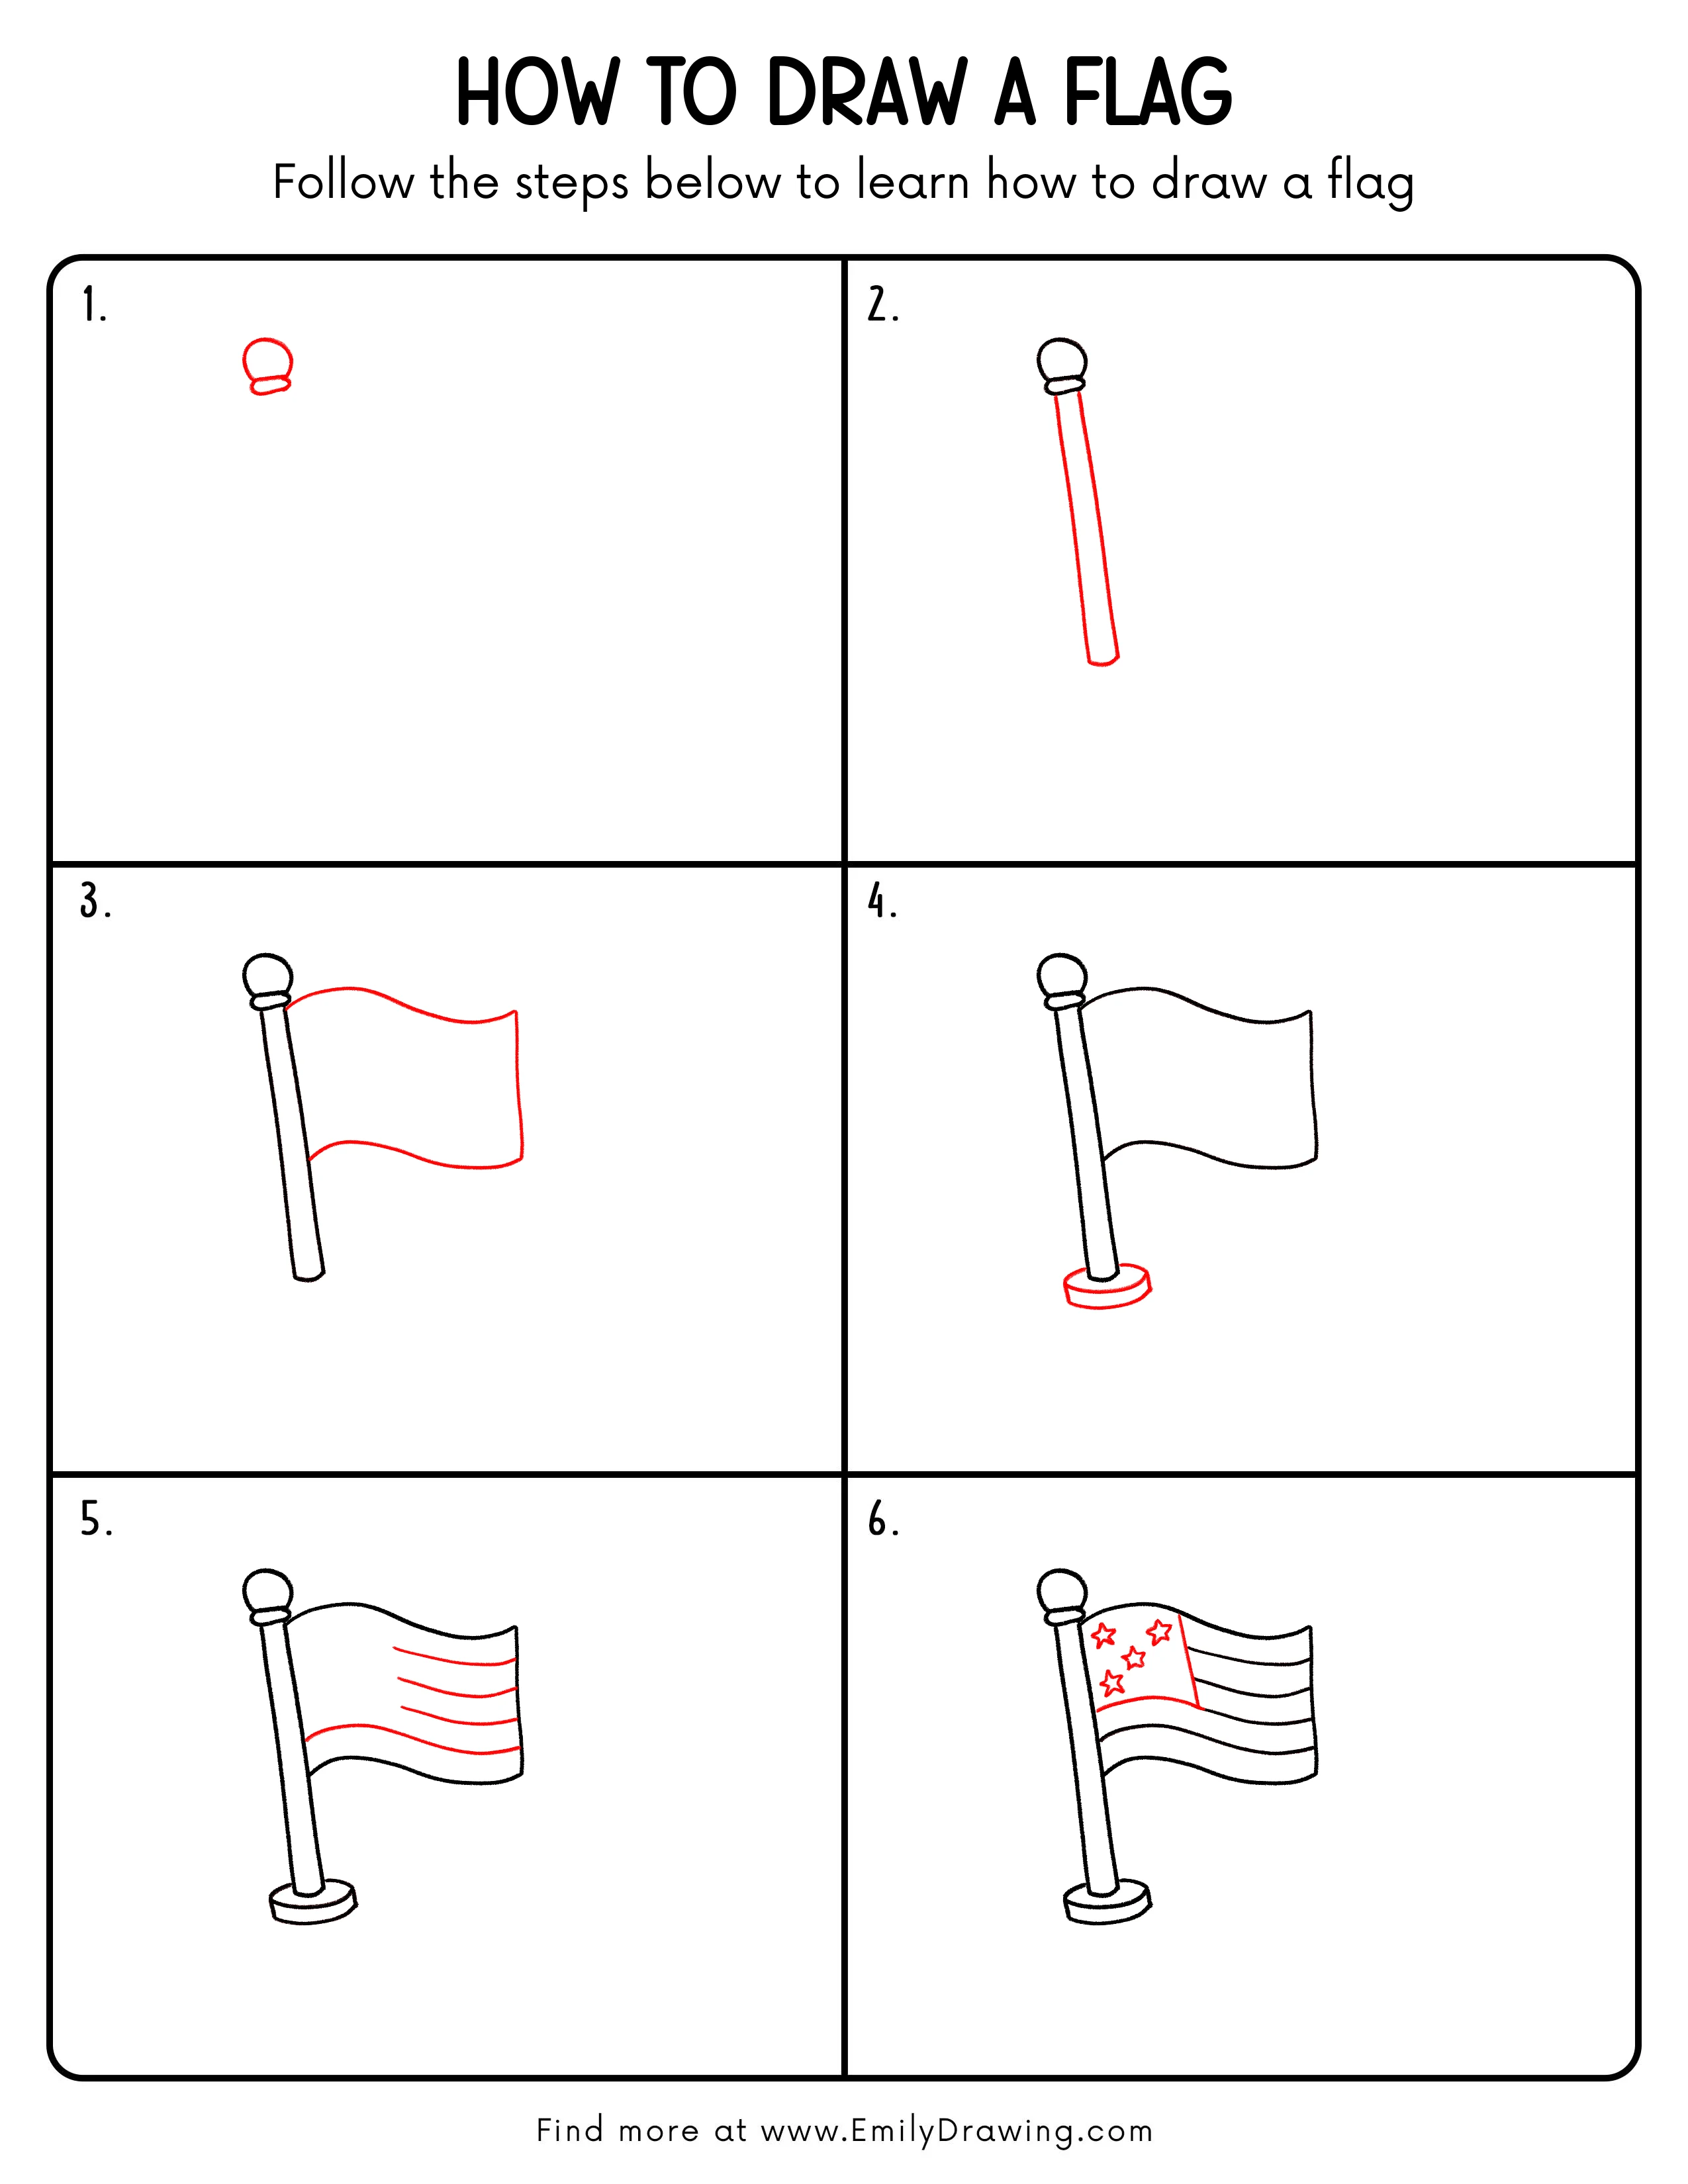
Step 1: Draw the Top of the Flagpole

Start with a rounded shape near the upper-left area for the top piece of the pole. Add a small flat oval underneath it so the top looks neatly connected.
Pro Tip: Use light lines first so it is easier to adjust the size of both shapes.
Step 2: Add the Long Pole
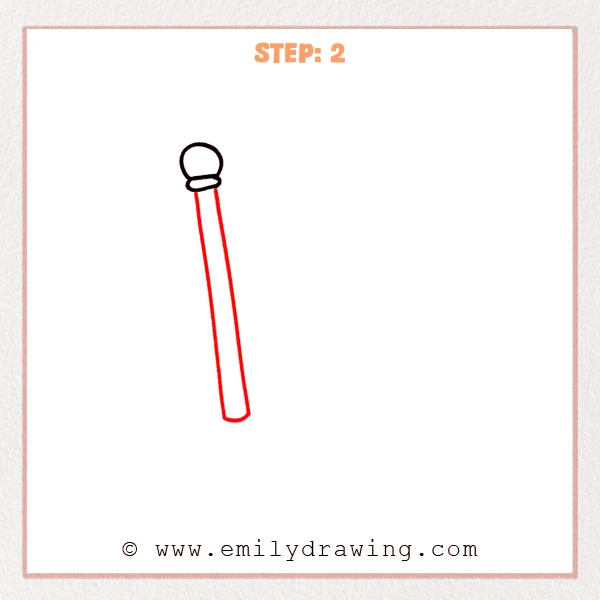
From the small oval, extend two long lines downward to form the flagpole. Let the bottom curve gently closed so the pole looks smooth and complete.
Pro Tip: Keep the two side lines close and nearly parallel so the pole looks steady.
Step 3: Sketch the Waving Flag Shape
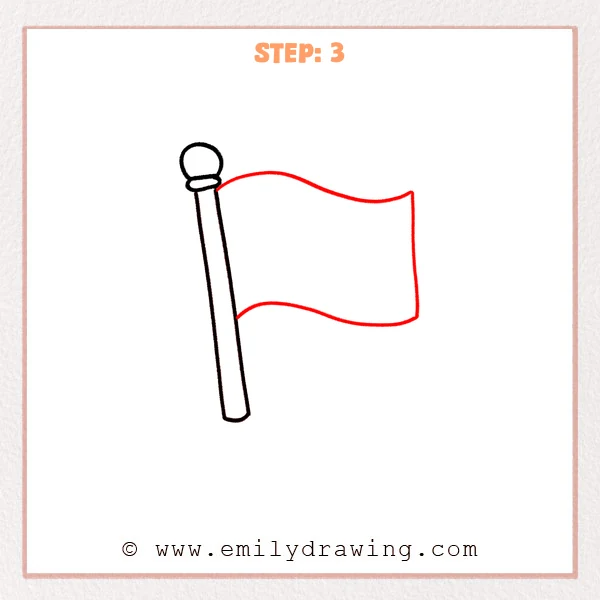
From the right side of the pole, add the top and bottom edges of the flag with soft waves. Close the far right side with a vertical line so the cloth looks like it is moving in the air.
Pro Tip: Let the top and bottom curves flow a little differently to make the fabric feel natural.
Step 4: Draw the Base
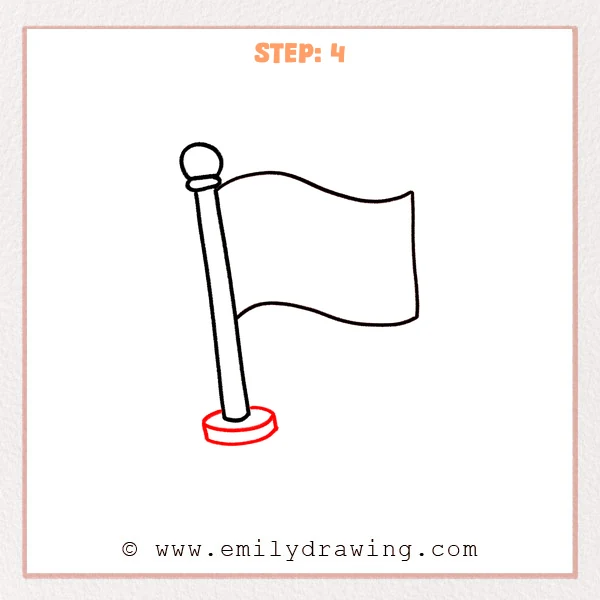
At the bottom of the pole, add a flat oval base. Draw a second curved edge underneath it to give the stand some thickness and help the flag look balanced.
Pro Tip: Make the top oval a little wider so the base feels stronger.
Step 5: Add the Flag Stripes
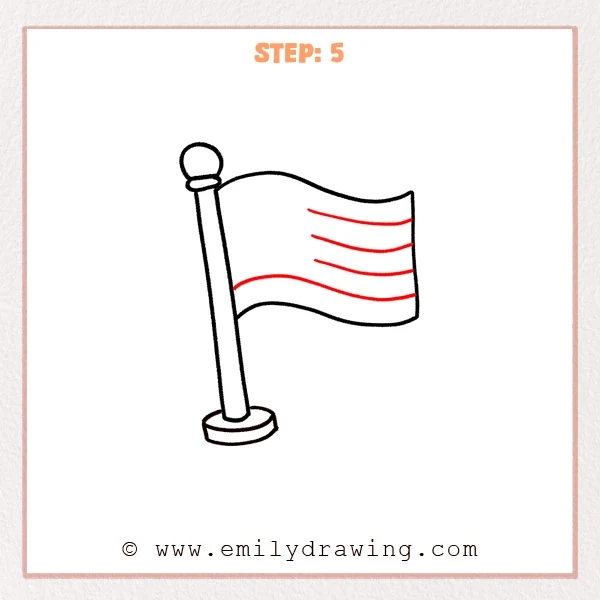
Inside the flag, sketch several curved horizontal lines that follow the same wave as the fabric. Place them with even spacing so the design looks neat and clear.
Pro Tip: Try to keep the gaps between the stripes similar for a tidy result.
Step 6: Add the Top-Left Panel and Stars

Create a separate section in the upper-left part of the flag with one vertical line and one curved dividing line. Then add a few small stars inside that panel to finish the easy flag drawing tutorial.
Pro Tip: Keep the stars close in size, but place them with small gaps so the area does not feel crowded.
Step 7: Color in your drawing!
Fun Facts
- Flags often use simple shapes and colors so they can be recognized from far away.
- Many national flags include stars, stripes, or blocks of color.
- A waving flag is a great way to practice drawing soft fabric curves.
Pin it now, Draw later!
You now have a complete step by step drawing of a flag with a pole, base, stripes, and stars. Add color carefully, and use slightly darker shading along the lower waves to help the cloth look fuller. One common beginner mistake is making the stripes straight instead of letting them follow the flag’s curve. Keep practicing, and try other easy drawing tutorials to build your confidence.
Get the FREE Printable Drawing Guide
FREE Download Printable Flag Drawing Tutorial
Frequently Asked Questions
How do I make my flag look like it is waving?
Use gentle curves for the top, bottom, and stripe lines instead of drawing them straight.
Can beginners draw a flag easily?
Yes. This easy drawing tutorial uses simple shapes and soft lines that are good for beginners.
What should I color first?
Start with the largest areas of the flag, then color the smaller details like stars and the pole top.