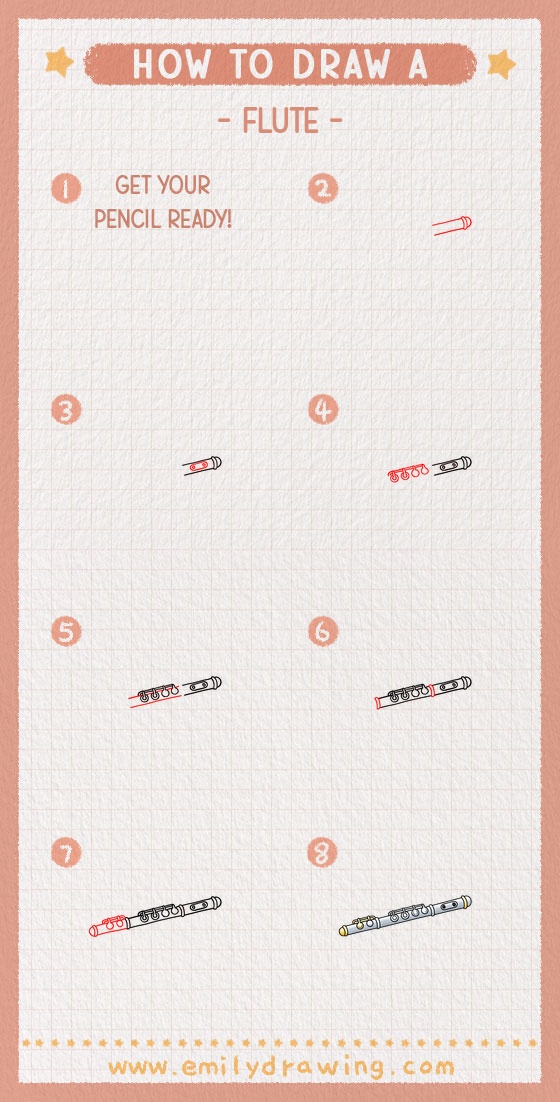
This easy drawing tutorial shows you how to draw a flute in a calm, simple way. You will build the instrument one small section at a time, which makes this step by step drawing guide comfortable for beginners. Take your time with each shape, and let the flute grow steadily across the page.
What You Will Need
- Drawing paper
- Pencil
- Eraser
- Black pen or marker
- Colored pencils or crayons
Here are my RECOMMENDED Art Supplies!
- Crayola Coloring Set (140 Pieces – Mega Value!)
- 24 Colored Crayon Set
- A4 Printer Paper
- Crayola Coloring Pencils
- HP Home Printer with Instant Ink!
Time needed:
14 minutes.
Step-by-Step Drawing Guide
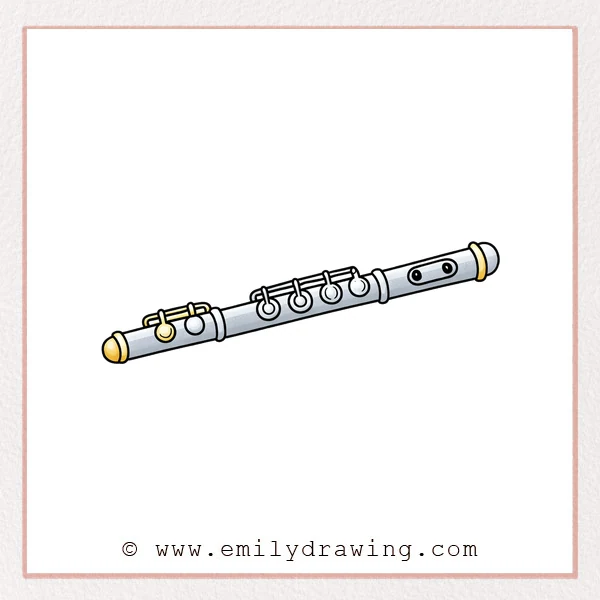
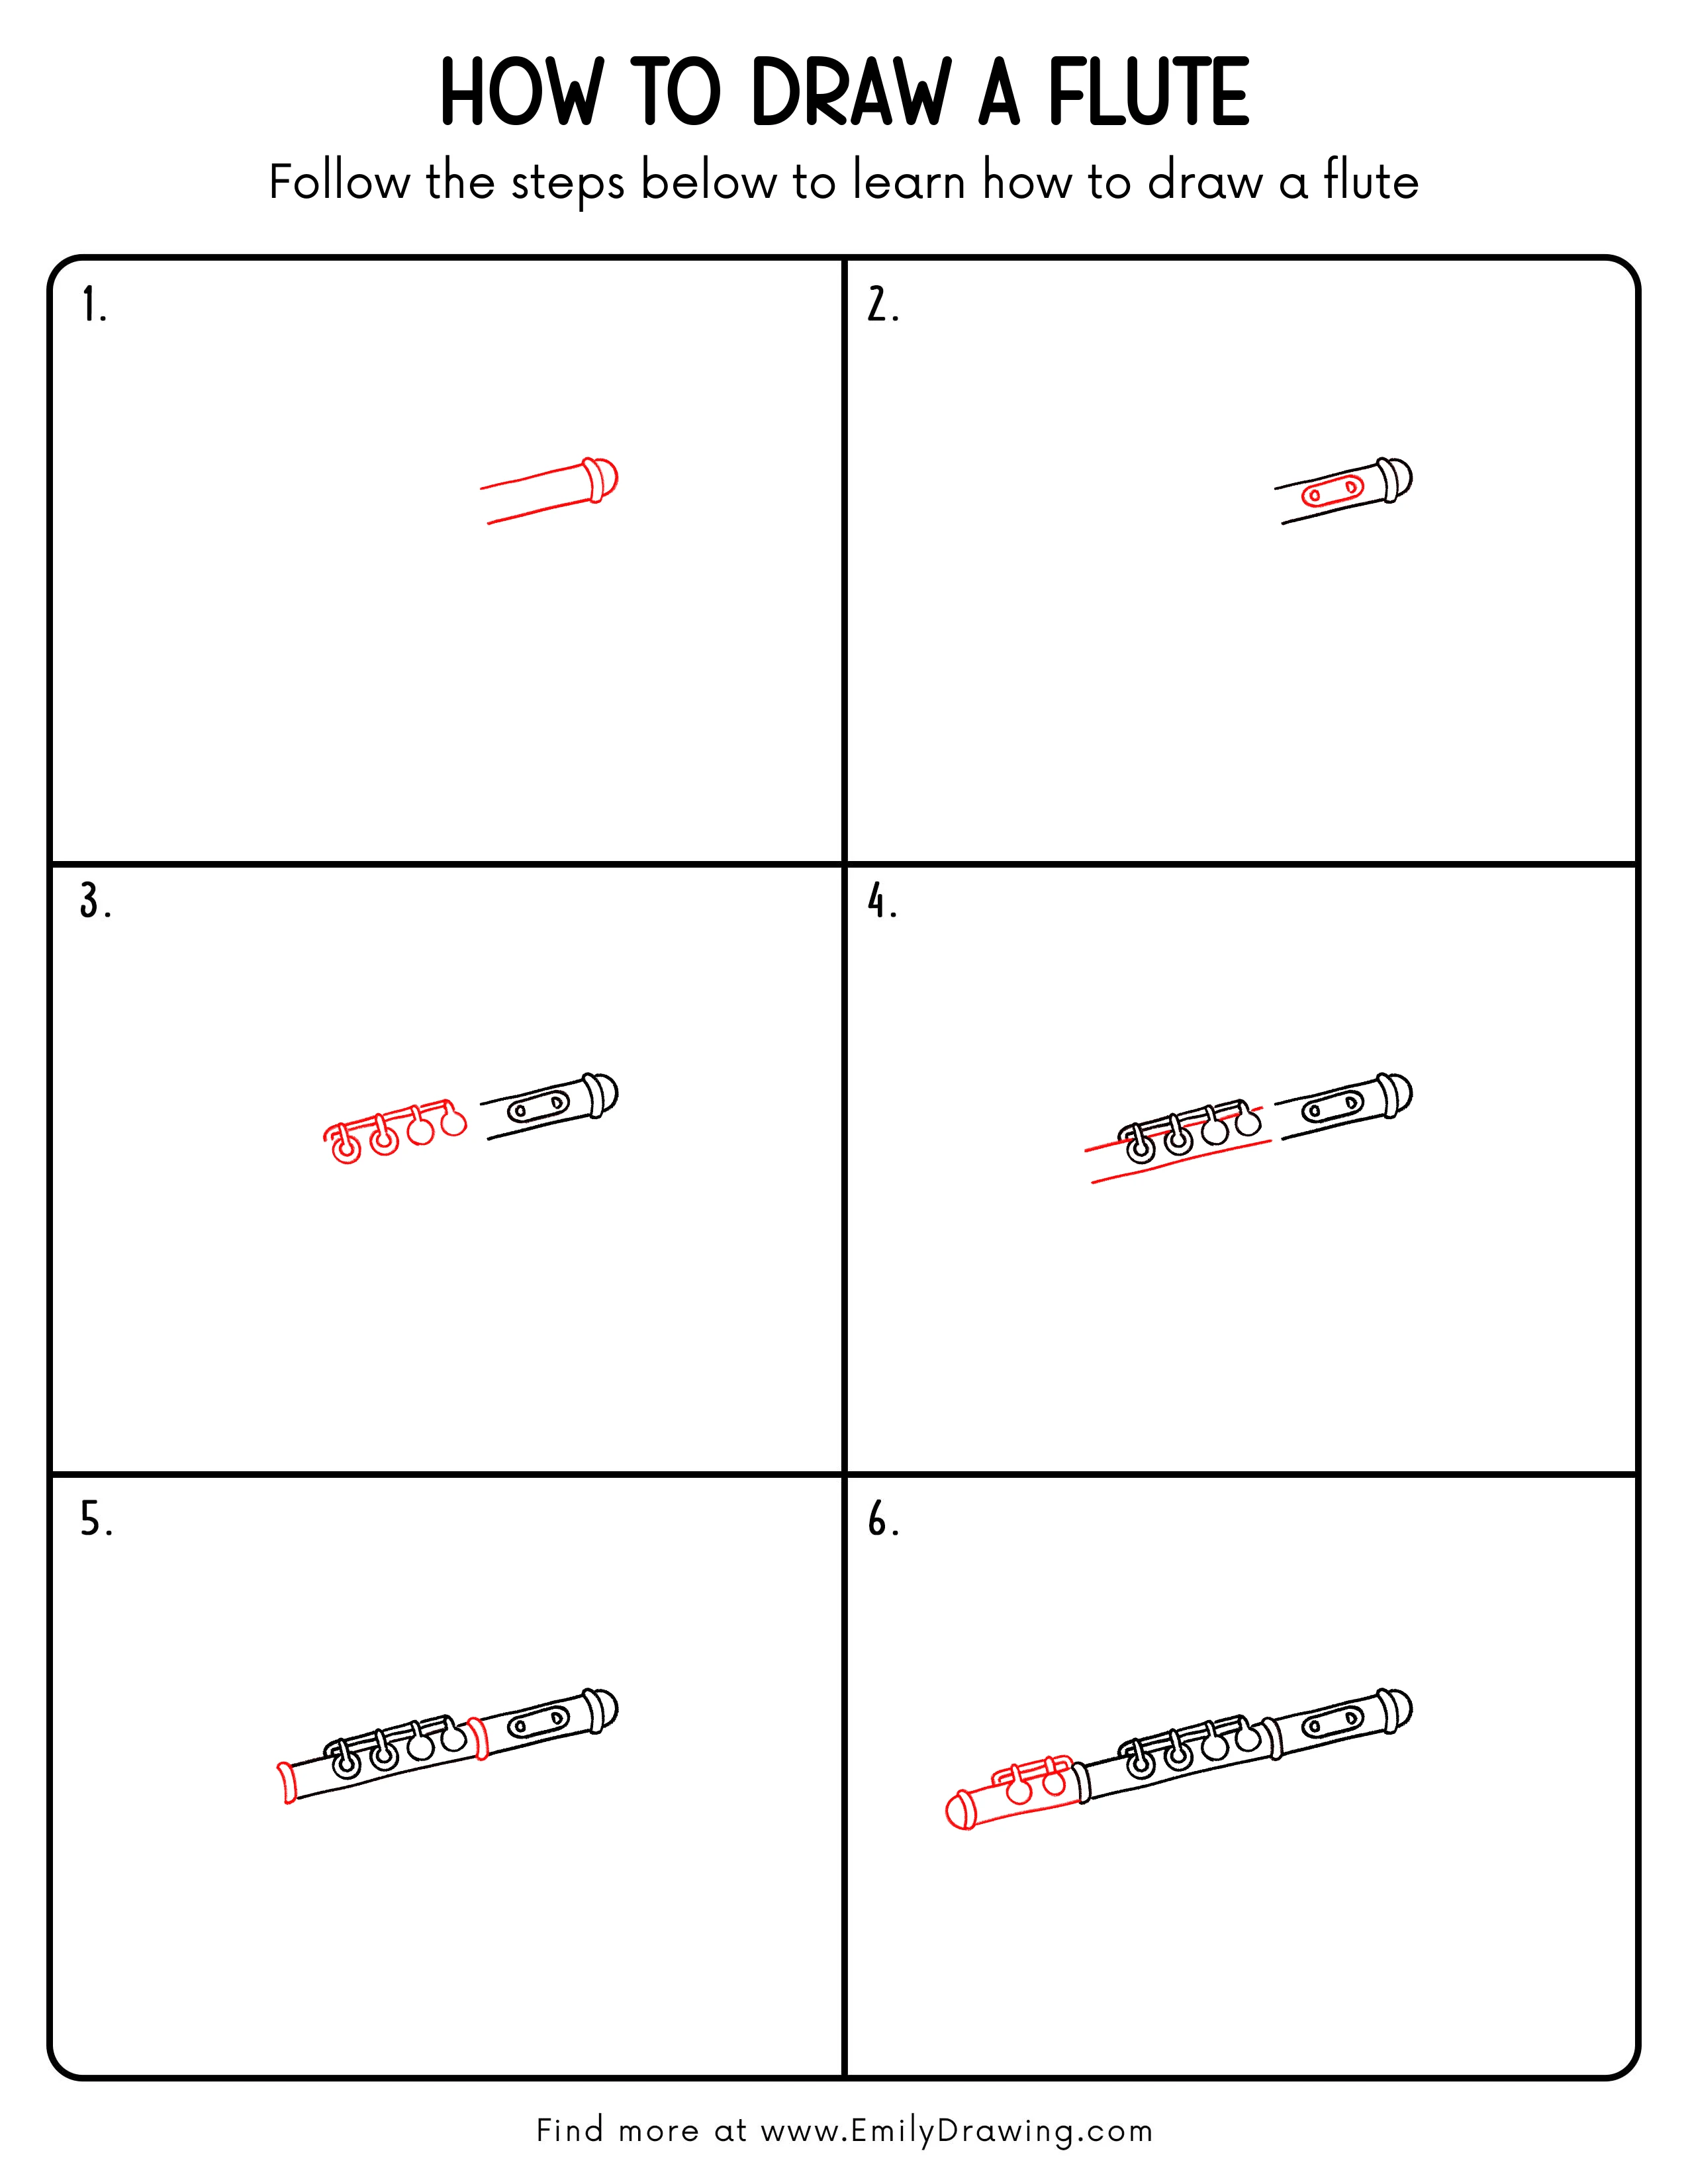
Step 1: Sketch the Basic Flute Body
Start on the right side of the page with two long, slightly slanted lines. Keep the space even, then add a rounded end cap with a narrow curved band so it begins to look like one end of a flute.
Pro Tip: Keep the two long lines as parallel as possible so the flute body looks neat.
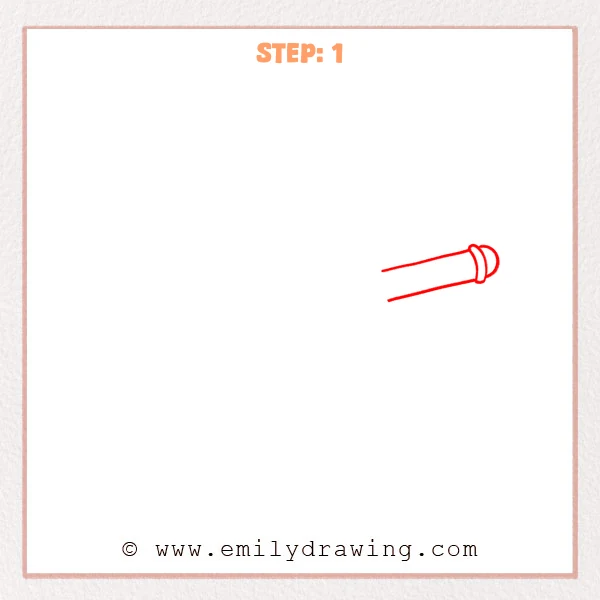
Step 2: Add a Small Key Plate
Near the right end of the flute body, add a small rounded rectangle that sits neatly on the surface. Then place two small circles inside it, spaced a little apart, to begin the flute’s key details.
Pro Tip: Round the corners of the small plate softly so it looks more like a metal part.
Step 3: Add the Rod and More Keys

Continue left along the flute body with a slim rod that connects naturally to the earlier section. Then add several hanging keys along it, using round and teardrop shapes so the flute starts to show more varied parts.
Pro Tip: Let the small keys have slightly varied spacing so the drawing feels more natural.
Step 4: Extend the Outer Body Lines

Continue the flute’s outer edges by drawing two long slanted lines above and below the new key section. Let these lines pass through the area with the keys and move neatly toward the earlier section so the body feels more complete.
Pro Tip: Keep the outer body lines steadier than the keys so the flute looks straight.
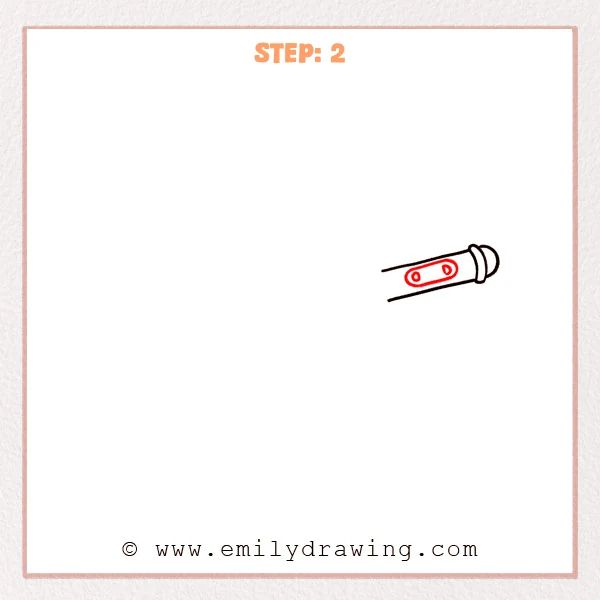
Step 5: Add the Joint Rings
Add a narrow curved ring at each connection on this section so the flute looks built from separate pieces. Place one ring at the new left end and the other between the middle section and the earlier front part to make the structure clearer.
Pro Tip: Keep the joint rings fairly narrow so the flute looks more delicate.
Step 6: Add the Left End and a New Key Group
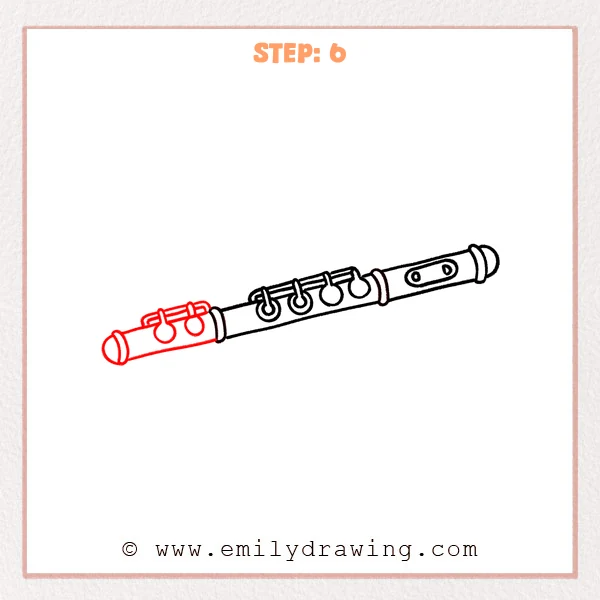
Extend the flute farther to the left and close this side with a rounded end so the tube feels finished there too. Then add a small rod with two round keys above this section so the left side begins to echo the middle details.
Pro Tip: Make the left end cap slightly full and rounded so the whole flute feels balanced.
Step 7: Color in your drawing!
Fun Facts
- The flute is one of the oldest musical instruments in the world.
- Modern flutes are often made from metal, but early flutes were made from wood and bone.
- A flute makes sound when air moves across the mouth hole instead of through a reed.
Pin it now, Draw later!
You now have a clear flute drawing built from simple lines, rings, and keys. Adding light gray shading along one side can help the flute look smooth and metallic, and a few soft highlights can make it feel polished. One common beginner mistake is making the body lines uneven, which can make the instrument look bent. Keep practicing these long, steady shapes, and try more easy drawing tutorials to build your confidence.
Get the FREE Printable Drawing Guide
FREE Download Printable Flute Drawing Tutorial
Frequently Asked Questions
Is this flute drawing good for beginners?
Yes, this drawing for beginners uses simple lines and small details added in stages.
How can I make my flute look more realistic?
Add gentle shading, keep the body straight, and space the keys carefully.
Do I need to draw every key perfectly?
No, you only need clear, neat shapes that suggest the flute’s main parts.