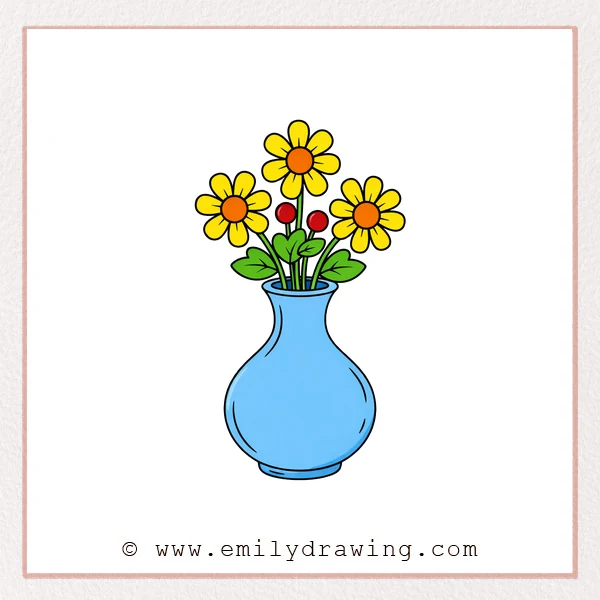
This easy drawing tutorial shows you how to draw a flower vase step by step.
You will build a simple bouquet first, then add a rounded vase underneath.
What You Will Need
- Pencil
- Eraser
- Black marker or pen
- Paper
- Colored pencils or crayons (optional)
Here are my RECOMMENDED Art Supplies!
- Crayola Coloring Set (140 Pieces – Mega Value!)
- 24 Colored Crayon Set
- A4 Printer Paper
- Crayola Coloring Pencils
- HP Home Printer with Instant Ink!
Time needed:
13 minutes.
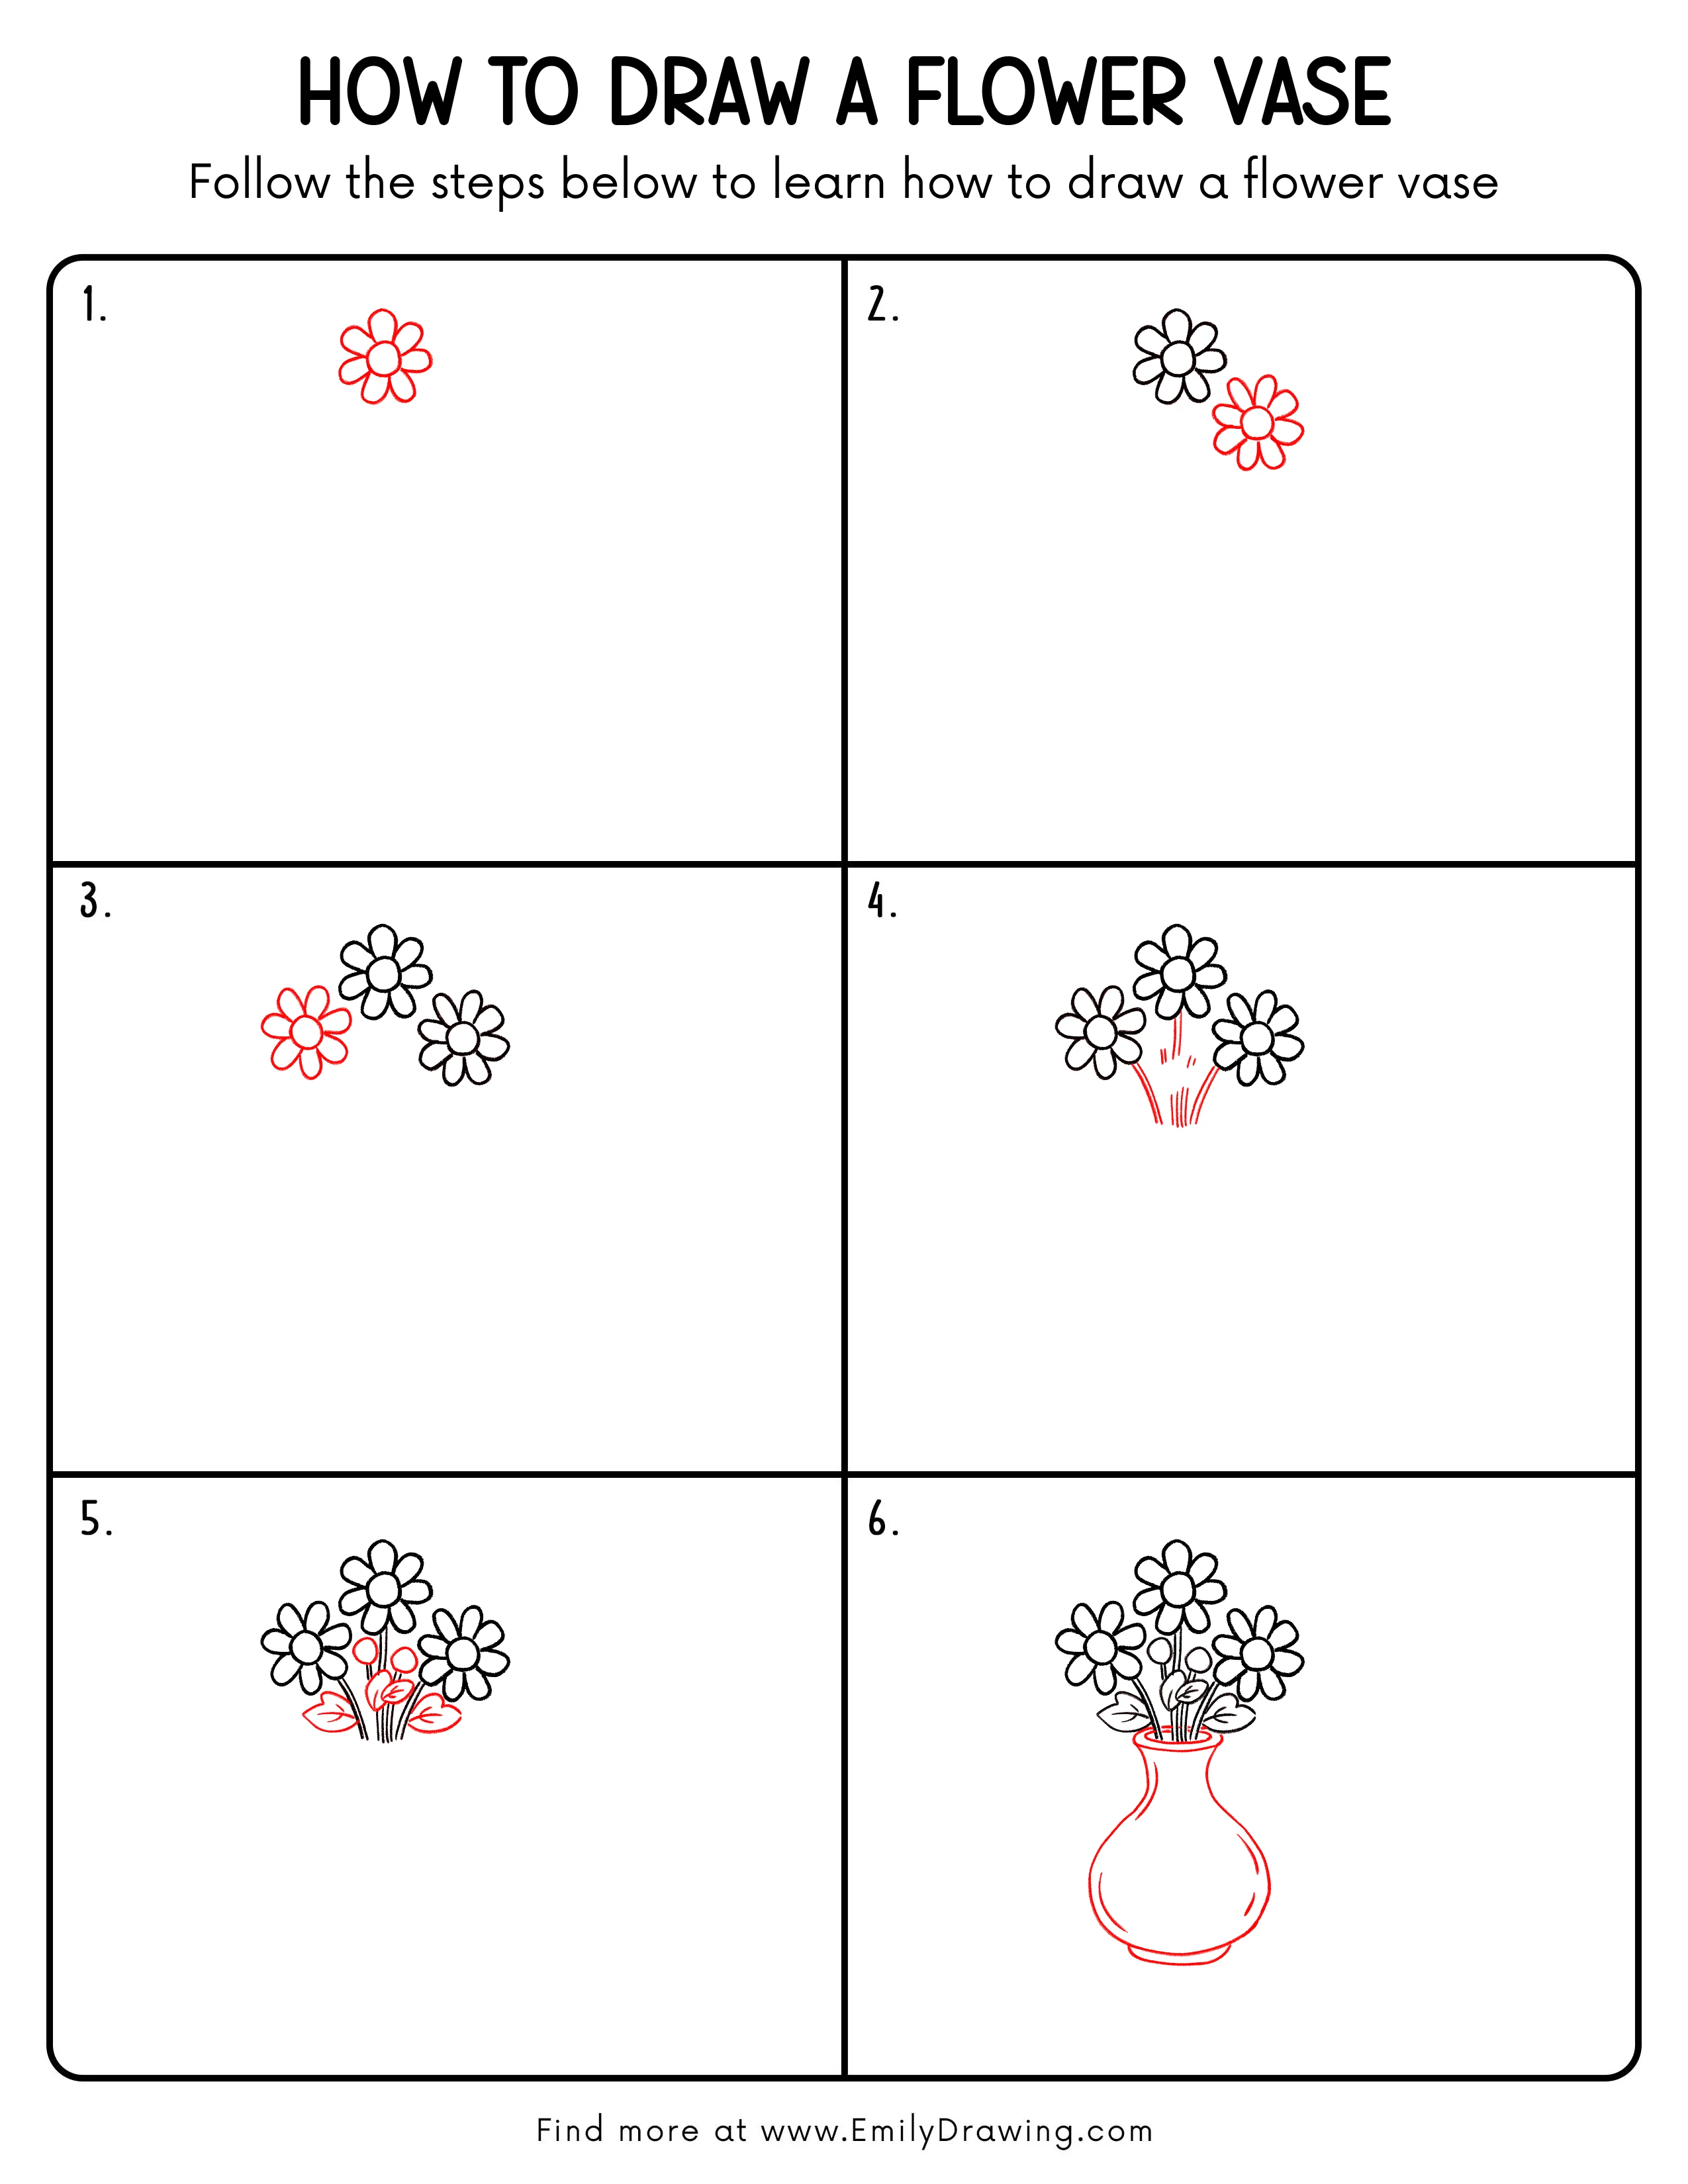
Step-by-Step Drawing Guide
Step 1: Sketch the Flower Head
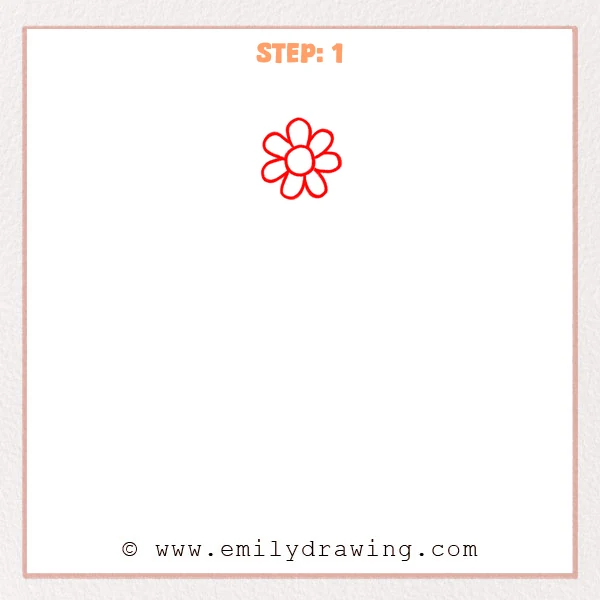
Start with a small circle for the flower center.
Draw several rounded petals around it, keeping them similar in size.
Pro Tip: Using simple teardrop-shaped petals helps them look evenly spaced.
Step 2: Add a Second Flower
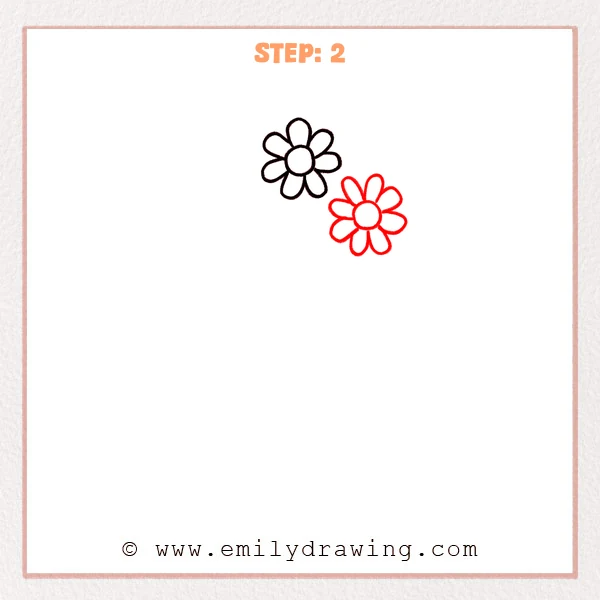
Draw a second flower nearby: start with another round center.
Add petals around it, letting it overlap slightly or sit at an angle beside the first.
Pro Tip: A small size change on the second flower makes the bouquet feel more natural.
Step 3: Add a Third Flower
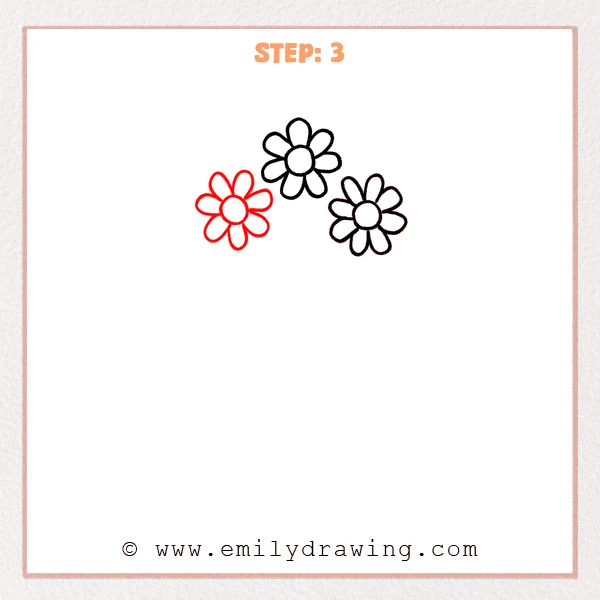
Draw a third flower beside the others, starting with a round center.
Add petals so the three flowers form a gentle arc, making the bouquet look fuller.
Pro Tip: Place the third flower slightly lower or to the side to avoid a straight row.
Step 4: Draw the Stems

From the bottom of each flower, draw two gently curved lines downward for stems.
Let the stems move closer together near the bottom, and add a few short lines for small stems or leaves.
Pro Tip: Avoid perfectly parallel stems; a slight curve makes them look natural.
Step 5: Add Leaves and Small Buds
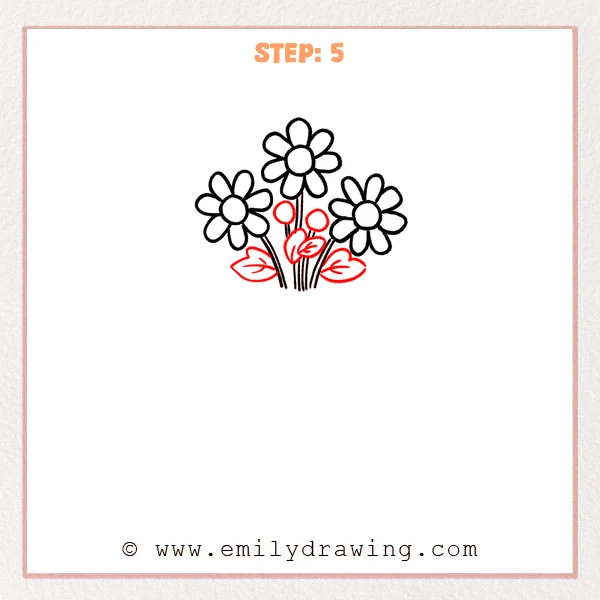
Draw a few oval leaves along the stems, then add a simple vein line in each leaf.
Add a few small round buds to make the bouquet look fuller.
Pro Tip: Vary leaf sizes and angles slightly to create depth.
Step 6: Draw the Vase Shape
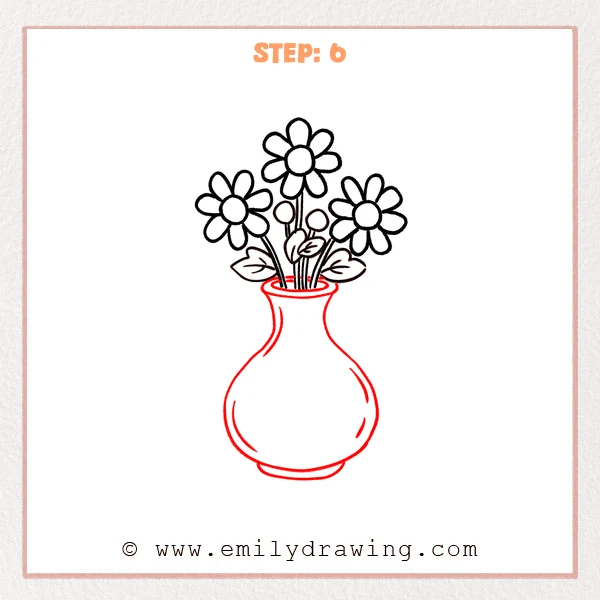
Draw an oval opening under the bouquet to form the vase rim.
Pull two curved lines down for a narrow neck and a round body, then add a small oval base at the bottom.
Pro Tip: Think of the vase as a thin neck plus a round belly to keep proportions easy.
Step 7: Color in your drawing!
Fun Facts
- Many vases have a narrow neck to help support flower stems.
- Simple daisy-like flowers are great for practicing even spacing and rounded shapes.
- Florists often use filler buds and leaves to make bouquets look fuller.
Pin it now, Draw later!
Trace your final lines with a pen, then erase any extra sketch marks.
Add color to the petals, leaves, and vase to make your drawing pop.
Keep practicing this step by step drawing, and try different vase shapes next time.
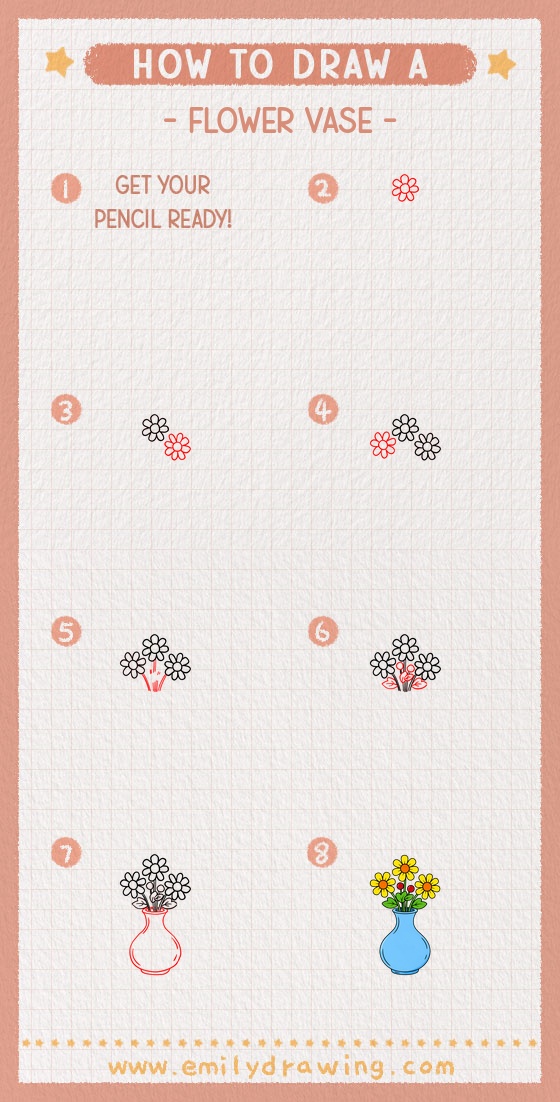
Get the FREE Printable Drawing Guide
FREE Download Printable Flower Vase Drawing Tutorial
Frequently Asked Questions
How do I make the bouquet look more full?
Add extra small buds, more leaves, or one more flower behind the front ones.
How can I keep the vase symmetrical?
Draw a light center guideline first, and match both sides to that line.
What if my flowers look uneven?
Lightly sketch petal shapes first, then redraw the smooth outlines over them.