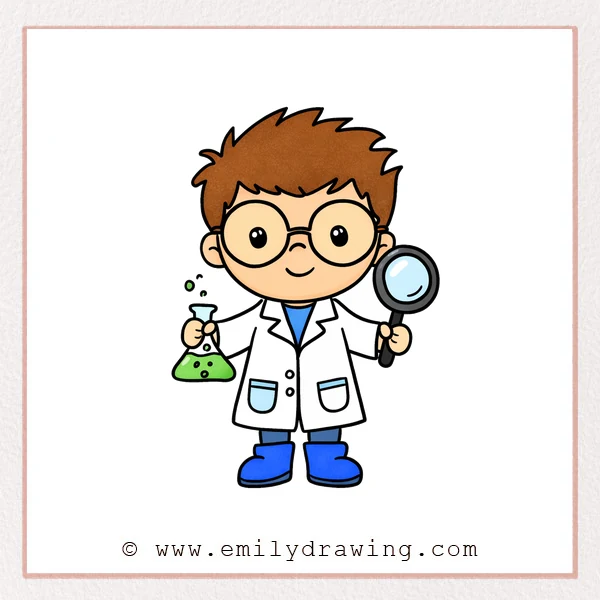
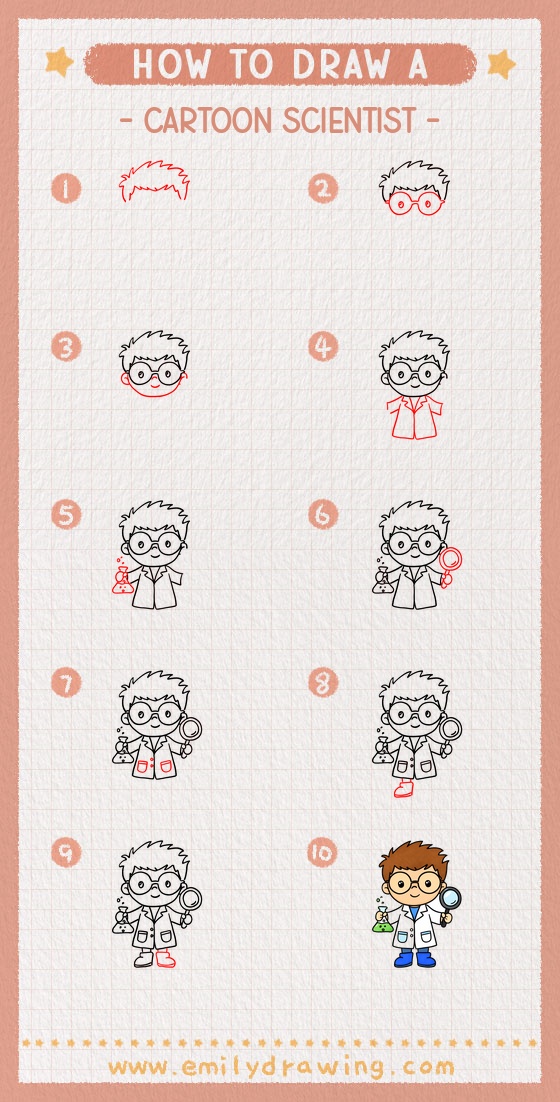
This easy drawing tutorial shows how to draw a cartoon scientist step by step. You will build a friendly character with big glasses, a lab coat, and simple science tools. It is a calm drawing for beginners, with small changes in each step.
What You Will Need
- Pencil
- Eraser
- Black pen or marker
- Colored pencils or crayons (optional)
Here are my RECOMMENDED Art Supplies!
- Crayola Coloring Set (140 Pieces – Mega Value!)
- 24 Colored Crayon Set
- A4 Printer Paper
- Crayola Coloring Pencils
- HP Home Printer with Instant Ink!
Time needed:
19 minutes.
Step-by-Step Drawing Guide
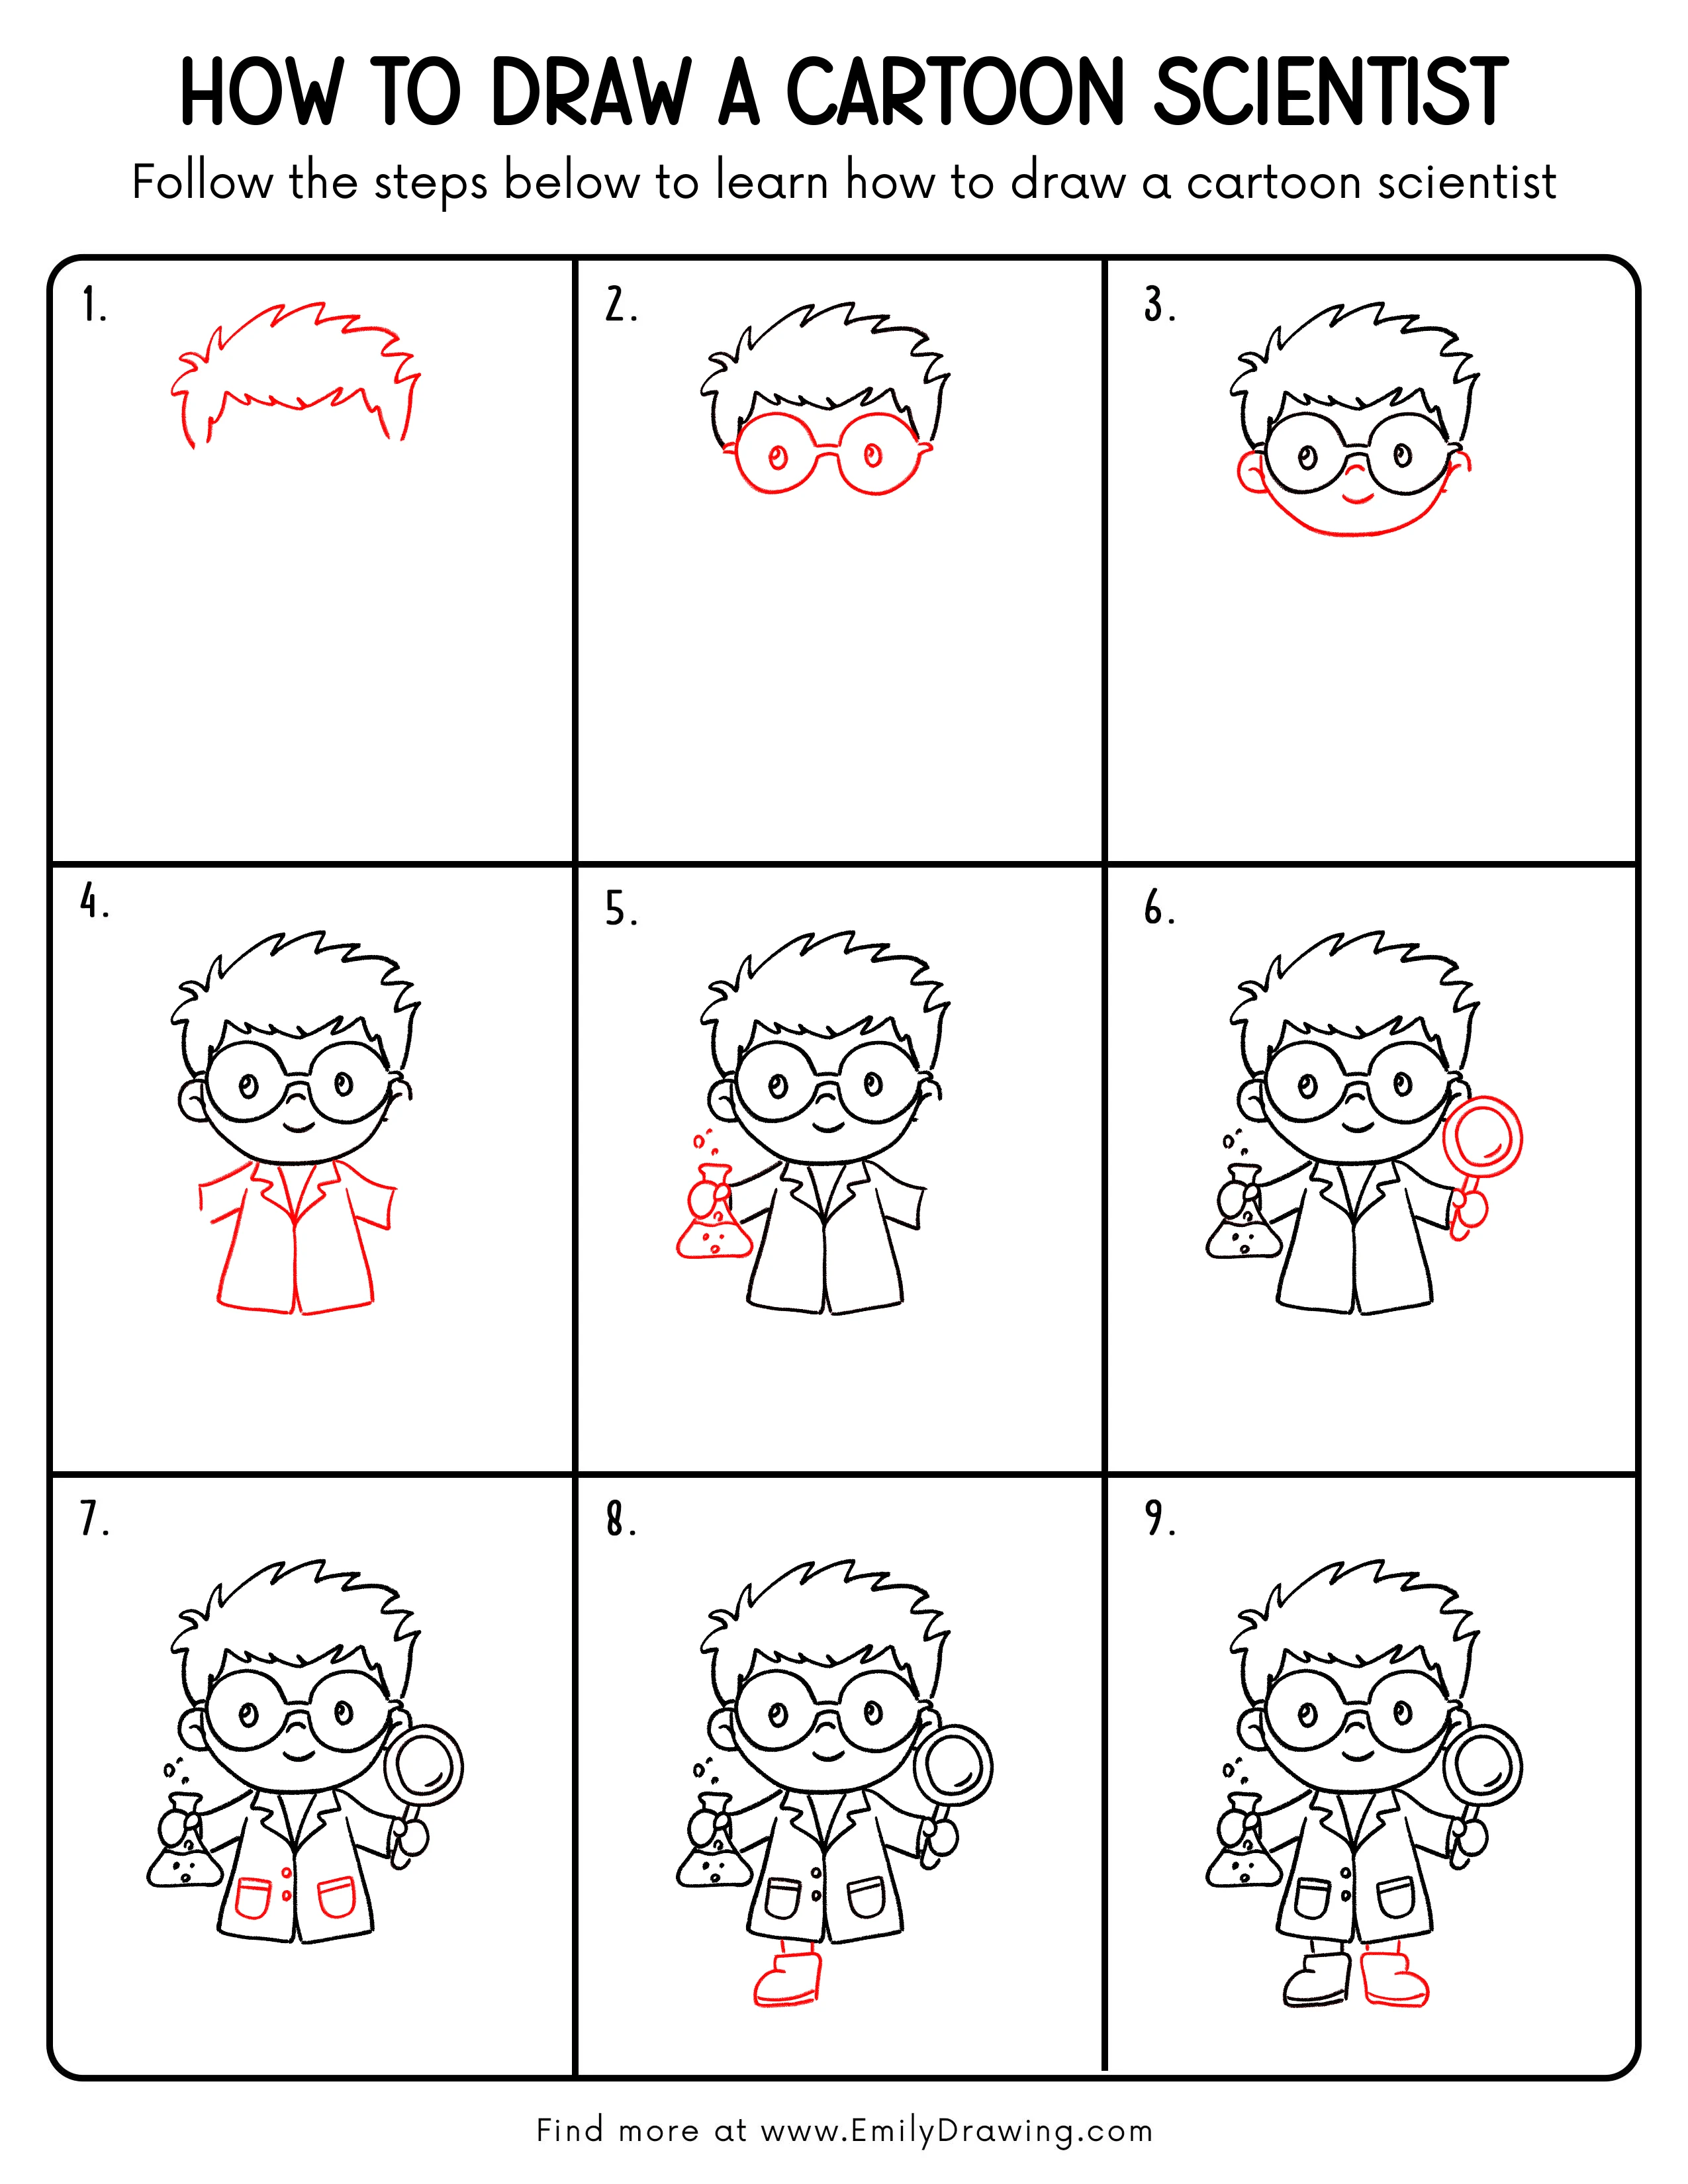
Step 1: Sketch the Scientist’s Messy Hair Outline
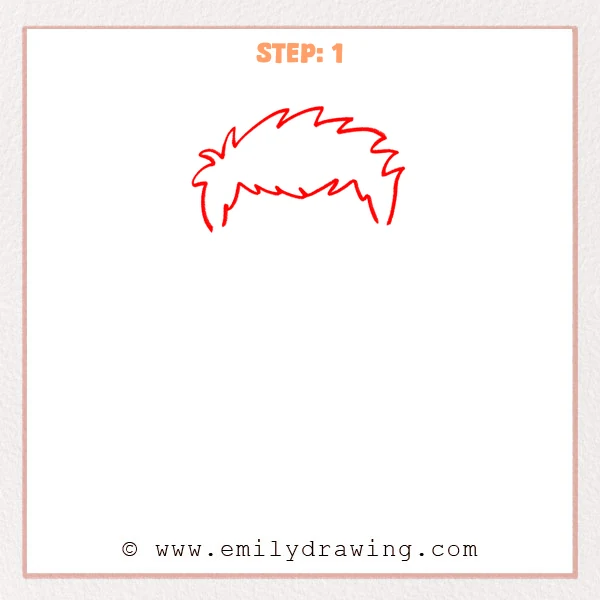
Start near the top of the page and draw a big fluffy hair shape. Use a zigzag line with pointy tips to show spiky hair, leaving a small dip in the middle for bangs. Let the side tufts drop a little to frame the face area.
Pro Tip: Alternate big and small spikes to keep the hair natural.
Alt Text: Early sketch of a cartoon scientist showing only the spiky hair outline and bangs.
Step 2: Add Big Round Glasses and Eyes
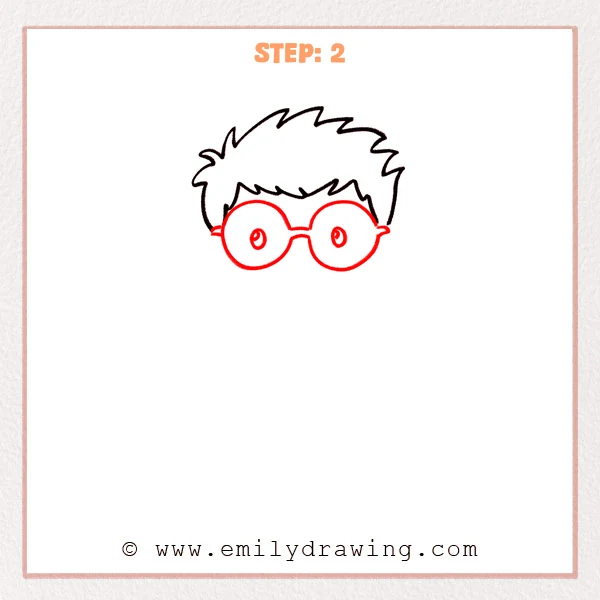
Below the hair, draw two large matching circles for the round glasses frames. Connect them with a small curved bridge in the center, then place a small oval inside each lens for the eyes.
Pro Tip: Keep both lenses the same size for a neat, balanced look.
Alt Text: Cartoon scientist sketch with spiky hair and oversized round glasses, including simple oval eyes inside each lens.
Step 3: Add the Face Shape, Ears, and a Smile
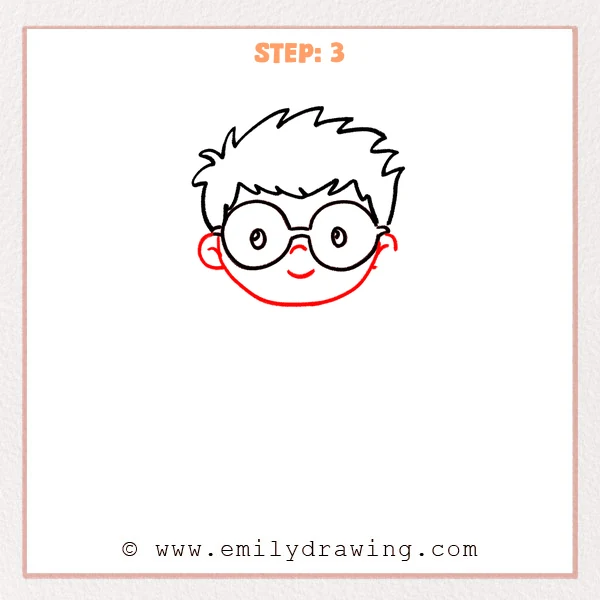
Under the glasses, draw a smooth curved line to form a rounded chin and cheeks. Add a simple half-circle ear on each side, tucked slightly behind the glasses arms. Finish with a small curved smile and a tiny arc for the nose area.
Pro Tip: Keep the chin curve soft and round for a friendly look.
Alt Text: Cartoon scientist head with spiky hair, oversized round glasses, rounded face outline, small ears, and a simple smiling mouth.
Step 4: Draw the Lab Coat and Shoulders
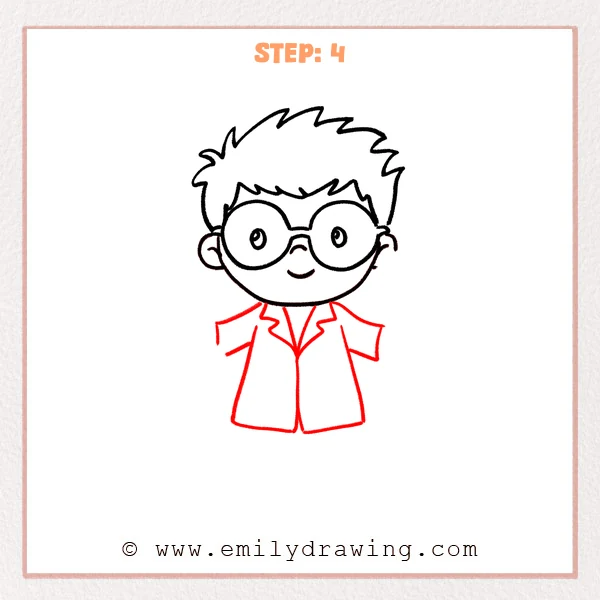
From under the head, add two short neck lines, then angle out to form the shoulders. Extend two long lines downward for the sides of the lab coat, letting the bottom flare slightly. Add a V-shaped opening with two lapels so the coat looks crisp and scientific.
Pro Tip: Keep both lapels at a similar height for a balanced look.
Alt Text: Cartoon scientist with completed head and glasses, now showing a simple lab coat with a V-shaped opening and pointed lapels.
Step 5: Add the Arm and a Bubbling Flask
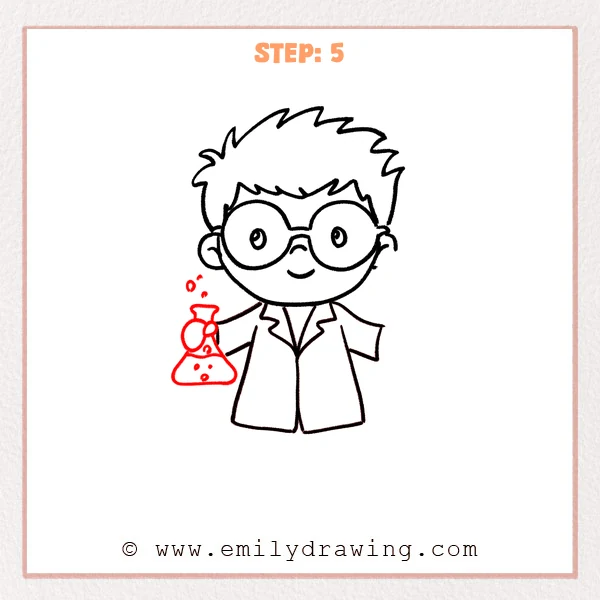
From the left sleeve, sketch a small hand with a simple round palm and a tiny thumb pinching the flask neck. Draw the flask with a short rim at the top, a narrow middle, and a wide triangular base. Add a few small circles inside for bubbles, plus two or three bubbles floating near the top.
Pro Tip: Place the flask rim slightly higher to feel more like real glassware.
Alt Text: Cartoon scientist in a lab coat holding a small flask with bubbly liquid and floating bubbles beside the hand.
Step 6: Add the Magnifying Glass and Right Hand
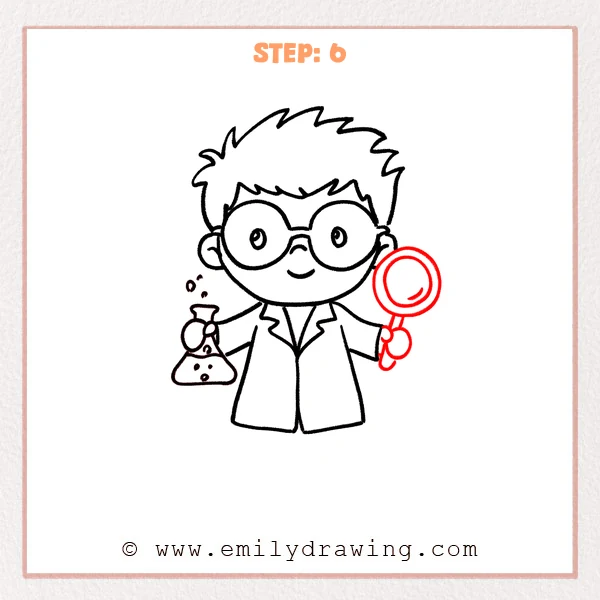
From the right sleeve, add a small gripping hand using a round palm and a few short curves for fingers. Draw a big circle for the magnifying glass lens, then add a thinner inner ring to suggest glass. Attach a short handle underneath so it sits neatly in the hand.
Pro Tip: Place the lens slightly higher so the tool feels lighter.
Alt Text: Cartoon scientist holding a bubbling flask in one hand and a large round magnifying glass in the other.
Step 7: Add Pockets and Buttons to the Lab Coat
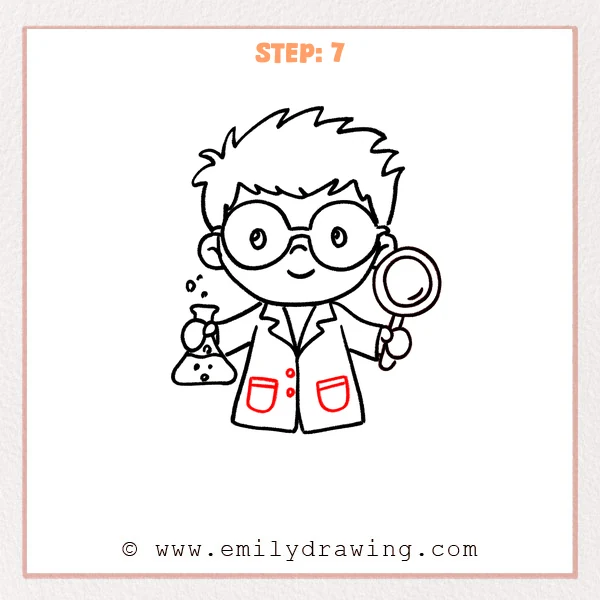
On the lower part of the coat, draw one pocket on each side with a rounded U-shape and a short top edge. Then place two small round buttons along the center opening to finish the coat details.
Pro Tip: Keep both pockets the same height and size for a tidy look.
Alt Text: Cartoon scientist with lab coat details added, including two front pockets and two small buttons down the center.
Step 8: Add the Legs and One Big Boot
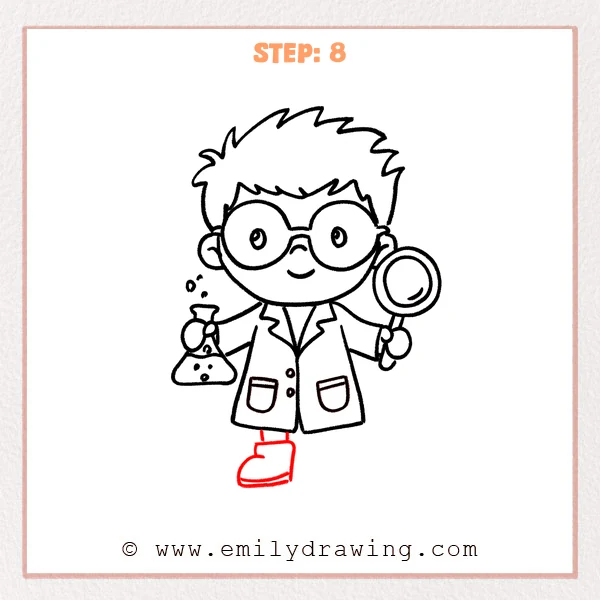
Under the coat hem, draw two short straight lines for the lower legs, pointing down. Below them, sketch a chunky boot with a rounded toe and a simple back edge for the heel. Add a flat sole line at the bottom so the boot feels grounded.
Pro Tip: A rounder, bigger toe makes the character feel cuter.
Alt Text: Cartoon scientist with full coat and tools, now adding short legs and a single oversized boot under the coat.
Step 9: Add the Second Boot to Finish the Stance
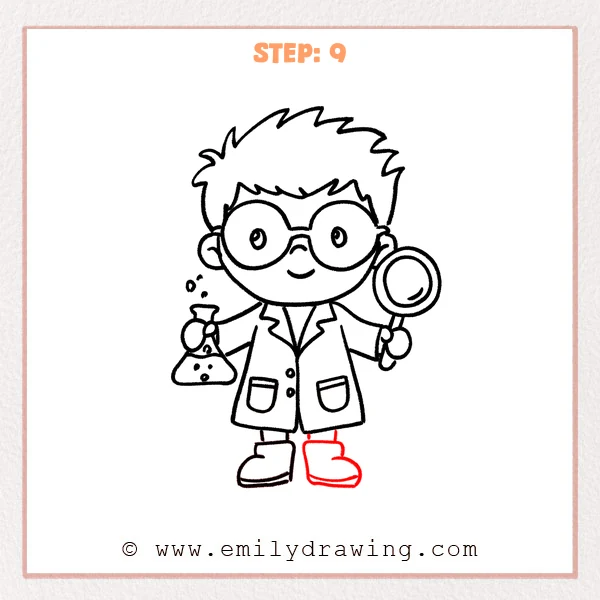
Under the other leg, draw a second boot that matches the first one in size. Keep the toe round and puffy, and close the back with a simple heel edge. Align both soles on the same level so the scientist looks steady.
Pro Tip: Line up both soles to keep the character balanced.
Alt Text: Cartoon scientist with lab coat, flask, magnifying glass, and both chunky boots completed under the coat.
Step 10: Color in your drawing!
Fun Facts
- Many scientists wear lab coats to help protect their clothes during experiments.
- Magnifying tools help scientists look closely at tiny details they cannot see easily.
- Bubbles in a flask are often shown in cartoons to suggest a reaction is happening.
Pin it now, Draw later!
You have drawn a cartoon scientist with messy hair, big glasses, and a lab coat. Try coloring the coat white or light gray, then shade under the lapels and pockets for depth. Add a soft shadow under the boots to help the character sit on the page.
A common beginner mistake is making the two boots different sizes, which can make the stance look wobbly. Take your time and compare the shapes before you darken your lines.
If you enjoyed this step by step drawing, practice drawing the scientist again with a different hairstyle or tool. Keep exploring more easy drawing tutorial ideas and build your drawing for beginners skills.
Get the FREE Printable Drawing Guide
FREE Download Printable Cartoon Scientist Drawing Tutorial
Frequently Asked Questions
How do I make the glasses look even on both sides?
Lightly sketch both circles first, then adjust them before tracing darker lines. You can also draw one circle and copy its size by checking the width.
What if my lab coat looks too wide?
Narrow the side lines slightly and bring the pockets closer to the center. Keeping the lapels closer together also helps the coat feel smaller.
How can I add more “science” details without making it hard?
Add one or two simple symbols, like a tiny star on the flask or a few extra bubbles. Small details work best in a beginner-friendly cartoon.