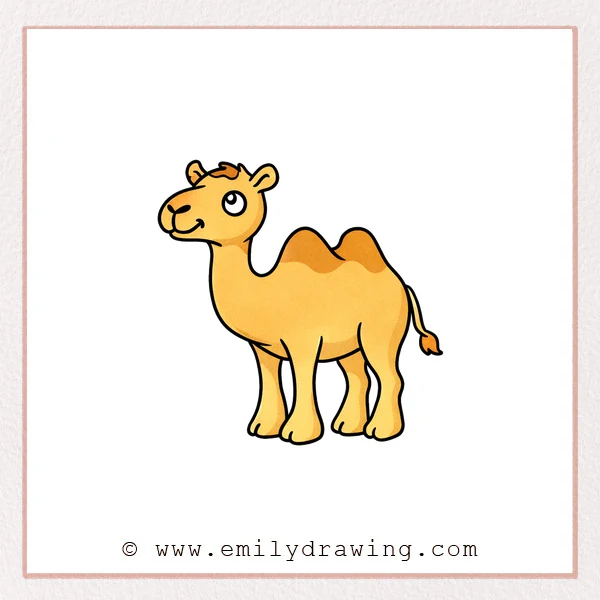
This easy drawing tutorial shows how to draw a cartoon camel in a calm, beginner-friendly way. You will build the shape step by step, so each part feels manageable. Take your time, and enjoy watching your camel come to life.
What You Will Need
- Pencil and eraser
- Black marker or pen for outlining
- Coloring tools (colored pencils, crayons, or markers)
- Plain drawing paper
Here are my RECOMMENDED Art Supplies!
- Crayola Coloring Set (140 Pieces – Mega Value!)
- 24 Colored Crayon Set
- A4 Printer Paper
- Crayola Coloring Pencils
- HP Home Printer with Instant Ink!
Time needed:
26 minutes.
Step-by-Step Drawing Guide
Step 1: Sketch the Camel Head Shape
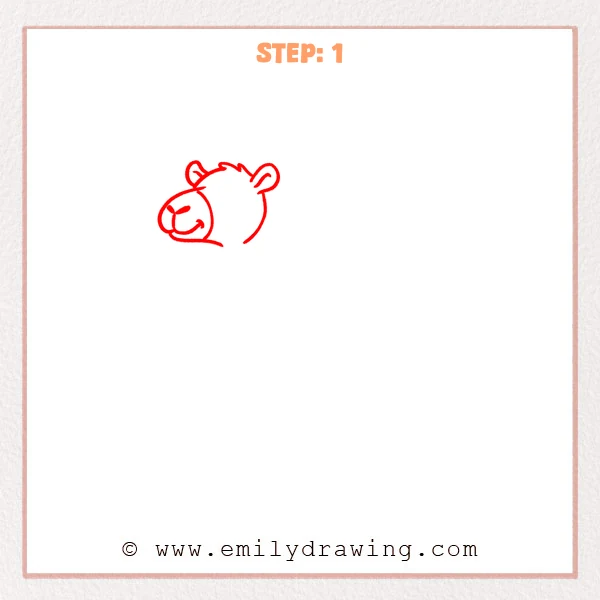
Start with a large rounded shape for the head, then attach an oval muzzle that sticks out to the left. Add two small rounded ears on top, and place a few short spiky curves between them for a little forehead fluff, keeping a soft line for the lower jaw.
Pro Tip: Keep the muzzle oval rounded, not pointy, for a cartoon camel look.
Step 2: Add the Big Eye and Shine
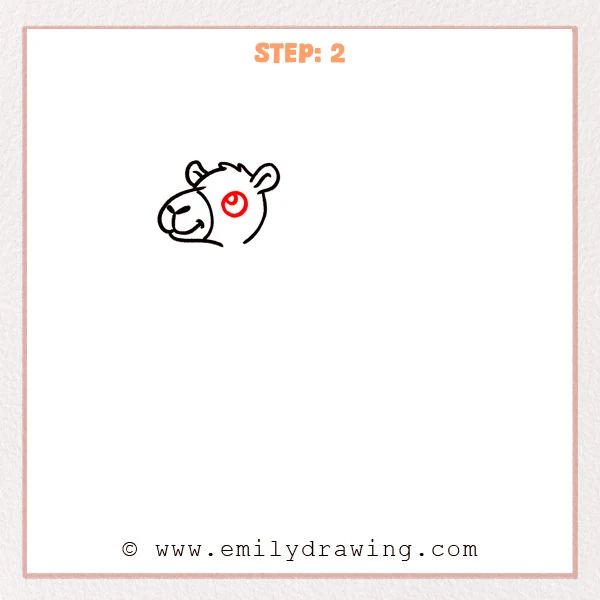
Place a large circle for the eye on the middle-right area of the head. Add a smaller circle inside for the pupil, then leave a tiny highlight spot so the cartoon camel looks lively.
Pro Tip: A slightly forward eye placement makes the camel look cuter and younger.
Step 3: Add the Long Neck and Humped Body
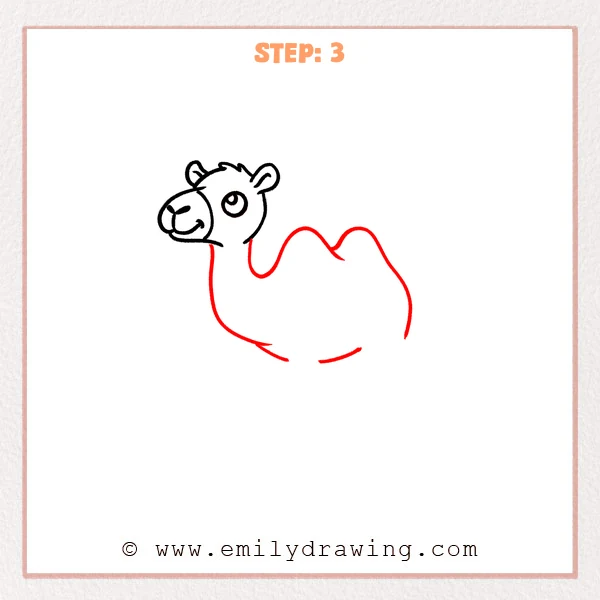
Pull two gentle lines down from under the head to form a slim, long neck, then connect it into a big body shape on the right. Make two smooth bumps along the top for the camel’s humps, and add a soft curved belly line, leaving the bottom open for legs later.
Pro Tip: Connect the humps with rounded curves, not sharp points, for a friendly look.
Step 4: Add the Two Front Legs and Feet
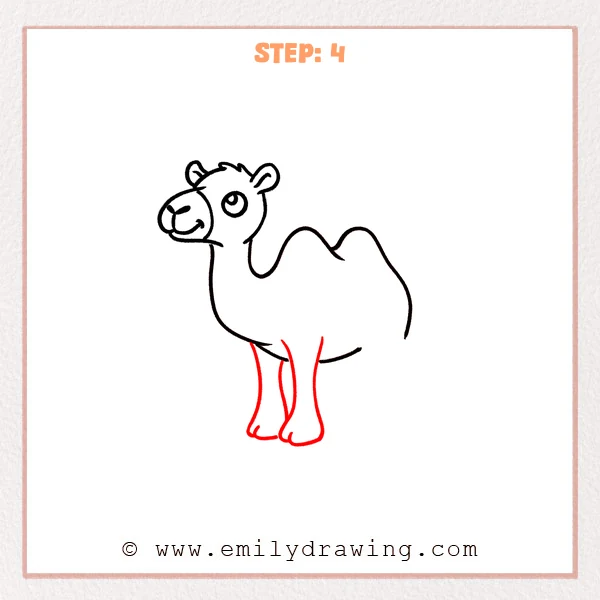
Under the belly, draw two long front legs dropping down, with the closer leg slightly more to the left. Finish each leg with a rounded boot-like foot, then add a short inner line to show thickness and overlap.
Pro Tip: Make the nearer foot a little bigger to create depth.
Step 5: Add the Back Legs to Balance the Body
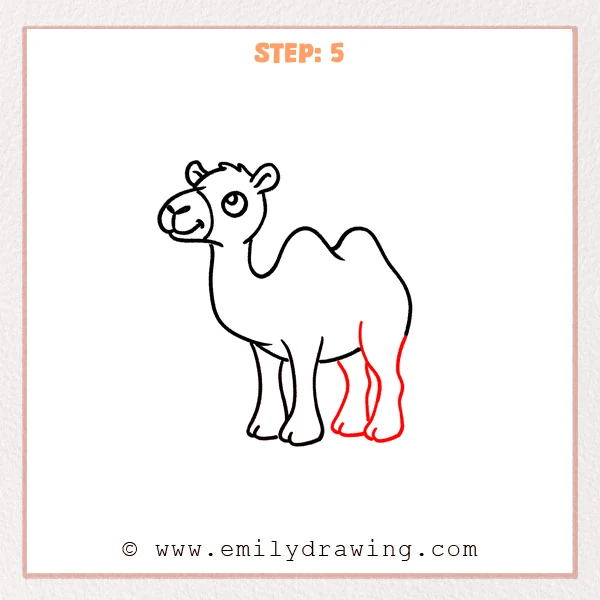
Under the back of the body, add two hind legs, placing the far-right leg slightly behind and a bit straighter. Finish them with the same rounded feet, and let the overlapping lines show which leg is in front.
Pro Tip: Make the back legs just a touch slimmer to keep the body looking solid.
Step 6: Add the Tail and Tuft
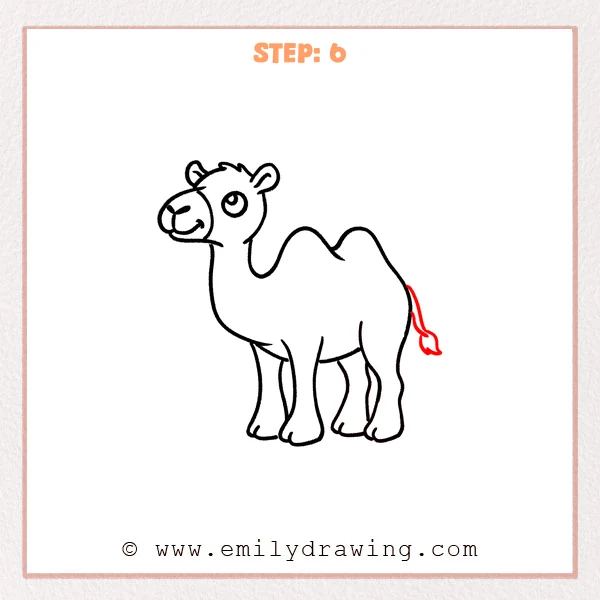
From the back edge of the body, pull out a thin curved tail that hangs down naturally. Add a small leaf-like tuft at the end, then place a short inner line to show the tail’s thickness.
Pro Tip: Keep the tail fairly short to match a cartoon proportion.
Step 7: Color in your drawing!
Fun Facts
- Camels store fat in their humps, which helps them in dry places.
- Dromedary camels have one hump, and Bactrian camels have two humps.
- Long eyelashes help camels protect their eyes from sand.
Pin it now, Draw later!
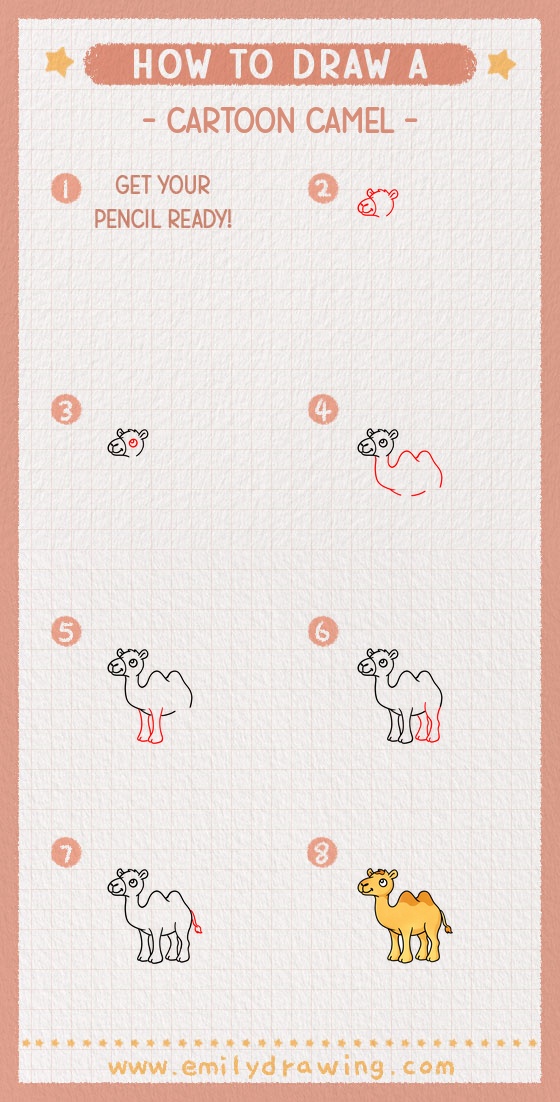
You now have a full cartoon camel built from simple shapes, from the head and eye to the legs and tail. Try outlining your final lines with a pen, then erase any extra sketch marks once the ink is dry. For coloring, use warm sandy browns, and add gentle shading under the belly and behind the legs to help your camel feel grounded.
One beginner mistake is making the legs too far apart, which can make the camel look wobbly. Keep the legs tucked under the body, with small overlaps for depth.
If you enjoyed this step-by-step drawing, try drawing the same camel in a new pose or with a scarf or saddle. Practicing small changes is a great way to grow your drawing-for-beginners skills.
Get the FREE Printable Drawing Guide
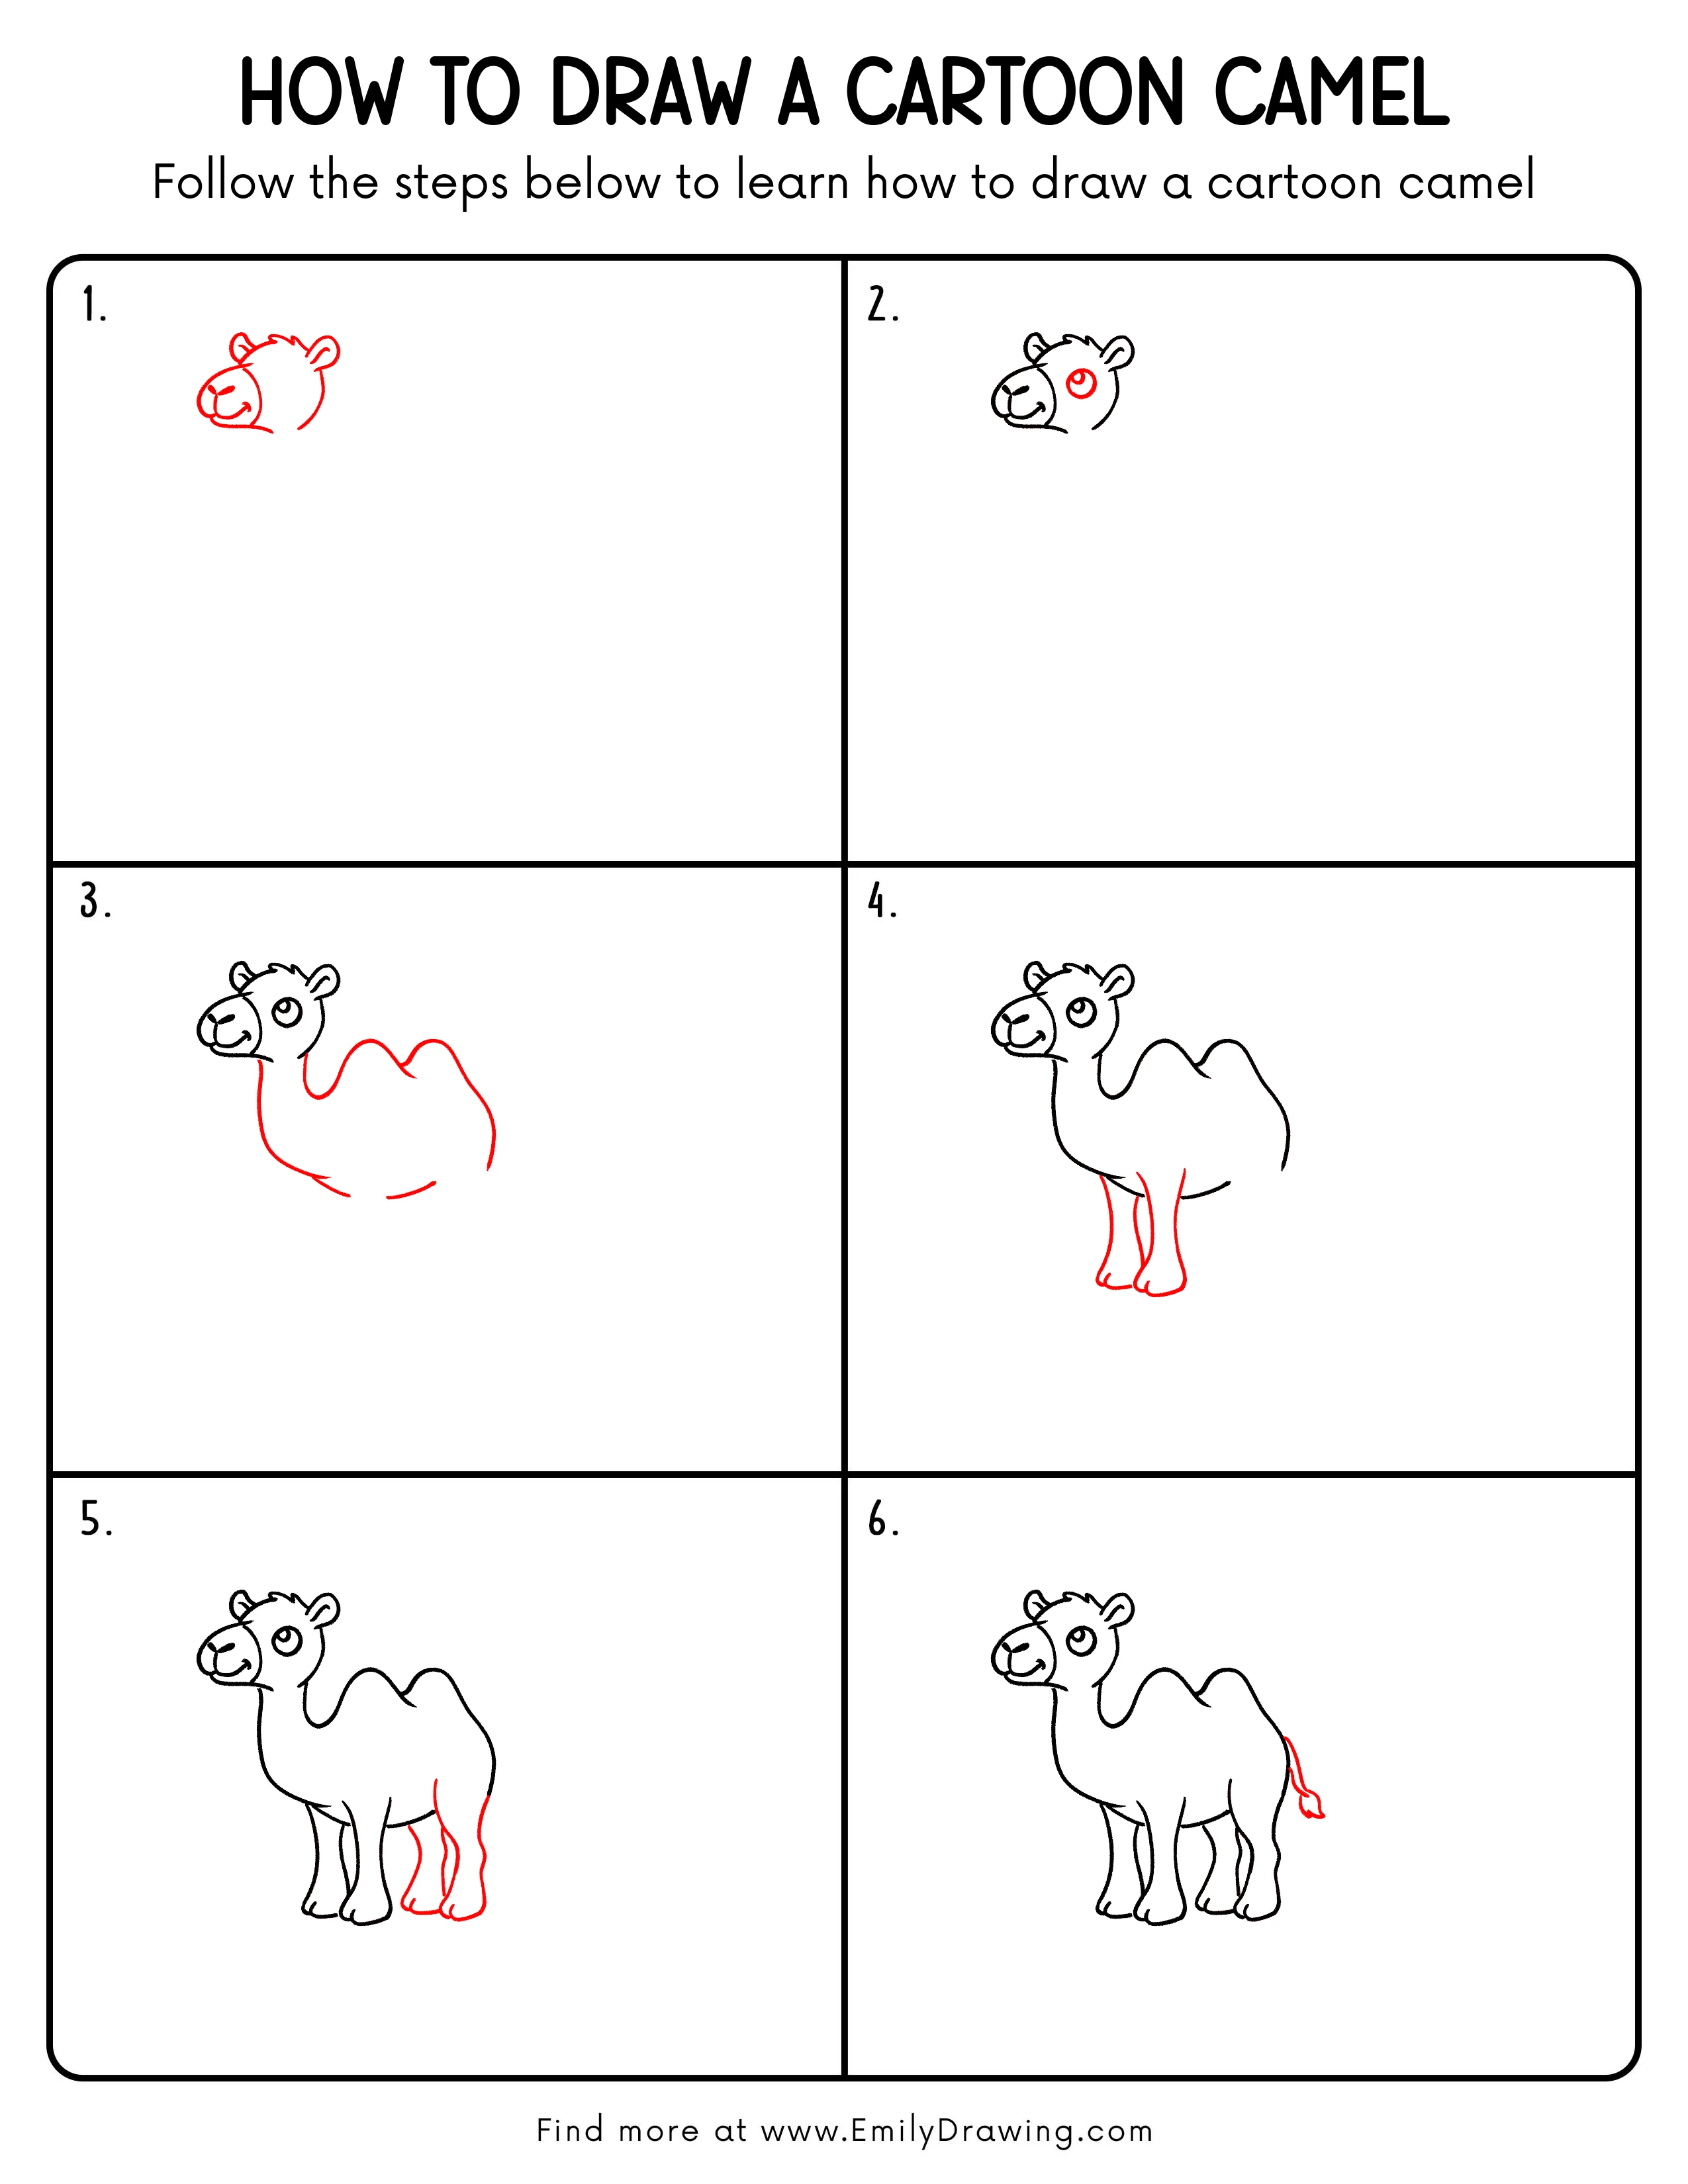
FREE Download Printable Cartoon Camel Drawing Tutorial
Frequently Asked Questions
How do I make the camel look even cuter?
Make the eye slightly bigger and place it a little closer to the muzzle.
What if my humps look too pointy?
Round the curves and smooth the bump tops so they feel soft and friendly.
How can I add simple shading without making it messy?
Use light layers, and shade one side of the body more than the other for a clear light direction.