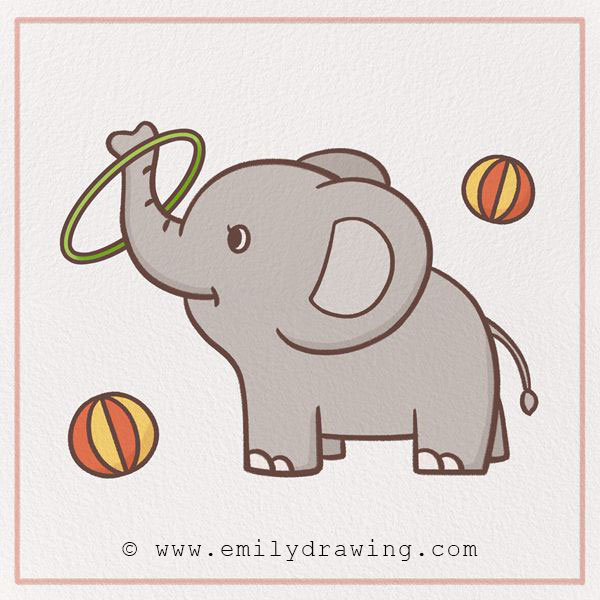
Welcome to our easy-to-follow and fun ten-step elephant illustration tutorial! Today, we are going to learn how to draw an elephant, a beautiful animal!
There are two species of elephant: African and Asian — in this guide, we’ll focus on drawing an African elephant. The ears of African elephants are much larger than those of Asian elephants—you can actually tell the two species apart just by their ears. The massive African elephant roams the continent along with lions, giraffes, and cheetahs.
Elephants have amazing memories, which is just one aspect of their intelligence. They can also communicate through seismic signals, which are basically vibrations. Unfortunately, these beautiful animals have been subject to hunting and ivory exploitation, which have led African elephants to be wiped out by nearly 90% in the past century.
So, let’s take this opportunity to learn about this animal with an easy elephant sketch. Find some drawing supplies, and keep reading below to get started!
Materials:
- a piece of paper
- a pencil for the guiding lines and sketching
- an eraser
- a black sharpie or a pen for the outlines
- markers or colored pencils for coloring
- our printable drawing guide (Join my Email List below to get this Tutorial)
Here are my RECOMMENDED Art Supplies!
- Crayola Coloring Set (140 Pieces – Mega Value!)
- 24 Colored Crayon Set
- A4 Printer Paper
- Crayola Coloring Pencils
- HP Home Printer with Instant Ink!
Time needed:
14 minutes.
How to Draw an elephant — Let’s get started!
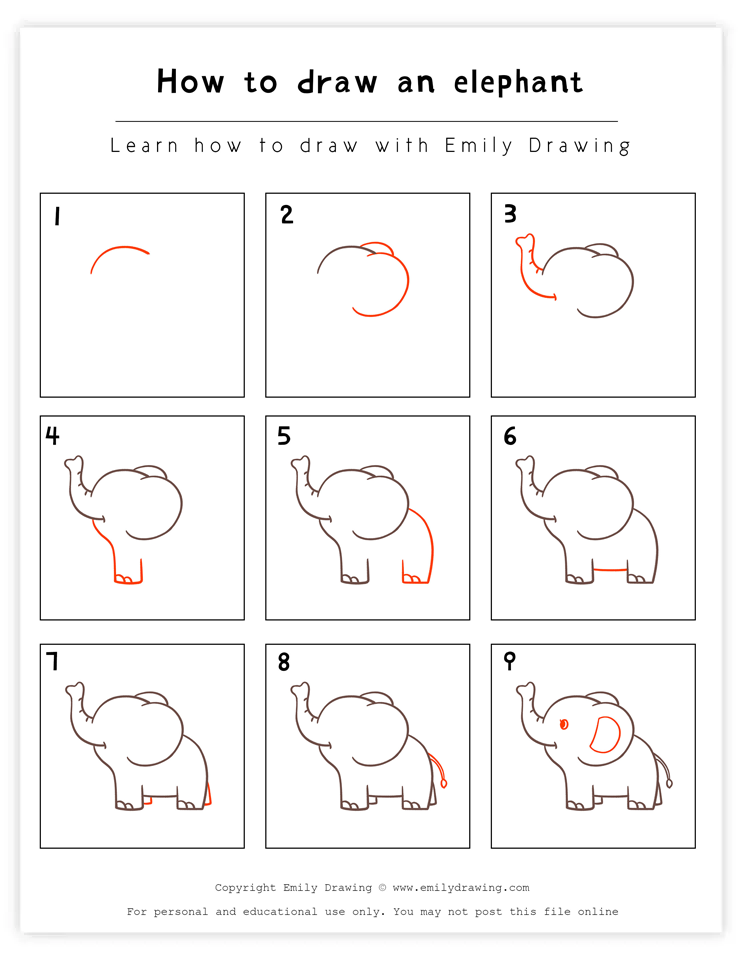
Step 1 – Start to draw the elephant’s head.
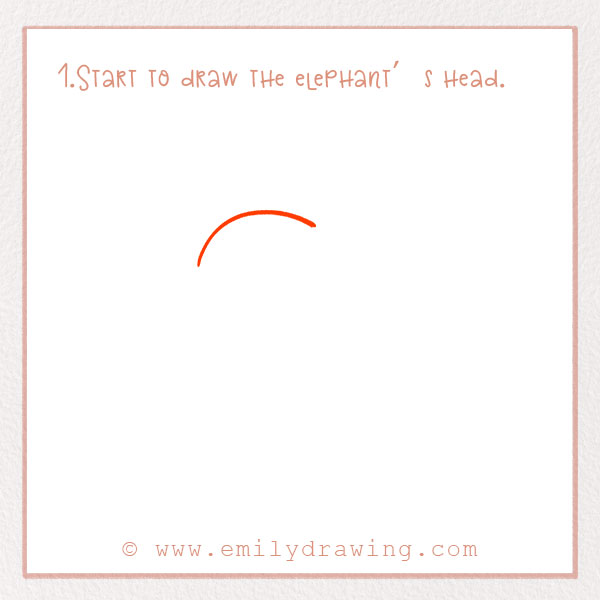
Let’s start by drawing the top of the head. About three-quarters of the way up the page, draw an arc. It should be a bit asymmetrical.
Step 2 – Add more to the head.
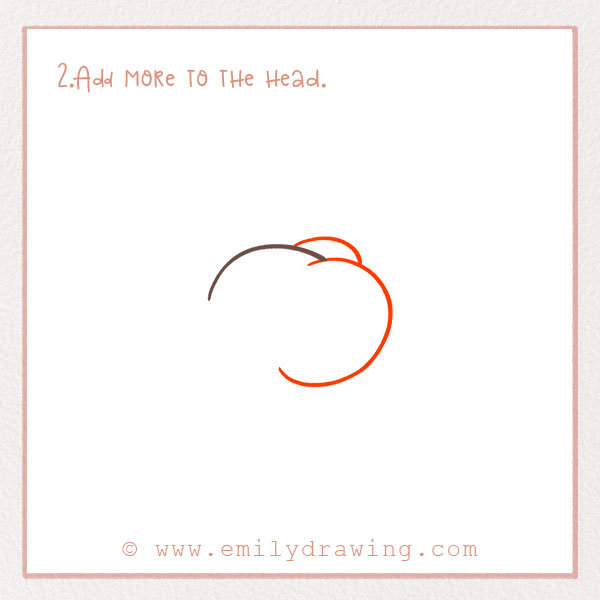
On the right of the curve from Step 1, draw another arc, this time going downwards. It should be about the same size as the first one. This is an ear. Did you know that an elephant’s ear can be up to nine feet?
Lastly, add another small curved line in the middle of the first two. It should be on top. This shows there is an ear on the other side, too. Check out the photo!
Step 3 – Add the elephant’s trunk!
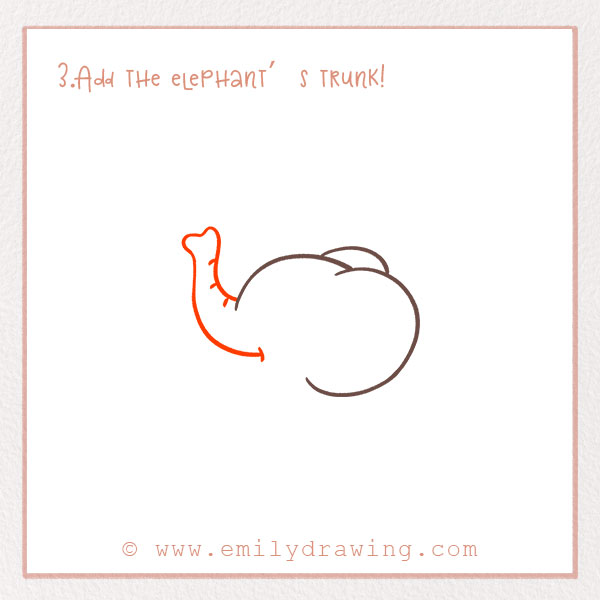
Let’s add the most unique feature of elephants: the trunk! Trunks have 150,000 muscle units in them, making them among the most sensitive organs found in any mammal. Some Asian elephants can even shell a peanut!
So, let’s add the trunk now. Look at the photo beforehand. Draw two squiggly lines curving upwards to the left. Connect them at the end with another small squiggly line. Then, draw a few small details on the right side of the trunk to resemble wrinkles.
For more creative animal features, try our tutorial on How to Draw a Kangaroo or How to Draw a Snake.
Step 4 – Add the front leg.
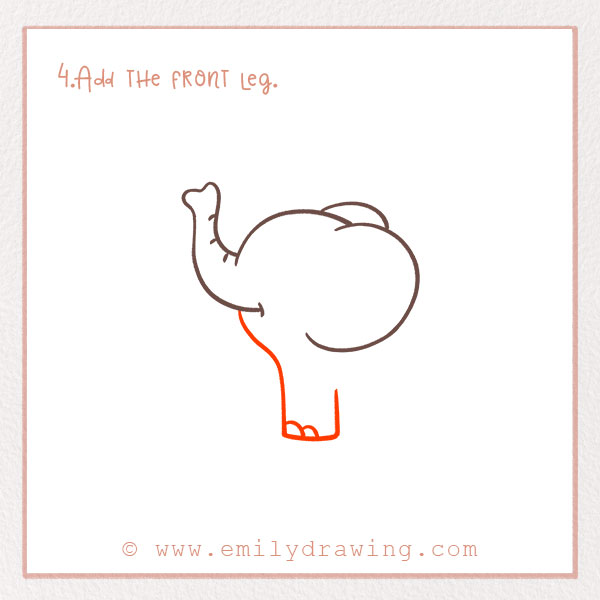
Let’s add the legs! African elephants can run up to about 25 miles per hour.
Underneath the trunk, draw a long line going downwards. It should bend slightly to the right about halfway through. Check out the photo!
Then, add some curved lines at the bottom to show toes. Lastly, draw a line that goes just about an inch upwards on the right to form the other side of the leg.
Good job!
For more animal drawing guides, check out How to Draw a Monkey and How to Draw a Tiger.
Step 5 – Add the back leg.
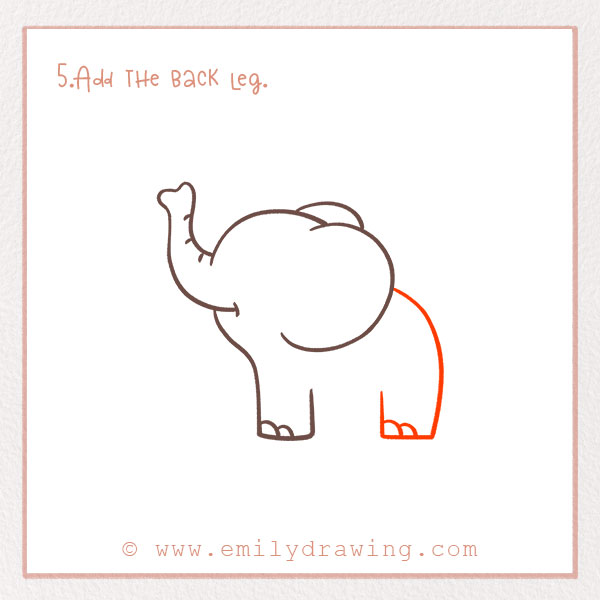
On the right side, draw a large curve extending downwards. This will form the back leg of the elephant. Then, draw two toes just like we did before.
Step 6 – Draw the belly!
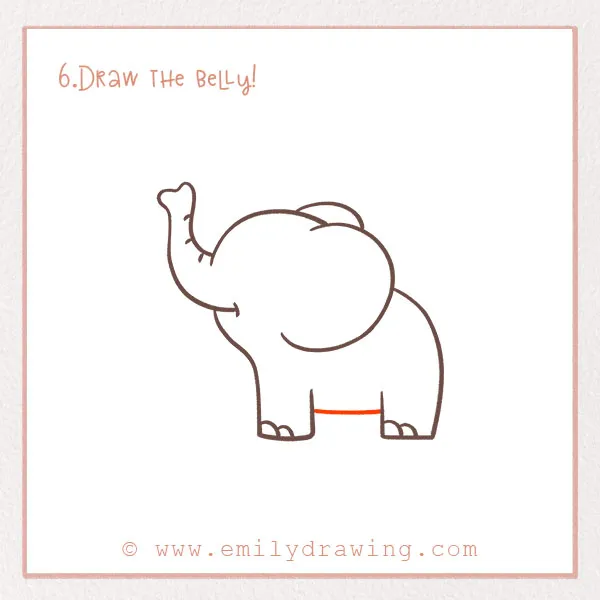
This step is quick and easy. Draw a line in between the two legs to form the belly of the elephant.
Step 7 – Add the last two legs.
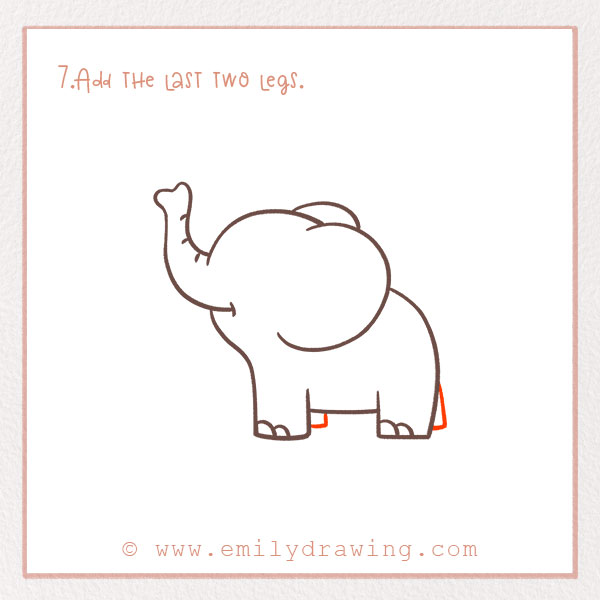
Because of the profile perspective, we can mostly just see two legs, but we need to indicate the other two legs as well.
To do this, first add a small triangle shape on the bottom right, behind the back leg. Then, draw a small square behind the front leg.
Good job!
Step 8 – Add the elephant’s tail!
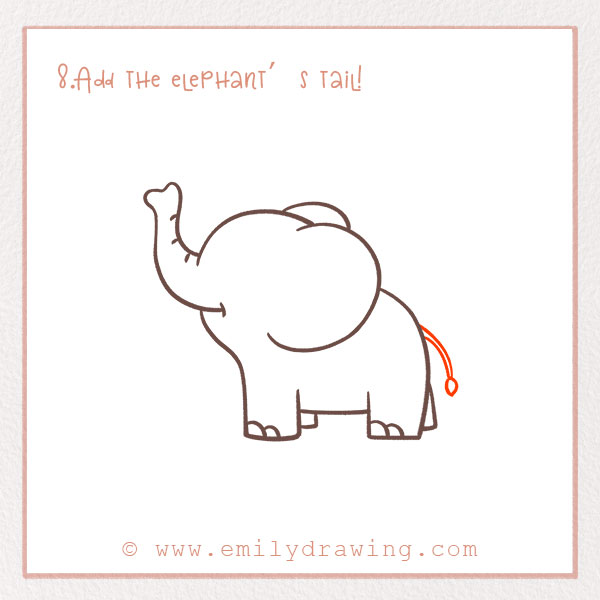
We’ve got to add the elephant’s tail next. Draw two lines really close together that curve downwards at the back of the elephant. It should end about an inch above the bottom of the feet.
At the bottom of the tail, draw a small circle.
Step 9 – Draw the eyes and ear detail.
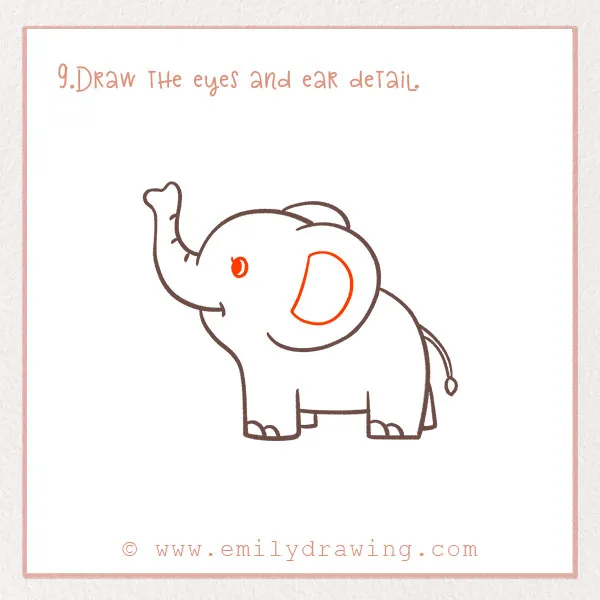
Let’s finish off drawing the elephant. We’re going to add an eye. A few inches to the right of the trunk, draw an oval. Inside it, fill in the left side to show the pupil looking forward.
Let’s add the rest of the detail to the ear. Draw a large semi-circle, but have it turned to the side so that the curve is pointing to the right. Refer to the photo!
Step 10 – Color in your elephant!
Last but not least, it’s time to add some color to our elephant! Elephants are typically grey, but have some fun adding some color to your new animal friend. Fill in the background, too, and give it a name!
You’ve finished this elephant tutorial. Thanks for following along—we hope you had fun. We did!
Browse our site for more tutorials like these! If you liked this animal-themed one, check out the “animal” tab on our website. Share this tutorial with a friend who you think might like it. See you next time!
If you’re interested in drawing more animals, you might also enjoy our tutorials on How to Draw a Giraffe and How to Draw a Lion.
Pin it now, Draw later!

Get the FREE Printable Drawing Guide