Hello and welcome to another fun ten-step tutorial! Today, we’re going to learn how to draw a star together.
Stars are popular symbols for a bunch of different things. You might see them in books, drawings, illustrations, and hear about them in songs. And of course, we have all the beautiful stars in the sky, even if they aren’t technically shaped like stars! Did you know that the Milky Way might have up to 400 billion stars?
A famous type of star is a shooting star. Have you ever seen one flash across the sky? They are a beautiful and unique natural occurrence. Maybe you’ll see one next time you stargaze. They are said to be good luck to wish upon!
Let’s get started with this easy star drawing tutorial. Find some art supplies, a comfy drawing spot, and let’s get started. Happy drawing!
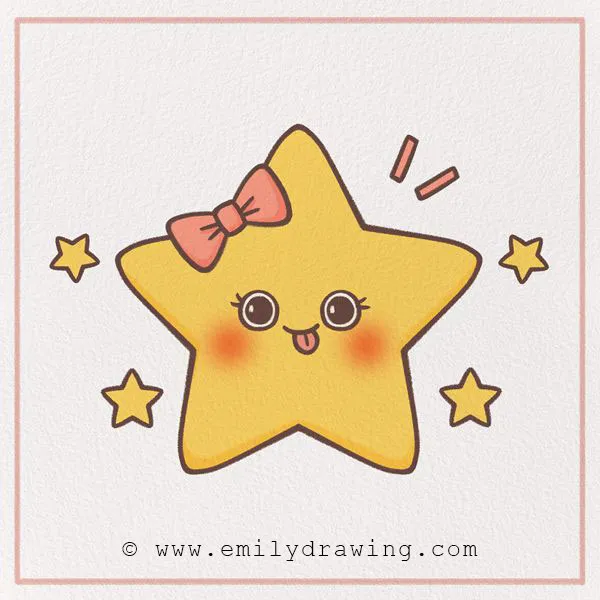
Preview of star drawing
Materials:
- a piece of paper
- a pencil for the guiding lines and sketching
- an eraser
- a black sharpie or a pen for the outlines
- markers or colored pencils for coloring
- our printable drawing guide (Join my Email List below to get this Tutorial)
Here are my RECOMMENDED Art Supplies!
- Crayola Coloring Set (140 Pieces – Mega Value!)
- 24 Colored Crayon Set
- A4 Printer Paper
- Crayola Coloring Pencils
- HP Home Printer with Instant Ink!
Time needed:
14 minutes.
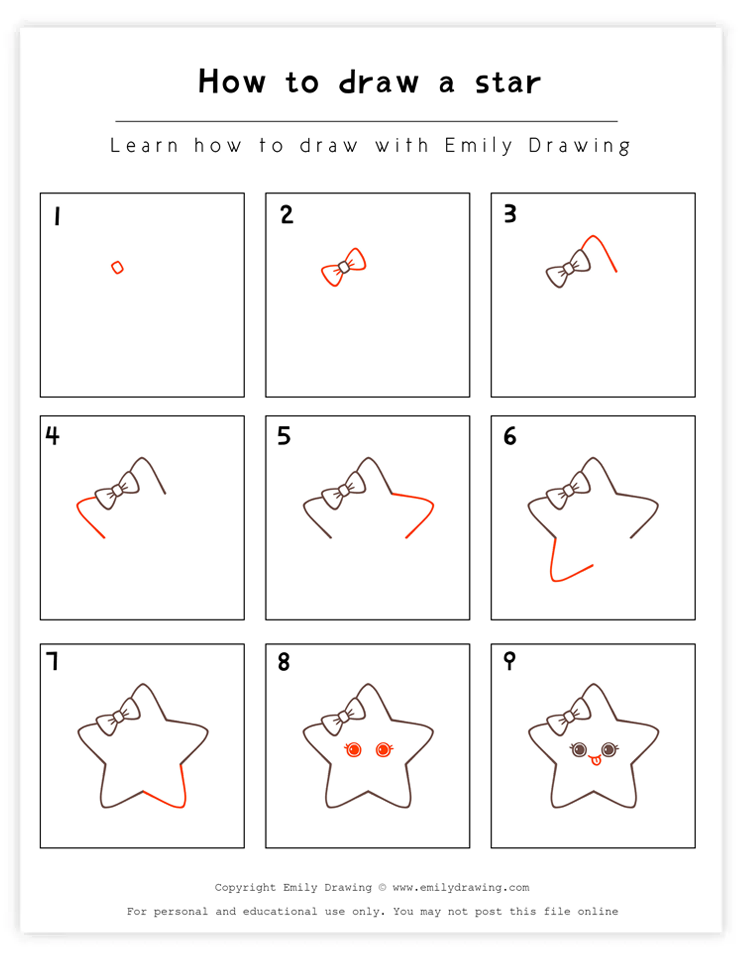
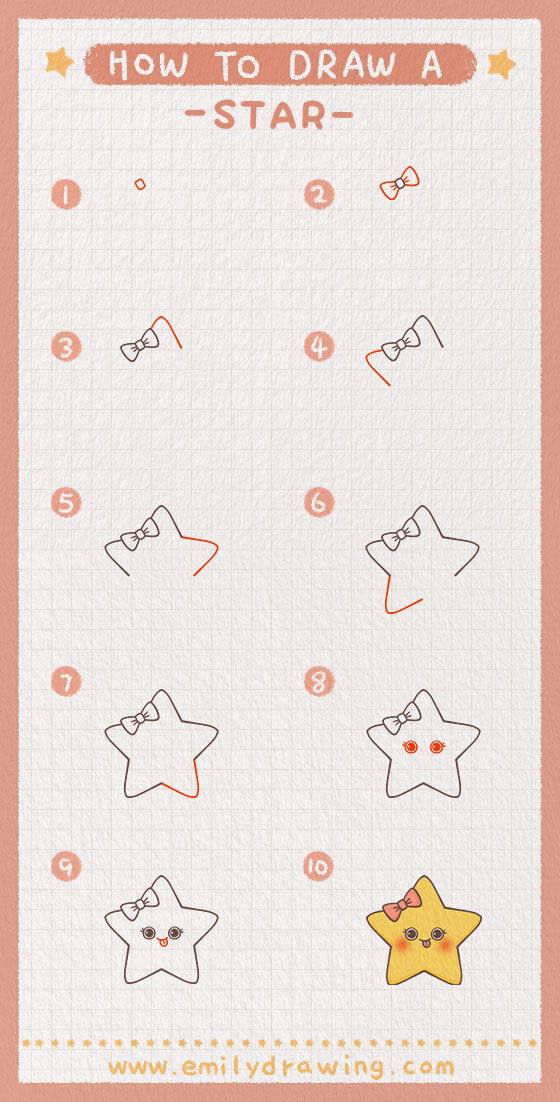
How to Draw a star — Let’s get started!
Step 1 – Start drawing the bow.

Our cartoon star is going to have a cute bow on top. Let’s start doing that now.
Draw a square on about two-thirds of the way up the page. It should be a little bit more to the left. Make the square a little bit crooked. Check out the photo!
Step 2 – Add more detail to the bow.
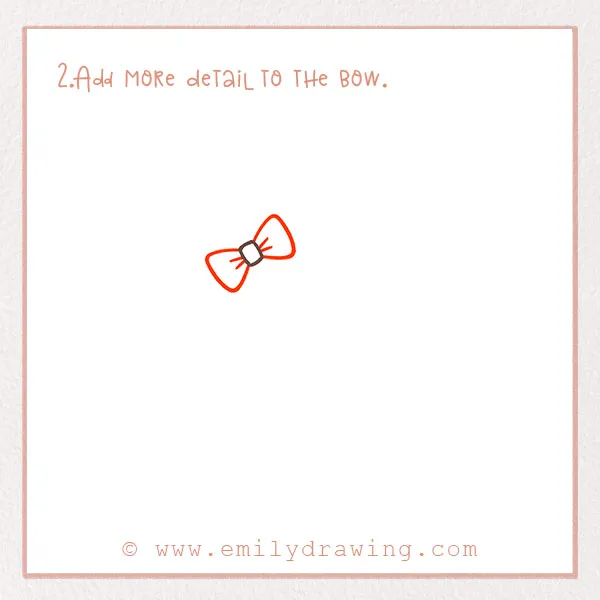
On either side of the square, draw a very small trapezoid. Then, add a few very small lines inside each of them towards the inside. These represent fabric wrinkles. This should look like a bow now.
Good job!
For other drawings that focus on symmetry, check out How to Draw a Butterfly or How to Draw a Snowflake.
Step 3 – Start forming the shape of the star.
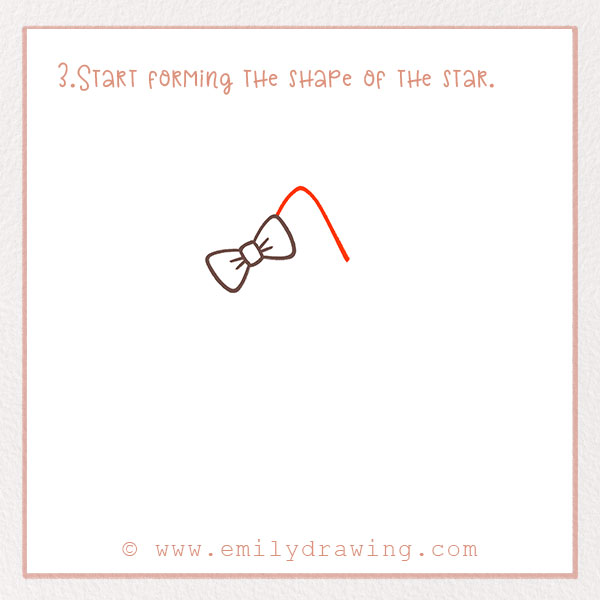
Let’s start drawing the actual star now.
On the upper right corner of the bow, draw a line. Form an angle with it by bending it to the right. It should be a few inches long, and go a few inches above the bow.
Step 4 – Continue drawing the star.
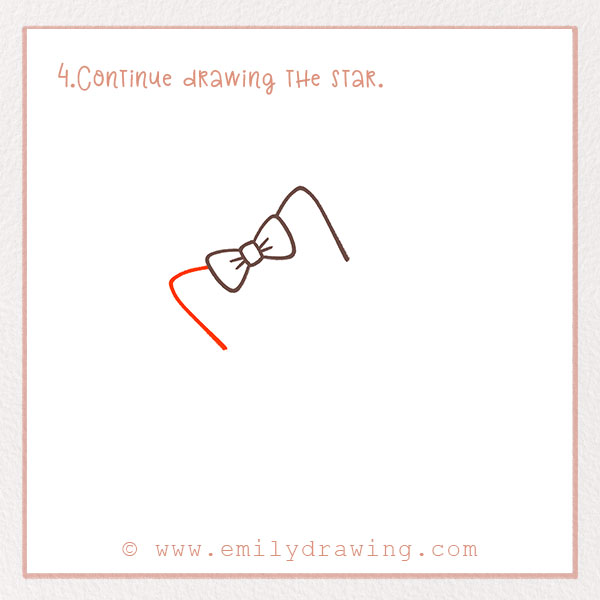
The next four steps are going to be very similar—in each one, we are just going to add another side of the star.
On the left side, add another V shape. It should mirror the shape on the left that you drew in Step 3, but this time on the other side of the bow.
Step 5 – Draw another side of the star.
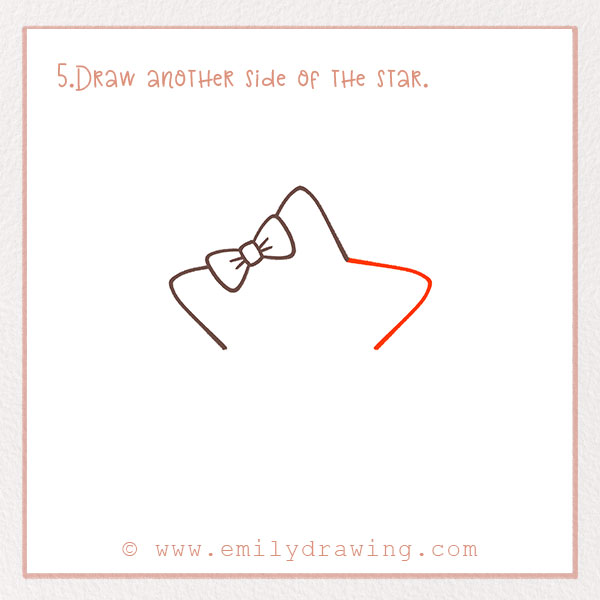
On the right side, we’re going to add another shape. It will be a complete V shape and connected to the one from Step 3. The lines can be a little curved to add some character to the star! It doesn’t have to be perfect.
We’re done with the top half of the star! Good job.
Step 6 – Add another side of the star.
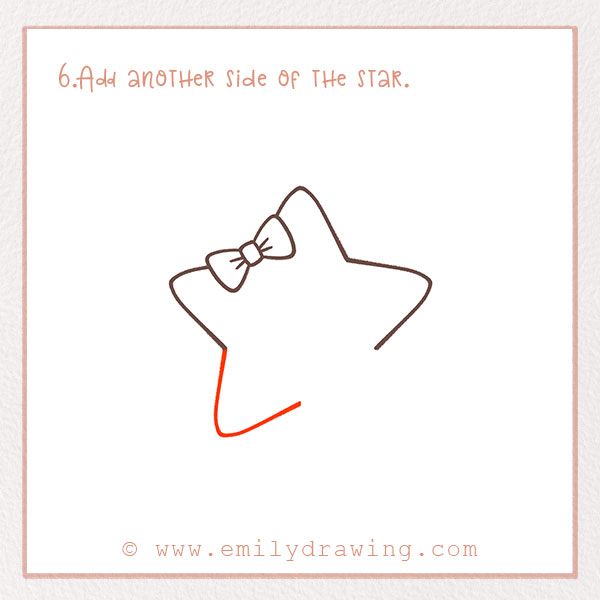
Let’s continue forming the star. On the left side, draw another point by forming another V shape. This should be connected to the one from Step 4, and be pointing down and to the left. Each point of the star should end a few inches from the edge of the page.
Step 7 – Draw the last point!
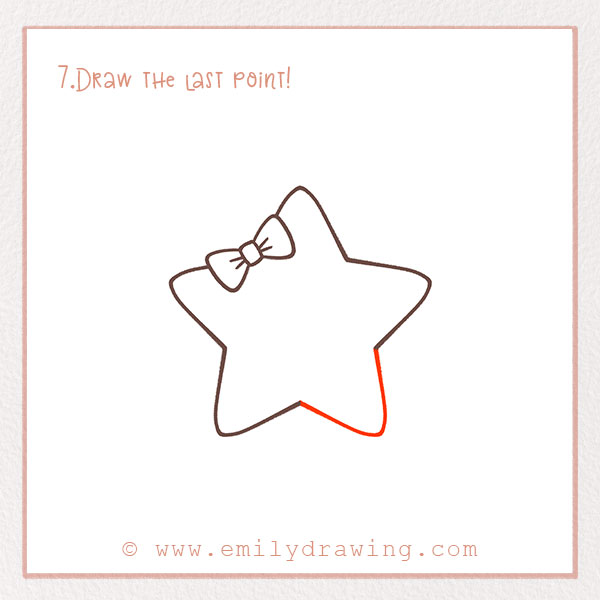
You should have a total of five points at the end of this step. Stars are commonly depicted with five points. They’ve been drawn like this for thousands of years, even dating back to 3100 B.C.E In Egypt! We think stars are depicted with five points because they appear very sparkly when you look at them in the night sky.
Let’s finish drawing the star. So, fill the gap on the bottom right with a point. The star should be centered in the page.
We’re all done with the shape of the star! Good job!
Step 8 – Draw the eyes of the star.
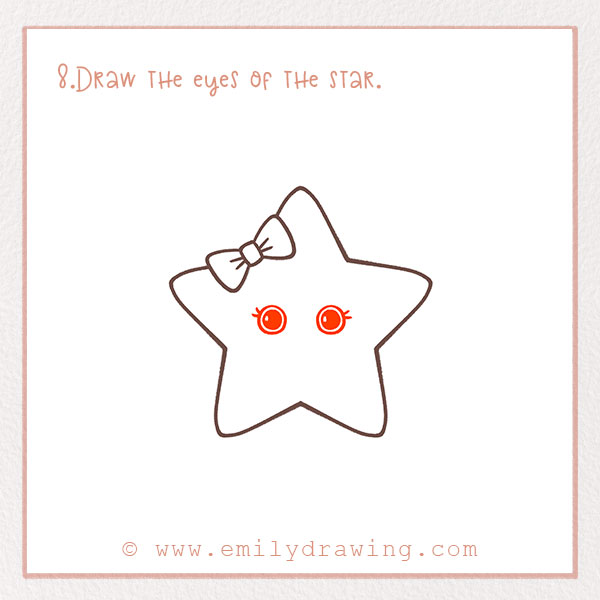
Our star is going to have a face. So, let’s draw two eyes now. Draw two circles a few inches apart. Inside each, draw a smaller circle. Fill them in almost entirely, but leave just a tiny bit unfilled to show a sparkle of the eye.
Lastly, add two very short lines on the outside of each eye to create eyelashes.
Step 9 – Draw a mouth.
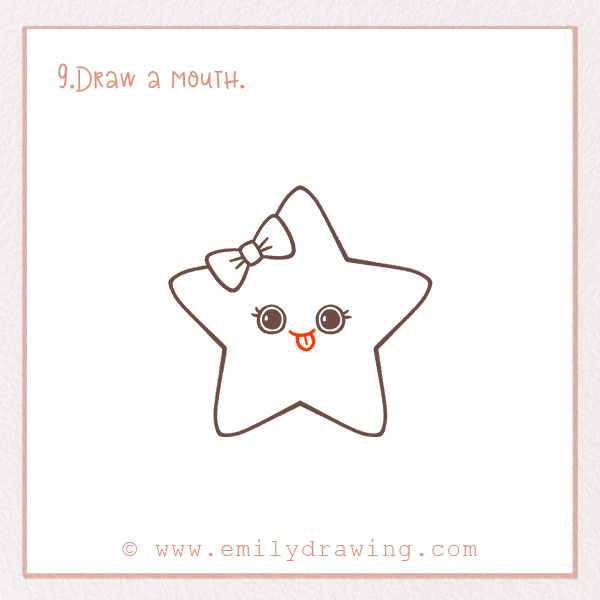
We’re just going to add a bit more to the face. Draw a small curve in between the eyes but a little bit lower. Then draw a tongue using a small semi-circle underneath the curve of the mouth. Add a small line in the tongue.
Almost done—good job!
Step 10 – Color
Let’s add some flair to our star. Find some colors and have fun! Fill in the background, too.
Once you’ve mastered the star, continue your creative journey with How to Draw a Earth or How to Draw a Diamond.
All done? We hope you had a blast with this step-by-step star tutorial. The My Little Pony and Hello Kitty tutorials are also adorable! Share this tutorial with people in your life you think might enjoy it, too! You can also share it with the social media icons on this page.
Pin it now, Draw later!
Get the FREE Printable Drawing Guide