
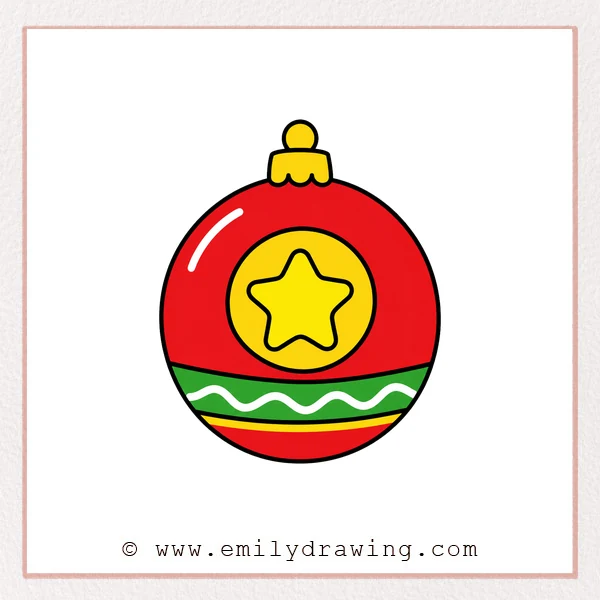
Learning how to draw ornament designs can be simple and relaxing. This easy drawing tutorial uses basic shapes, smooth curves, and clear details. Take your time with each step, and enjoy building the ornament from the top loop to the final shine.
What You Will Need
- A pencil
- An eraser
- Drawing paper
- A black marker or pen
- Red, gold, or festive coloring tools
Here are my RECOMMENDED Art Supplies!
- Crayola Coloring Set (140 Pieces – Mega Value!)
- 24 Colored Crayon Set
- A4 Printer Paper
- Crayola Coloring Pencils
- HP Home Printer with Instant Ink!
Time needed:
17 minutes.
Step-by-Step Drawing Guide
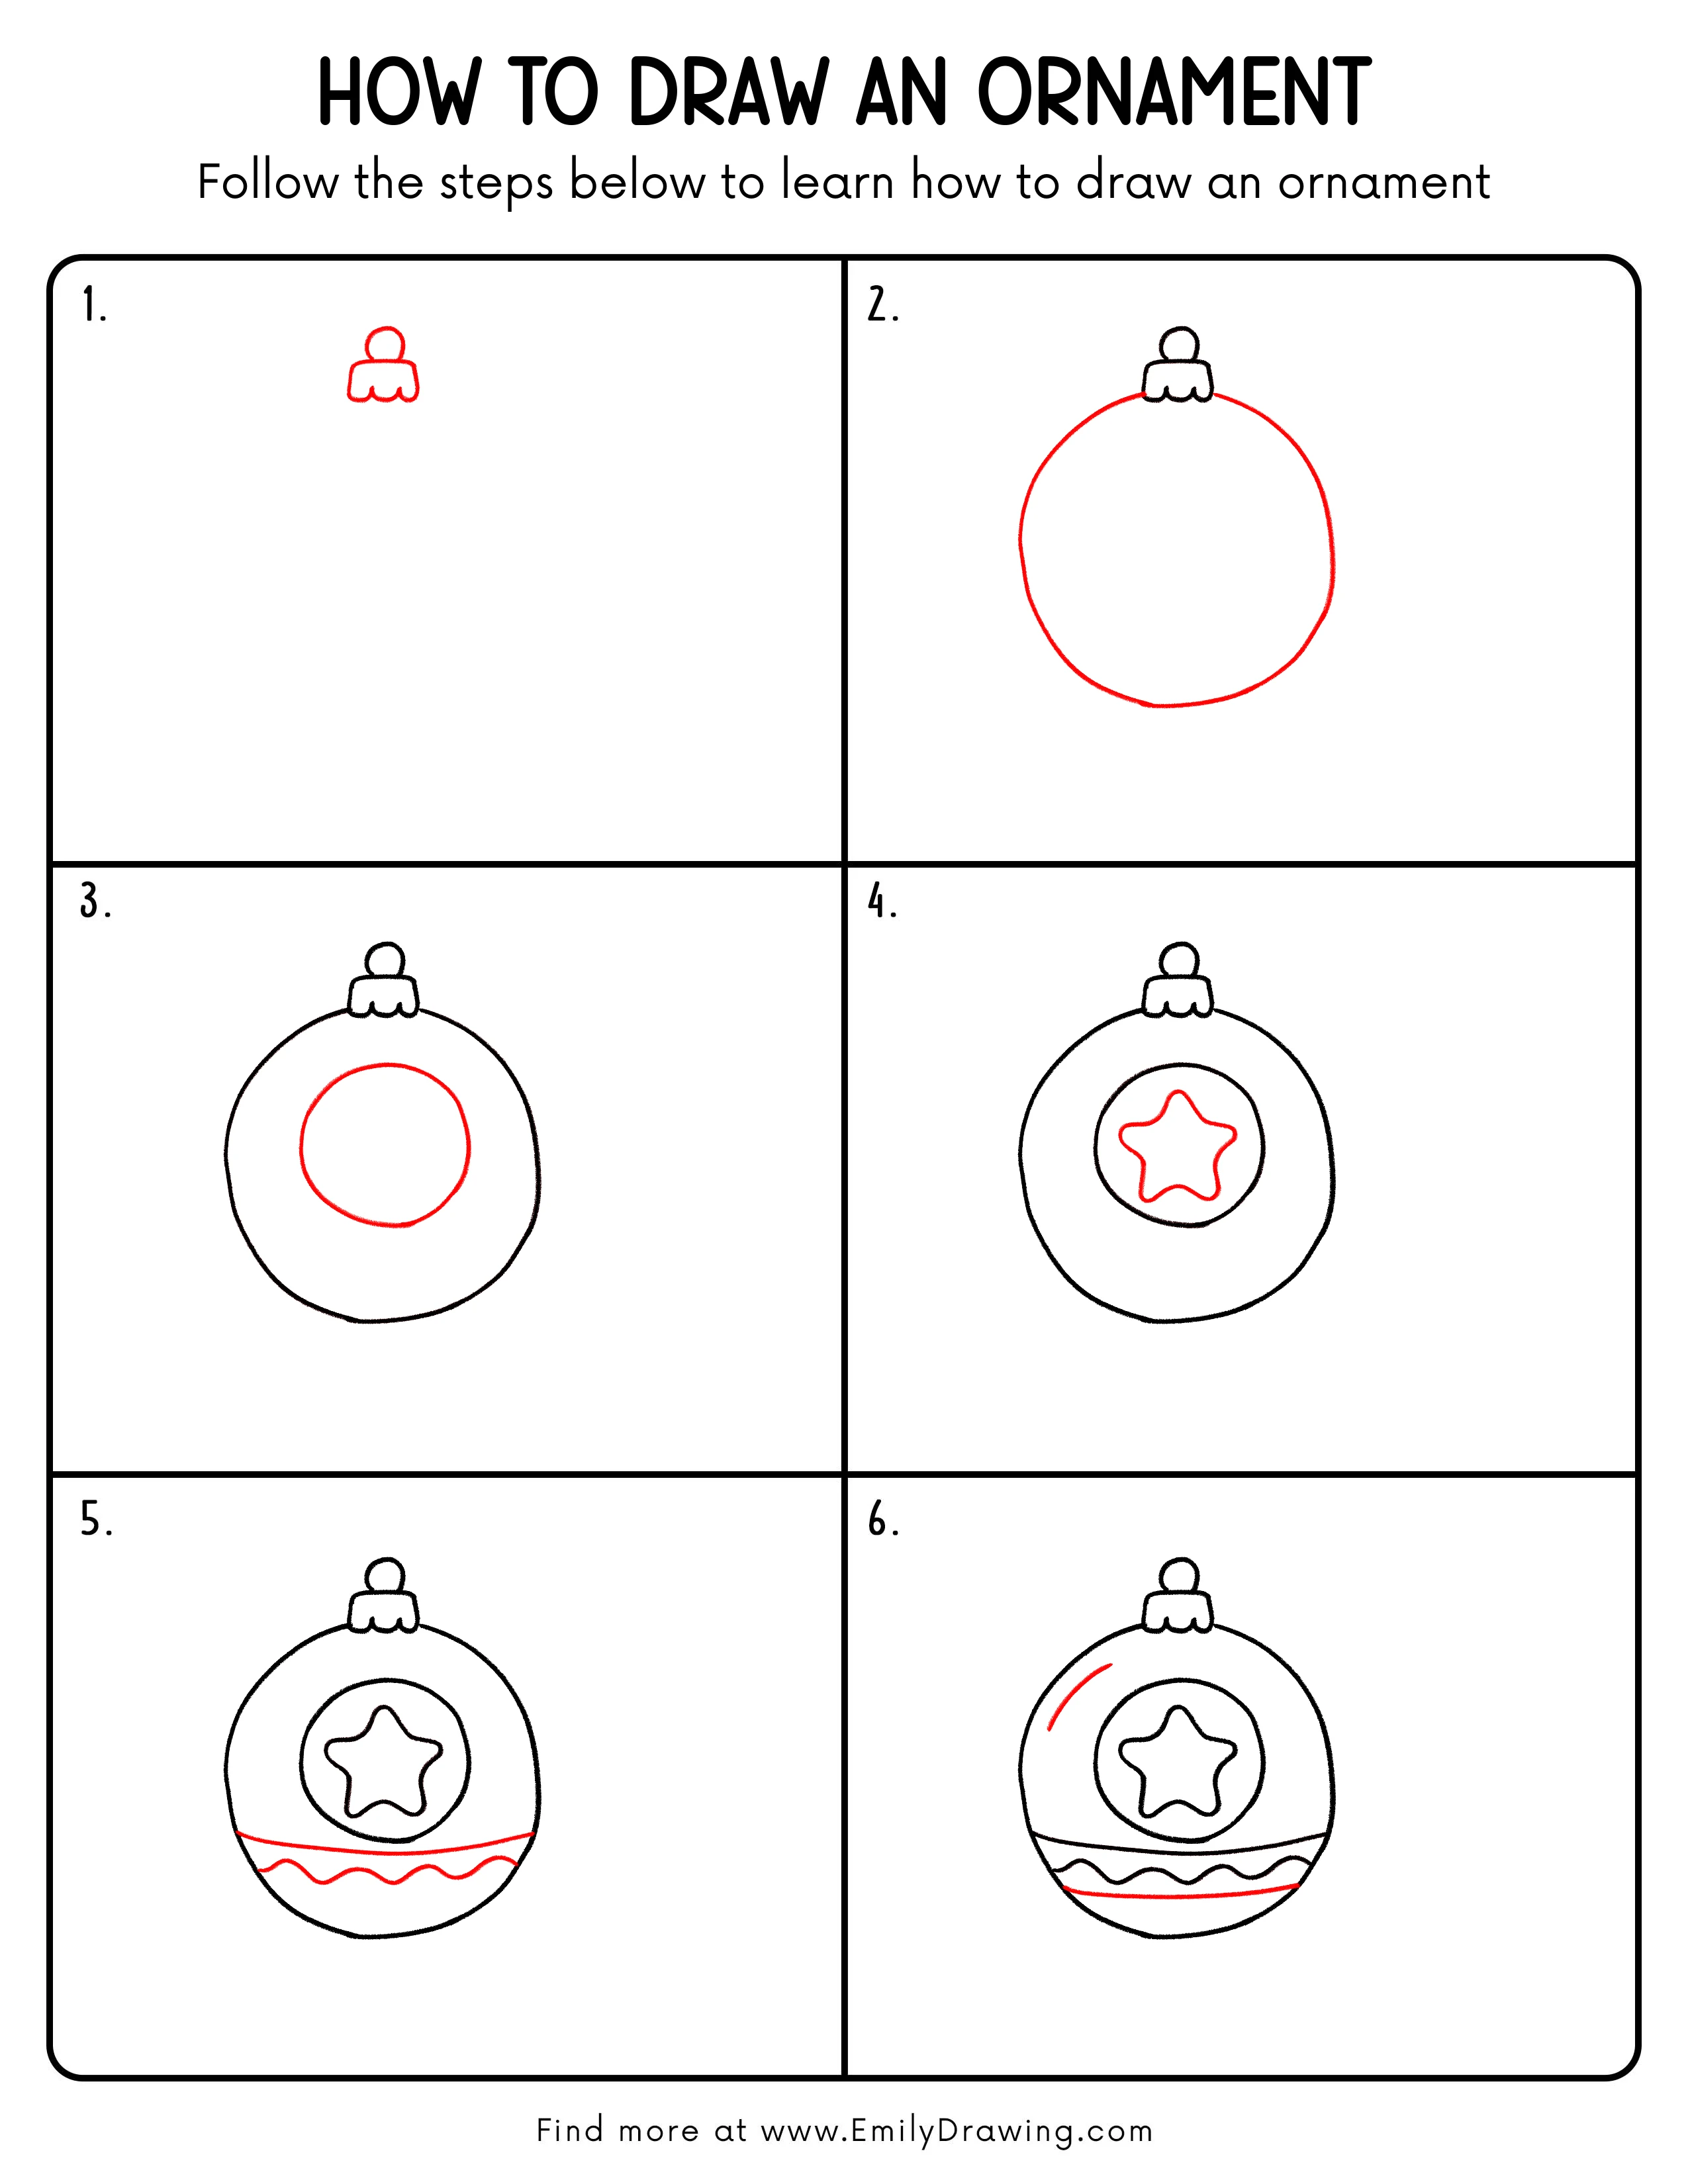
Step 1: Draw the Top Loop and Main Ornament Shape
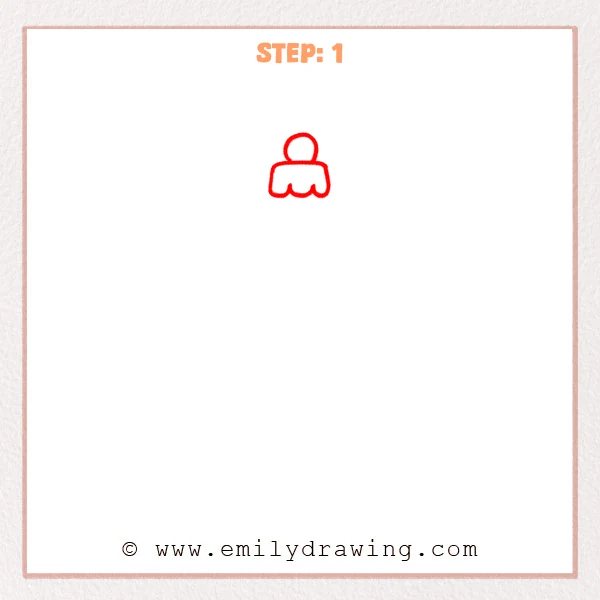
Start with a round loop at the top of the ornament. Then draw a wide rounded rectangle below it, using three small curves to make a soft wavy bottom edge.
Pro Tip: Keep the loop centered above the body so the ornament looks balanced.
Step 2: Draw the Round Ornament Body
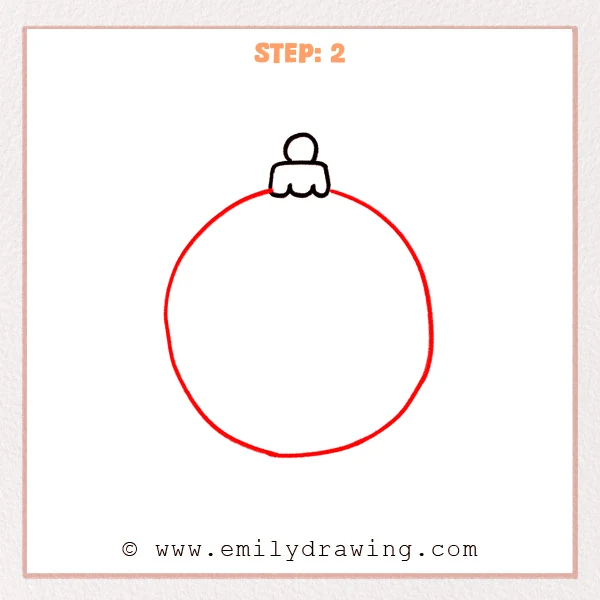
From both sides of the top cap, draw a large curved outline outward. Bring the line around the bottom and back up to form the big round body of the ornament.
Pro Tip: Move your wrist slowly while drawing the circle so both sides stay similar.
Step 3: Add the Center Oval Decoration
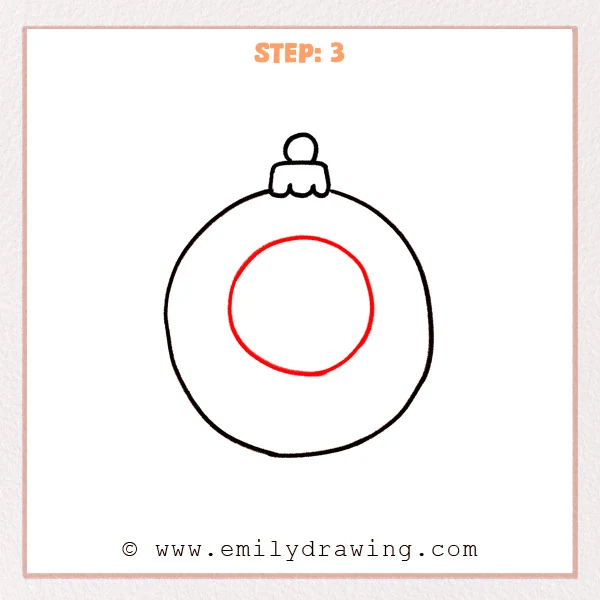
Draw a horizontal oval in the middle of the ornament body. Keep it centered, creating a base area for the next decorative details.
Pro Tip: Keep both ends of the oval smooth, with gentle curves along the top and bottom.
Step 4: Draw the Star Inside the Oval
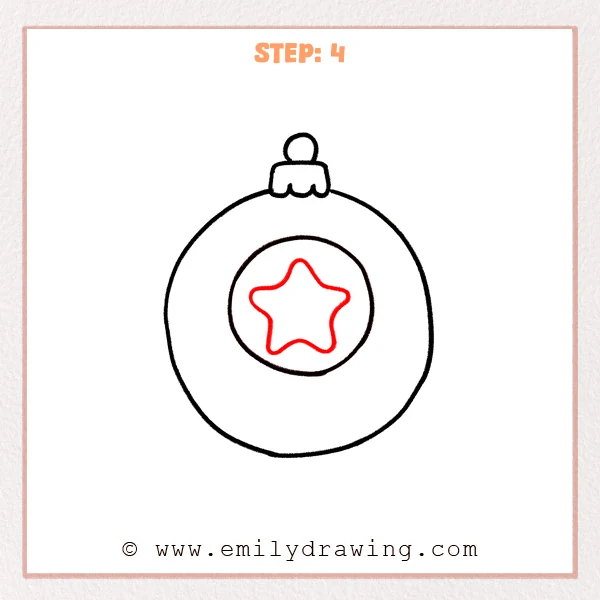
Draw a five-point star inside the center oval as the main decoration of the ornament. Keep each point softly rounded, and leave space between the star and the oval edge.
Pro Tip: Lightly mark the star’s top point and side points first to help keep it centered.
Step 5: Add the Lower Decorative Band
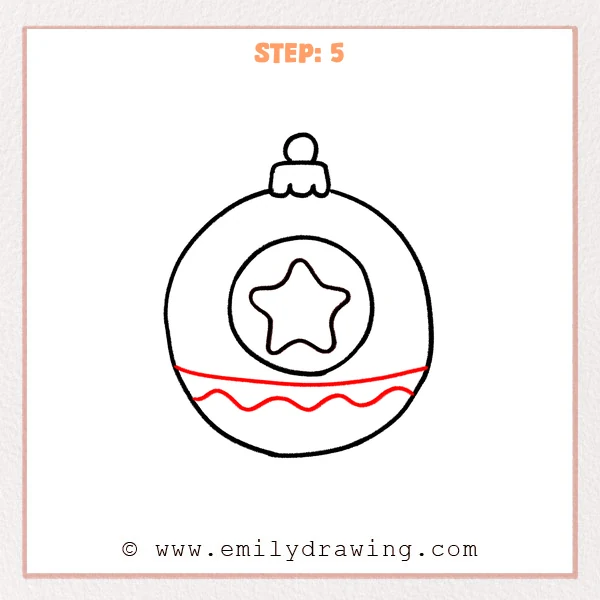
Draw a gently curved horizontal line across the lower part of the ornament. Then add a wavy line below it to create a wide decorative band.
Pro Tip: Let both lines follow the curve of the round outline so the band feels natural.
Step 6: Finish the Lower Edge and Add a Highlight
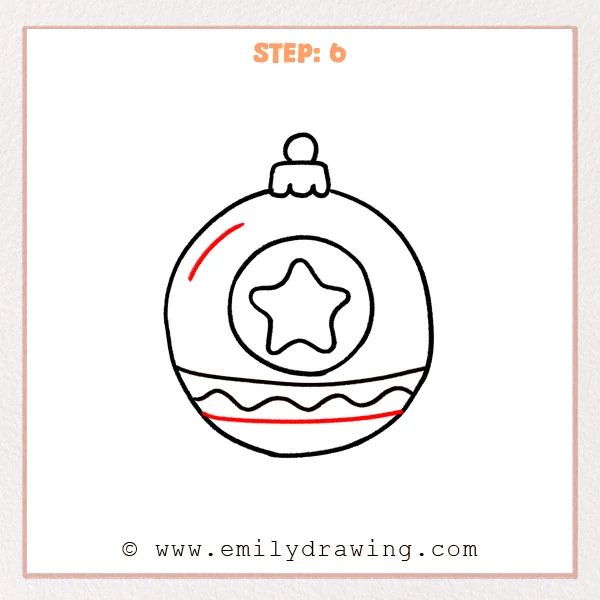
Draw a curved lower edge beneath the wavy band to complete the decoration. Then add a short curved line near the upper left to show a shiny highlight on the ornament.
Pro Tip: Keep the highlight short, and curve it gently with the round shape.
Step 7: Color in your drawing!
Fun Facts
Ornaments are often used to decorate trees, windows, gifts, and festive displays. Round ornaments are popular because their smooth shape looks bright and cheerful. Many ornament designs include stars, stripes, waves, or shiny highlights.
Pin it now, Draw later!
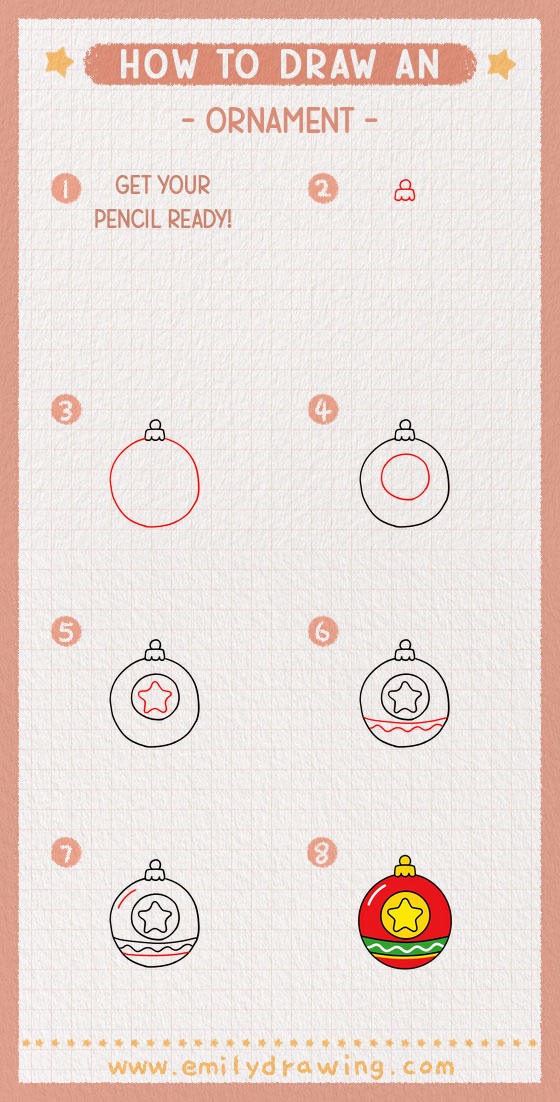
Now your ornament drawing is ready for color. Try red for the main body, gold for the cap, and a bright color for the star. You can also add tiny dots, sparkles, or extra curved lines to make your design special.
This step by step drawing is a friendly drawing for beginners because it uses simple circles, ovals, curves, and a star. Keep practicing, and try making several ornaments with different patterns.
Get the FREE Printable Drawing Guide
FREE Download Printable Ornament Drawing Tutorial
Frequently Asked Questions
Is this ornament drawing good for beginners?
Yes, this ornament drawing is made with simple shapes and clear steps. Beginners can follow each part slowly and adjust the lines as needed.
How can I make my ornament look more festive?
Add bright colors, small sparkles, and extra patterns inside the round body. You can also color the star with yellow or gold.
What should I do if my circle is not perfect?
Keep the shape soft and rounded instead of worrying about perfection. A slightly uneven circle can still look charming and handmade.



