
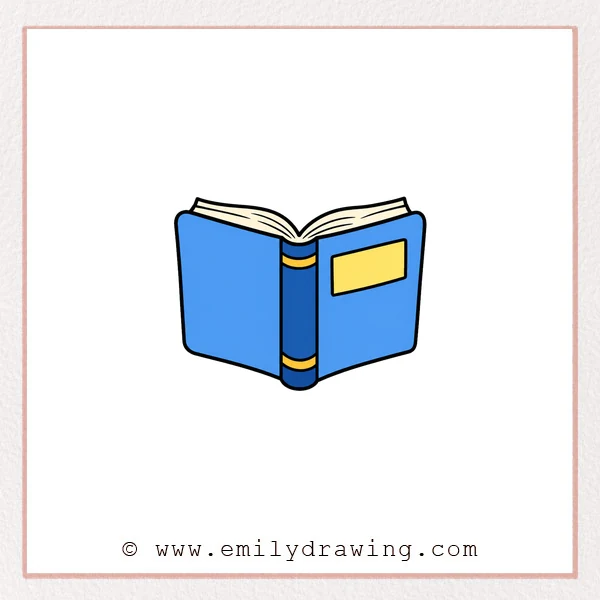
In this easy drawing tutorial, you will learn how to draw open book in a clear and simple way. This step by step drawing is great for beginners because it starts with basic curves and builds slowly. Take your time, and let each line help the book look more open and natural.
What You Will Need
- A pencil
- An eraser
- Drawing paper
- A black marker or pen
- Colored pencils or crayons
Here are my RECOMMENDED Art Supplies!
- Crayola Coloring Set (140 Pieces – Mega Value!)
- 24 Colored Crayon Set
- A4 Printer Paper
- Crayola Coloring Pencils
- HP Home Printer with Instant Ink!
Time needed:
11 minutes.
Step-by-Step Drawing Guide
Step 1: Draw the Top Edge of the Pages
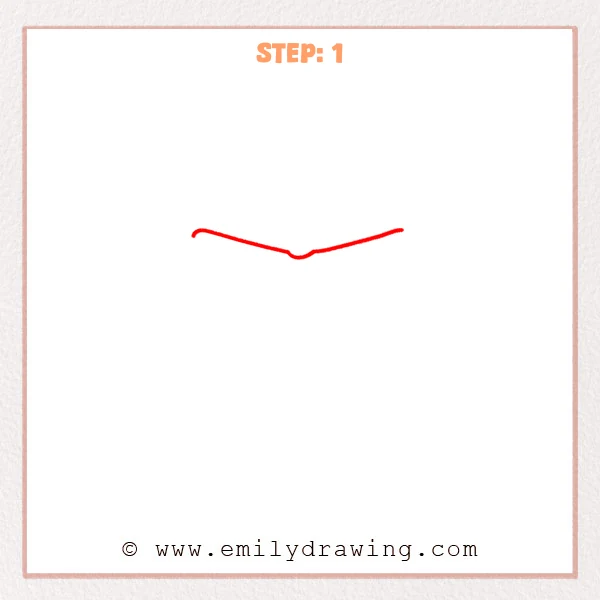
Start with a gently curved horizontal line to form the top edge of the open book. Let the center dip slightly downward, like two pages meeting at the spine.
Pro Tip: Keep both sides close in length so the open book feels balanced.
Step 2: Add the Outer Page Shape
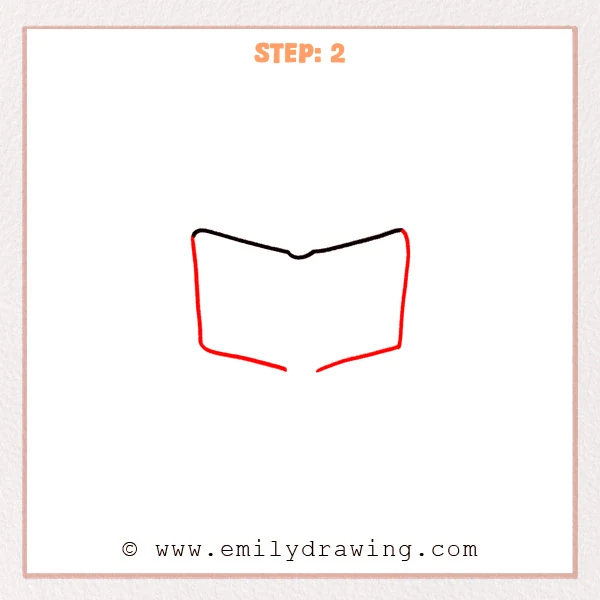
Draw two slightly slanted side lines downward from the left and right ends. Then add two lower curves that move toward the center, leaving a small opening near the spine.
Pro Tip: Avoid making the lower curves too straight so the pages look naturally open.
Step 3: Draw the Spine and Page Layers
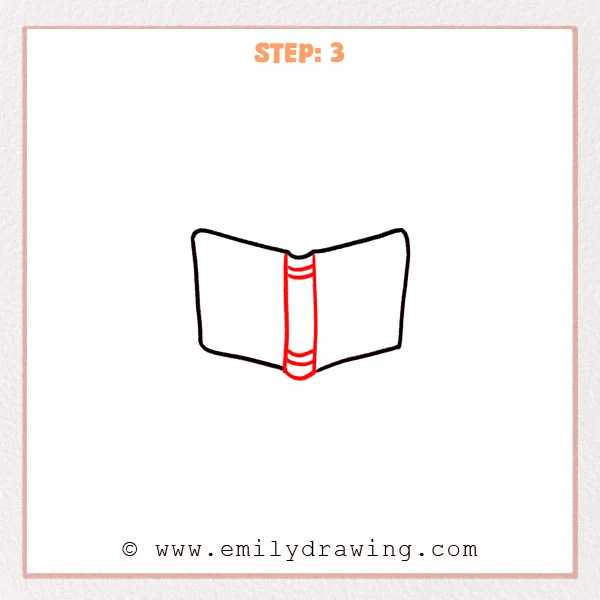
Draw two vertical lines downward from the center opening to form the book spine. Add a few short curved lines to show page layers and thickness along the spine.
Pro Tip: Keep these short curves parallel so the spine looks neat and even.
Step 4: Add the Back Page Edge
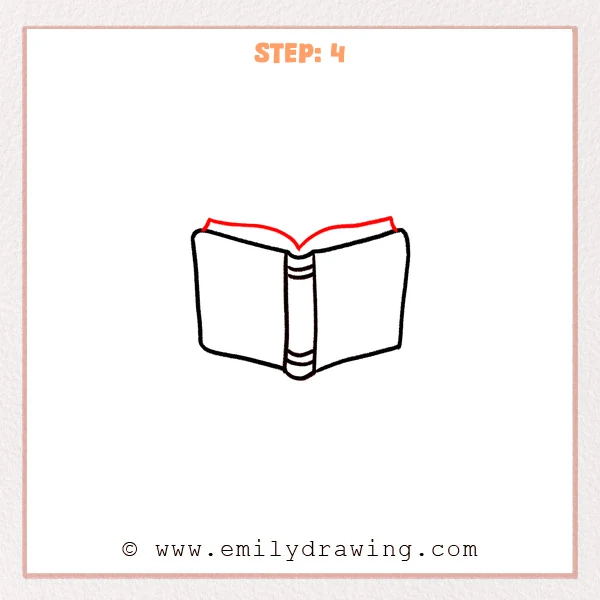
Draw a new angled and curved line above the book to show the back pages opening outward. Let the center form a downward point that connects near the top of the spine.
Pro Tip: Keep the back page edge slightly higher than the front outline to show depth.
Step 5: Draw the Top Page Lines
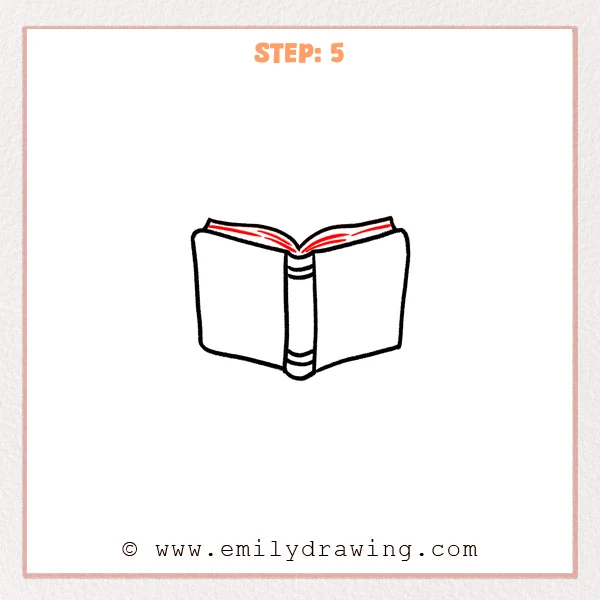
Add a few short curved lines inside the back pages to show page texture. Let these lines move from both sides toward the center, but do not connect them fully to the spine.
Pro Tip: Keep the page lines close to the top edge, leaving wide blank page areas below.
Step 6: Add the Right Page Title Box
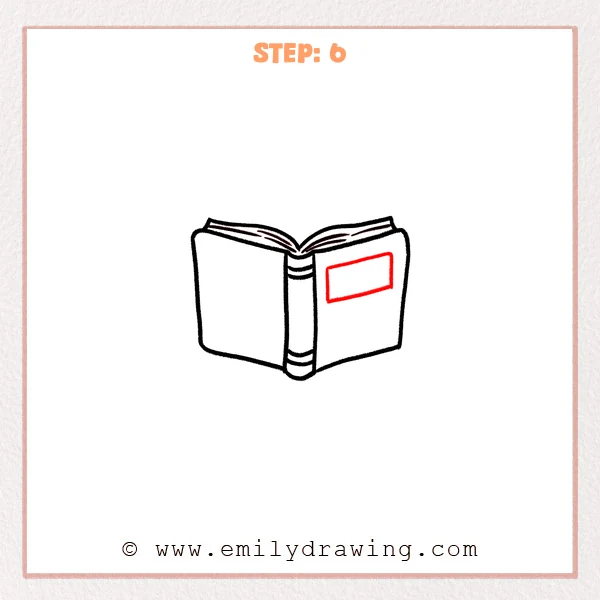
Draw a slightly tilted rectangle on the right page for a title or picture box. Let it follow the angle of the page so it looks printed on the paper.
Pro Tip: Keep the rectangle sides mostly parallel to the page edges for a cleaner look.
Step 7: Color in your drawing!
Fun Facts
Open books are often used in art to show learning, stories, and imagination. Many books have a visible spine, which helps hold the pages together. When drawing for beginners, an open book is a helpful subject because it uses curves, rectangles, and simple symmetry.
Pin it now, Draw later!
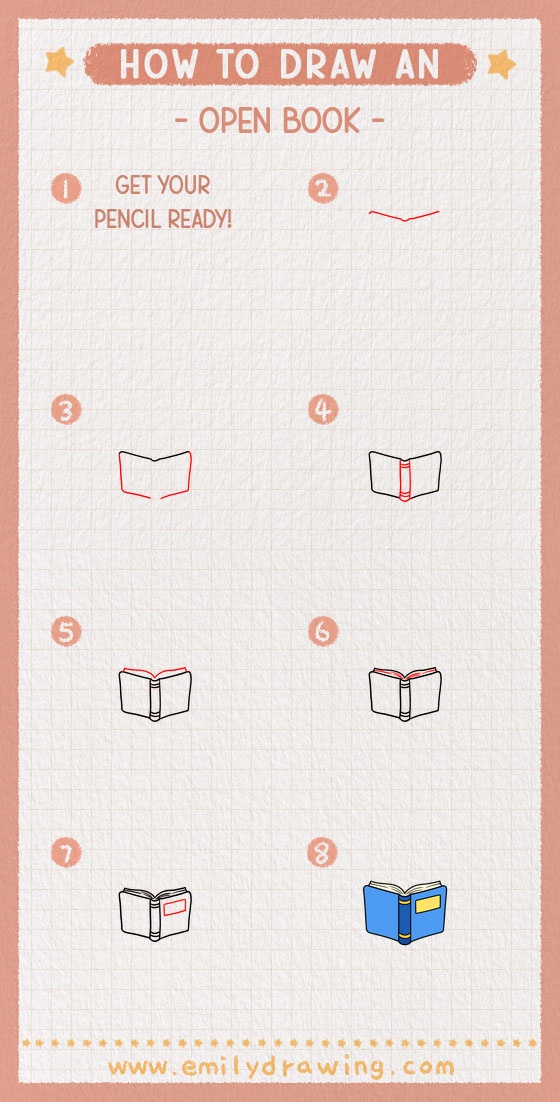
Now you know how to draw open book using simple shapes and steady lines. You can trace the final outline with a marker, then erase extra pencil marks. Add soft shadows, page lines, or a small picture inside the title box to finish your drawing.
Try this easy drawing tutorial again and make your next open book wider, taller, or filled with story details.
Get the FREE Printable Drawing Guide
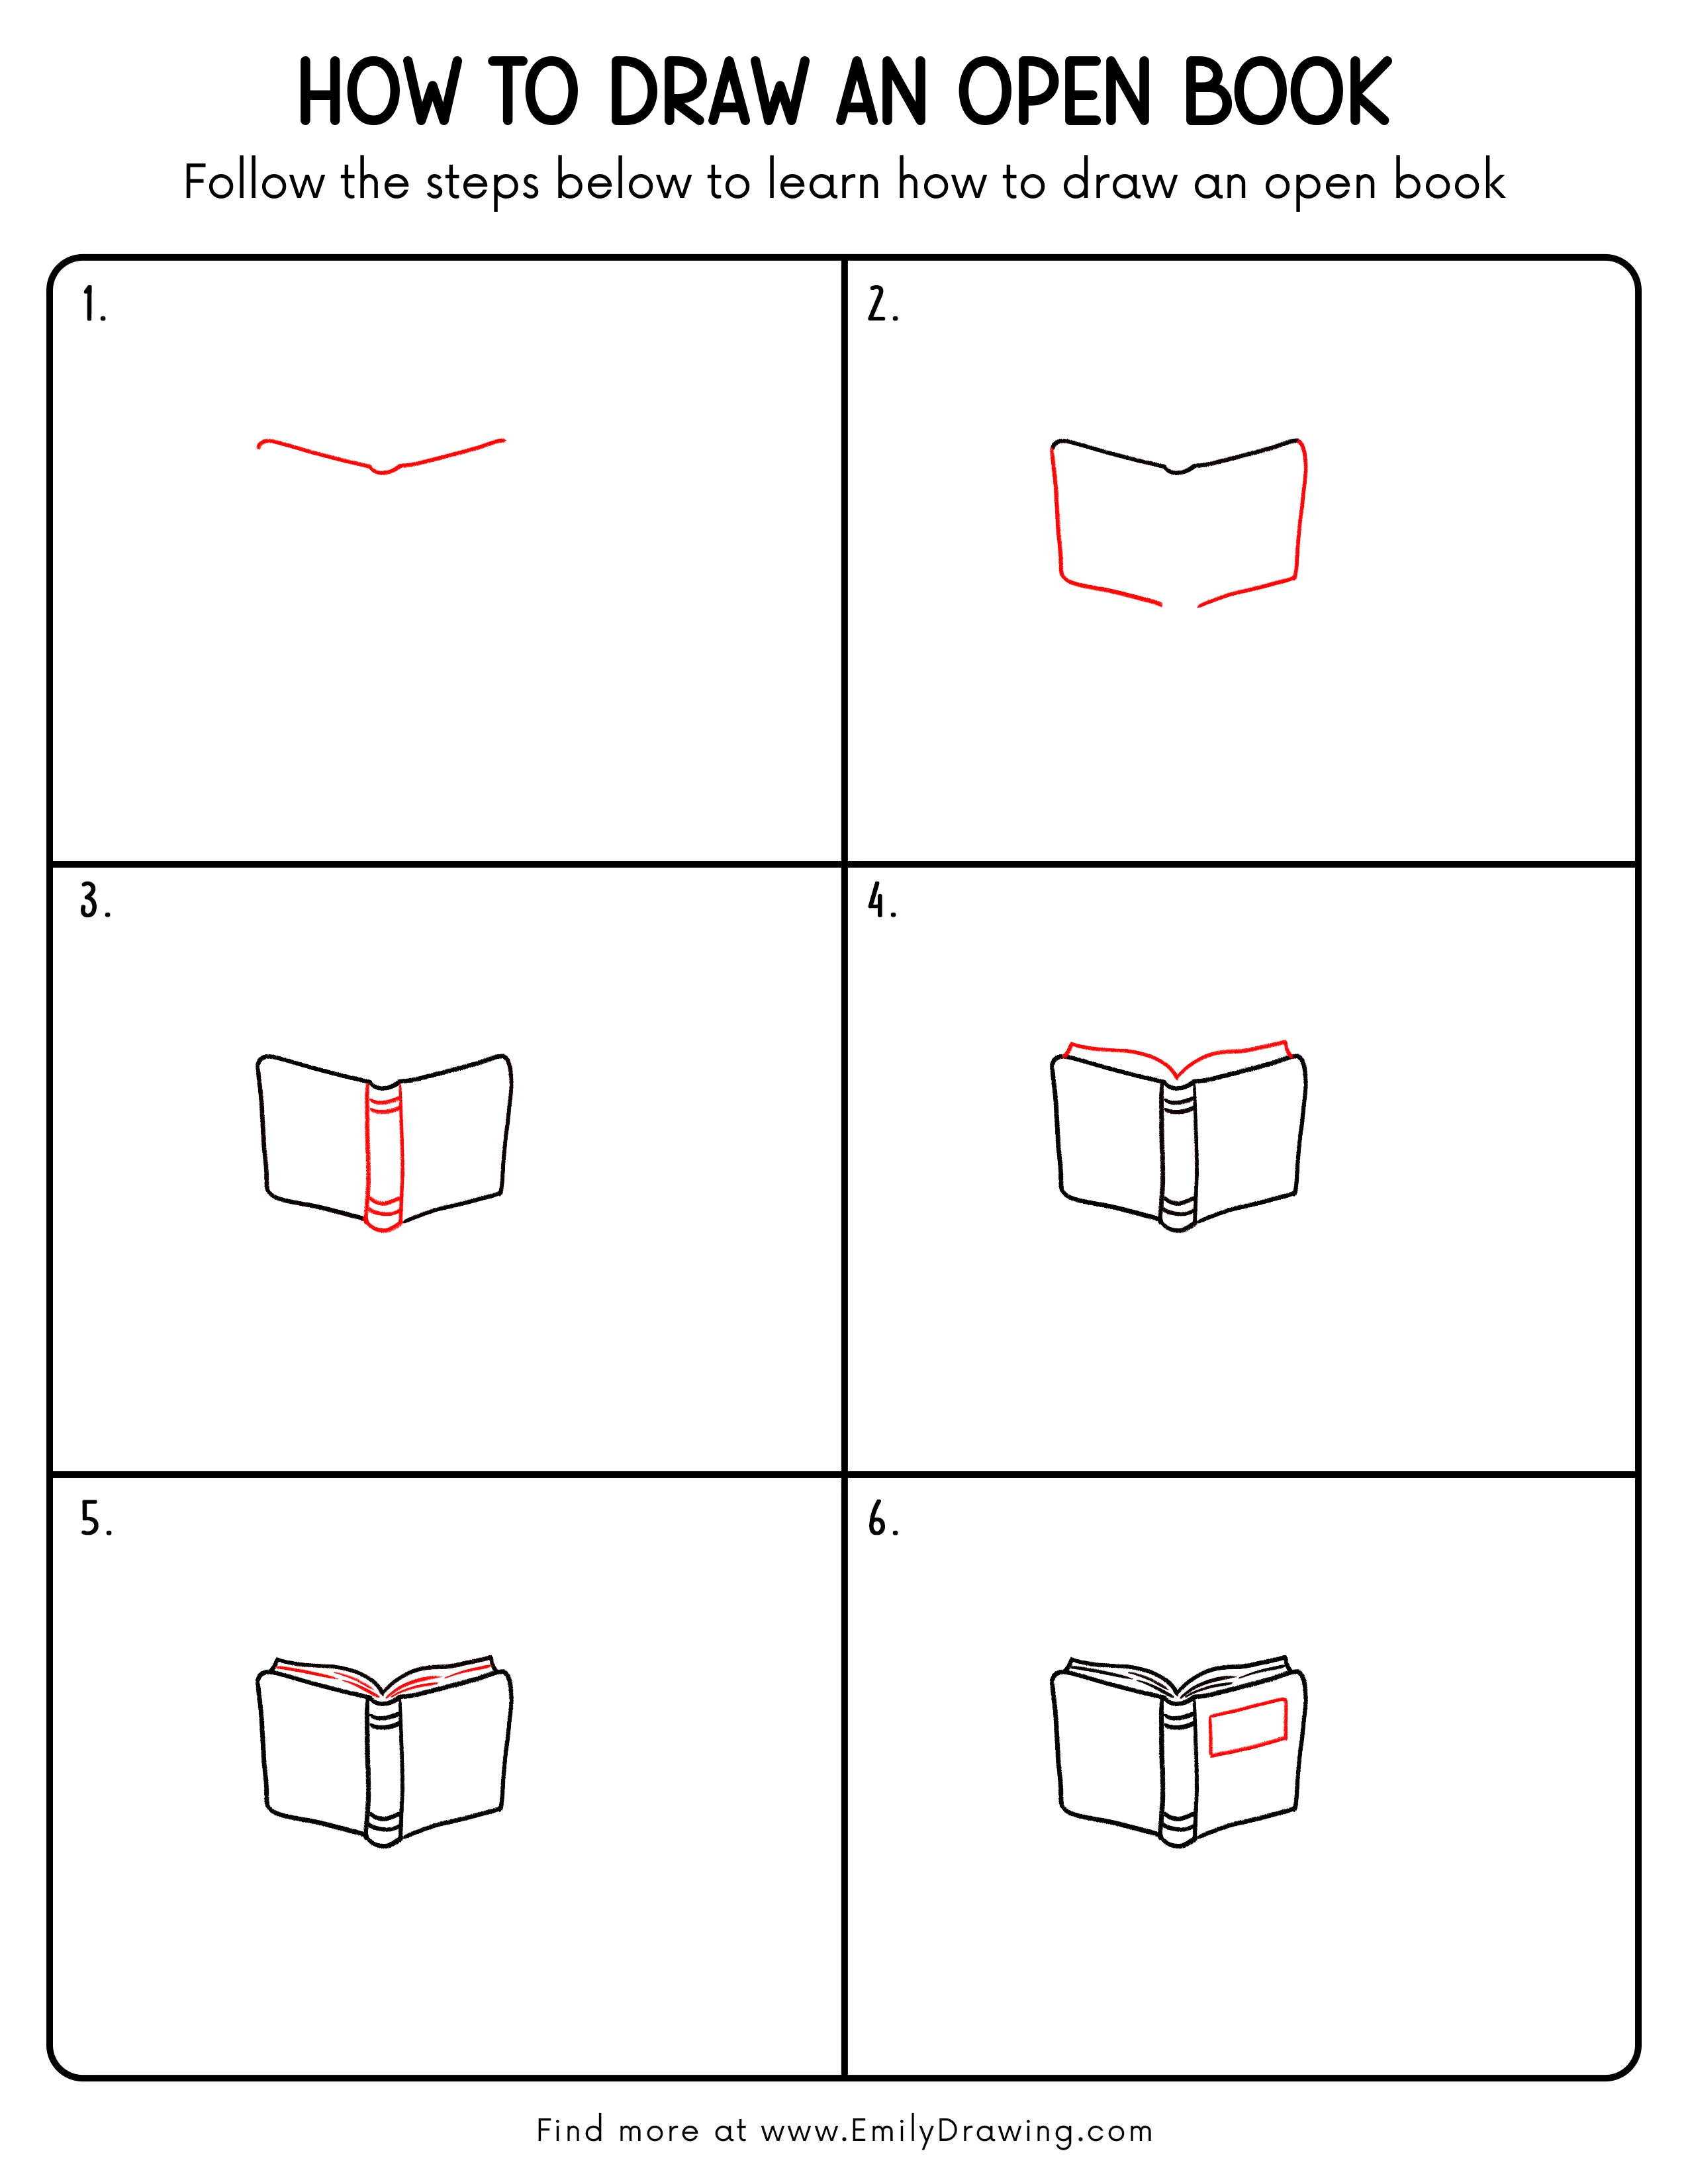
FREE Download Printable Open Book Drawing Tutorial
Frequently Asked Questions
Is this open book drawing good for beginners?
Yes, this open book drawing is good for beginners because each step adds only one clear part. The shapes are simple and easy to adjust.
How can I make the open book look more realistic?
Add light page lines, gentle shadows near the spine, and small curves along the edges. These details make the pages look layered and flexible.
Can I color the open book?
Yes, you can color the cover, spine, and page details. Keep the pages light so the open book still looks clean and readable.



