
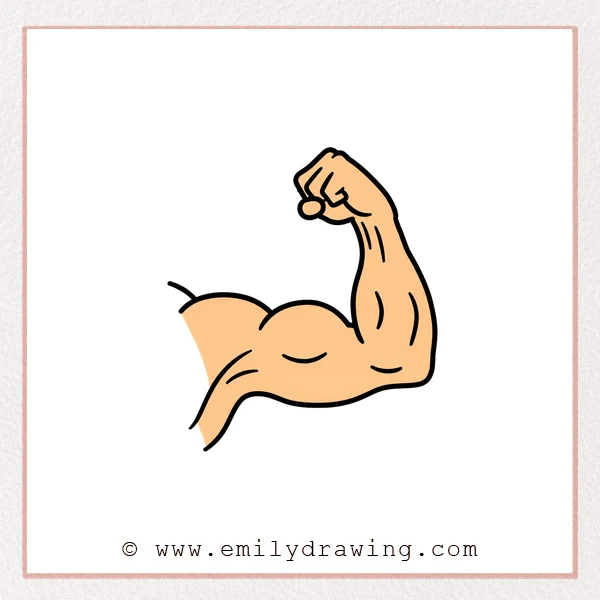
In this easy drawing tutorial, you will learn how to draw muscular arm step by step.
We will build the arm with smooth curves, simple shapes, and clear muscle details.
Take your time, and focus on one new part in each step.
What You Will Need
- A pencil
- An eraser
- Drawing paper
- A black marker or pen
- Colored pencils or crayons, optional
Here are my RECOMMENDED Art Supplies!
- Crayola Coloring Set (140 Pieces – Mega Value!)
- 24 Colored Crayon Set
- A4 Printer Paper
- Crayola Coloring Pencils
- HP Home Printer with Instant Ink!
Time needed:
10 minutes.
Step-by-Step Drawing Guide
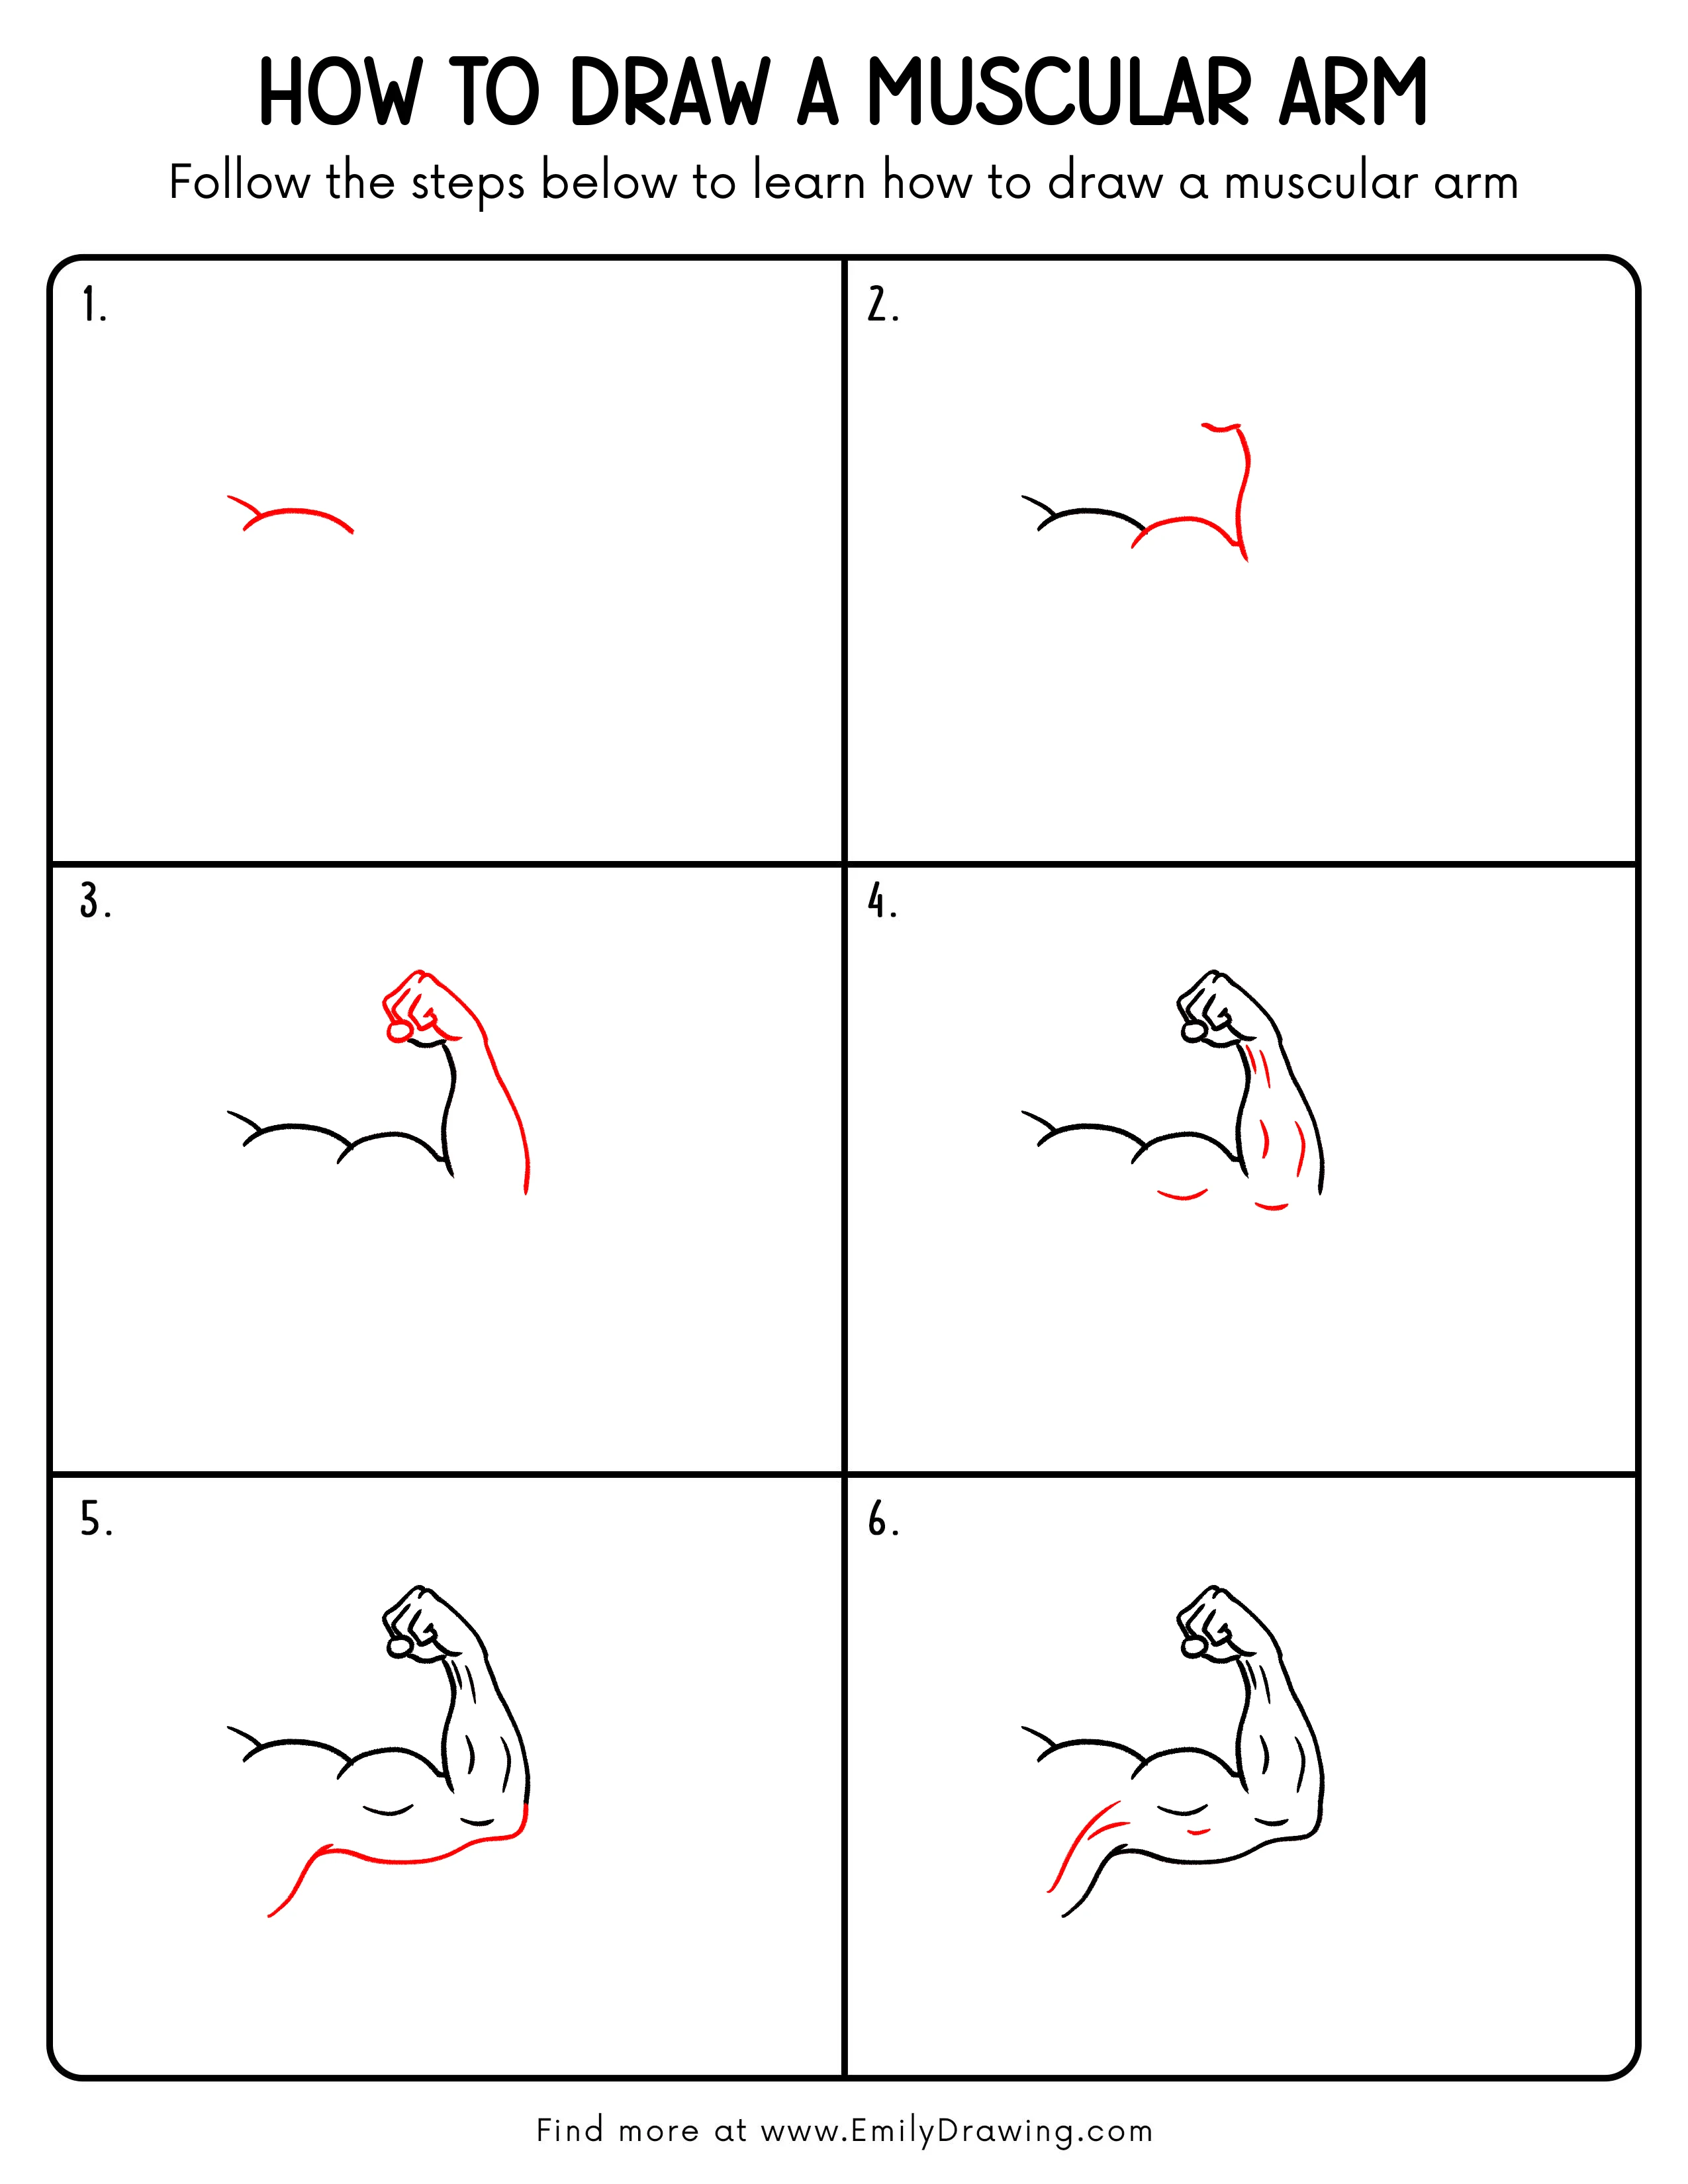
Step 1: Draw the Upper Arm Curve
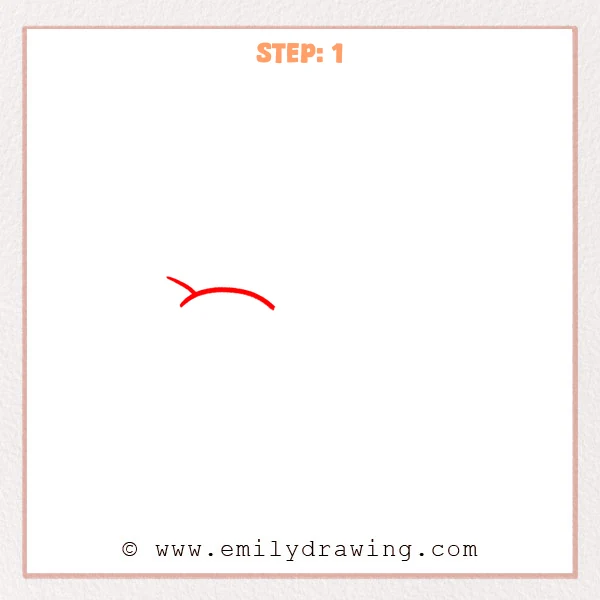
Start on the left and draw a long curve stretching to the right for the top outline of the muscular arm.
Add a short slanted curve above the left side to make the shoulder connection feel natural.
Pro Tip: Keep the long curve smooth, with the right end bending slightly downward.
Step 2: Add the Curved Forearm Outline
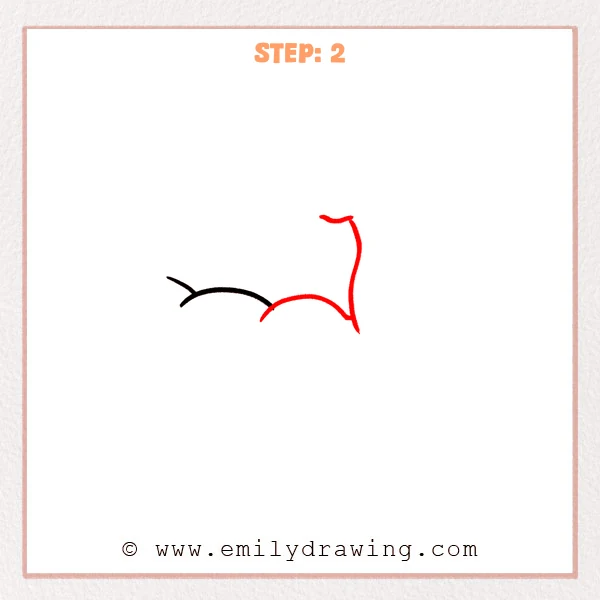
Continue from the right side of the first curve and draw a rounded arc downward to form the bulging muscle area.
Then draw a longer curve upward, adding a small wavy shape at the top for the wrist or fist connection.
Pro Tip: Make the bulging curve rounder than the first outline, so the muscular arm feels stronger.
Step 3: Draw the Fist and Outer Arm
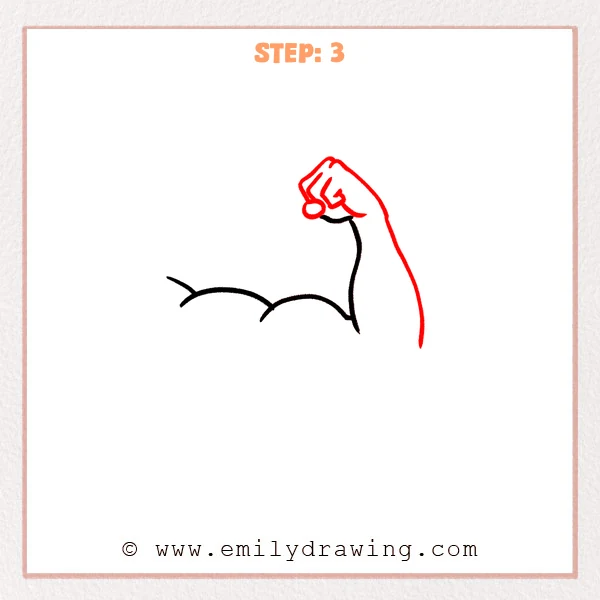
Draw a clenched fist at the top connection, using curved lines for the fingers and knuckles.
From the right side of the fist, draw a long downward curve to form the outer outline of the muscular arm.
Pro Tip: Make the fist a little wider than the forearm, so the bent arm pose reads clearly.
Step 4: Add Muscle Detail Lines
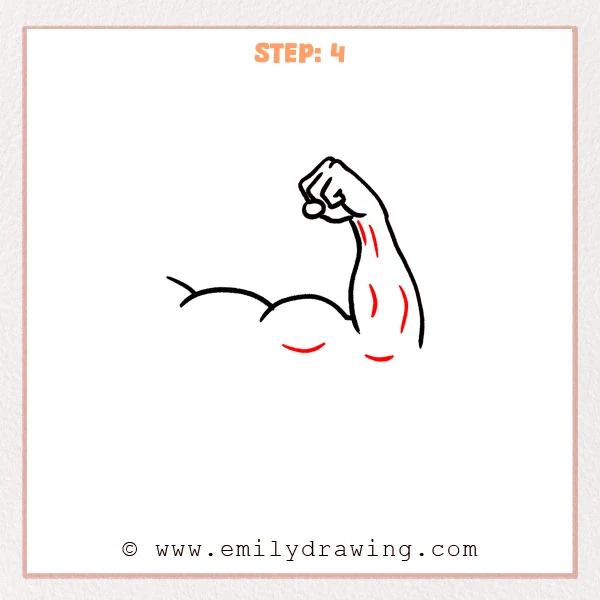
Draw several short curved lines inside the forearm and upper arm to show muscle direction and volume.
Add two shallow curves below to leave space for the lower shape of the arm.
Pro Tip: Keep the detail lines short, because gentle curves can show muscle strength clearly.
Step 5: Complete the Lower Arm Outline
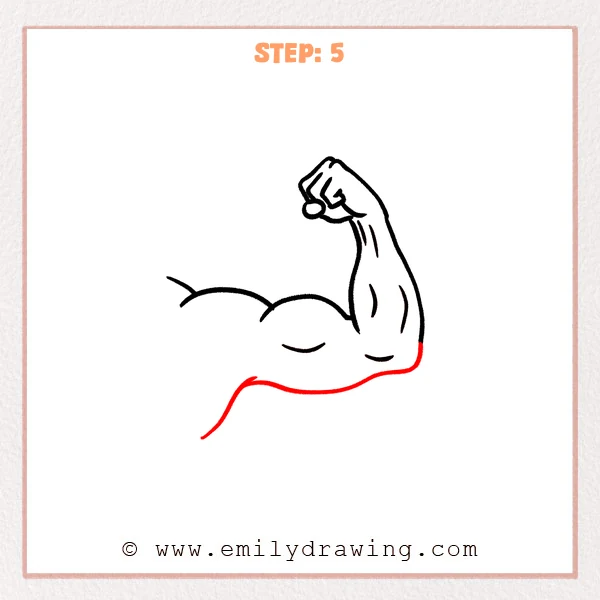
Continue from the lower right side of the arm and draw a long curve stretching left toward the underside of the shoulder.
Let the line dip and turn slightly at the left end to complete the bent muscular arm shape.
Pro Tip: Keep the lower outline looser than the top, so the arm looks fuller and stronger.
Step 6: Add Inner Shoulder Lines
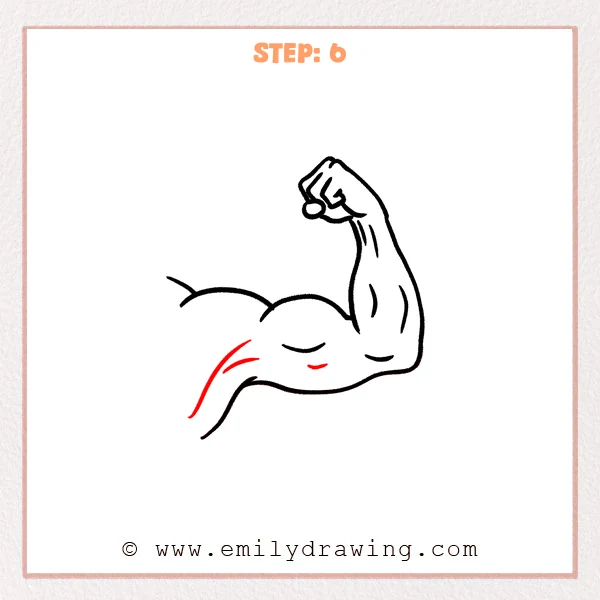
Draw two upward curves below the left shoulder to show where the shoulder connects to the chest.
Add a small curve near the middle of the arm to make the muscle sections clearer.
Pro Tip: Keep the inner lines short, and curve them gently with the direction of the outer outline.
Step 7: Color in your drawing!
Fun Facts
- A bent muscular arm is often drawn with rounded curves to show strength.
- The bicep is the large front muscle that becomes more visible when the arm bends.
- Simple curved lines can make a drawing for beginners look bold and expressive.
Pin it now, Draw later!
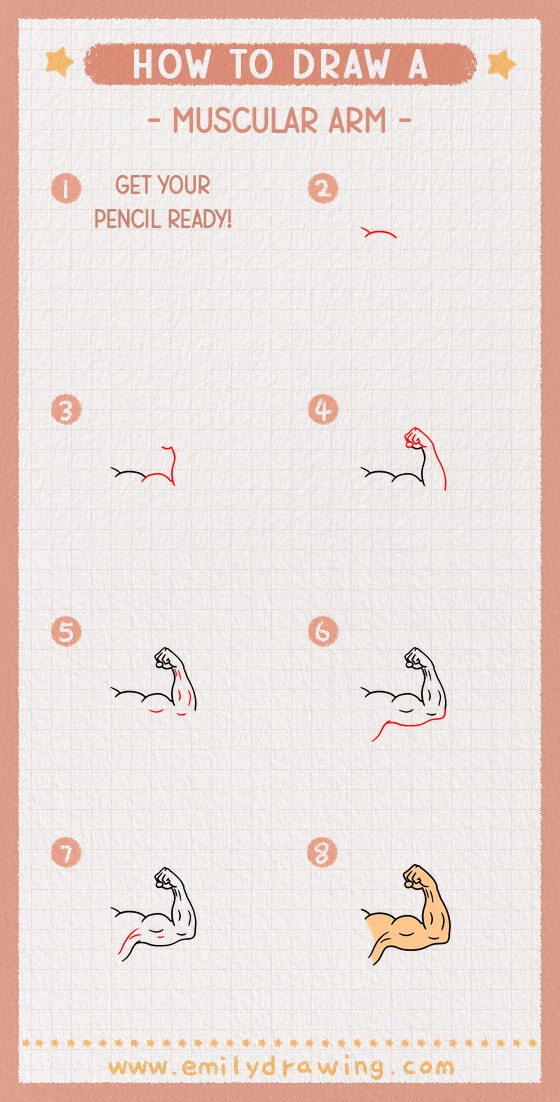
Trace your final lines with a black marker when the sketch looks clean.
Erase extra guide marks, then add light shading under the fist and along the muscle curves.
You have finished a step by step drawing of a muscular arm, and you can practice it again with different poses.
Try adding color or a simple background to complete your artwork.
Get the FREE Printable Drawing Guide
FREE Download Printable Muscular Arm Drawing Tutorial
Frequently Asked Questions
Is this muscular arm drawing good for beginners?
Yes, this easy drawing tutorial uses simple curves and short detail lines.
Beginners can follow each step slowly and adjust the shapes as needed.
How can I make the arm look stronger?
Make the bicep and forearm curves wider, but keep them smooth.
Small inner muscle lines will also help the arm look more powerful.
Can I draw the fist in a simpler way?
Yes, you can draw the fist as a rounded block shape first.
Then add a few curved finger lines after the main arm shape is finished.



