
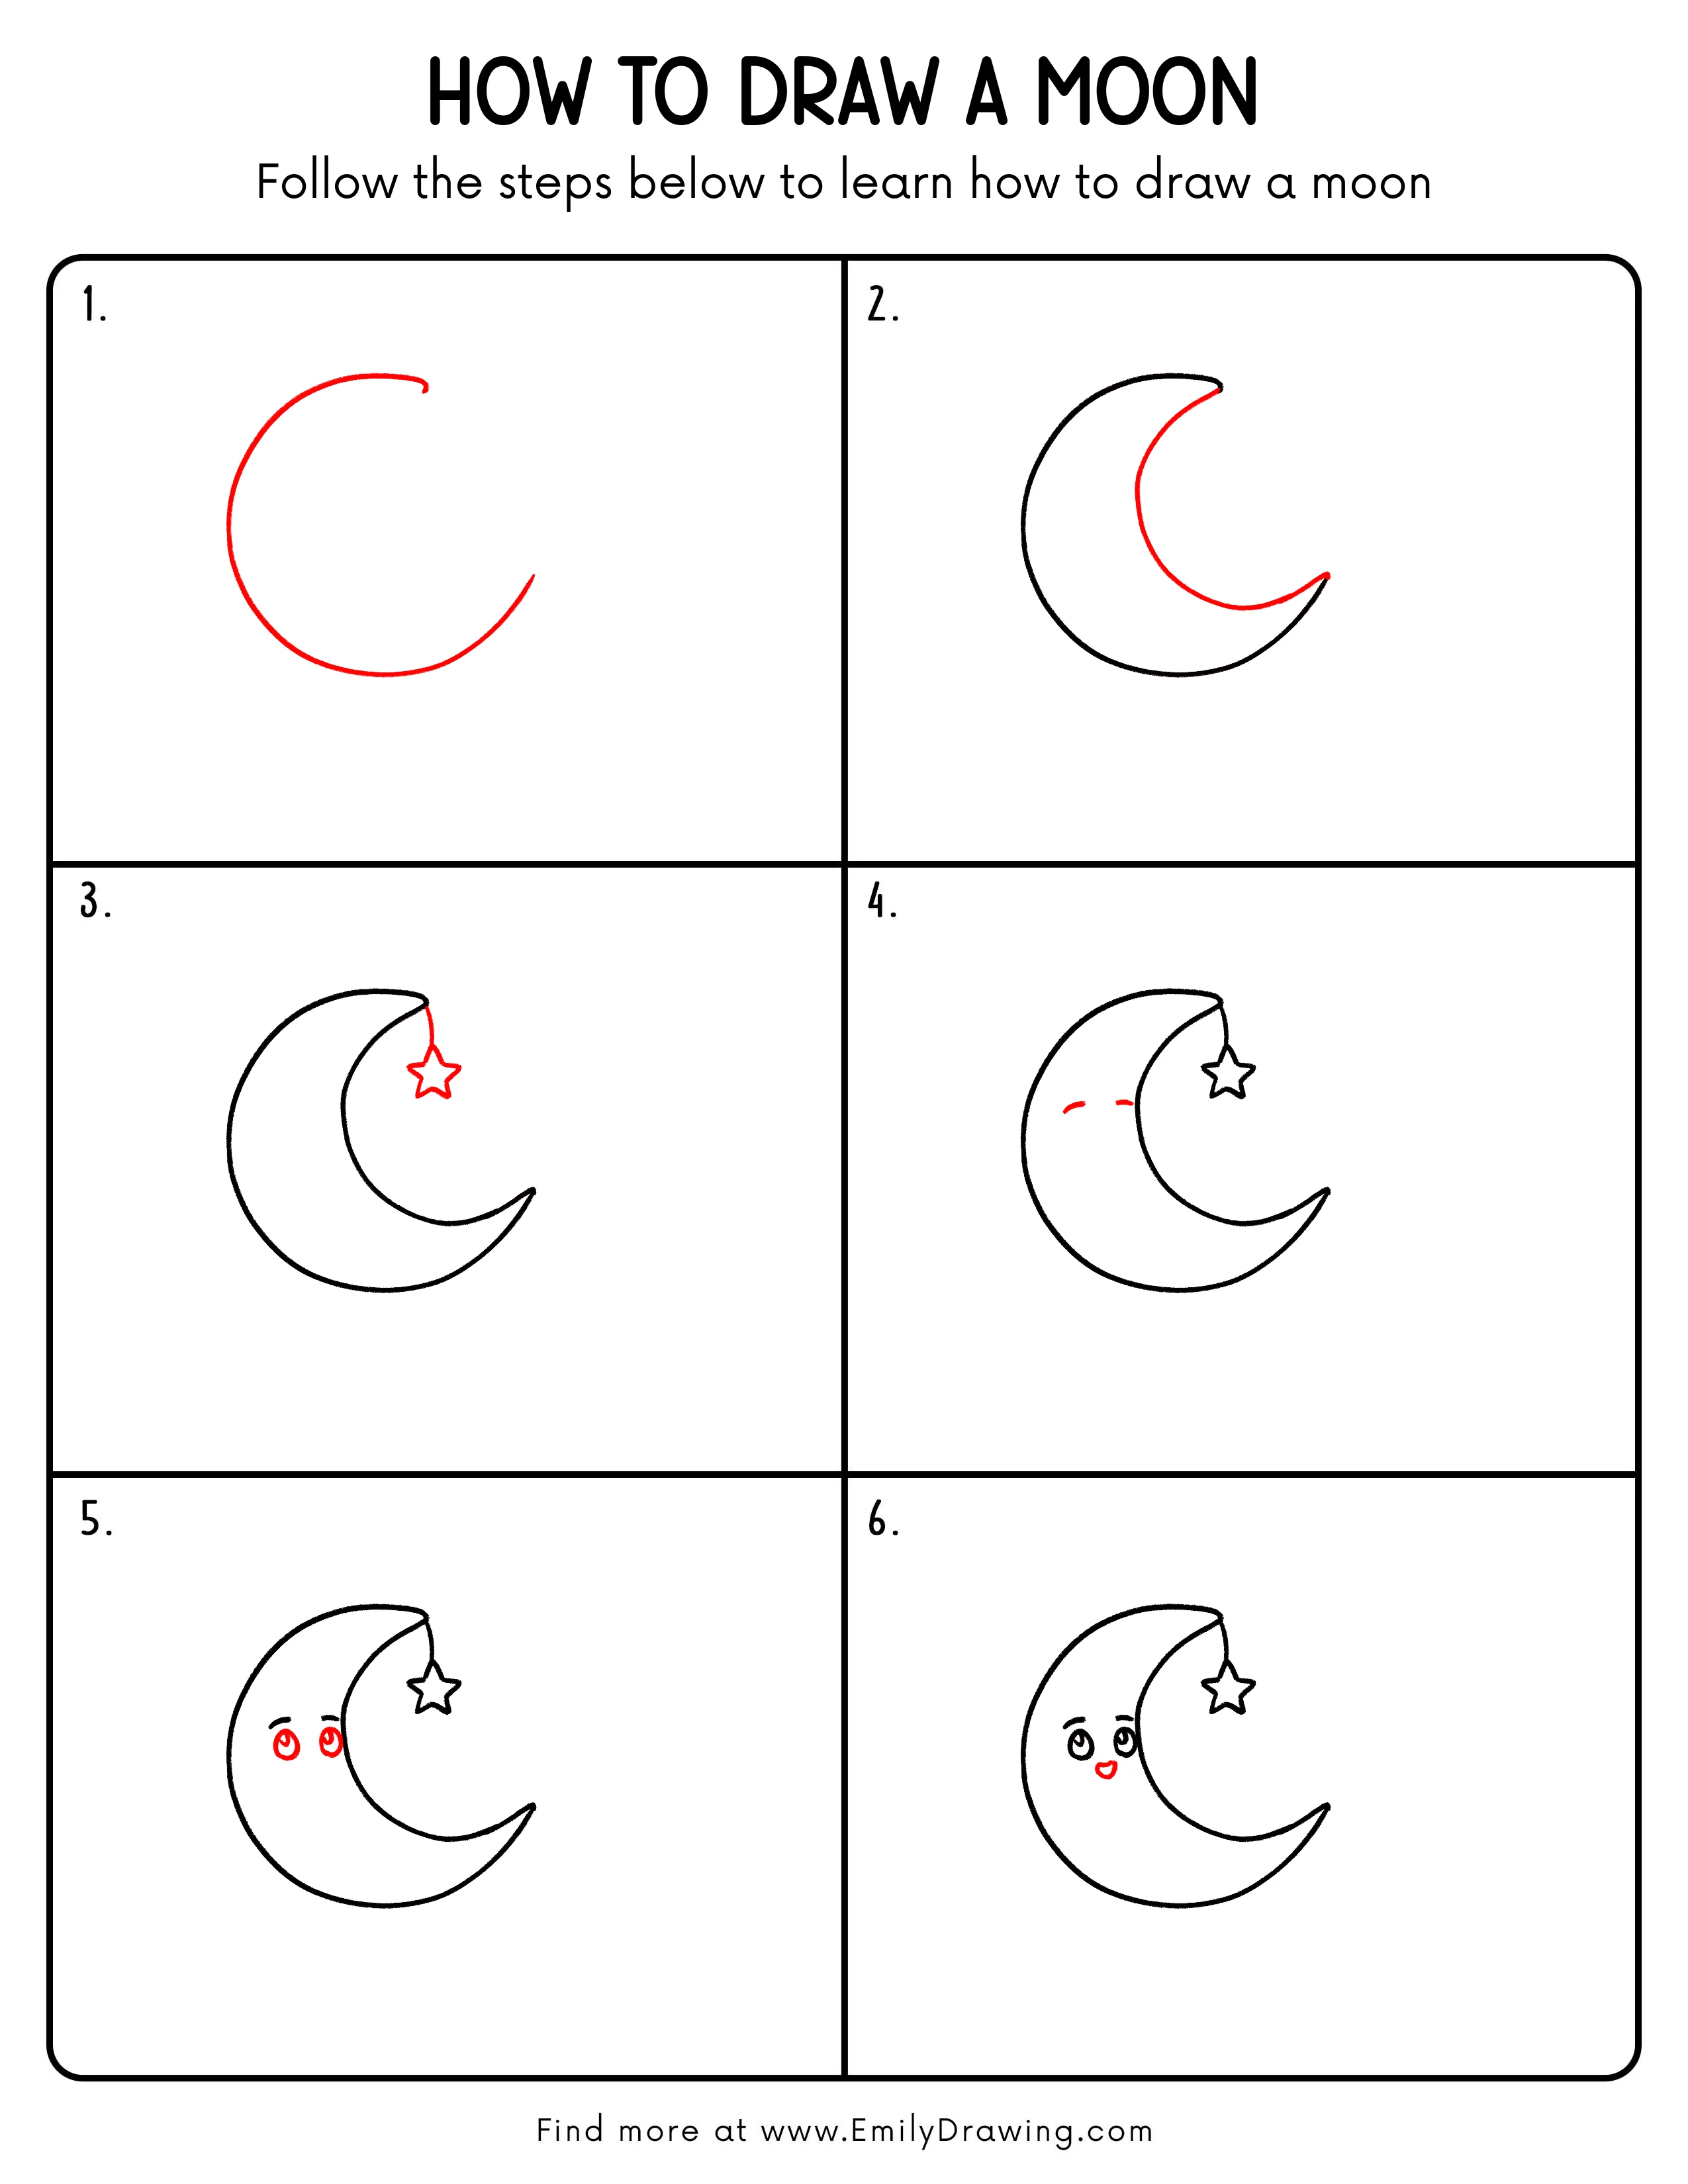
In this easy drawing tutorial, you will learn how to draw a moon with a sweet face and a hanging star. This step by step drawing is friendly for beginners because it starts with simple curves, then adds cute details slowly.
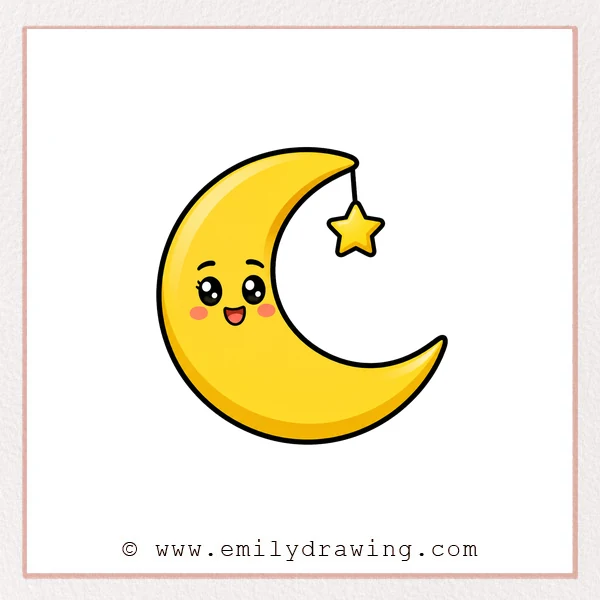
Take your time with each line. Smooth shapes and small details will help your moon look calm, bright, and adorable.
What You Will Need
- A pencil
- An eraser
- Black marker or pen
- Red pencil or colored pencil for guide lines
- Drawing paper
- Optional coloring tools
Here are my RECOMMENDED Art Supplies!
- Crayola Coloring Set (140 Pieces – Mega Value!)
- 24 Colored Crayon Set
- A4 Printer Paper
- Crayola Coloring Pencils
- HP Home Printer with Instant Ink!
Time needed:
20 minutes.
Step-by-Step Drawing Guide
Step 1: Draw the Outer Curve of the Moon
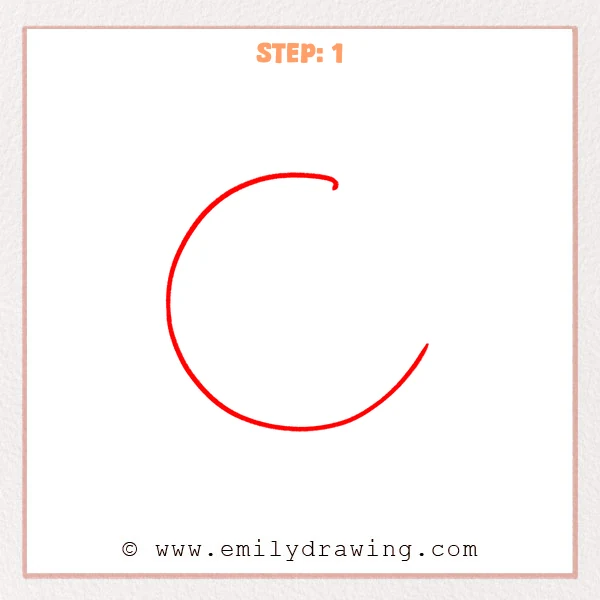
Start with one large curved line, like an open circle. Keep the top and lower-right ends open so there is room to shape the crescent later.
Pro Tip: Move slowly as you draw the curve so it stays smooth and rounded.
Step 2: Draw the Inner Curve of the Crescent
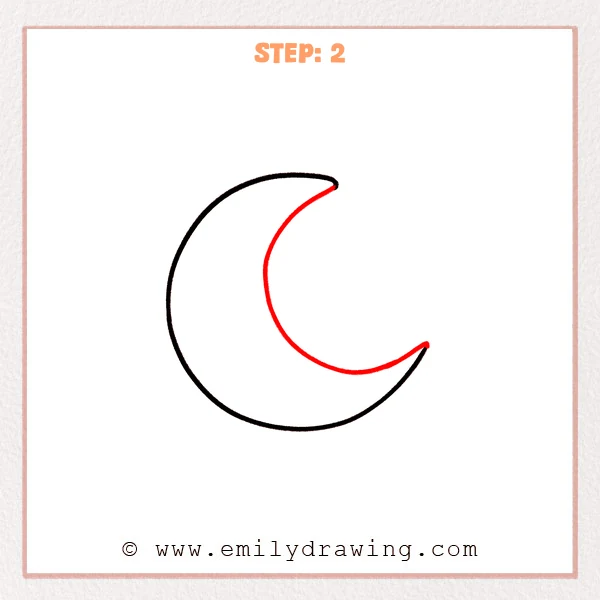
Add an inward-curving line on the right side, connecting the upper point to the lower point. This opens the middle area and makes the crescent moon shape clear.
Pro Tip: Keep the inner curve narrower than the outer curve so the crescent looks light and graceful.
Step 3: Add the Hanging Little Star
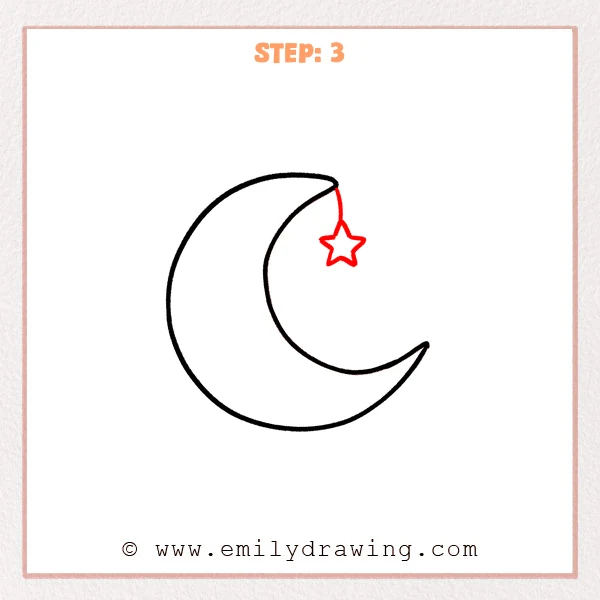
Draw a short straight line down from the moon’s upper point. Add a five-point star at the end so it looks gently hanging from the crescent.
Pro Tip: Keep the star much smaller than the crescent so the drawing feels cute and balanced.
Step 4: Add the Moon’s Eyebrows
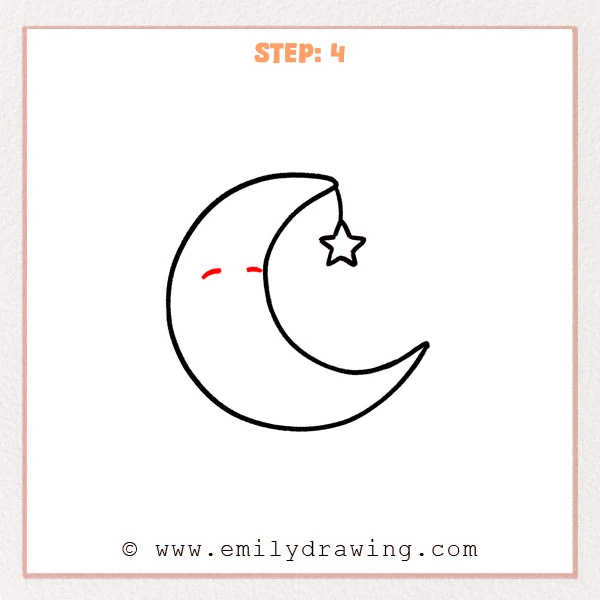
Draw two short curved lines in the open space on the left side of the moon. Place them above where the eyes will go, preparing the moon’s cute expression.
Pro Tip: Keep both brows at a similar height and curve so the expression looks neat.
Step 5: Add the Round Big Eyes
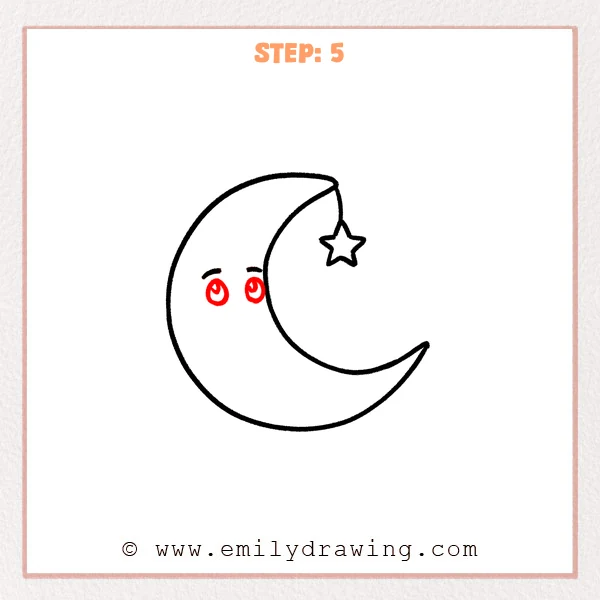
Draw two large round eyes under the eyebrows. Then add small highlights inside the eyes so the moon looks bright, lively, and cute.
Pro Tip: Keep both eyes close in size and leave a small gap between them for a neat look.
Step 6: Add a Happy Little Mouth
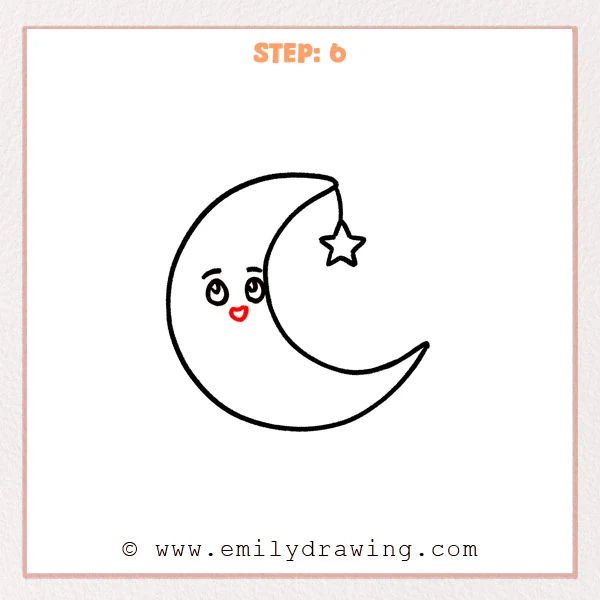
Draw a small open mouth below the two eyes. Shape it like a rounded little crescent so the moon looks even happier.
Pro Tip: Place the mouth centered below the eyes so the expression feels balanced.
Step 7: Color in your drawing!
Fun Facts
- A crescent moon shape appears when only part of the Moon is lit from our view on Earth.
- The Moon does not make its own light; it reflects sunlight.
- Stars are often added to moon drawings because they help create a peaceful night-sky feeling.
Pin it now, Draw later!
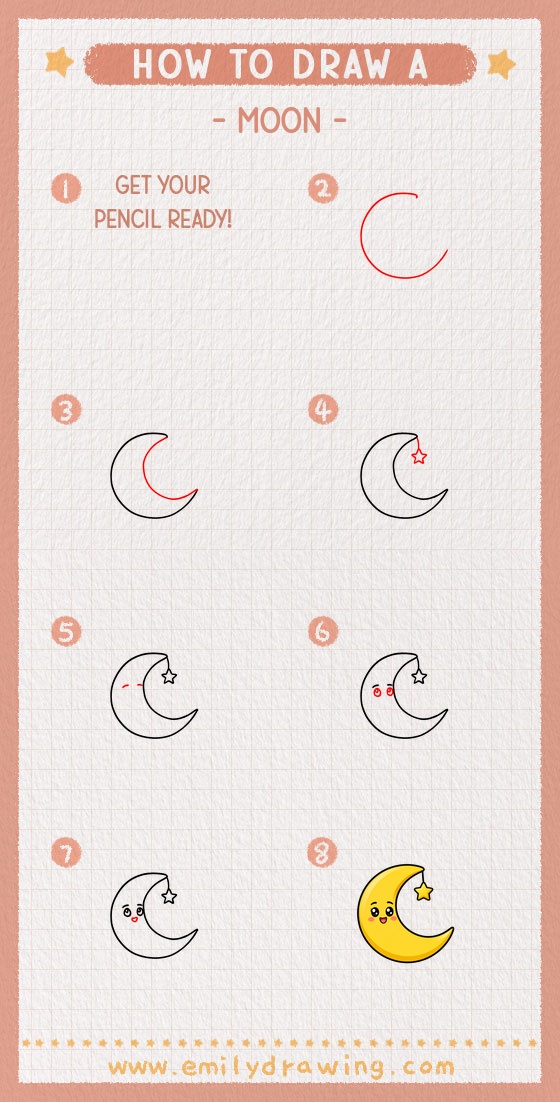
Now you know how to draw a moon using simple curved lines and cute face details. You began with the crescent outline, added a hanging star, then finished the expression with eyebrows, bright eyes, and a happy mouth.
For a final touch, trace the main lines neatly and erase any extra sketch marks. You can also color the moon soft yellow, blue, or silver, then share your finished drawing with someone who enjoys cute night-sky art.
Get the FREE Printable Drawing Guide
FREE Download Printable Moon Drawing Tutorial
Frequently Asked Questions
Is this moon drawing good for beginners?
Yes, this moon drawing for beginners uses simple curves, circles, and small details. Each step builds slowly, so it is easy to follow.
How can I make the crescent moon look smoother?
Draw the outer curve lightly first, then trace it more confidently after the shape looks right. Turning the paper can also help your hand follow the curve more naturally.
Can I add more stars around the moon?
Yes, you can add small stars, dots, or clouds around the moon. Keep the extra decorations simple so the crescent moon stays the main focus.



