Learning how to draw a jet can be simple and fun when you build it one shape at a time. This easy drawing tutorial uses smooth curves, rounded wings, and clear details, making it friendly for beginners.
Take your time with each step. A jet looks best when the body feels long, smooth, and ready to fly.
What You Will Need
- A pencil
- An eraser
- Drawing paper
- A black marker or pen
- Coloring tools, such as crayons, markers, or colored pencils
Here are my RECOMMENDED Art Supplies!
- Crayola Coloring Set (140 Pieces – Mega Value!)
- 24 Colored Crayon Set
- A4 Printer Paper
- Crayola Coloring Pencils
- HP Home Printer with Instant Ink!
Time needed:
22 minutes.
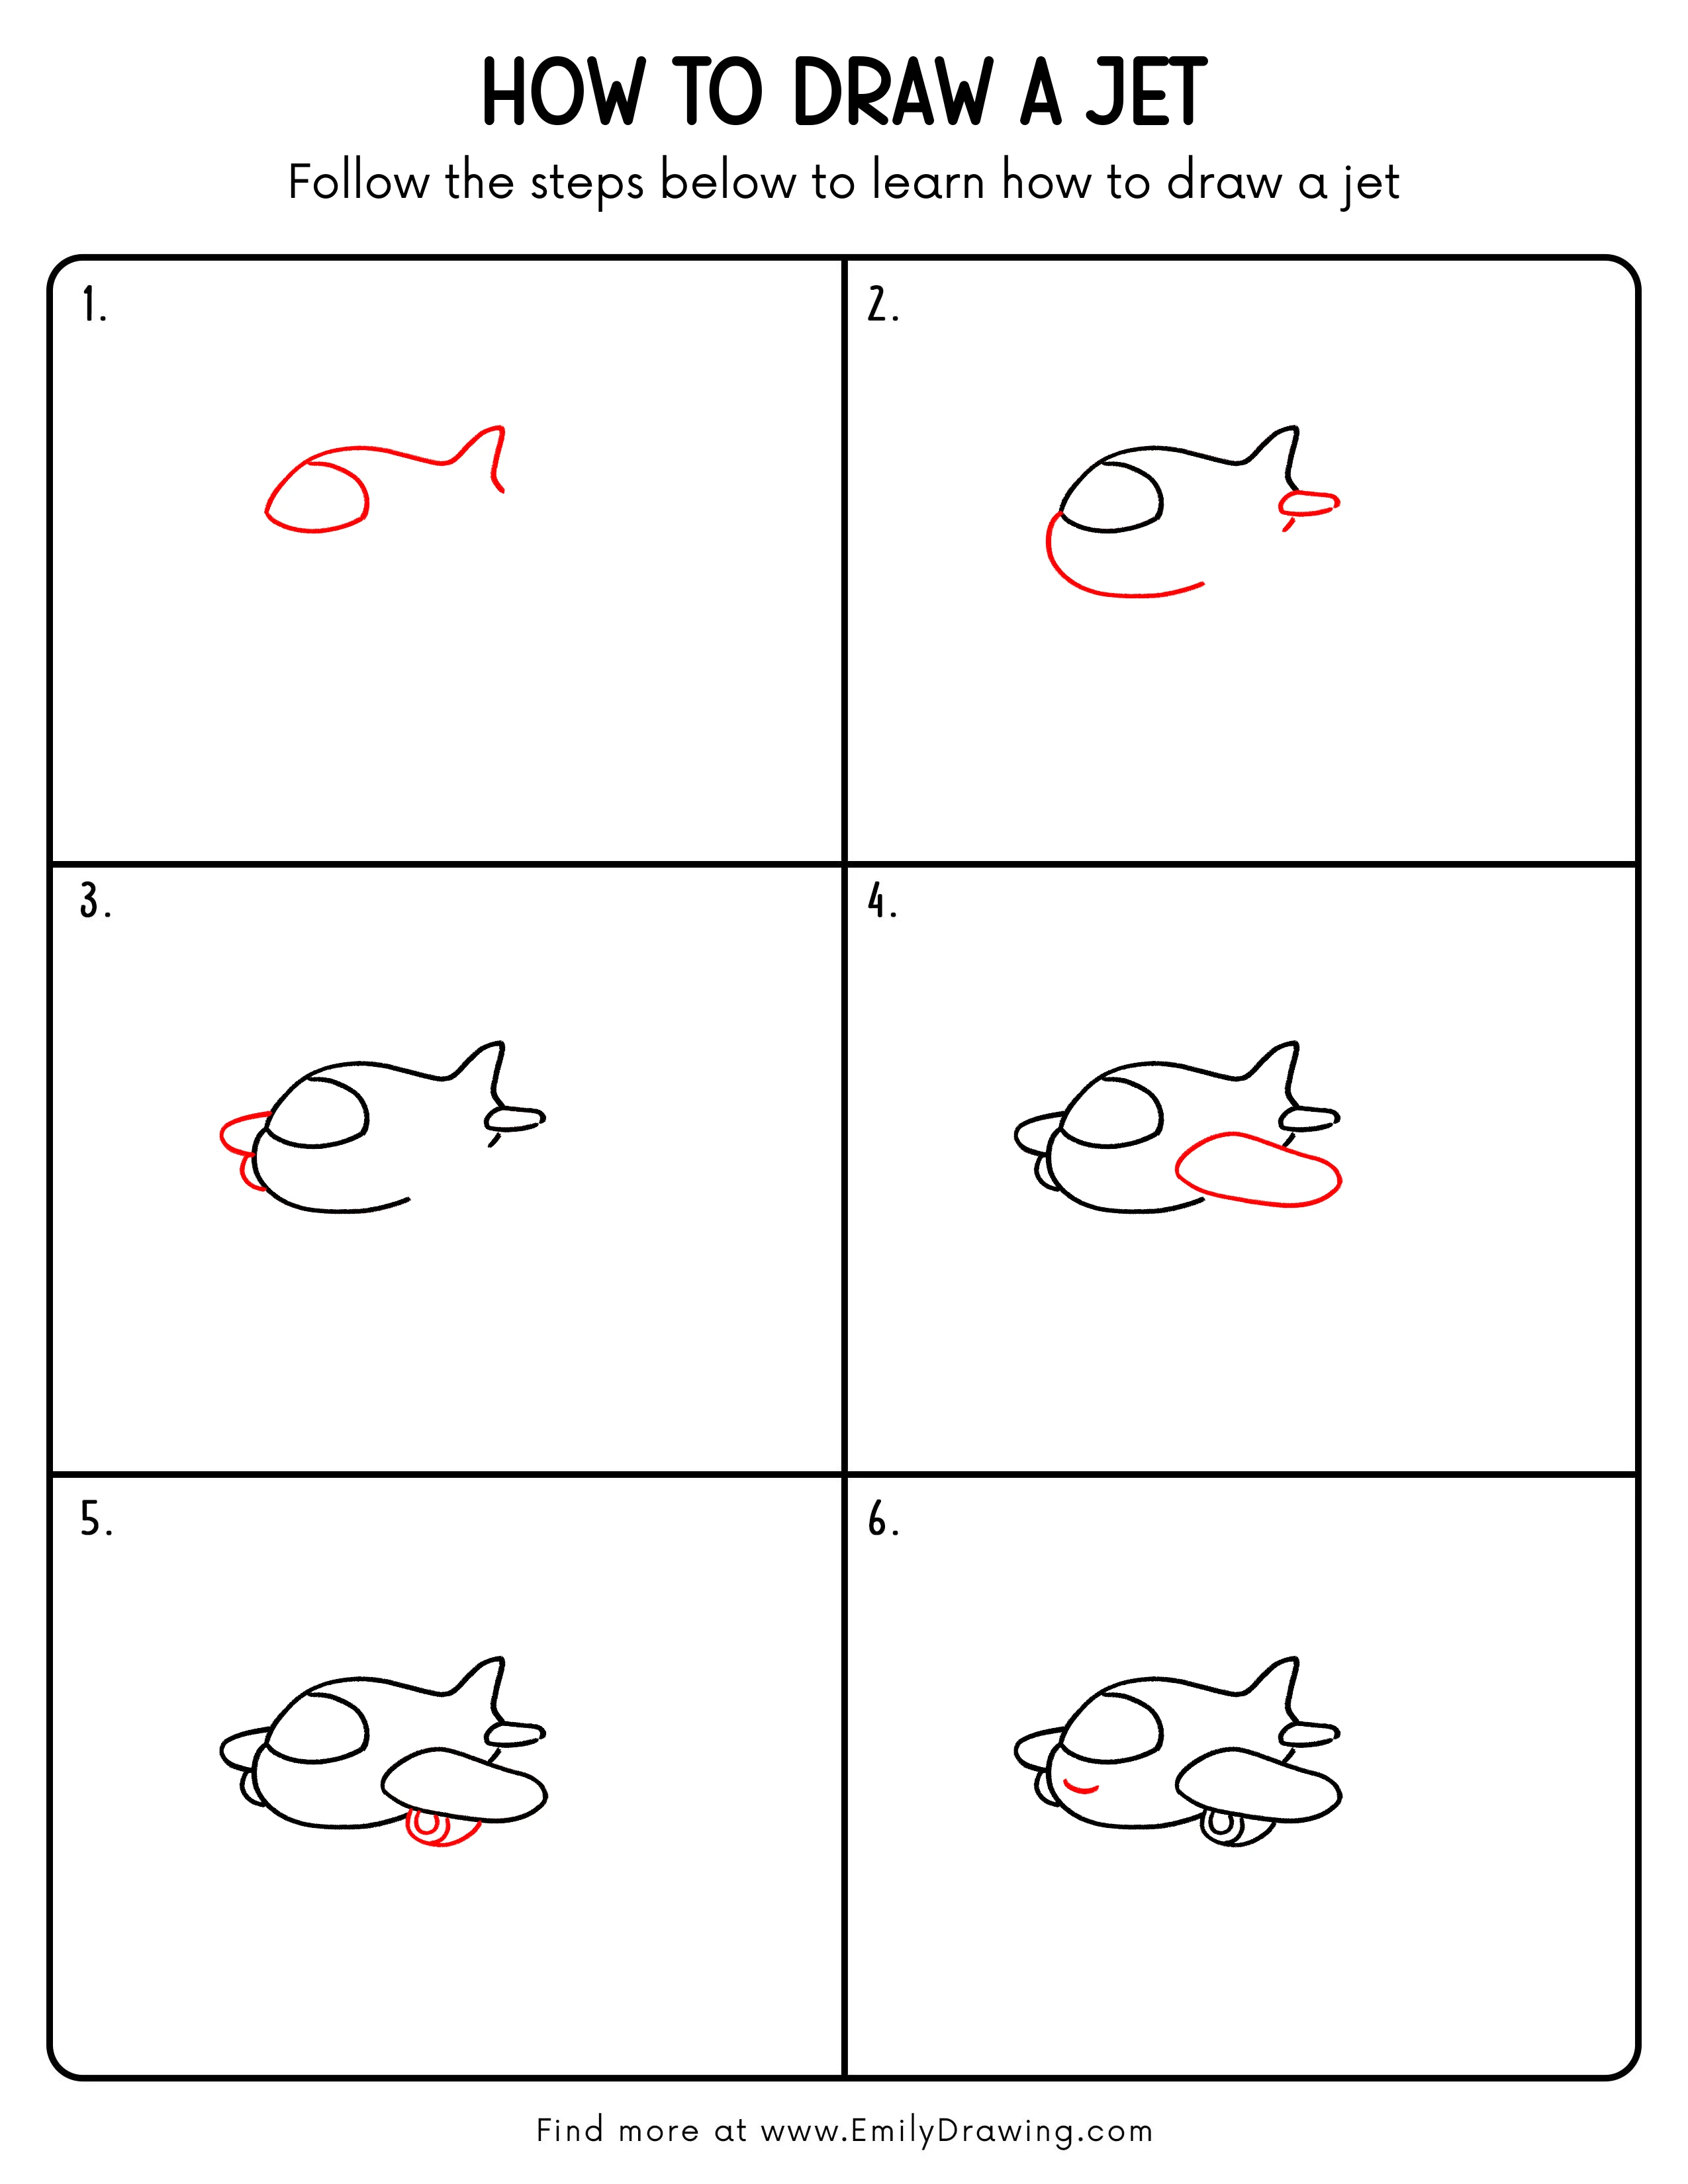
Step-by-Step Drawing Guide
Step 1: Draw the Jet Body Outline
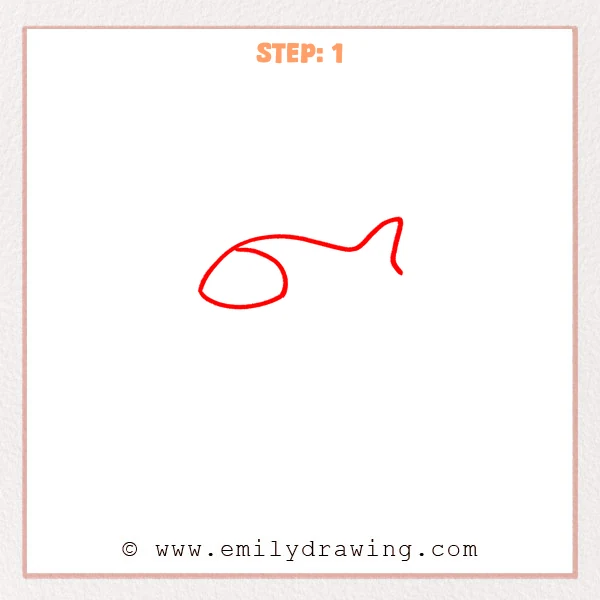
Start with a long curved line stretching to the right for the top of the jet body. Add a rounded oval cockpit shape on the left, then lift the right end upward to begin the tail shape.
Pro Tip: Keep the top body line smooth so the jet feels fast and streamlined.
[Alt Text: First sketch step for how to draw a jet, showing the basic body, cockpit, and raised tail outline.]
Step 2: Complete the Lower Body and Rear Thruster
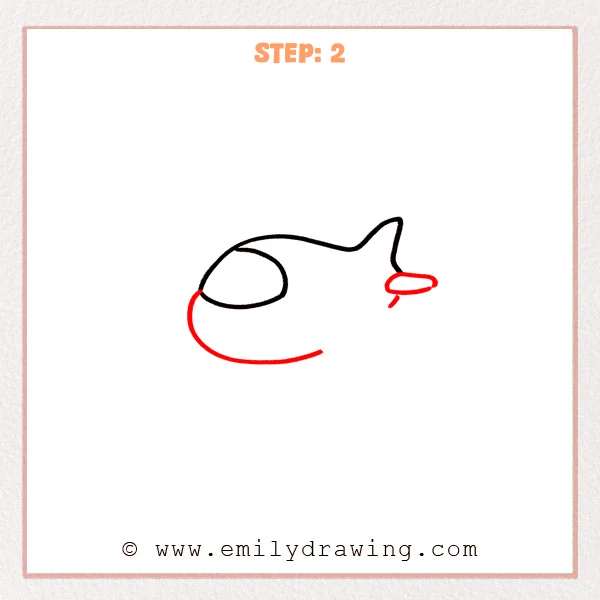
In this step, start under the nose and draw a wide curved line to form the lower body of the jet. Then add a small oval thruster behind the tail, with a short slanted line connecting below the tail.
Pro Tip: Keep the lower body curve smooth and wide so the main jet shape looks fuller.
[Alt Text: Second sketch step for how to draw a jet, adding the lower body curve and a small rear thruster behind the tail.]
Step 3: Add the Small Wing on the Left Nose Area
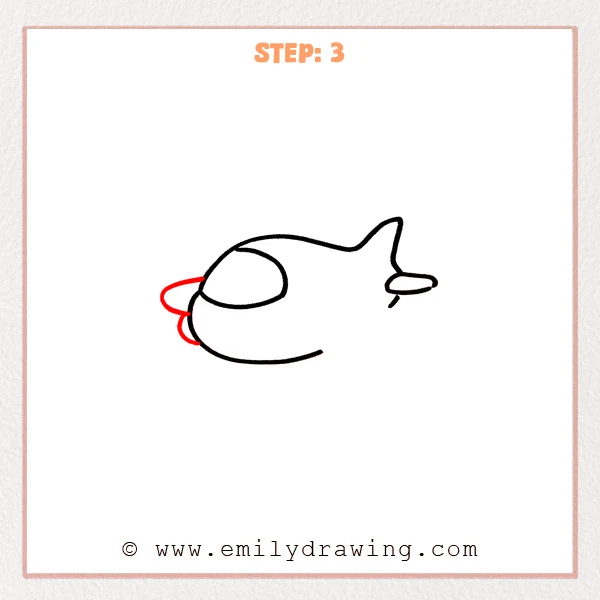
In this step, draw a rounded small wing extending from the left side of the nose. Then add a shorter curved fin underneath it to make the front of the jet look more layered.
Pro Tip: Make the upper small wing a little longer and keep the lower fin shorter for clearer proportions.
[Alt Text: Third sketch step for how to draw a jet, adding a small rounded front wing and a shorter lower fin near the nose.]
Step 4: Draw the Large Right Wing
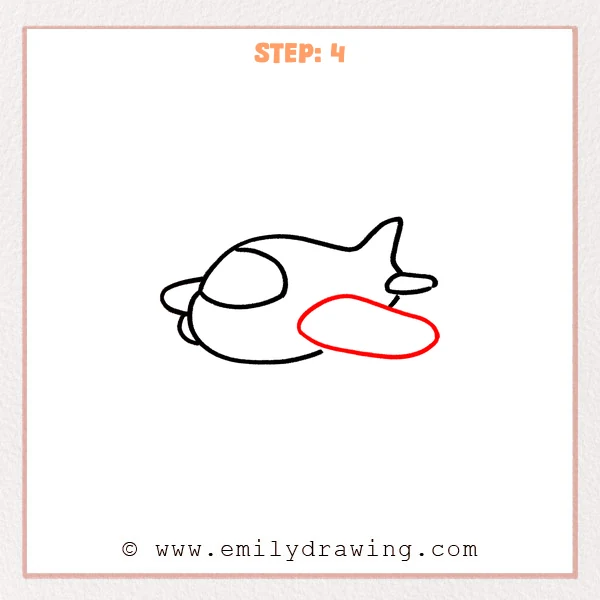
In this step, add a long rounded oval shape on the lower right side of the body for the jet’s large wing. Let the wing stretch to the right and sit close to the lower body, making the jet look ready to fly.
Pro Tip: Make the wing longer and slimmer than the body so the jet’s proportions look natural.
[Alt Text: Fourth sketch step for how to draw a jet, adding a large rounded wing to the lower right side of the airplane body.]
Step 5: Add the Engine Under the Wing
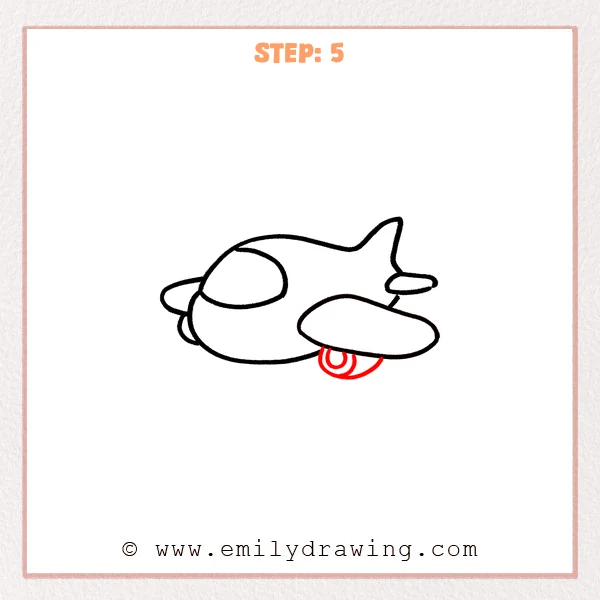
In this step, draw a half-circle engine under the large wing and add two smaller curved lines inside it. Keep the curves nested together to show the round opening of the jet engine.
Pro Tip: Place the engine near the middle under the wing so the jet looks balanced.
[Alt Text: Fifth sketch step for how to draw a jet, adding a rounded engine with inner curved details beneath the large wing.]
Step 6: Add a Curved Detail Line on the Body
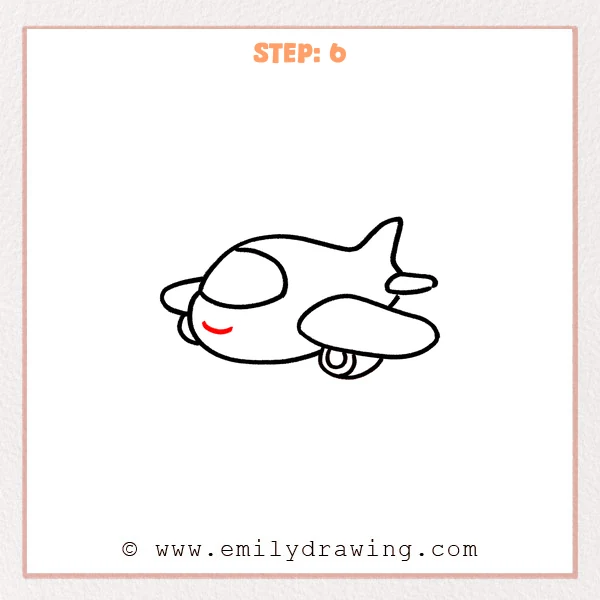
In this step, add a short curved line on the lower front part of the body. It works like a small detail mark and helps the front of the jet look more complete.
Pro Tip: Do not make this line too long, so the body stays clean and simple.
[Alt Text: Sixth sketch step for how to draw a jet, adding a small curved detail line on the front body while the main aircraft shape is complete.]
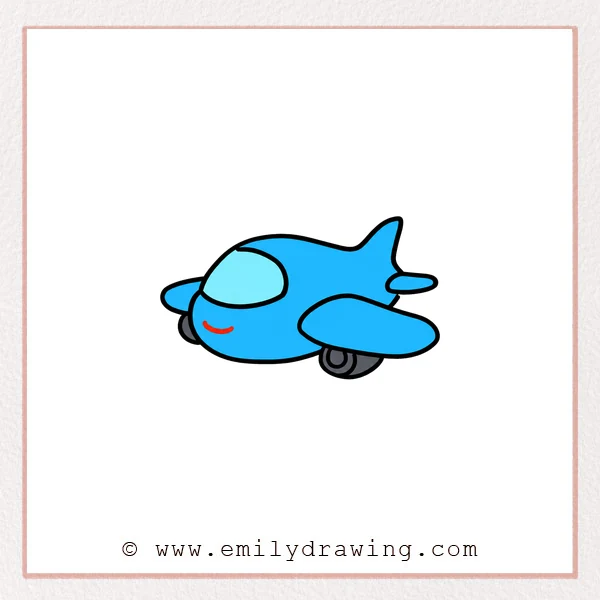
Step 7: Color in your drawing!
Fun Facts
- Jets are designed with smooth shapes to help air move around them quickly.
- Many jets have engines under the wings or near the tail.
- The tail fin helps a jet stay steady while flying through the air.
Pin it now, Draw later!
Now you have completed a simple step by step drawing of a jet. Trace your final lines with a marker, erase extra pencil marks, and add colors to make your airplane stand out.
You can color the body silver, blue, red, or any design you like. Try drawing clouds, a runway, or a bright sky around your jet to finish the scene.
Keep practicing this easy drawing tutorial, and try changing the wing shape or tail design next time.
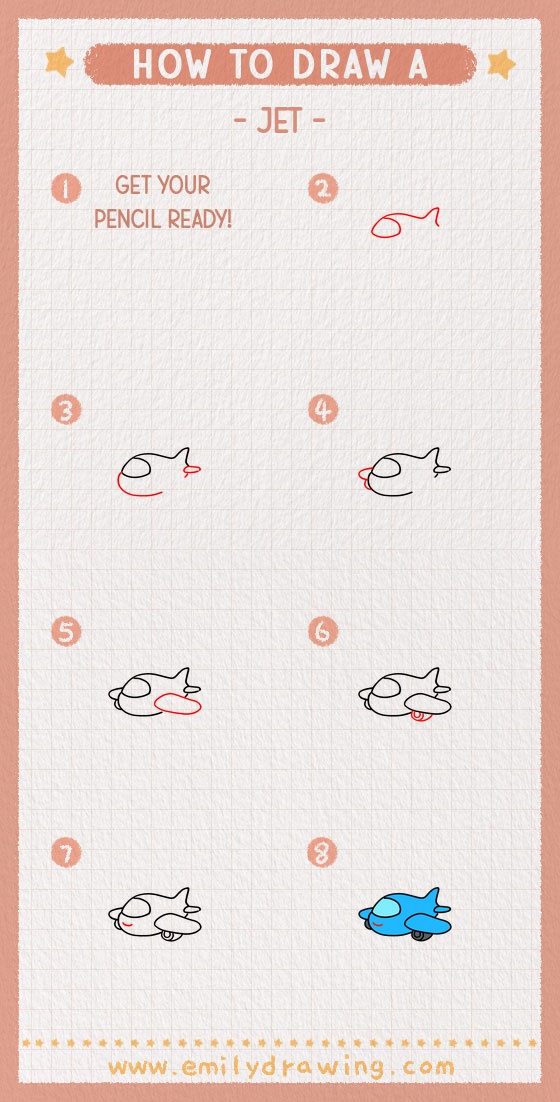
Get the FREE Printable Drawing Guide
FREE Download Printable Jet Drawing Tutorial
Frequently Asked Questions
Is this jet drawing good for beginners?
Yes. This drawing for beginners uses simple curves, oval shapes, and small details that are easy to follow.
How can I make my jet look faster?
Make the body long and smooth, then angle the wings slightly backward. You can also add motion lines behind the jet.
What colors should I use for a jet?
Silver, gray, blue, and white are common choices. You can also use bright colors for a fun cartoon-style jet.