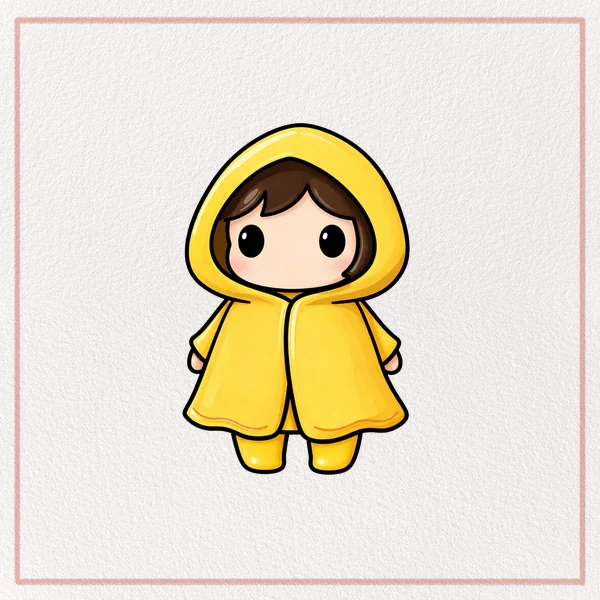
This easy drawing tutorial will help you draw a cute hoodie in simple shapes.
Take your time and build the hoodie one part at a time.

What You Will Need
- Pencil
- Eraser
- Black pen or marker
- Paper
- Optional: colored pencils or markers
Here are my RECOMMENDED Art Supplies!
- Crayola Coloring Set (140 Pieces – Mega Value!)
- 24 Colored Crayon Set
- A4 Printer Paper
- Crayola Coloring Pencils
- HP Home Printer with Instant Ink!
Time needed:
27 minutes.
Step-by-Step Drawing Guide
Step 1: Draw the Hood Outline

Start with a smooth dome shape for the top of the hood.
Pull both sides down and meet them in a small point at the bottom.
Pro Tip: Keep both side curves the same length so the hood feels symmetrical.
Step 2: Add the Outer Hood Layer

Draw a larger dome curve outside the first hood shape to show thickness.
Extend the outer curves downward, leaving the bottom open.
Pro Tip: Keep an even gap between the outer and inner lines to show hood thickness.
Step 3: Draw One Sleeve

From the right side near the hood opening, draw a long curved line down for the sleeve.
Add a small cuff at the end using a thin band shape.
Pro Tip: Make the cuff slightly narrower than the sleeve so it looks gathered.
Step 4: Add the Other Sleeve and Body Outline

Draw a matching curved line down on the left side to form the other sleeve and body.
Add the second cuff and a small crease line to suggest soft fabric.
Pro Tip: Keep both cuffs about the same size so the hoodie looks balanced.
Step 5: Add the Pocket and Hem Details

Draw a large kangaroo pocket on the lower front with angled sides.
Add two small eyes and a tiny smile inside the pocket for a cute face.
Finish with a wide band along the bottom hem.
Pro Tip: Keep the pocket symmetrical, and center the face to make it extra cute.
Step 6: Add the Drawstrings

Draw two long drawstrings hanging from the hood opening, one on each side.
Add a small knot and a short tip at the bottom of each string.
Pro Tip: Keep both strings similar in length, with a slight offset for a natural look.
Step 7: Color in your drawing!
Fun Facts
- Hoodies became popular sportswear before turning into everyday fashion.
- The front “kangaroo pocket” is designed to keep hands warm and hold small items.
- Drawstrings help adjust the hood opening and add a classic hoodie detail.
Pin it now, Draw later!

Trace your final lines with a pen and erase extra sketch marks.
You can color the hoodie and add patterns like stripes, stars, or a logo.
Keep practicing this step by step drawing, and try different hoodie styles next time.
Get the FREE Printable Drawing Guide

FREE Download Printable Hoodie Drawing Tutorial
Frequently Asked Questions
How do I make the hoodie look more oversized?
Make the body wider and the sleeves puffier, and lower the cuffs slightly.
How do I draw a zipper hoodie instead?
Add a straight line down the center and draw a zipper pull near the top.
What is the easiest way to keep the hoodie symmetrical?
Lightly sketch a center guideline and match left and right shapes as you go.