A golf ball looks simple, but its dimples make it special.
In this easy drawing tutorial, you will build the dimple pattern first.
Take your time, and focus on smooth curves and even spacing.
What You Will Need
- Pencil
- Eraser
- Black pen or marker (optional)
- Paper
Here are my RECOMMENDED Art Supplies!
- Crayola Coloring Set (140 Pieces – Mega Value!)
- 24 Colored Crayon Set
- A4 Printer Paper
- Crayola Coloring Pencils
- HP Home Printer with Instant Ink!
Time needed:
21 minutes.
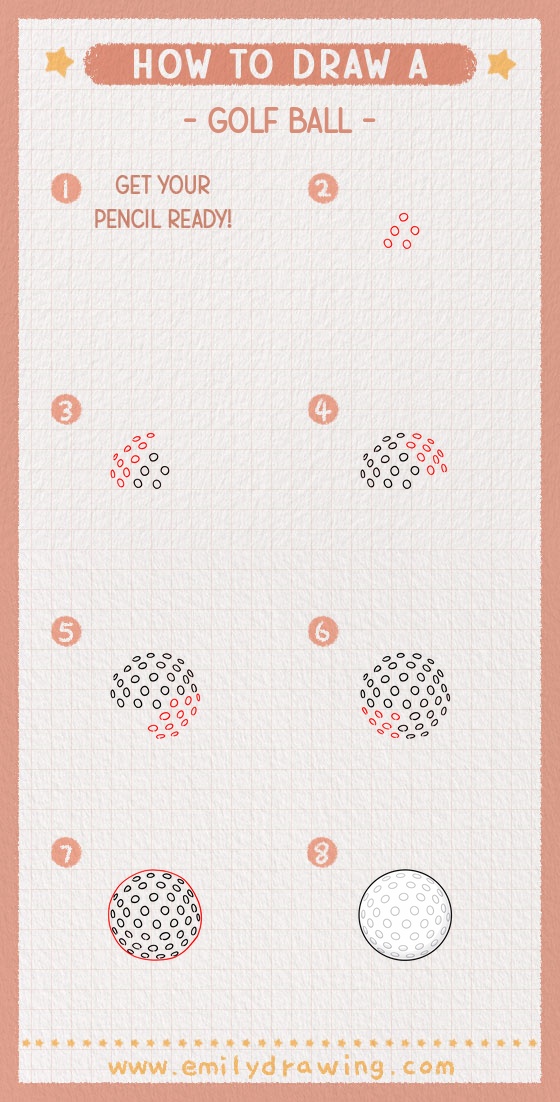
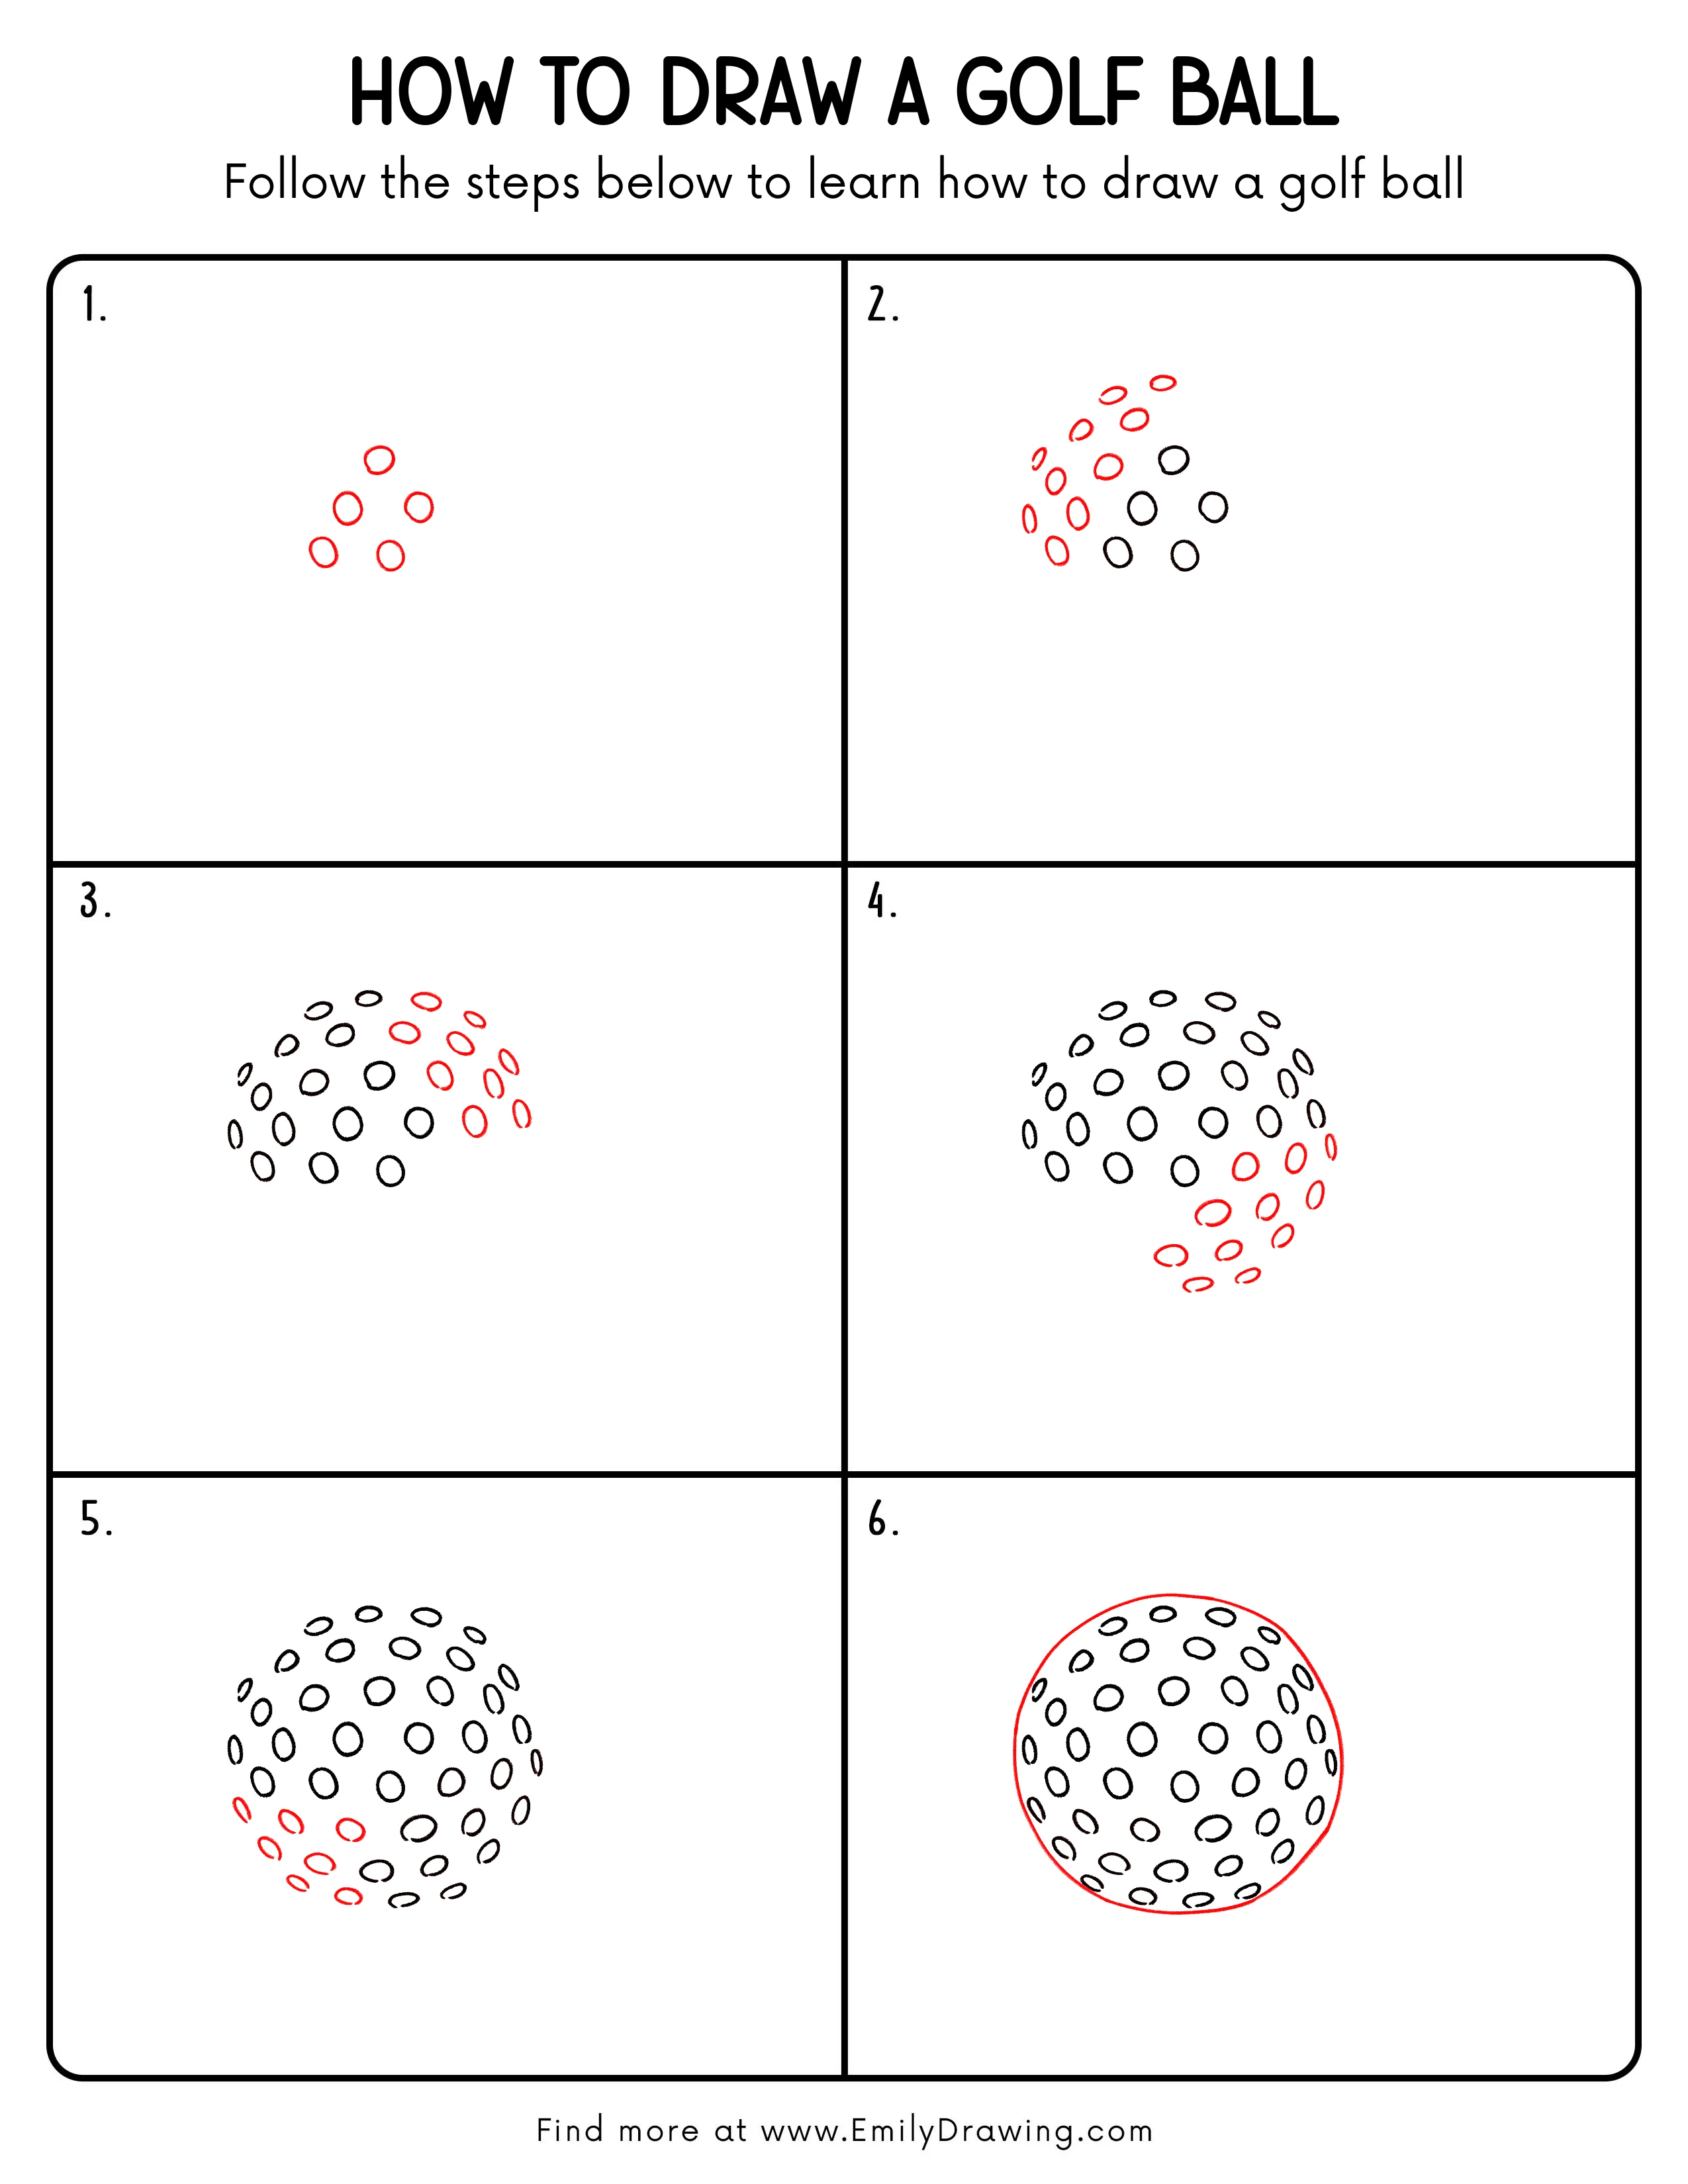
Step-by-Step Drawing Guide
Step 1: Block In the Dimple Layout
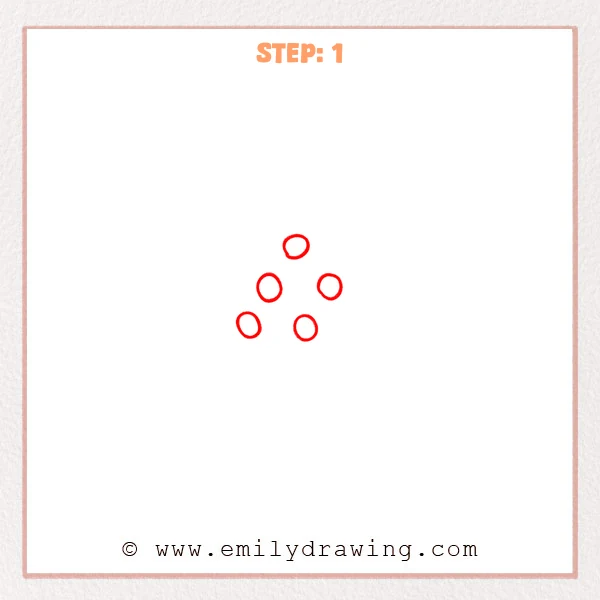
Lightly draw five small circles near the center to represent dimples.
Arrange them in a triangle: one on top, two in the middle, and two below.
Pro Tip: Keep the circles very light so you can adjust them later.
Step 2: Curve the Dimples Around the Ball
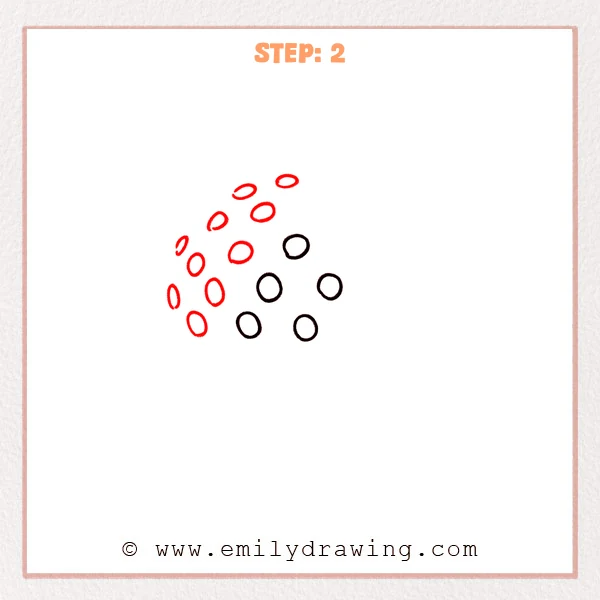
Add more small ovals on the left and near the top, following a gentle arc.
Slightly stretch some circles into ovals to suggest the ball’s curved surface.
Pro Tip: Flatten the dimples more as they move toward the edge to show curvature.
Step 3: Fill in the Right-Side Dimple Arc
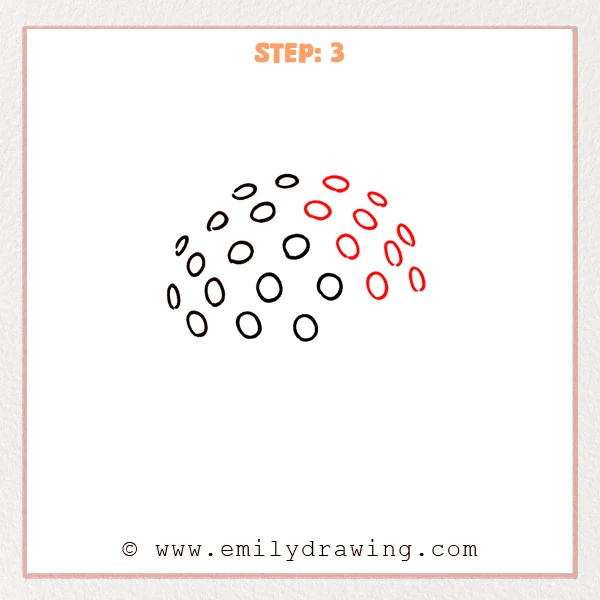
Add a row of small ovals along the upper-right and right edge.
Make the outermost ovals thinner and flatter so the arc feels smooth.
Pro Tip: Keep the spacing consistent, but avoid letting the dimples touch.
Step 4: Add a Lower Row of Dimples
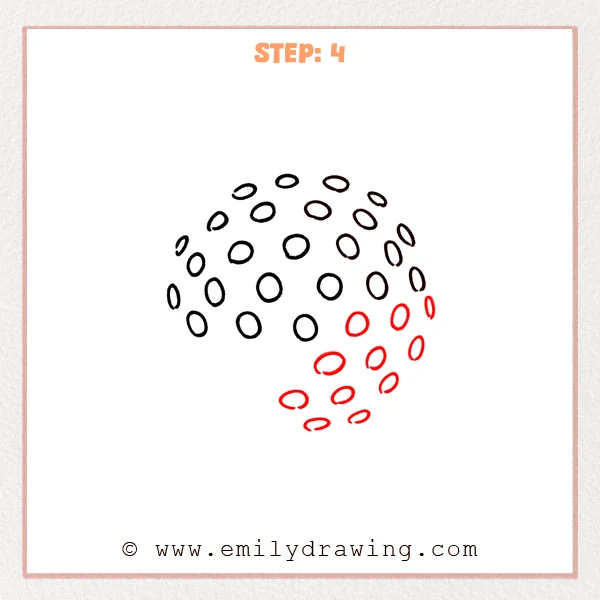
Add another set of flatter ovals on the lower-right to extend the pattern downward.
Gradually make these ovals smaller and flatter as they wrap under the ball.
Pro Tip: Tilt the lower ovals slightly to make the curve feel more natural.
Step 5: Complete the Lower-Left Dimples
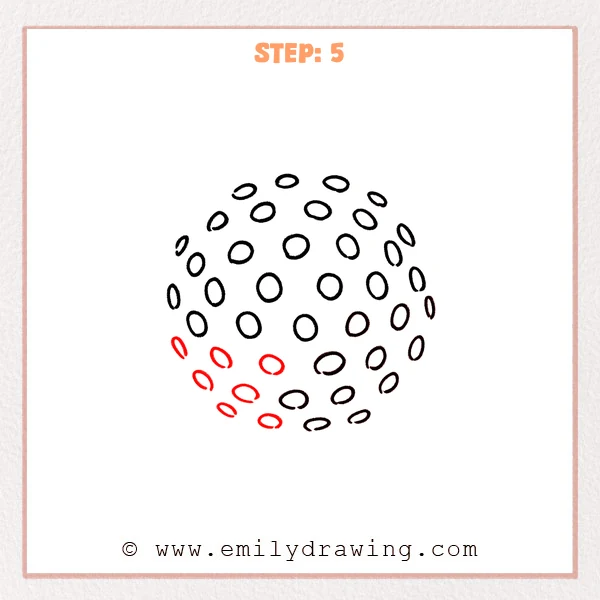
Add smaller, flatter ovals on the lower-left to finish the bottom curve.
Vary their tilt a little so the pattern tucks back toward the center.
Pro Tip: The closer the dimples are to the very bottom edge, the flatter they should be.
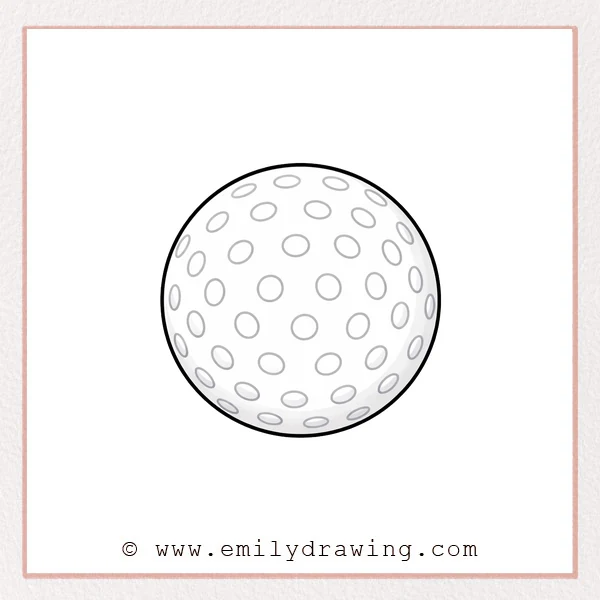
Step 6: Draw the Outer Circle of the Golf Ball
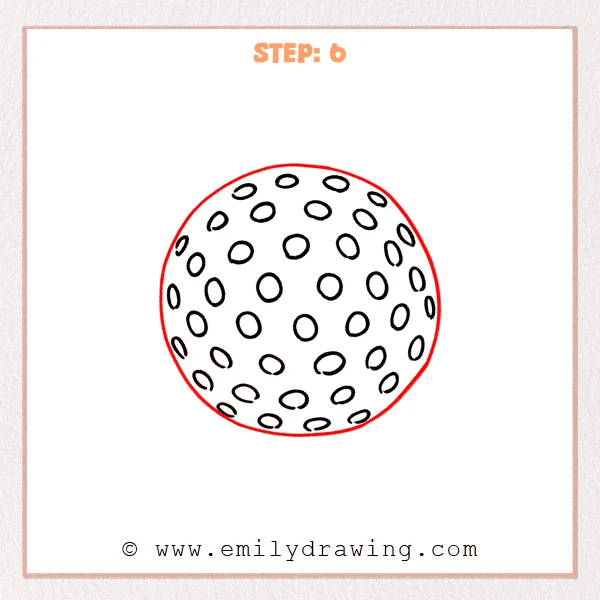
Draw one large, smooth circle around the dimple pattern to form the ball.
Keep the outline even, without sharp bumps near the dimples.
Pro Tip: Sketch the big circle lightly first, then darken it once it feels round.
Step 7: Color in your drawing!
Fun Facts
- Golf ball dimples help the ball fly farther by improving airflow.
- Many golf balls have hundreds of dimples, often between 300 and 500.
- Dimple patterns can vary depending on the ball’s design and brand.
Pin it now, Draw later!
Erase any extra sketch marks and smooth your outlines.
If you want more depth, you can add light shading along one side of the ball.
You have a finished golf ball drawing—try drawing two more with different lighting!
Get the FREE Printable Drawing Guide
FREE Download Printable Golf Ball Drawing Tutorial
Frequently Asked Questions
How many dimples should I draw on a golf ball?
For a simple drawing, a few dozen dimples is enough to show the texture.
Real golf balls usually have several hundred dimples.
Why do the dimples turn into ovals near the edge?
On a curved surface, circles look squashed as they turn away from you.
Flattening them near the edge makes the ball feel more 3D.
Should I outline every dimple the same darkness?
Not always—dimples closer to the edge can be slightly lighter or thinner.
This helps keep the round shape looking smooth.