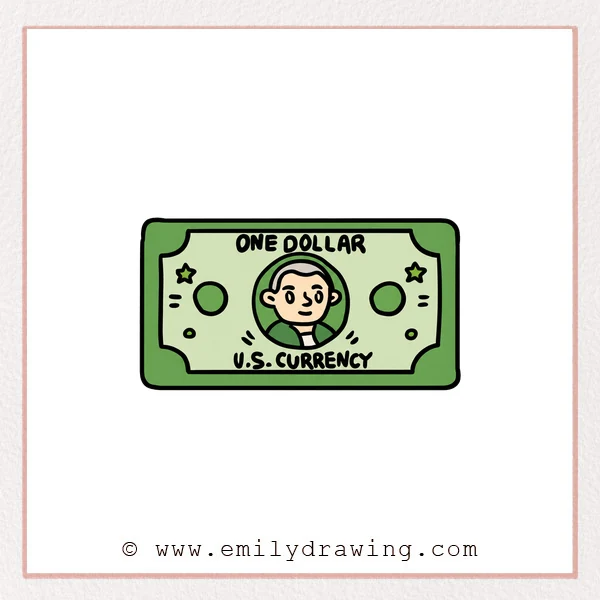
Learn how to draw dollar bill details in a simple cartoon style. This drawing for beginners practices nested borders, balanced symbols, lettering, and a central portrait.
What You Will Need
- Drawing paper
- Pencil and eraser
- Black pen or marker
Here are my RECOMMENDED Art Supplies!
- Crayola Coloring Set (140 Pieces – Mega Value!)
- 24 Colored Crayon Set
- A4 Printer Paper
- Crayola Coloring Pencils
- HP Home Printer with Instant Ink!
Time needed:
20 minutes.
Step-by-Step Drawing Guide
Step 1: Draw the Inner Frame
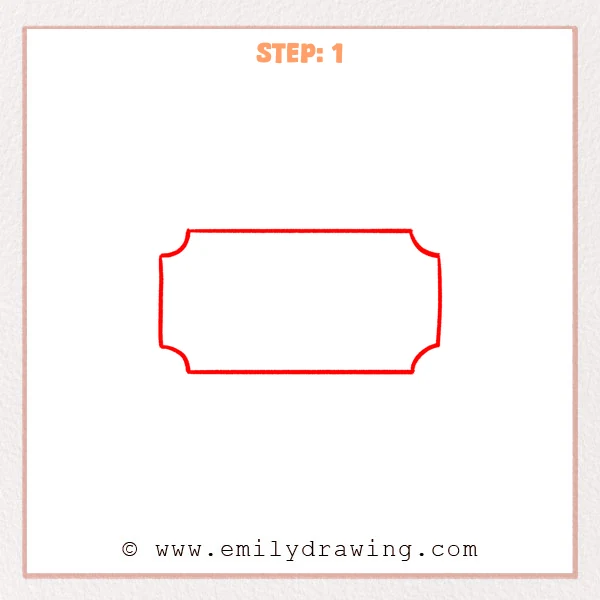
Draw a wide horizontal frame with straight top and bottom edges. Indent each corner inward with a smooth quarter-circle curve.
Pro Tip: Use light guide lines to keep opposite edges parallel.
Step 2: Add the Outer Border
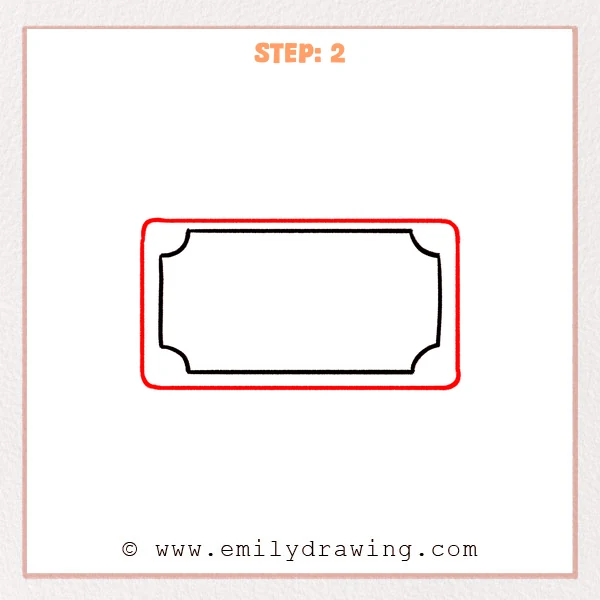
Surround the first frame with a larger rounded rectangle. Leave an even strip of space between the two outlines.
Pro Tip: Round all four outer corners by the same amount.
Step 3: Add the Main Lettering
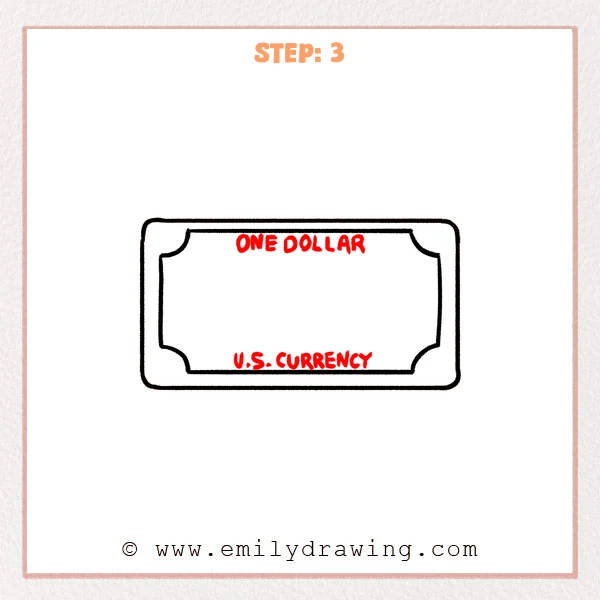
Write ONE DOLLAR across the top inside the frame. Add U.S. CURRENCY along the lower edge in smaller block letters.
Pro Tip: Mark the center first so each phrase stays balanced.
Step 4: Decorate the Left Side
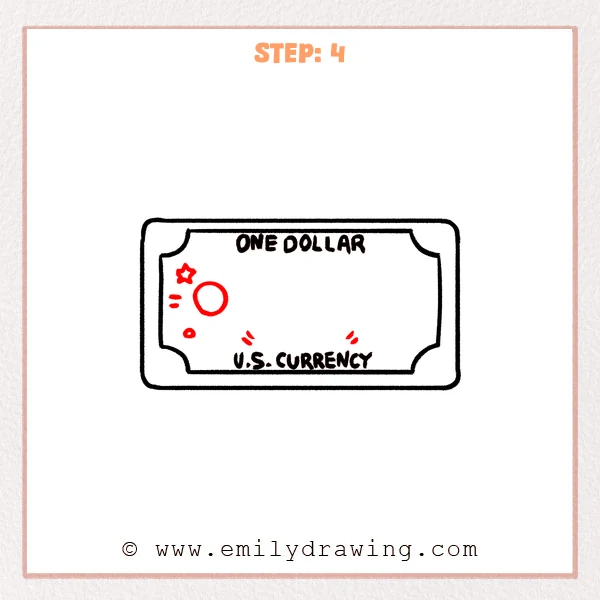
Draw a small star, two short bars, a large circle, and a tiny ring. Add two small curved accent marks near the lower center.
Pro Tip: Stack the left symbols with comfortable space between them.
Step 5: Balance the Right Side
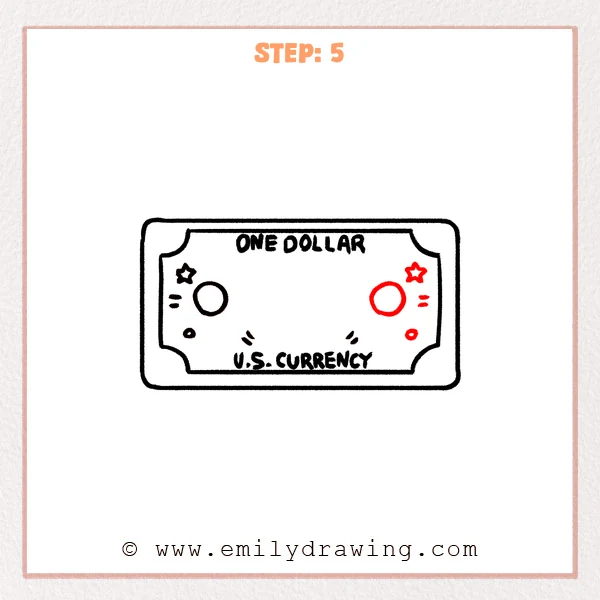
Repeat the star, bars, large circle, and tiny ring on the right. Align each symbol with its partner across the empty center.
Pro Tip: Compare matching shapes across an imaginary horizontal guideline.
Step 6: Draw the Center Portrait
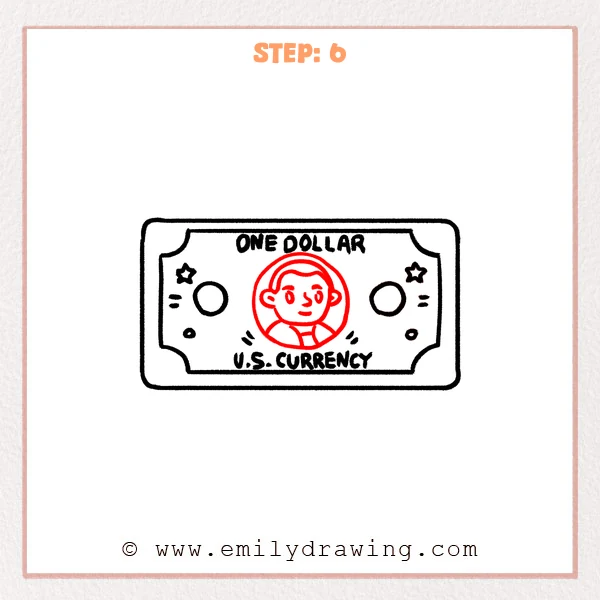
Add a large double oval in the center. Inside it, sketch a simple bust with hair, ears, facial features, shoulders, and a collar.
Pro Tip: Build the face lightly before darkening its small features.
Step 7: Color in your drawing!
Fun Facts
- United States paper currency is produced by the Bureau of Engraving and Printing.
- Real banknotes use intricate patterns and security features that discourage counterfeiting.
- Balanced borders and centered portraits make currency designs feel orderly.
Pin it now, Draw later!
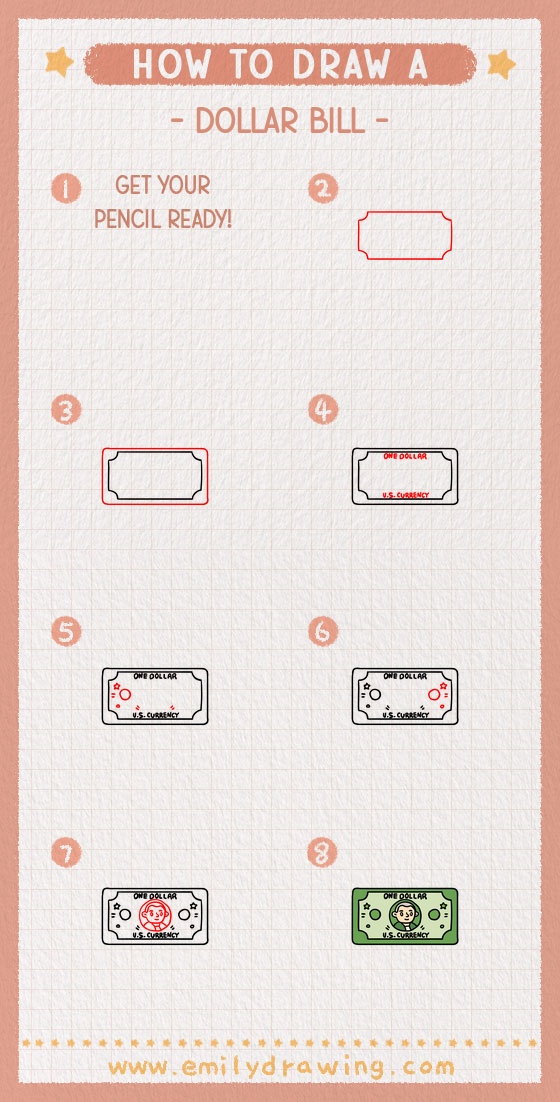
Erase stray guides and strengthen the borders, lettering, symbols, and portrait. Your easy dollar bill drawing is complete, so add green tones and gentle decorative shading.
Get the FREE Printable Drawing Guide
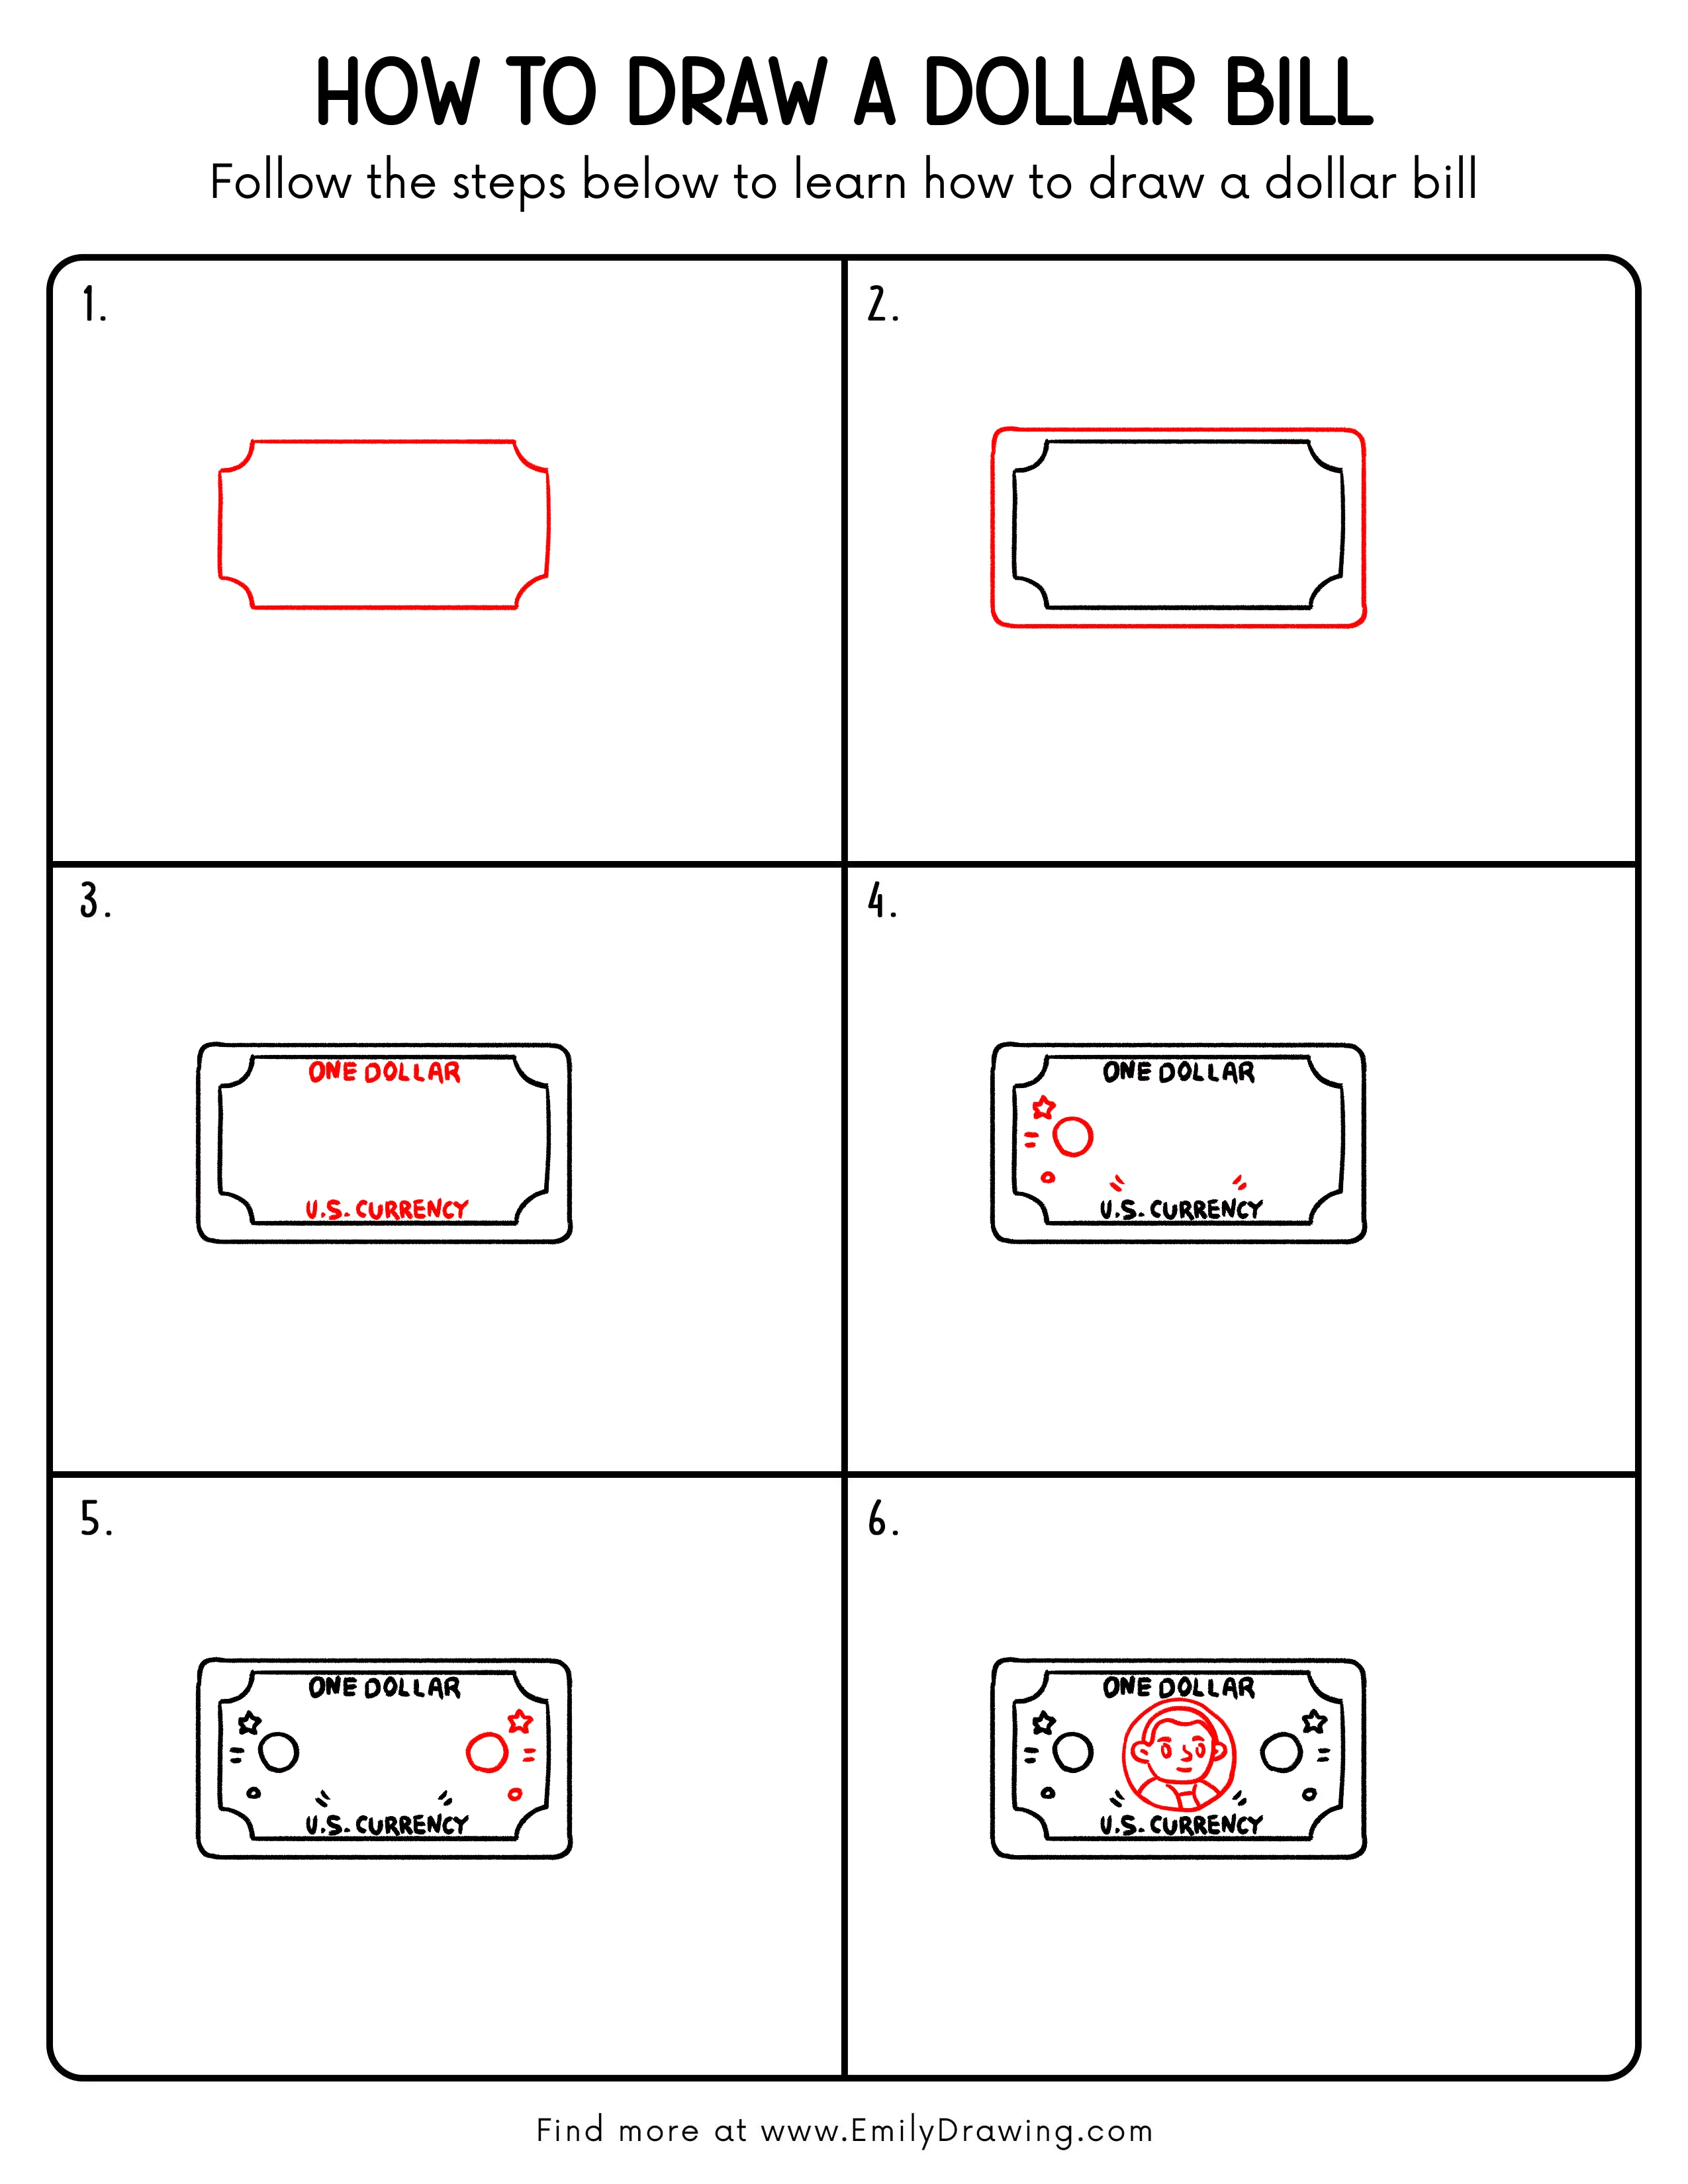
FREE Download Printable Dollar Bill Drawing Tutorial
Frequently Asked Questions
How do I keep the borders evenly spaced?
Mark equal gaps at several points before connecting the outer rectangle.
Must the lettering be perfectly straight?
No, but a light baseline will make the hand-drawn words easier to read.
Can I invent different decorative symbols?
Yes, personalized symbols work well in this clearly stylized drawing.