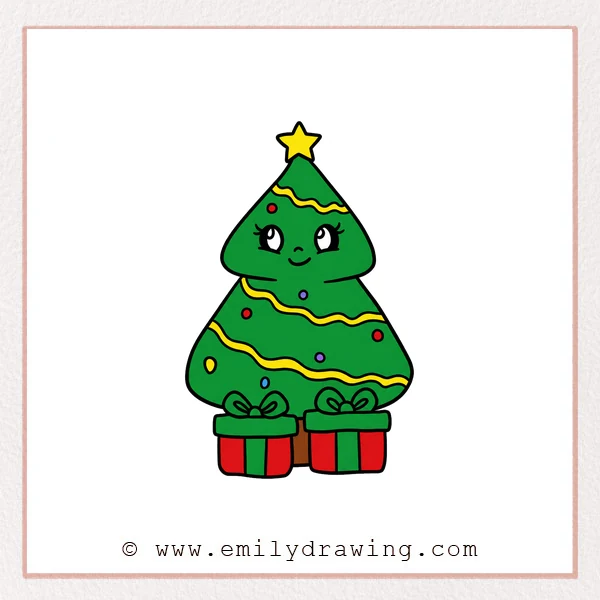
Learn how to draw cheerful christmas stuff featuring a smiling decorated tree, a bright star, and two wrapped presents. This easy drawing tutorial helps beginners practice stacked shapes, cute facial features, garlands, ornaments, and bows.
What You Will Need
- Drawing paper
- Pencil and eraser
- Black marker or colored pencils
Here are my RECOMMENDED Art Supplies!
- Crayola Coloring Set (140 Pieces – Mega Value!)
- 24 Colored Crayon Set
- A4 Printer Paper
- Crayola Coloring Pencils
- HP Home Printer with Instant Ink!
Time needed:
22 minutes.
Step-by-Step Drawing Guide
Step 1: Draw the Star
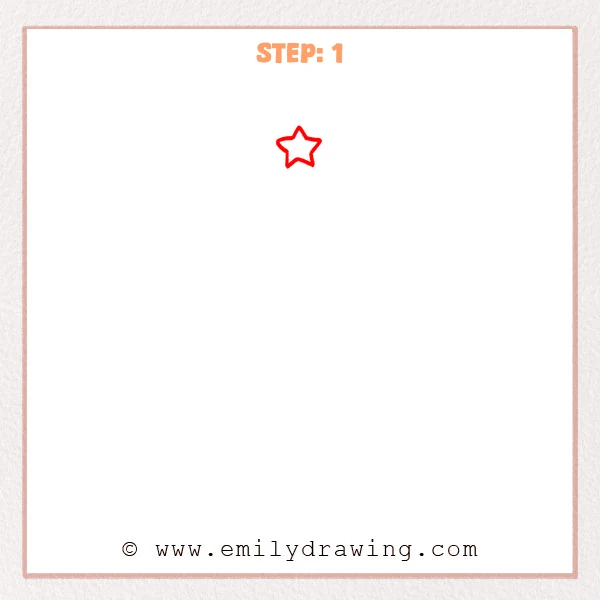
Draw a small five-pointed star near the top center of the page. Keep its lower two points open enough for the tree to connect beneath it.
Pro Tip: Mark five light outer points before joining them into the star shape.
Step 2: Add the Top of the Tree
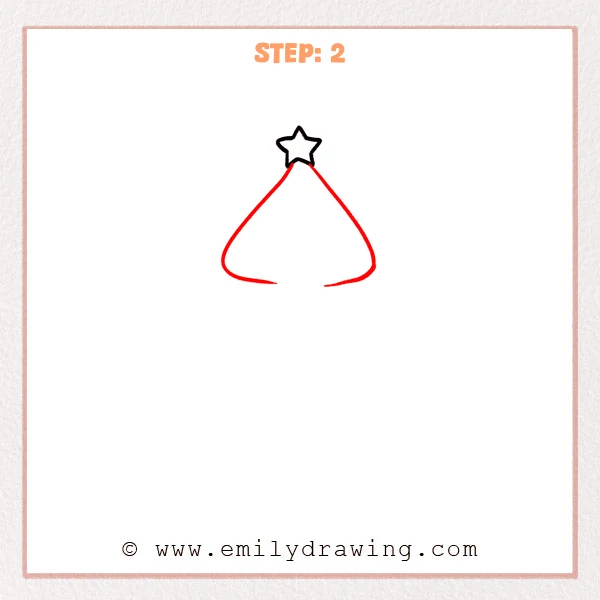
From beneath the star, draw two sloping lines that widen into a rounded triangular tier. Leave a small gap at the bottom center for the next section.
Pro Tip: Curve the lower corners gently so the tree looks soft and friendly.
Step 3: Draw the Lower Tree Tier
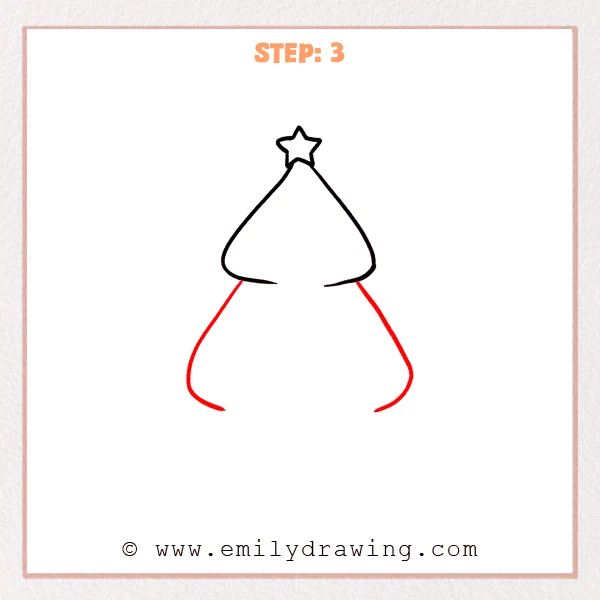
Add a second larger rounded triangle beneath the first section. Make it wider and taller while leaving another small gap at its bottom center.
Pro Tip: Center the lower tier directly beneath the star to keep the tree balanced.
Step 4: Add the Face and Garlands
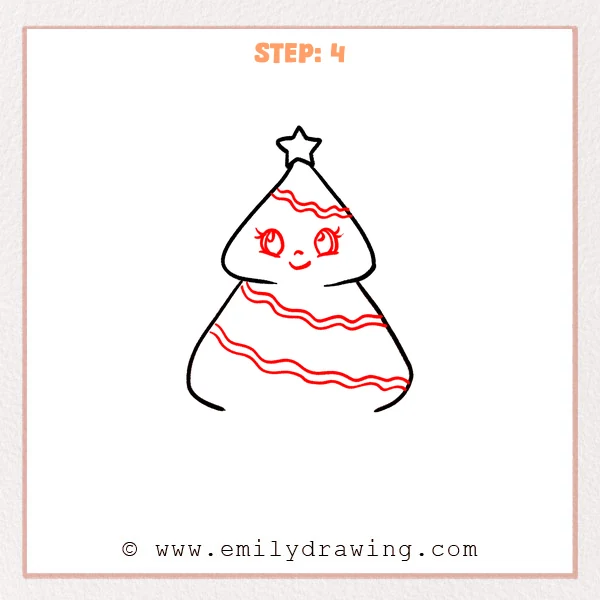
Draw two large eyes with lashes and highlights on the upper tier, then add a tiny nose and curved smile. Decorate both tiers with pairs of gently wavy lines for garlands.
Pro Tip: Follow the width of each tree tier when curving the garlands across it.
Step 5: Draw the Ornaments
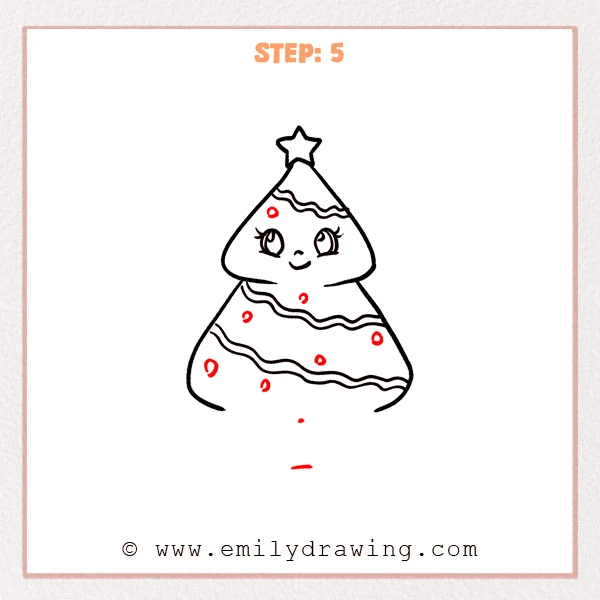
Scatter small round ornaments across the upper and lower tree sections. Vary their sizes and place them in the open spaces between the garlands.
Pro Tip: Avoid arranging the ornaments in straight rows so the decoration feels playful.
Step 6: Finish with Presents
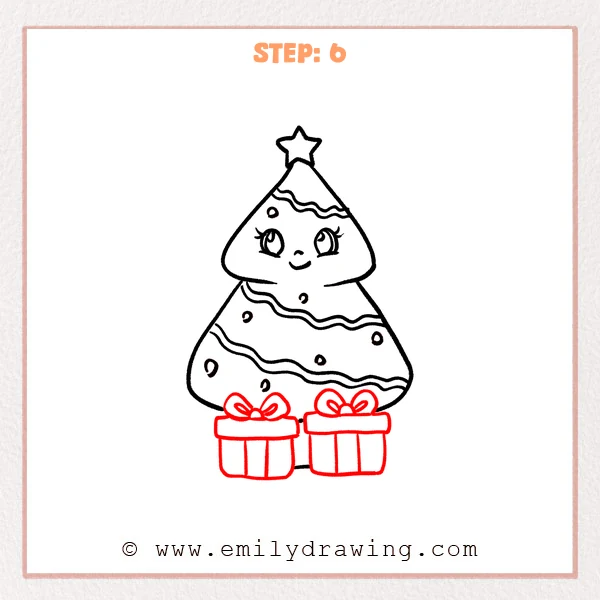
Draw two rectangular gift boxes in front of the tree, adding a wide lid and vertical ribbon to each one. Finish both presents with looped bows and small round knots.
Pro Tip: Overlap the presents with the tree base to make the objects feel grouped together.
Step 7: Color in your drawing!
Fun Facts
- Evergreen trees became popular Christmas symbols because they stay green through winter.
- Stars placed on tree tops often represent the Star of Bethlehem.
- Wrapped gifts are commonly decorated with ribbons and bows to make opening them feel special.
Pin it now, Draw later!
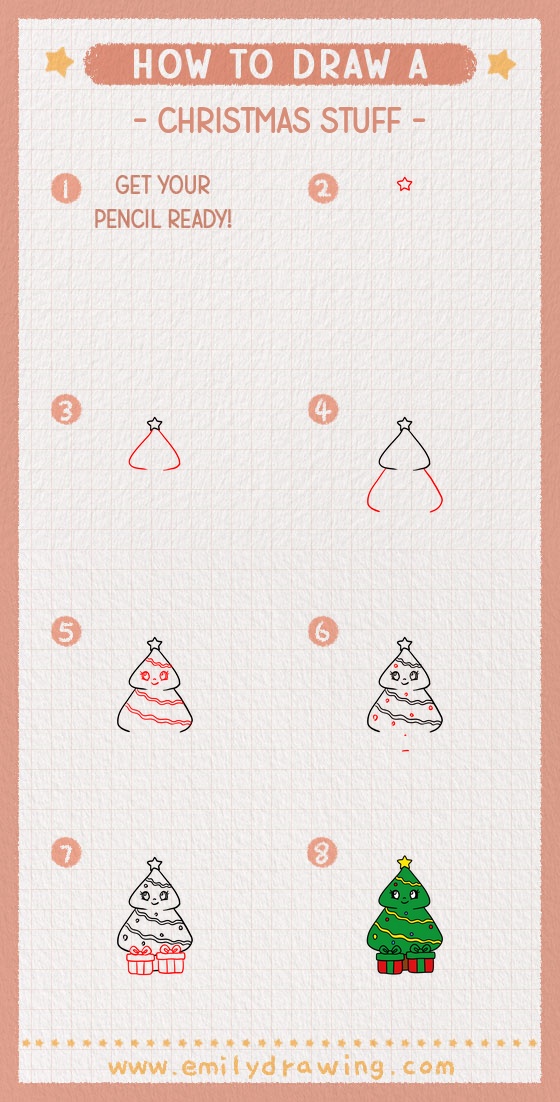
Erase hidden guides, darken the outline, and color the tree green with bright ornaments, golden garlands, and festive presents. Your christmas stuff drawing is complete, so try adding snowflakes, candy canes, or lights around the scene.
Get the FREE Printable Drawing Guide
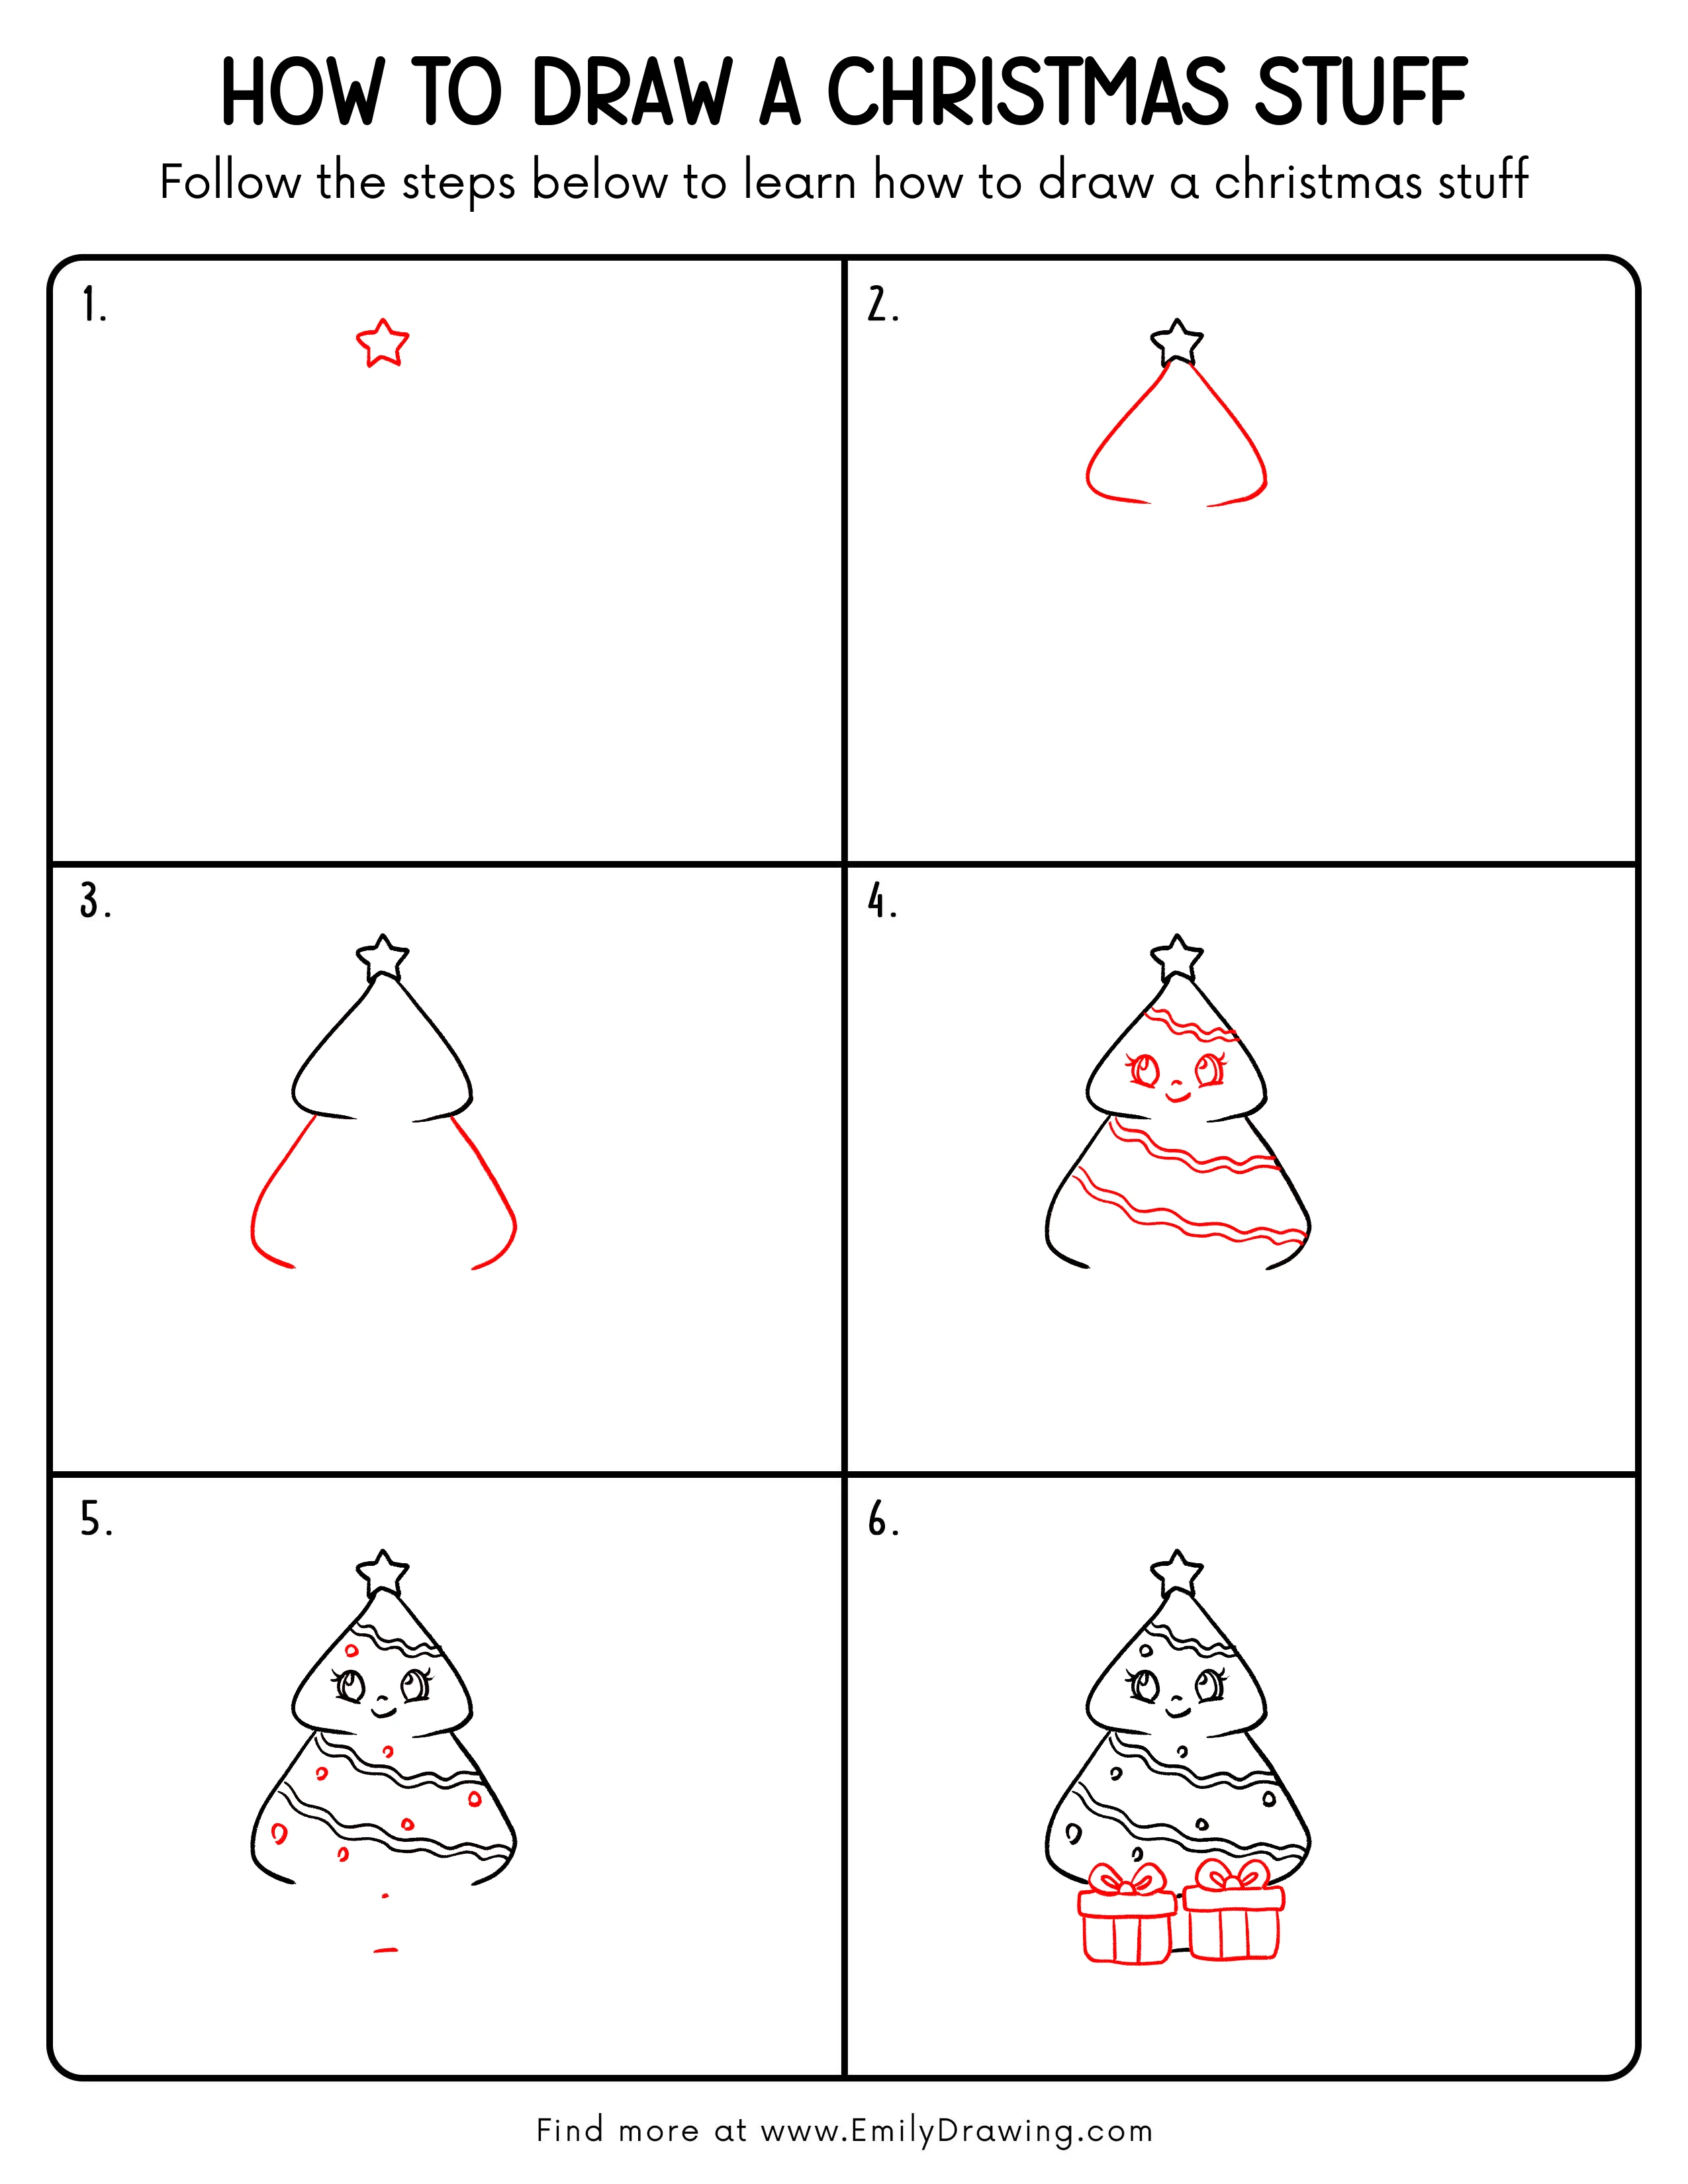
FREE Download Printable Christmas Stuff Drawing Tutorial
Frequently Asked Questions
How can I keep the tree centered?
Draw a faint vertical guide through the star before adding the two tiers.
Why do the garlands look uneven?
Sketch each wavy line lightly, then add a parallel curve at a consistent distance.
Can I add more presents?
Yes, vary their widths and heights while keeping the largest boxes near the bottom.